
The spooky season is upon us, but you do not need to spend a fortune or have expert crafting skills to make your home look festive. The best Halloween decorations are often the simplest, born from a clever idea and a few common household items.
Here is the summary table for the 30 cheap and easy Halloween decorations.
This collection of 30 cheap and easy DIY projects is designed for last minute creativity. Each of these ideas can be made tonight with minimal supplies and maximum spooky impact, ensuring your home is ready for trick or treaters in no time.

Ghoulish Greetings: 5 Minute Entryways
Your front door and porch are the first things guests will see. These ideas create an instant impact with almost no effort.
1. Floating Witch Hat Luminaries
Create a magical entryway that looks like it is straight out of a wizarding world.

DIY Tips:
- You will need inexpensive black witch hats, fishing line, and battery operated LED tealight candles.
- Use a needle to thread the fishing line through the point of each hat.
- Tie the candles to the inside of the hats and hang them from your porch ceiling or a tree branch at varying heights.
2. Spooky Spider Web Doormat
Give your plain coir doormat a quick and creepy crawly makeover.

DIY Tips:
- Use black acrylic paint and a small paintbrush to draw a simple spider web design, starting with a few lines radiating from one corner.
- Connect the lines with curved, scalloped strokes to create the web.
- For an extra touch, paint a single, large spider in the center or a few smaller ones crawling up the side.
3. Ghostly Draperies from Trash Bags
Shredded, gauzy fabric creates an instant haunted house vibe, and a black trash bag is a perfect, weather proof substitute.

DIY Tips:
- Cut a black trash bag along the seams to create a large, flat sheet.
- Use scissors to cut long, vertical strips, leaving the top few inches intact.
- Gently stretch and tear the strips to create a tattered, ancient look, then drape it over your doorway.
4. “Beware” Boarded Up Windows
Make your house look like an abandoned, haunted cottage with this simple illusion using cardboard.

DIY Tips:
- Cut long, plank like shapes from old cardboard boxes.
- Use brown and black paint to create a faux wood grain effect. The messier the better.
- Use strong, removable adhesive tape to attach the “planks” in a crisscross pattern over your windows or door.
5. Swarm of Paper Bats
A colony of black paper bats creates a dramatic, high impact look, especially against a light colored front door or wall.

DIY Tips:
- Find a simple bat silhouette online and print it out to use as a template.
- Trace and cut out dozens of bats from black cardstock or construction paper. Fold the wings slightly to give them a 3D effect.
- Use a small piece of double sided tape or poster putty to attach them in a swooping, flying formation.
Creepy Crawlies & Eerie Creatures
These classic Halloween creatures are easy to craft and perfect for placing in unexpected corners to give guests a fun little fright.
6. Climbing Wall Spiders
Create the illusion of a spider infestation crawling up the side of your house with simple party supplies.

DIY Tips:
- You will need small black plastic plates for the body and black pipe cleaners for the legs.
- Punch four holes on each side of the plate. Thread a pipe cleaner through each pair of holes and bend them to create jointed legs.
- Use strong, outdoor removable adhesive strips to attach the lightweight spiders to your siding or front door.
7. Mason Jar Mummies
These little luminaries are adorable, slightly spooky, and incredibly easy for kids to help make.

DIY Tips:
- Wrap a clean, empty mason jar with strips of cheesecloth or white medical gauze, securing the ends with a dab of hot glue.
- Leave a small gap in the wrapping and glue on two googly eyes.
- Place a battery operated tealight candle inside for a safe, glowing mummy face.
8. The Tomato Cage Ghost
Create a life sized, ethereal ghost to greet your guests using just a few simple garden and craft supplies.

DIY Tips:
- Place a tomato cage upside down. Place a foam ball on top of the prongs to create the head shape.
- Drape an old white sheet over the top. Use a black marker or black felt to create two large, spooky eyes.
- For a glowing effect at night, place a string of battery operated white lights inside the tomato cage.
9. K Cup Ghosts
Do not throw away your used coffee pods! They make perfect, tiny hanging ghosts.

DIY Tips:
- Clean out the used coffee pod so it is just the white plastic cup.
- Drape a single square of tissue or a paper napkin over the pod.
- Tie a small piece of string or thread around the “neck,” and draw on a face with a black marker.
10. Lawn Ghosts from Trash Bags
Create a whole yard full of ghosts with a box of white kitchen trash bags.

DIY Tips:
- Stuff a crumpled up piece of newspaper into the corner of a white trash bag to form a head.
- Tie a string around the neck to secure it.
- Use a garden stake or a stick to prop them up in your yard, and let the rest of the bag billow in the wind.
Spooky Silhouettes & Shadows
Harness the power of light and shadow to create an eerie atmosphere that is both simple and incredibly effective.
11. Window Silhouettes
Turn your windows into scenes from a horror movie with some black paper and a little bit of imagination.

DIY Tips:
- Find spooky silhouette templates online for things like zombies, monsters, or a creepy cat.
- Trace and cut the shapes out of black poster board or cardstock.
- Use a small amount of clear tape to attach the silhouettes to the inside of your windows. At night, when the lights are on, they will create a chilling effect.
12. Ghostly Mirror Message
Leave a spooky, hidden message on your bathroom or hallway mirror.

DIY Tips:
- Write a creepy message like “Help Me” or “I’m Watching You” on the mirror with a bar of soap or a wax candle.
- The message will be nearly invisible until someone takes a hot shower, and the steam will reveal the ghostly writing.
- This is a perfect, harmless prank for your family.
13. Shadow Bat Chandelier
Create a swarm of bats that appear to be flying around your dining room light fixture.

DIY Tips:
- Cut out several black paper bats in different sizes.
- Attach them to the light fixture and the surrounding ceiling with removable adhesive putty.
- When the light is on, the bats will cast spooky, dancing shadows around the room.
14. Floating Head Illusion
A spooky and fun illusion for a dark corner of a room.

DIY Tips:
- Print a life sized, black and white photo of a creepy face.
- Place the photo inside a large, clear jar filled with water.
- The water will magnify the face and create a distorted, “floating head” look. Add a few drops of green food coloring for extra creepiness.
15. Spider Web Window Clings
Create your own custom window clings with a simple bottle of school glue.

DIY Tips:
- Draw a spider web shape with white school glue on a piece of wax paper. Let it dry completely overnight.
- Once dry, the glue will peel off the wax paper as a single, flexible piece.
- You can stick your homemade “cling” to any glass surface, and it peels off easily.
Petrifying Potions & Creepy Decor
Transform a simple shelf or side table into a mad scientist’s lab or a witch’s apothecary with these creative crafts.
16. Apothecary Potion Bottles
Collect interesting glass bottles and jars and turn them into creepy potion ingredients.

DIY Tips:
- Fill the bottles with water and a few drops of food coloring. Add glitter for a “magical” effect.
- Print out spooky, vintage style labels online with names like “Frog’s Breath,” “Wolfsbane,” or “Poison.”
- For a creepy specimen look, drop small plastic toys like spiders, snakes, or eyeballs into the colored water.
17. Dripping “Blood” Candles
This is a super simple way to make your regular white candles look extra gruesome for your Halloween table.

DIY Tips:
- Use simple white pillar or taper candles.
- Light a red candle and hold it over the white candles, allowing the red wax to drip down the sides.
- The more drips, the spookier the effect. This is a perfect centerpiece for a Halloween dinner.
18. Ghostly Family Photos
Give your regular family photos a spooky, temporary makeover.

DIY Tips:
- Take your family photos out of their frames.
- Cut out small, spooky “demon eyes” from red or black paper and use a tiny piece of removable tape to stick them onto the photo subjects.
- Put the photos back in their frames for a subtle, creepy detail that will make guests do a double take.
19. Floating Cheesecloth Ghost
Create a stiff, ethereal, and free standing ghost using just cheesecloth and starch.
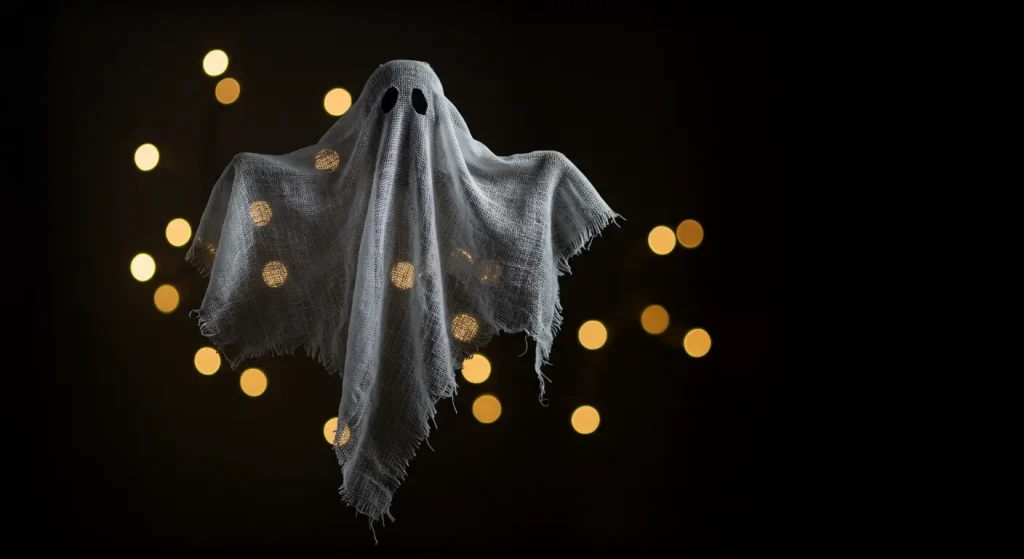
DIY Tips:
- Drape a piece of cheesecloth over a small bottle with a styrofoam ball on top to create the ghost shape.
- In a bowl, mix liquid fabric starch with a little water. Completely saturate the cheesecloth with the starch mixture.
- Let it dry completely overnight. Once it is stiff, remove the bottle and ball, and you will have a hollow, floating ghost.
20. Cobweb Covered Everything
A bag of stretchy spider web is the cheapest and fastest way to make your entire home look spooky.

DIY Tips:
- The secret to making it look good is to stretch it as thin as possible. A little goes a long way.
- Drape it over bookshelves, light fixtures, corners of rooms, and house plants.
- Add a few small plastic spider rings to the web for a classic finishing touch.
Quick & Creepy Yard Decor
You do not need expensive animatronics to have a spooky yard. These simple ideas make a big impact.
21. Ghostly Ring Around the Rosie
Create a spooky circle of ghosts that look like they are dancing in your front yard.

DIY Tips:
- You will need several white styrofoam heads from a craft store and some garden stakes.
- Place the stakes in a circle in your yard and put a foam head on each one.
- Drape a piece of cheesecloth or an old, tattered white sheet over each head to create a circle of ghostly figures.
22. Zombie Hands Reaching from the Grave
A simple and classic yard decoration that is always a little unsettling.

DIY Tips:
- Buy a few plastic skeleton hands from the dollar store.
- Stick them in the ground in your garden or front lawn so they look like they are reaching up from the earth.
- For an extra touch, pile a little bit of dirt around the base of each hand.
23. Glowing Eyeballs in the Bushes
A spooky and fun surprise for trick or treaters that is incredibly easy to make.

DIY Tips:
- Take a few cardboard paper towel or toilet paper tubes.
- Use scissors to cut spooky eye shapes into the side of the tubes.
- Activate a few glow sticks, place them inside the tubes, and hide them in your bushes for an eerie, glowing stare.
24. A “Murder” of Crows
A group of crows is called a murder, and you can create your own ominous flock with a few cheap items.

DIY Tips:
- Buy a handful of inexpensive black crow decorations from a craft or dollar store.
- Use floral wire to perch them in unexpected places, like on your fence, in a bare tree, or on your porch railing.
- The more you have grouped together, the spookier the effect.
25. Ghost Face on a Tree
Turn any tree in your yard into a spooky creature with this simple idea.

DIY Tips:
- Use a white paper plate for each eye and draw a large black pupil in the center.
- Cut a large, spooky mouth shape out of black poster board.
- Use a staple gun or outdoor tape to attach the face to a large tree trunk.
Last Minute Indoor Touches
These tiny details can be done in the final moments before your party guests or trick or treaters arrive.
26. The Bloody Handprint Window Cling
This is a classic horror movie trope that is easy to recreate.

DIY Tips:
- Mix a few drops of red food coloring into a puddle of white school glue.
- Press your hand into the red glue mixture and then press it onto a piece of wax paper. You can also just paint it on the wax paper.
- Let it dry completely, then peel it off. It will stick to any window or mirror and peels off cleanly.
27. Spider Ice Cubes
A fun and creepy surprise for your party guests’ drinks.

DIY Tips:
- Place a small plastic spider in each section of an ice cube tray.
- Fill the tray with water and freeze as usual.
- The spiders will be harmlessly frozen inside the ice cubes, floating in your guests’ drinks.
28. A Witch’s Broom
A perfect, rustic decoration to lean by your front door.

DIY Tips:
- Find a sturdy, straight stick or branch in your yard.
- Gather a bundle of smaller, thinner twigs or even tall ornamental grasses.
- Use twine to tie the bundle of twigs tightly around the bottom of the large stick.
29. Vampire Bite Napkins
A simple, elegant, and spooky touch for your Halloween dinner table.

DIY Tips:
- Fold a white paper or cloth napkin neatly.
- Drip a tiny bit of red food coloring or craft paint in two small “fang” marks on the corner of the napkin.
- For an extra touch, place a pair of plastic vampire fangs on top of each folded napkin.
30. Ghost Lollipops
A classic craft that doubles as a decoration and a treat for visitors.

DIY Tips:
- Drape a single square of tissue over the top of a round lollipop.
- Tie a small piece of black or orange ribbon around the “neck” to secure the tissue.
- Use a black marker to draw on two simple eyes for a tiny, instant ghost.
Conclusion
Creating a spooky and festive home for Halloween does not have to be a chore. With a little creativity and a few basic supplies, you can whip up an amazing array of decorations in just one evening. These cheap and easy ideas prove that the best part of Halloween is the fun of making it your own. So put on a spooky movie, grab your glue gun, and get ready to transform your home into the most haunted house on the block.