
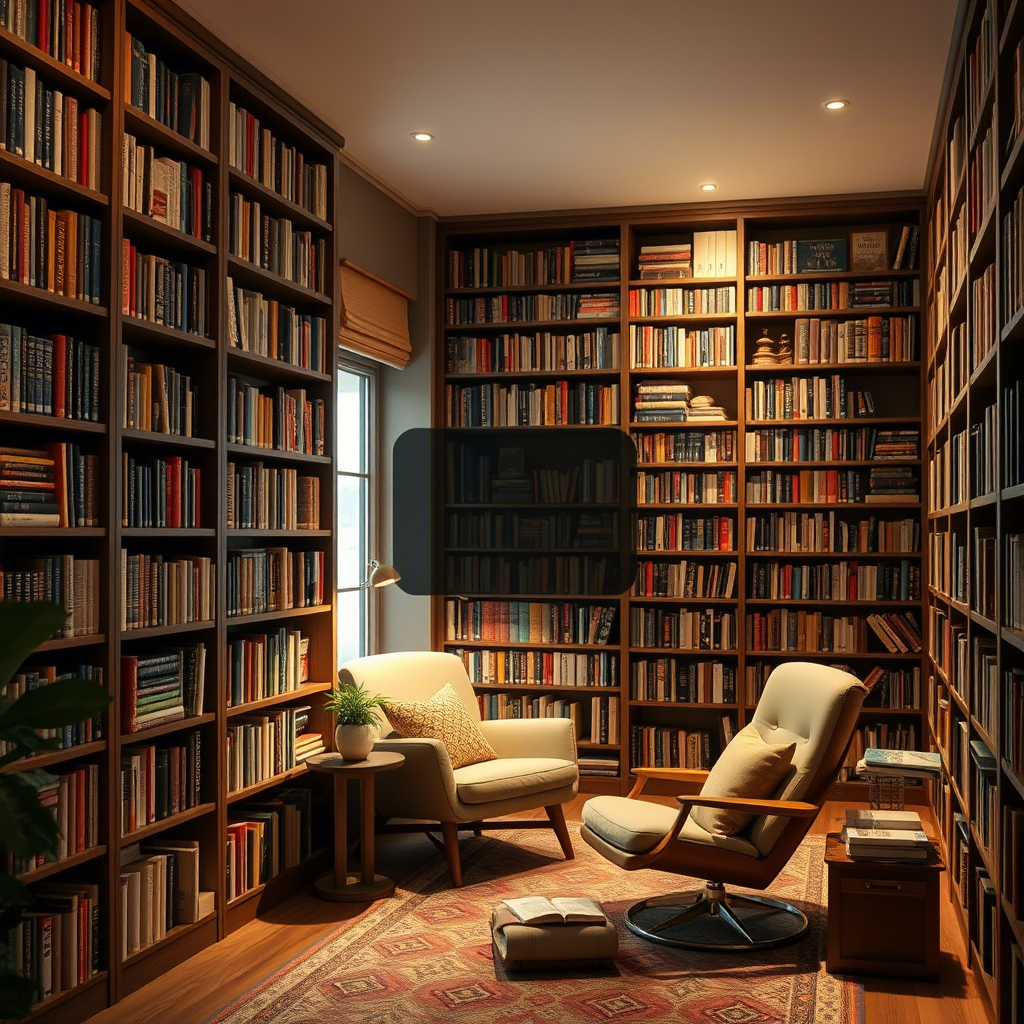
Creating a home library doesn’t have to be expensive or complicated. With a little creativity and effort, you can design a cozy and functional space to store and showcase your books. Here are 11 DIY home library projects that anyone can try, whether you have a large space or just a small corner.

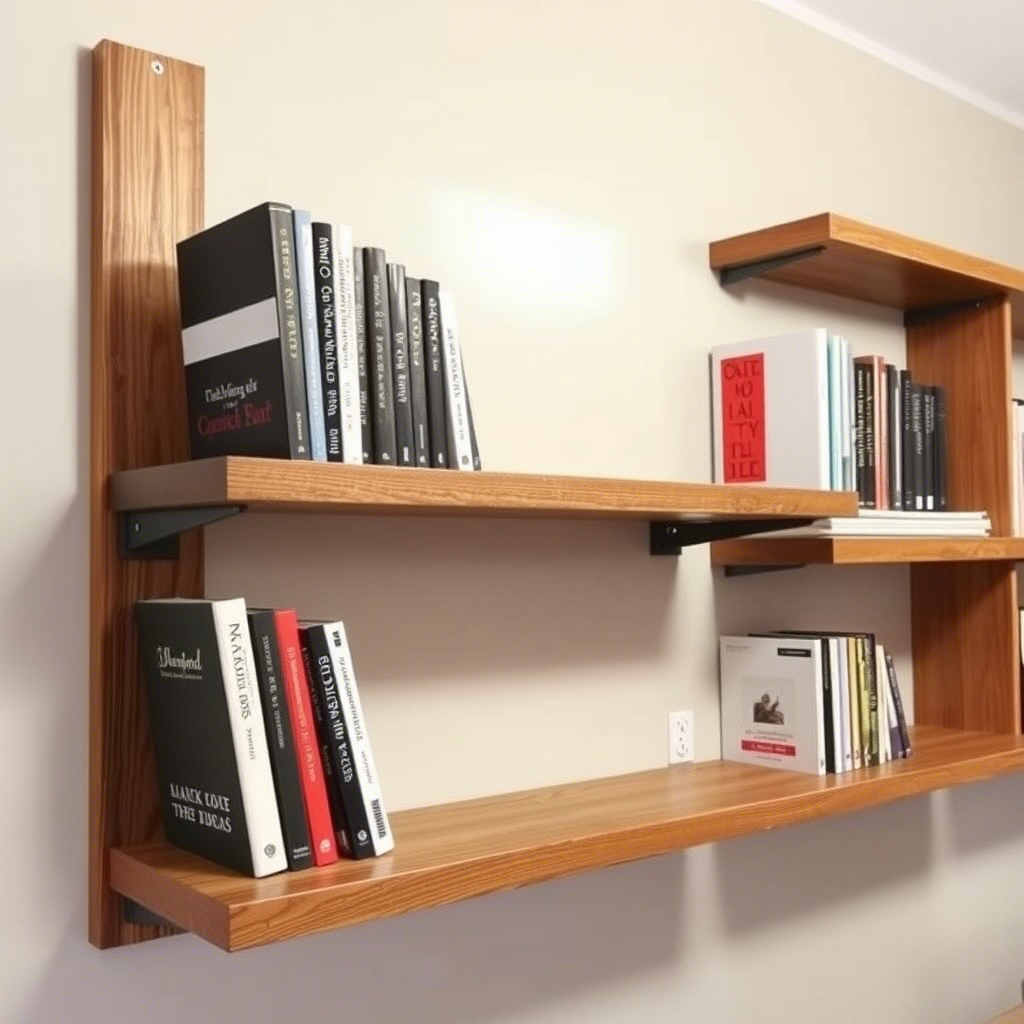
1. Build Your Own Floating Bookshelves
Floating bookshelves are a fantastic way to maximize your space. They give your home library a clean, modern, and minimalist touch that feels incredibly stylish.
By eliminating the visual bulk of a traditional bookcase, they make your books appear as if they are floating on the wall. This creates a light and airy feel, which is perfect for smaller rooms.
This project is surprisingly simple. All you need are wooden planks, sturdy wall brackets, screws, and your choice of paint or stain.
Materials Needed:
- Wooden planks (pine or reclaimed wood works well)
- Sturdy metal brackets or hidden floating shelf hardware
- Screws and appropriate wall anchors for your wall type
- Paint or wood stain and a sealant
How to Do It
First, decide on the placement and length of your shelves. Use a level and painter’s tape to mark a straight line on the wall where you want the shelves to go.
Next, securely install the brackets into the wall studs for maximum support. If you cannot hit a stud, use heavy-duty drywall anchors.
Once the brackets are in place, simply secure the wooden planks on top of them with screws.
Finally, give your new shelves a custom look. Finish them with a coat of paint that matches your wall for a seamless effect, or use a rich stain to bring out the natural beauty of the wood grain.
This project is highly customizable. You can create a single long shelf or a series of shorter, staggered shelves for a more dynamic and artistic display.
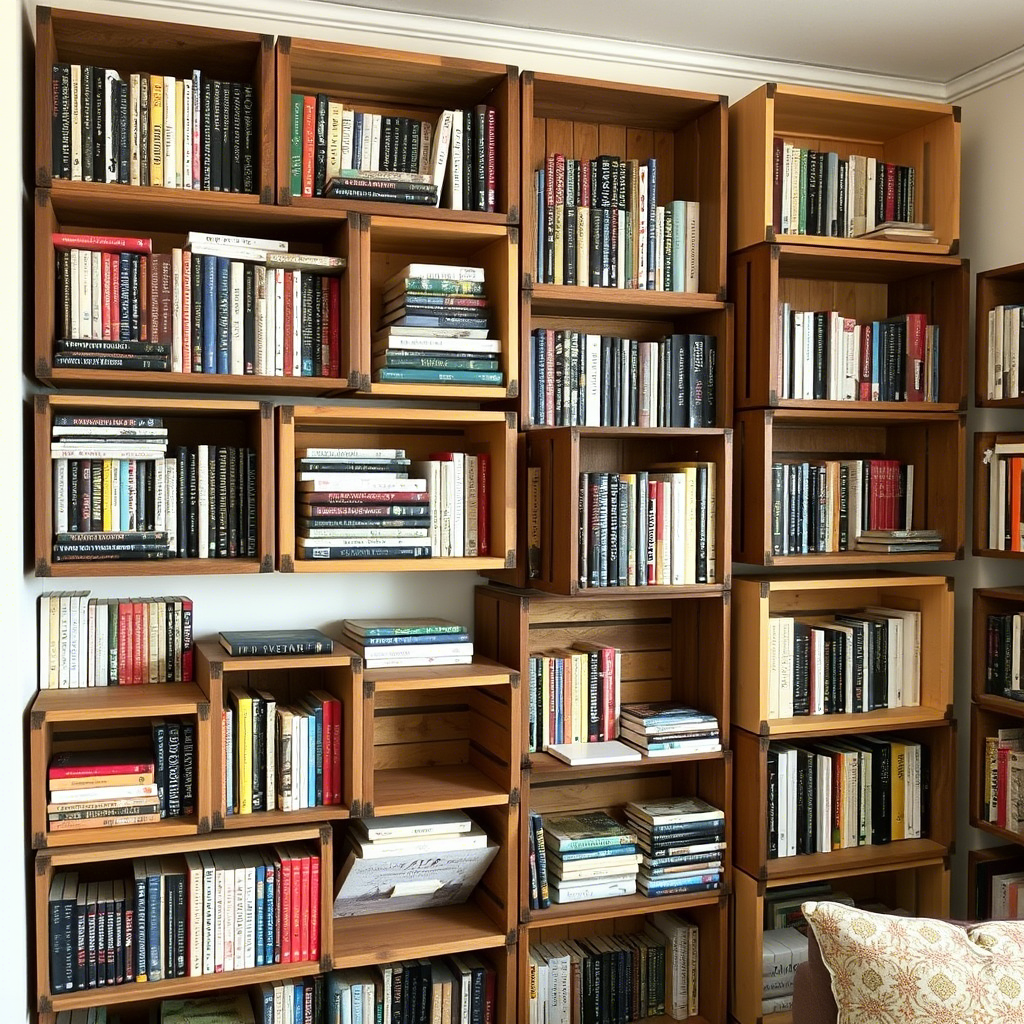
2. Upcycle Wooden Crates Into Book Storage
For a charming, rustic, and incredibly affordable bookshelf, look no further than simple wooden crates. These can often be found at craft stores, flea markets, or even for free at local wineries or grocery stores.
By stacking and arranging these crates in a unique configuration, you can create a modular bookshelf that is full of character and personality. It is a perfect project for achieving a farmhouse or industrial aesthetic.
This DIY is all about embracing imperfection and creativity. The possibilities for arranging the crates are endless, allowing you to design a piece that is perfectly suited to your space.
Materials Needed:
- A collection of wooden crates (in similar or varying sizes)
- Sandpaper (medium and fine grit)
- Paint or wood stain
- Screws or strong wood glue for securing the crates
How to Do It:
Begin by thoroughly sanding each crate to remove any rough spots or splinters. Start with a medium-grit sandpaper and finish with a fine-grit for a smooth surface.
Next, decide on your arrangement. You can stack them in a neat pyramid, a staggered tower, or even lay them on their sides to create cubbies.
Once you have your design, secure the crates together using either wood glue for a cleaner look or screws for extra stability. If your structure is tall, it is a good idea to anchor it to the wall for safety.
Finish your new bookshelf with a coat of paint, perhaps a soft chalk paint for a shabby chic look, or a dark wood stain for a more rustic, industrial feel.
This project is not only budget-friendly but also wonderfully versatile. As your collection grows, you can simply add more crates to your structure.
3. Transform a Ladder Into a Bookshelf
An old wooden or even a metal ladder can be repurposed into a surprisingly stylish and unique bookshelf. This project adds a touch of rustic or industrial charm to any room.
It is a fantastic way to display books in a way that is both functional and sculptural. The leaning design takes up minimal floor space, making it an excellent choice for tight corners or small apartments.
This project can be incredibly simple, or you can add extra elements for more storage. It is all about how you choose to style this interesting, found object.
Materials Needed:
- An old wooden or metal A-frame or straight ladder
- Wooden planks (optional, for creating extra shelving)
- Paint or wood stain (optional)
- Sandpaper
How to Do It:
First, clean the ladder thoroughly. If it is a wooden ladder, give it a light sanding to smooth out any rough patches. You can then choose to paint it a bold color, stain it, or leave its original, weathered patina for an authentic vintage look.
The simplest method is to lean a straight ladder against the wall and simply place your books directly on the steps or rungs.
For extra storage and a more stable surface, you can secure wooden planks across the rungs. Measure the width of the rungs at different heights and have planks cut to size.
If you are using an A-frame stepladder, you can place planks across the rungs on both sides, creating a sturdy, freestanding shelving unit that requires no mounting.
This unconventional bookshelf is a guaranteed conversation starter and a testament to the beauty of creative upcycling.
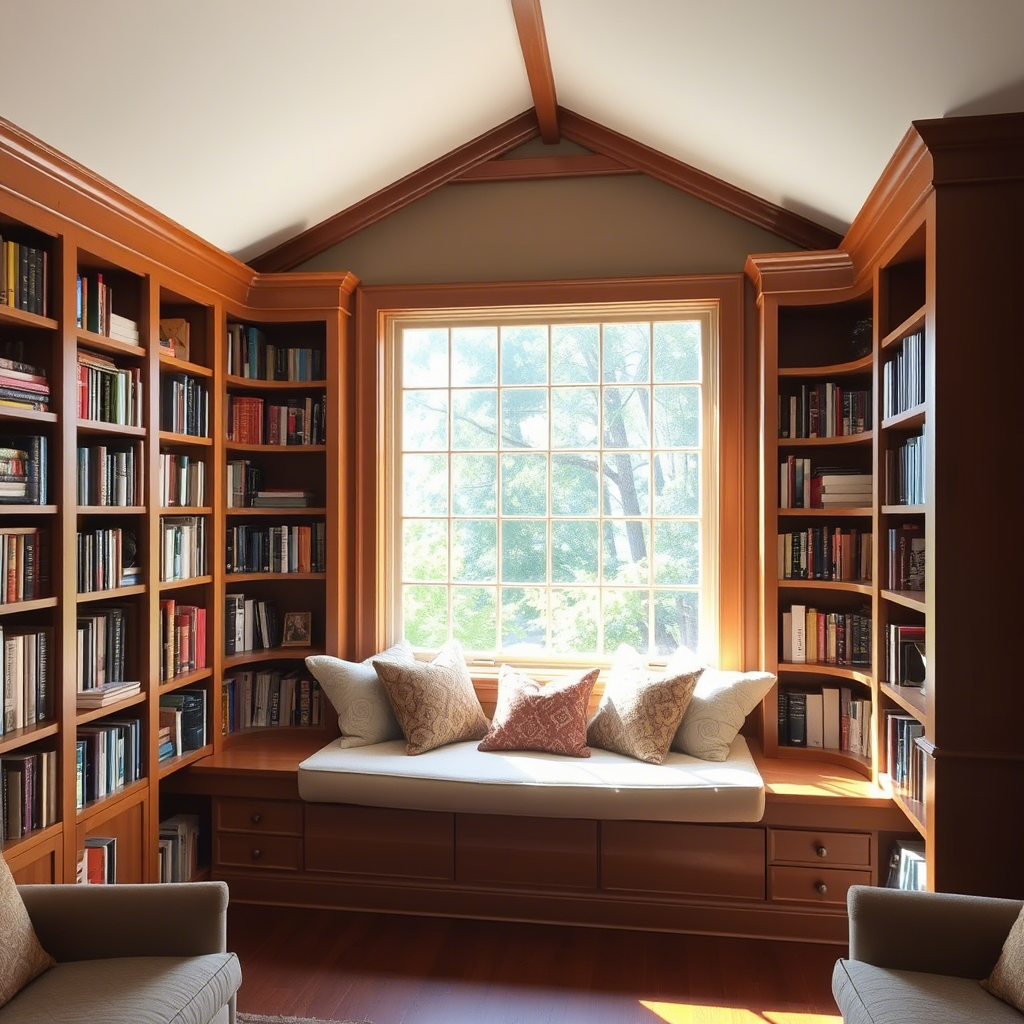
4. Make a Window Seat With Built-In Bookshelves
You can turn an unused window area into the coziest reading nook imaginable by building a window seat with integrated bookshelves. This project adds immense charm, value, and functionality to your home.
It creates a dedicated space for relaxation, bathed in natural light. It is the perfect spot to curl up with a good book, with your entire collection right at your fingertips.
This project is a bit more involved, but it is well worth the effort. It creates a beautiful, custom, built-in feature that looks like it has always been a part of your home.
Materials Needed:
- Plywood or MDF for the bench structure
- Comfortable foam cushion and fabric
- Screws, nails, and wood glue
- Paint
How to Do It:
Start by designing and building a simple bench structure out of plywood or MDF that fits perfectly into your window alcove.
Incorporate cubby-style storage into the base of the bench. These open compartments are perfect for storing books spine-out.
Once the structure is built and secure, sand it smooth and paint it to match your room’s trim for a seamless, built-in look.
Finally, add the cozy touches. Have a thick foam cushion cut to the size of the bench top and cover it with a durable, beautiful fabric. Pile on plenty of soft throw pillows to create an irresistible spot for reading.
This project creates a dreamy, multi-functional library space that is both a comfortable seat and a clever storage solution.
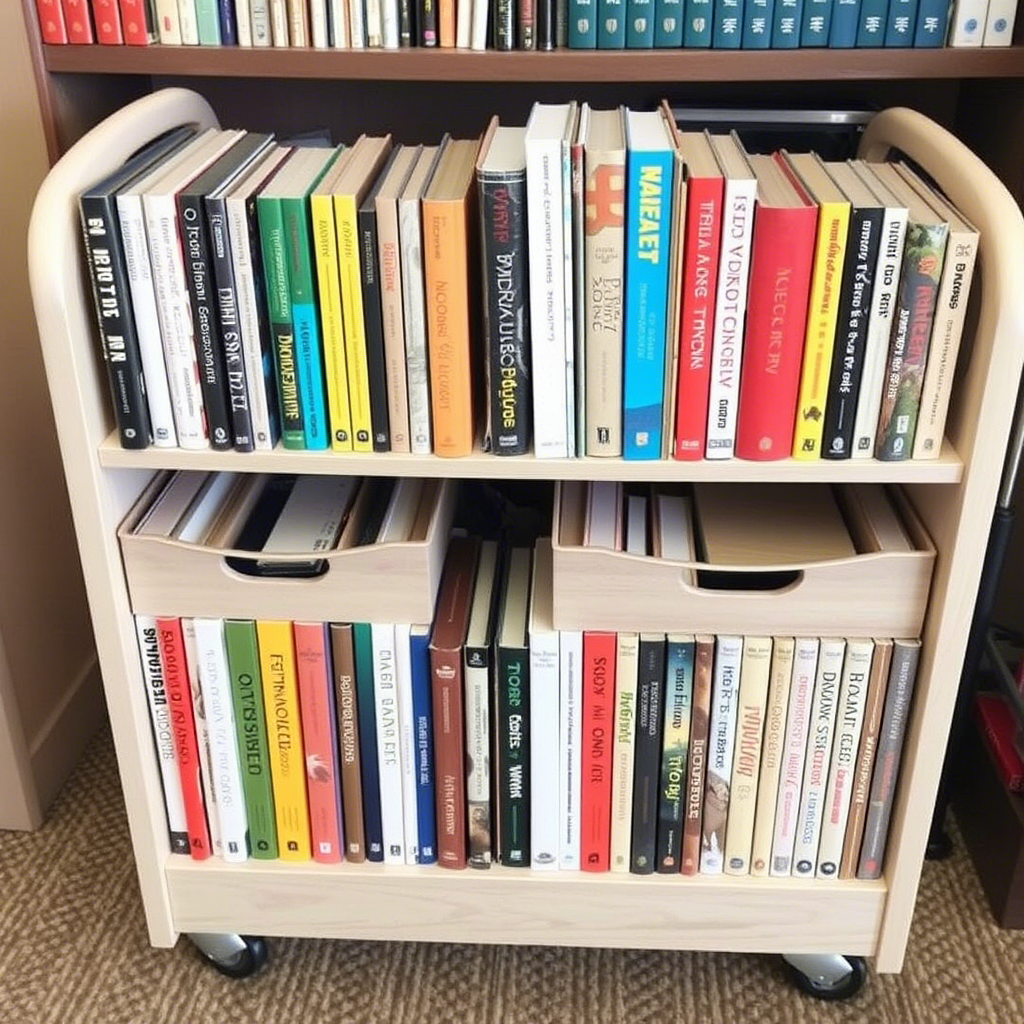
5. Create a Rolling Book Cart
A rolling book cart is the perfect solution for book lovers who live in small spaces or for those who like to have their books close by, no matter which room they are in.
This portable mini library is incredibly versatile. It can serve as a bedside table, a side table next to a sofa, or even a mobile station for a child’s reading corner.
This is one of the easiest and quickest DIY projects, and it can be customized to fit any decor style. It is all about adding mobility to your book storage.
Materials Needed:
- Wooden crate or small bookshelf
- Casters (wheels)
- Screws and drill
How to Do It:
Start with your base. This can be a simple wooden crate turned on its side, a small utility cart, or even a small, sturdy bookshelf.
Flip your chosen base upside down. Position a caster at each of the four corners.
Use a drill to securely attach the casters to the base with screws. Make sure they are attached firmly so they can support the weight of the books.
Flip your cart back over, and your portable mini library is ready to be styled! You can paint it a fun color or leave it as is for a more rustic look.
Load it up with your current reads, a small plant, and a favorite mug, and you have a complete reading station that can follow you anywhere in your home.
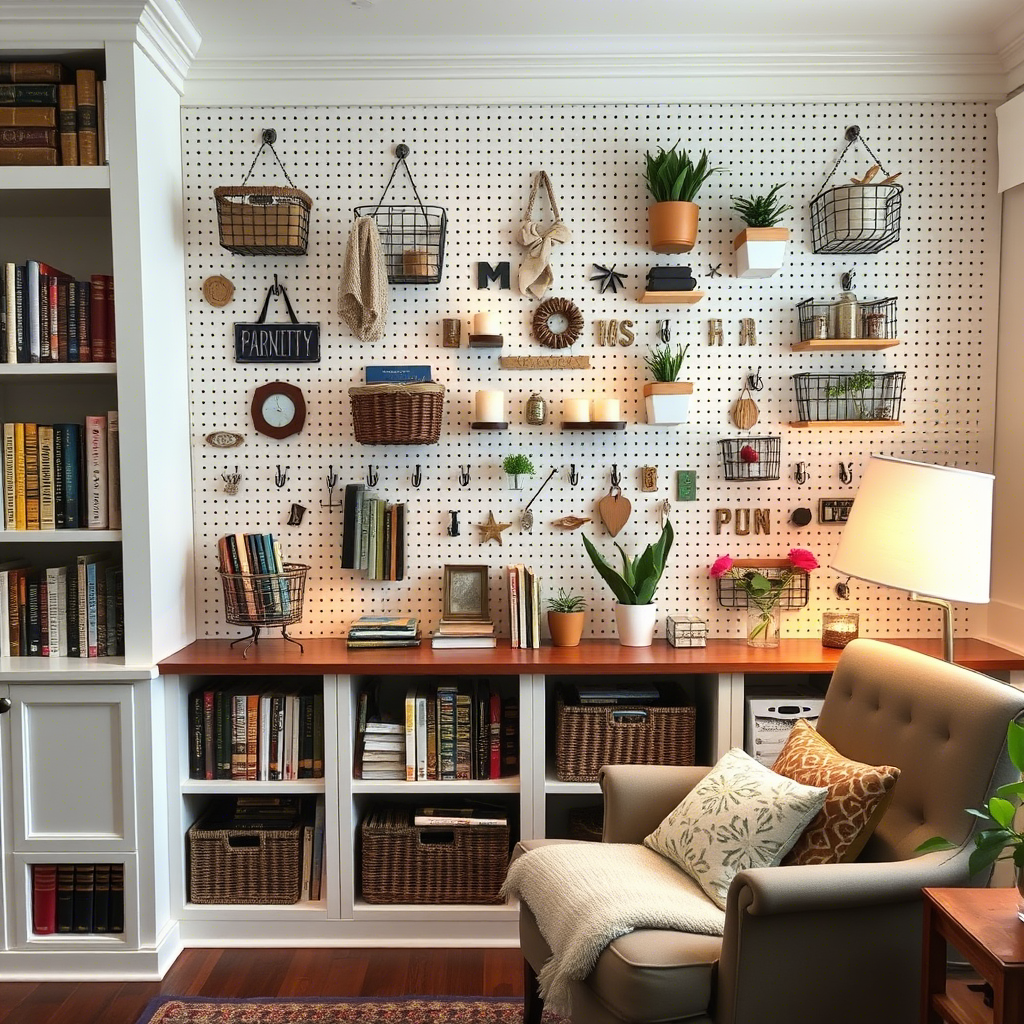
6. Install a Pegboard Library Wall
A pegboard wall offers a modern, flexible, and highly customizable book storage solution. It is a system that can easily grow and change along with your collection.
Inspired by workshop organization, a pegboard library has a cool, graphic, and slightly industrial feel. It allows you to create a unique and artful display for your books and other decorative items.
This project is perfect for a home office, a creative studio, or a child’s bedroom where flexibility is key.
Materials Needed:
- Large pegboard
- Pegboard hooks or brackets
- Wooden shelves
How to Do It:
First, you may want to paint your pegboard a color that complements your room’s decor, such as a sophisticated black or a clean, crisp white.
Next, mount the pegboard securely on your wall. It is important to use spacers between the wall and the pegboard so there is room for the hooks to be inserted.
Once the board is up, the fun begins. You can add a variety of pegboard-specific hooks and brackets to create your custom layout.
Place small wooden shelves on the brackets to hold stacks of books. You can also use long wooden dowels to create simple cradles for displaying books with their covers facing out.
The best part of this system is that you can rearrange the shelves and hooks at any time to create a completely new look.
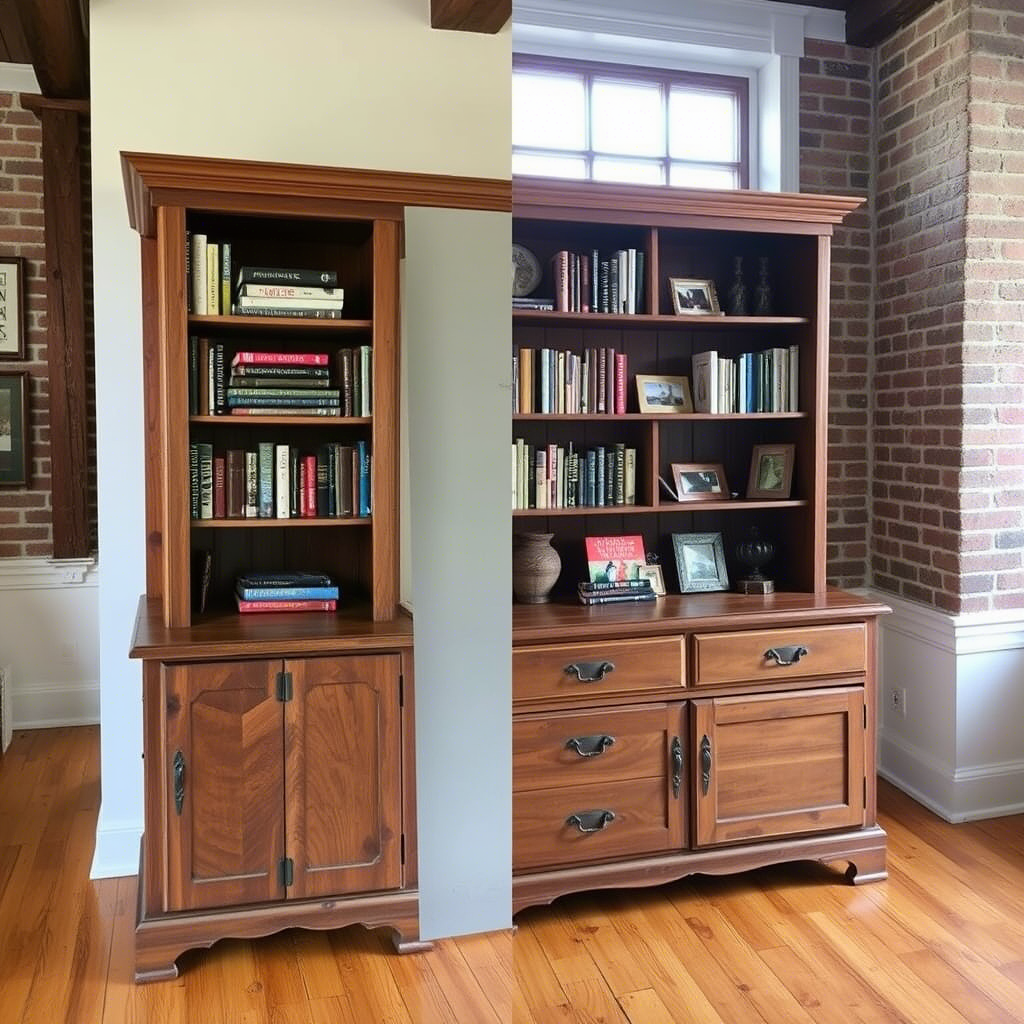
7. Convert an Old Dresser Into a Book Cabinet
You can give a dated, old dresser a brand new life by transforming it into a unique and charming book storage unit. This is a fantastic upcycling project that is both eco-friendly and full of character.
This project works best with sturdy, solid wood dressers that have interesting details or a beautiful shape. The result is a one-of-a-kind piece that is much more interesting than a standard bookshelf.
By removing some or all of the drawers, you can create open cubbies that are perfect for displaying books, art, and other treasures.
Materials Needed:
- Old dresser
- Paint or stain
- Shelf dividers
How to Do It:
Start by removing the drawers you want to convert into shelves. You might choose to leave the bottom drawer in place for hidden storage.
Thoroughly clean and sand the entire dresser. If you removed drawers, you will also need to clean and sand the interior spaces.
If you want to divide the open spaces, you can install simple shelf dividers made from thin plywood or MDF.
Now it is time to give it a new look. Paint the dresser a bold color for a statement piece, or stain it to enhance its natural wood grain. Consider painting the interior a different, contrasting color for a fun surprise.
This repurposed book cabinet will be a truly unique piece of furniture that adds instant history and charm to your home library.
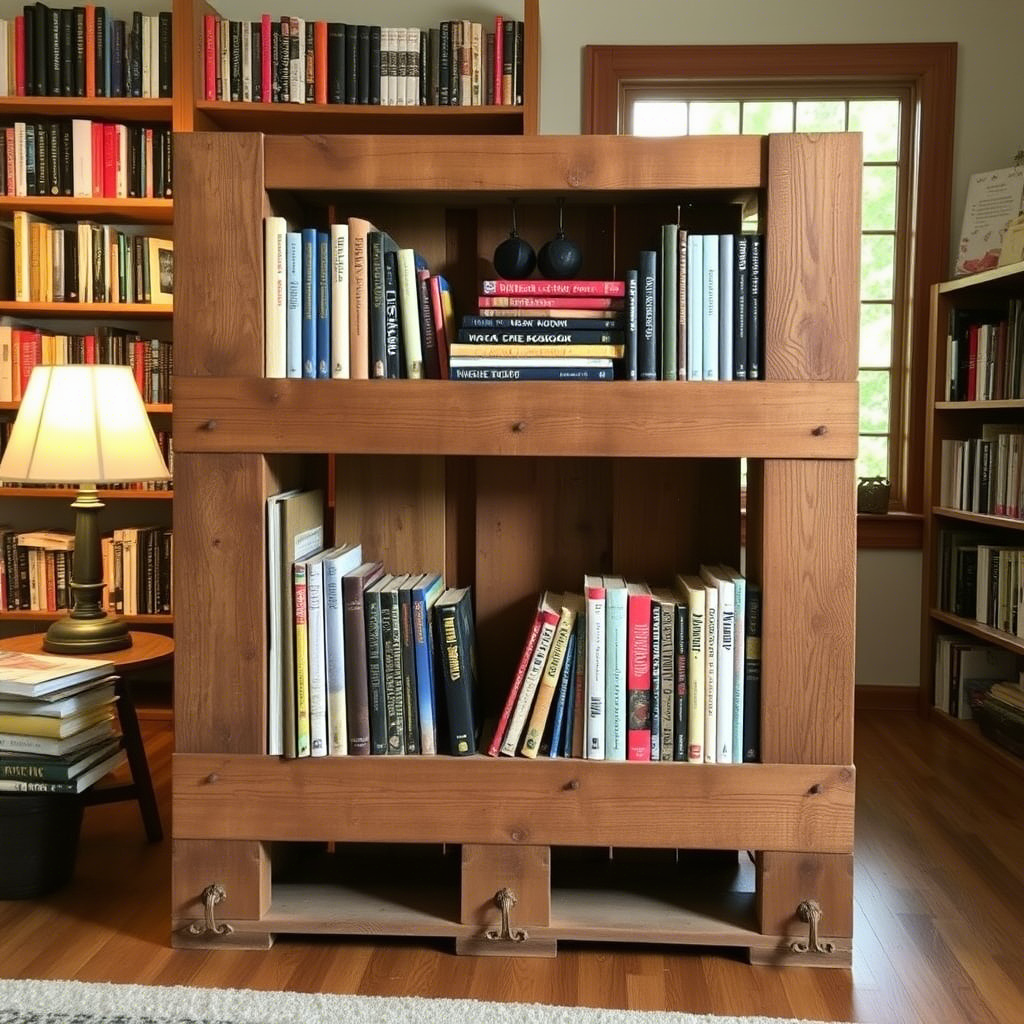
8. Repurpose a Wooden Pallet Into a Bookshelf
A simple wooden pallet, often available for free from shipping or garden centers, can be turned into a rustic and surprisingly functional vertical bookshelf.
This project is perfect for creating a space-saving display for children’s books, magazines, or paperbacks. It has a wonderful, industrial-farmhouse vibe.
Mounting a pallet on the wall creates shallow ledges that are perfect for displaying books with their colorful covers facing forward, which is especially great for a kids’ room.
Materials Needed:
- Wooden pallet
- Sandpaper
- Paint or stain
- Wall-mounting hardware
How to Do It:
First and foremost, make sure your pallet is safe for indoor use. Look for a stamp that says “HT,” which means it was heat-treated, not treated with chemicals.
Give the entire pallet a very thorough sanding to remove all splinters and rough spots. This is the most important step for a safe and beautiful finish.
Next, paint or stain the pallet to match your decor. You could paint it a bright, fun color for a playroom or give it a dark stain for a more industrial look.
Once it is dry, use heavy-duty screws and wall anchors to mount the pallet securely on the wall. Make sure it is level and firmly attached.
You can then slide books into the gaps between the slats, creating a unique and eye-catching display that takes up almost no floor space.
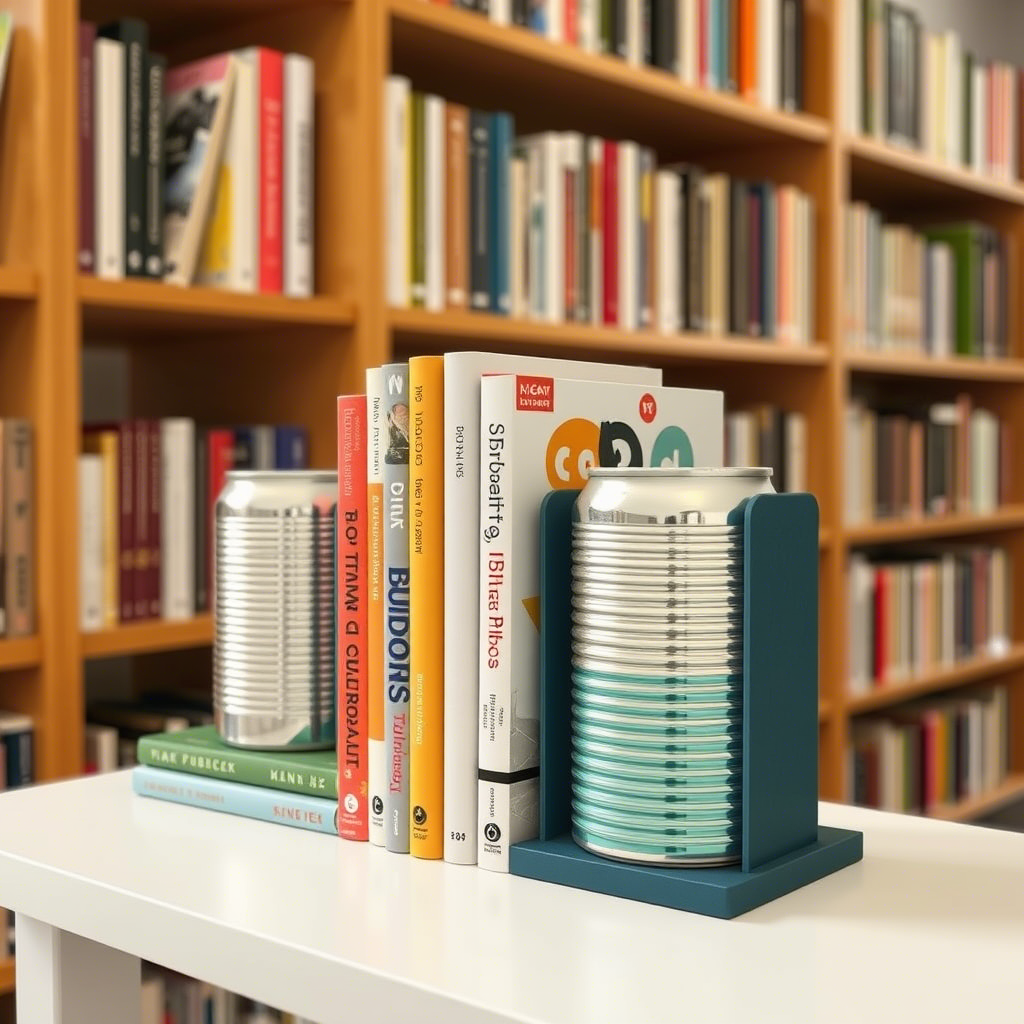
9. DIY Bookends From Everyday Items
Every library needs bookends to keep the shelves looking neat and organized. But you do not need to buy expensive ones; you can make your own unique and personal bookends using common household items.
This is a fun, creative project that allows you to add a small, sculptural touch to your shelves. The possibilities are truly endless.
By customizing your own bookends, you can ensure they perfectly match the style and color scheme of your home library.
Materials Needed:
- Bricks, concrete blocks, or decorative objects
- Paint or fabric (optional)
- Adhesive pads (to prevent scratching)
How to Do It:
The simplest method is to use heavy objects as-is. A pair of beautiful, smooth river stones or two ordinary bricks can make great, minimalist bookends.
To customize them, you can paint your objects. Spray-paint two bricks a chic metallic gold or a sophisticated matte black.
For a whimsical touch, find two identical plastic animal toys and hot glue them to small wooden blocks. Then, spray paint the entire piece a single, solid color.
You can also wrap bricks in a beautiful piece of fabric or decorative paper, securing it with glue.
Always add felt pads to the bottom of your DIY bookends to protect your shelf surfaces from being scratched.
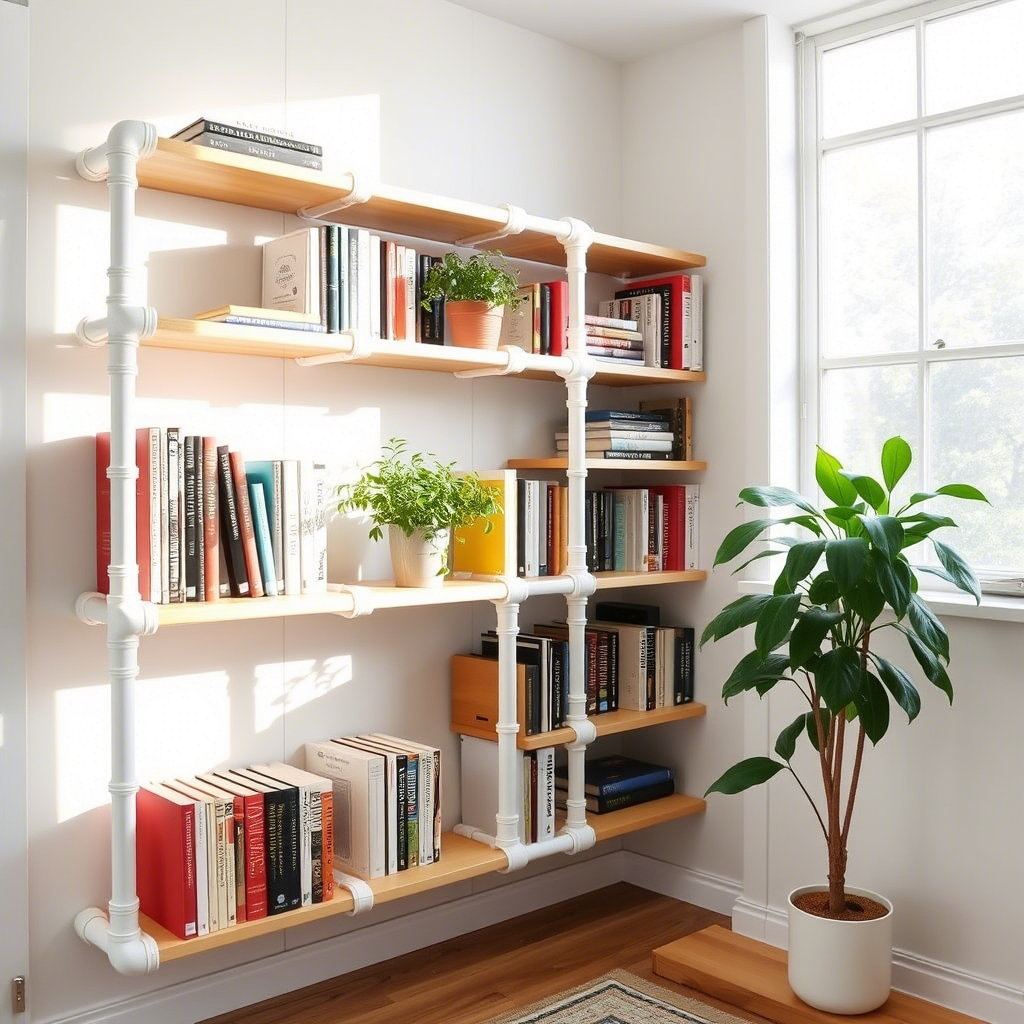
10. Use PVC Pipes for a Modern Book Display
For a truly unique, modern, and industrial-chic bookshelf, consider using PVC pipes. This unconventional material can be used to create a stunning, honeycomb-style shelving unit.
This project is a fantastic conversation starter and a piece of functional art. The round openings create interesting little cubbies for books and decorative objects.
It is a budget-friendly way to create a large, graphic, and highly customized shelving unit that is completely your own design.
Materials Needed:
- Large-diameter PVC pipes (e.g., 4 or 6-inch)
- A pipe cutter or a handsaw
- Strong adhesive (like construction adhesive) or screws
- Spray paint
How to Do It:
First, decide on the size of your bookshelf and cut your PVC pipes into equal lengths. The length you choose will be the depth of your shelves.
Once all your pieces are cut, it is time to paint them. Spray paint works best on plastic. You could paint the outside one color and the inside another for a cool, contrasting effect.
After the paint is dry, begin arranging your pipes in a honeycomb or other geometric pattern on the floor.
Use a strong construction adhesive to glue the pipes to each other where they touch. For extra security, you can also use small screws to connect the pipes.
Let the adhesive cure completely, and then your modern, sculptural bookshelf is ready to be filled.
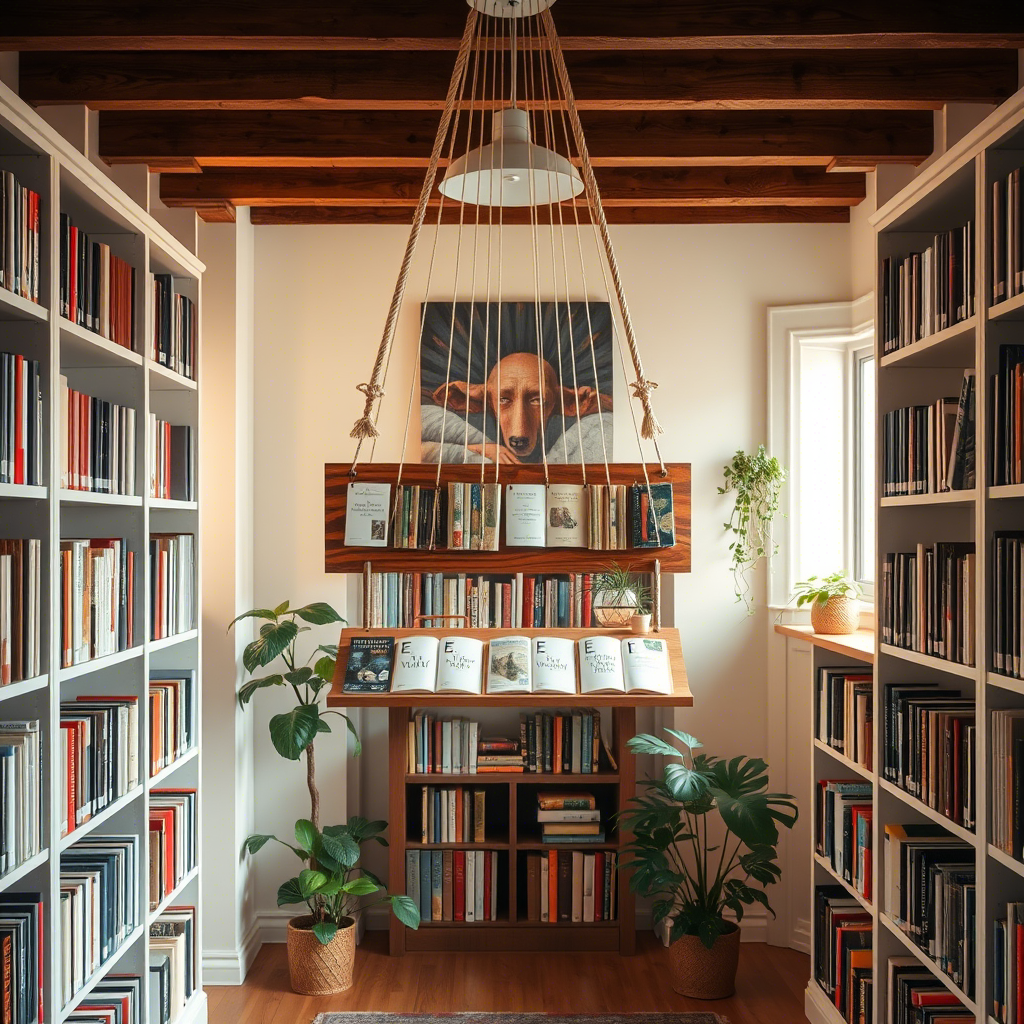
11. Make a Hanging Rope Shelf for Books
A hanging rope shelf has a wonderful, bohemian, and slightly nautical feel. It is a simple yet beautiful way to display a small collection of books.
This project creates the illusion of a floating shelf but with a more rustic and handmade charm. It is perfect for adding a touch of warmth and texture to a room.
The simple construction makes it an easy project for even a beginner DIYer, and it can be customized with different types of wood and rope.
Materials Needed:
- Wooden planks
- Thick rope
- Hooks or wall anchors
How to Do It:
Start by cutting your wooden plank or planks to the desired length. Sand them smooth and then paint or stain them.
Drill a hole in each of the four corners of each plank. Make sure the hole is slightly larger than the diameter of your rope.
Cut two long, equal lengths of rope. Thread one piece of rope down through the front hole on one side and up through the back hole, tying a secure knot underneath the shelf to hold it in place. Repeat on the other side.
If you are making a multi-tiered shelf, continue threading the rope through the holes on the lower planks, tying knots underneath each level.
Finally, gather the tops of the ropes and tie them securely to heavy-duty hooks that you have installed in the wall or ceiling.
Conclusion
Building a beautiful and personal home library does not require a big budget or professional skills. It just takes a little imagination.
These DIY projects allow you to get creative with your storage solutions. They empower you to add a unique, personal touch to your sacred reading space.
Whether you are repurposing old furniture, building simple shelves from scratch, or trying something totally unconventional, these ideas will help you design a cozy and stylish home library that perfectly fits your space and your needs.thumb_upthumb_down