
Table of Contents
- Mastering the Base: The Heavy Cream and Milk Matrix
- Smart Sweetening: Alternative Ratios Using Maple Syrup and Monk Fruit
- Top Flavor Infusions: French Vanilla, Salted Caramel, and Mocha
- Storage Best Practices: Mason Jars and Expiration Guidelines
- The Financial Verdict: Cost-Per-Cup Analysis vs. Store Brands
- The Finished Design: Elevating Your Morning Ritual
- Blueprint Queries: Common Design Dilemmas
Constructing the perfect morning ritual requires the same attention to detail as drafting a blueprint for a high-end estate. The foundation of an exceptional cup of coffee lies not just in the bean selection but in the viscosity and richness of its additives. Using store-bought solutions often compromises the structural integrity of the flavor profile with unnecessary preservatives and artificial sweeteners.
By utilizing heavy cream as your primary building material, you establish a robust framework that supports subtle flavor notes without overpowering them. This approach allows the home barista to act as a master craftsman by carefully selecting high-quality vanilla or natural sweeteners to finish the composition. The result is a product that rivals commercial offerings in texture while offering superior purity and aesthetic appeal.
Implementing this homemade creamer into your kitchen or office beverage station elevates the environment from merely functional to truly curated. The process is practical and yields a sophisticated addition to your routine that speaks to a preference for quality over convenience. With this recipe, you ensure that every pour contributes to a polished and professional coffee experience.
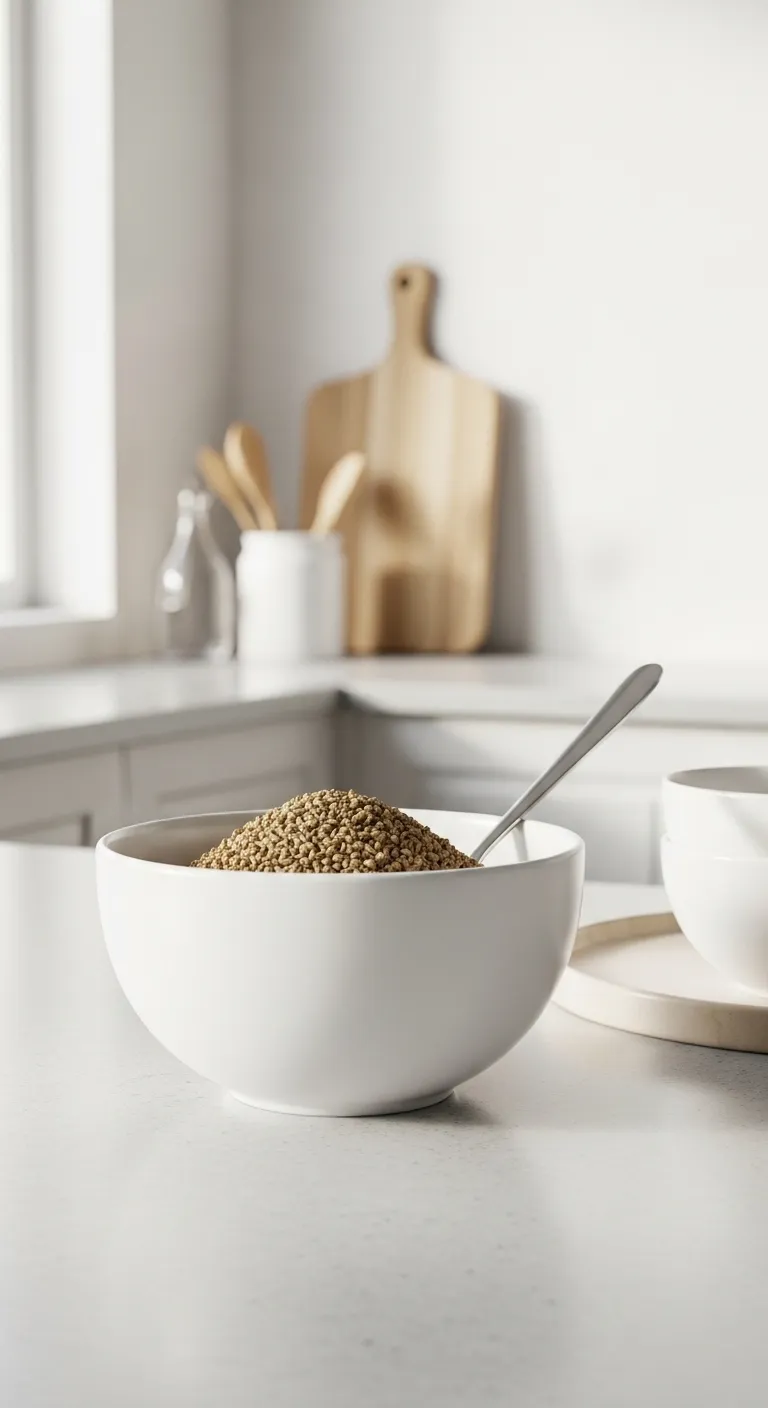
Mastering the Base: The Heavy Cream and Milk Matrix
Creating the perfect homemade creamer requires understanding the structural integrity of your ingredients. You are essentially building a foundation.
The relationship between heavy cream and milk defines the viscosity of your final product. Think of this as choosing the right flooring material.
Heavy cream acts as the velvet texture in your design palette. It provides the luxurious mouthfeel that distinguishes a latte from black coffee.
Milk serves as the spatial flow, diluting the density of the fat. This ensures the mixture remains pourable and blends seamlessly into hot liquids.
Texture is the silent language of design, dictating how we experience every sip.
The Ratio Blueprint
- Start with a 1:1 ratio for a balanced foundation. If you prefer a ‘maximalist’ texture with higher density, shift the scale to 2 parts heavy cream to 1 part milk.
- Gently warm your dairy mixture before dissolving sweeteners. This ensures a seamless structural bond, preventing grainy imperfections in your final pour.
The Golden Ratio of Liquidity
The standard architecture for a balanced creamer is a one-to-one ratio. This equal parts mixture mimics the consistency of commercial half-and-half.
For those who prefer a decadent, heavy drape on the tongue, shift the ratio. Two parts heavy cream to one part milk creates a richer experience.
If you are looking to craft Starbucks drinks recipes at home, this richer base is often the secret variable.
Understanding the fat content is crucial for stability. Higher fat percentages prevent curdling when the cold dairy hits the acidic, hot coffee.
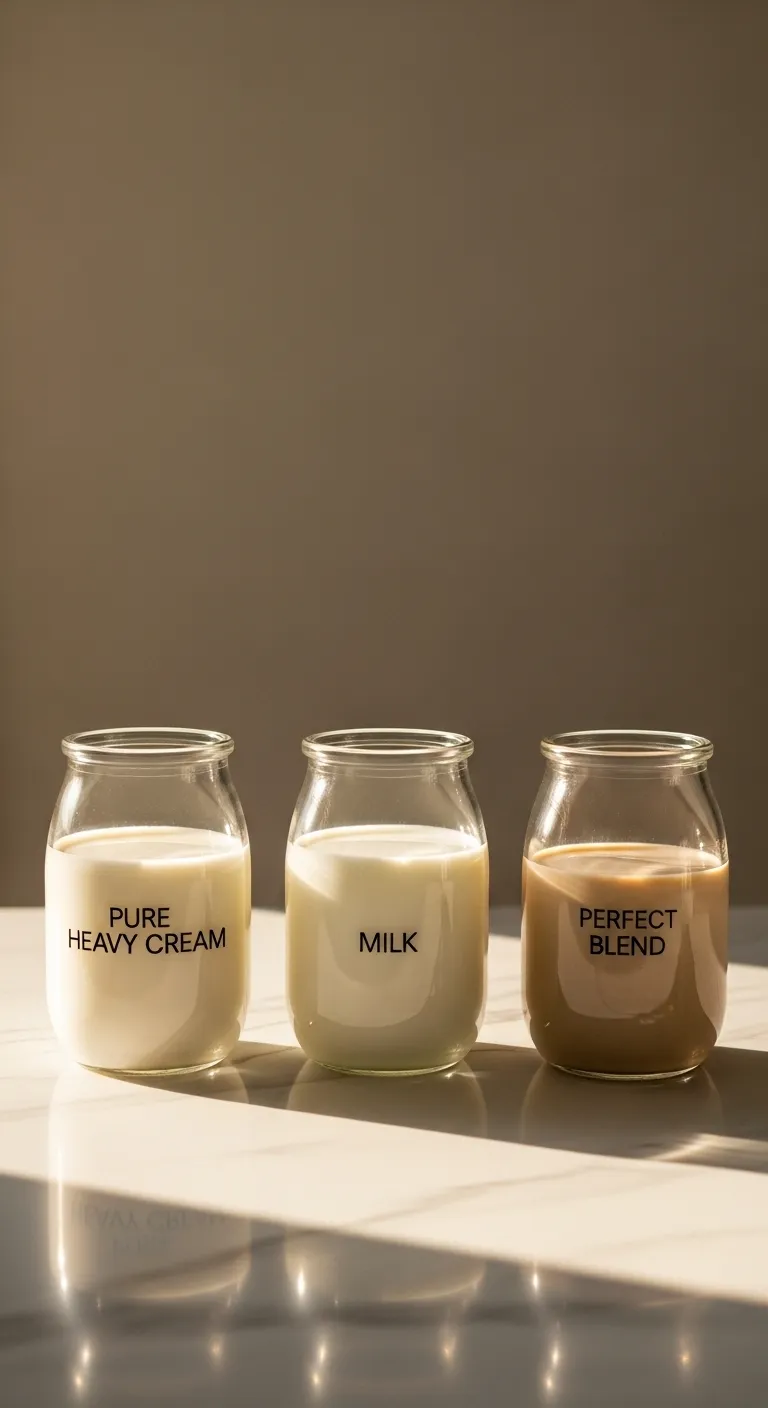
| Base Material | Fat Content | Structural Texture | Best Application |
|---|---|---|---|
| Heavy Cream | 36-40% | Thick, Velvet, Stable | Rich, dessert-like coffee |
| Whole Milk | 3.25% | Fluid, Light, airy | Daily drinking, lattes |
| Half-and-Half | 10-18% | Balanced, Smooth | Standard coffee creamer |
| Skim Milk | 0-0.5% | Thin, Watery, Weak | Not recommended for creamer |
Barista’s Notebook
- The Curdle Cure: High-acid light roasts can break low-fat dairy instantly. Stick to the 2:1 heavy cream ratio for these beans, as the higher fat content creates a protective buffer against heat and acidity.
- The Decadence Dial: Don’t settle for a single consistency. Keep a standard 1:1 mix for daily caffeine, but use the ‘Starbucks Secret’ 2:1 ratio for weekend brews or after-dinner dessert coffees.
- Shake, Don’t Stir: Measure your milk and cream directly into a mason jar and shake vigorously. This not only emulsifies the fats for a smoother texture but creates a ready-to-pour supply for the week.
Temperature and Emulsification

Integrating your flavors requires gentle heat. However, you must respect the thermal limits of your materials to maintain the emulsion.
Never bring your cream base to a rolling boil. High heat denatures the proteins, causing the structural bond to break and the texture to become grainy.
Aim for a gentle simmer, just enough to dissolve sugars or infuse spices. This technique preserves the smooth, glossy finish of the liquid.
Once you master this heating technique, you can apply it to other desserts, like a perfectly easy crème brûlée base.
Fat is a wonderful carrier of flavor… The higher the fat content, the more slowly flavor compounds are released in the mouth.
Harold McGee, On Food and Cooking: The Science and Lore of the Kitchen
Cooling is the final step in the structural process. Allow the mixture to return to room temperature before refrigeration to prevent condensation.
Proper storage in an airtight glass container ensures the flavor profile remains pristine. This protects the creamer from absorbing fridge odors.
The Silk Secret
- Use an instant-read thermometer to keep your base below 180°F (82°C); precise heat control prevents scalding and ensures a perfectly smooth emulsion.
- Need to cool it down fast? Place your saucepan in an ice bath immediately after simmering to drop the temperature quickly before bottling.
- Store your finished creamer in the main body of the refrigerator, rather than the door, to maintain a consistent temperature and extend its shelf life.
Smart Sweetening: Alternative Ratios Using Maple Syrup and Monk Fruit
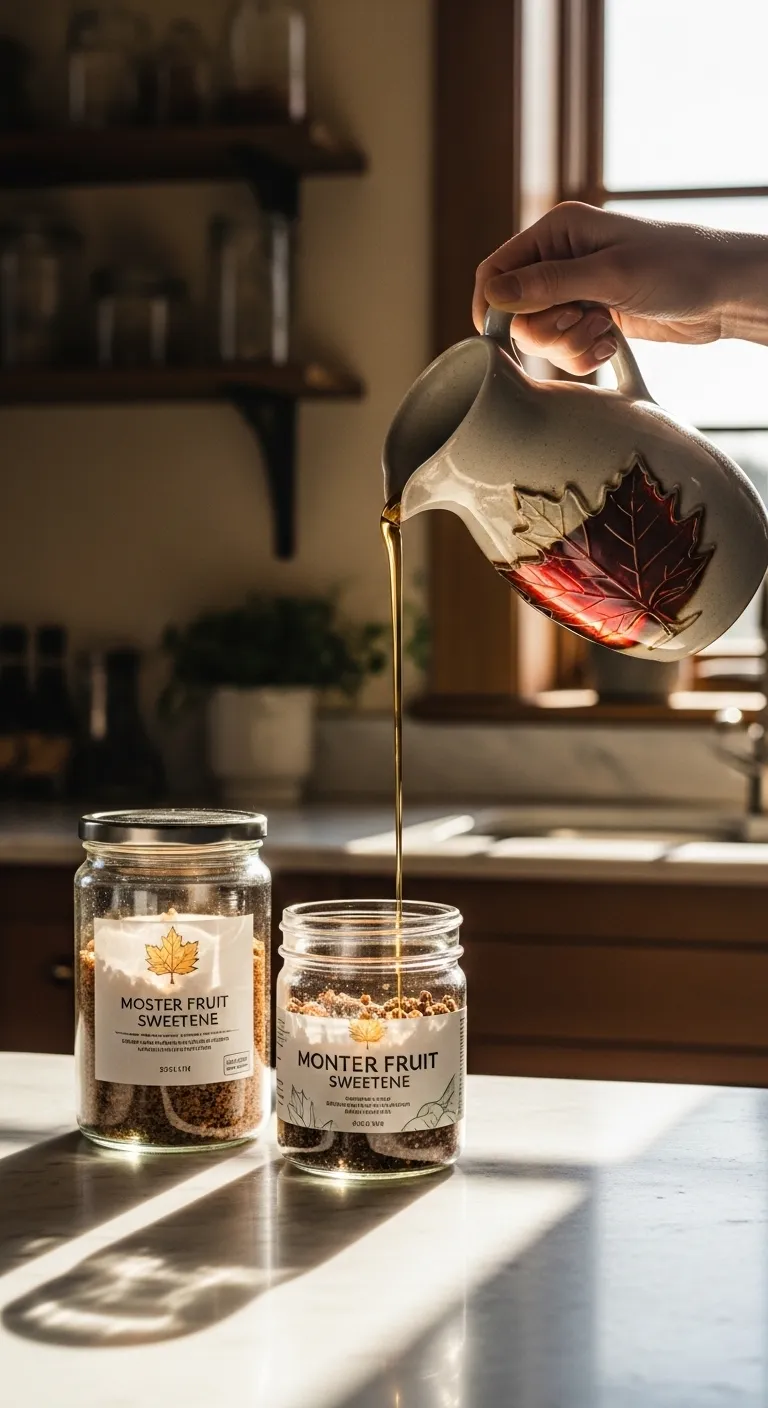
Refining your creamer’s flavor profile is like selecting the perfect paint finish. It requires balance and a keen eye for detail.
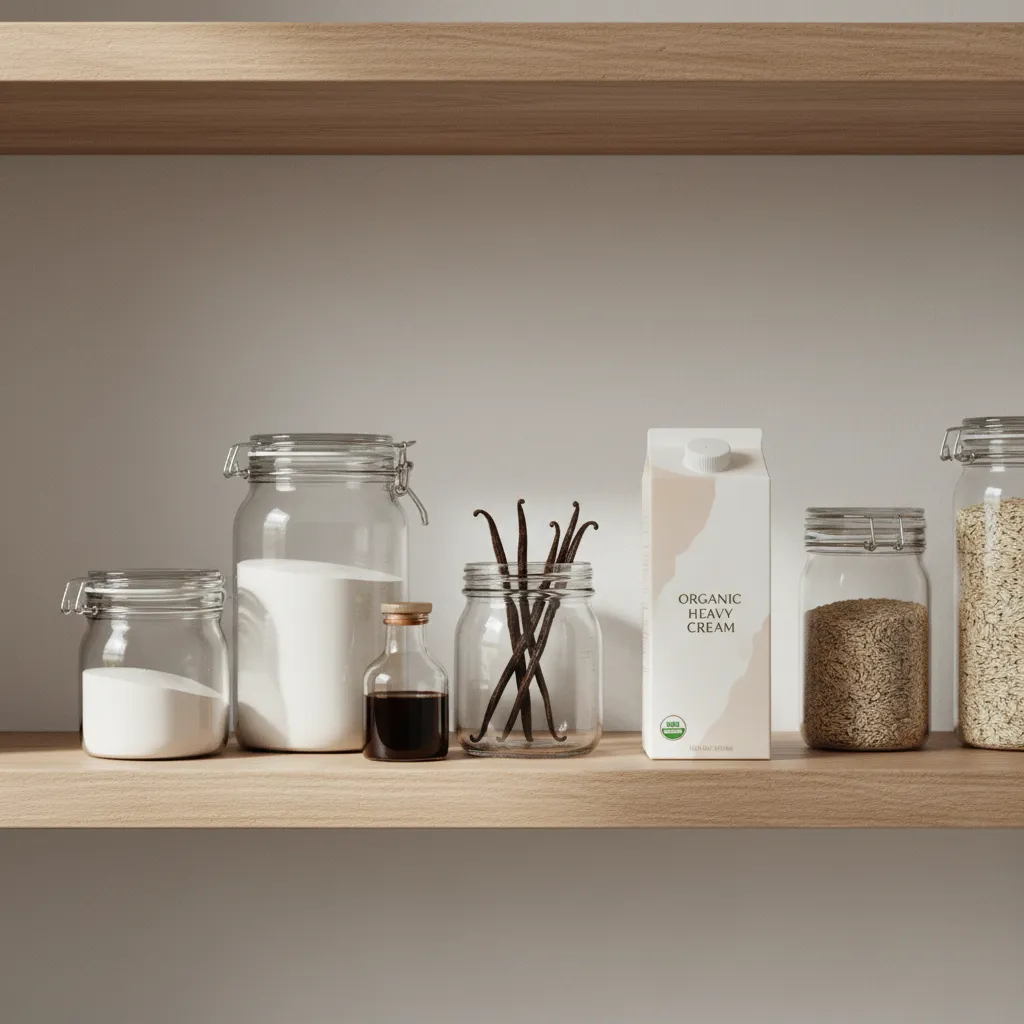
Standard white sugar often lacks depth in a heavy cream base. We prefer alternatives that add character and viscosity to the mixture.
Designing with Liquid Amber
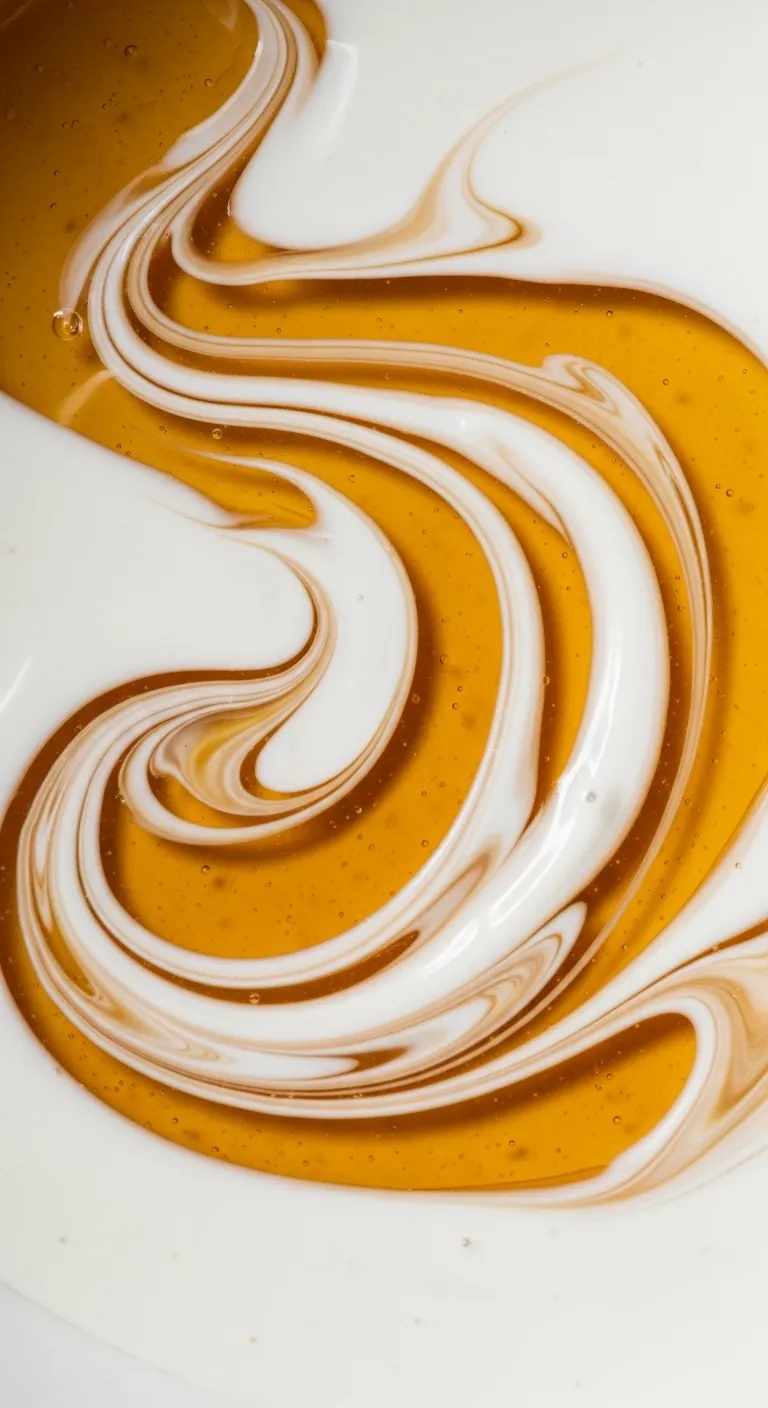
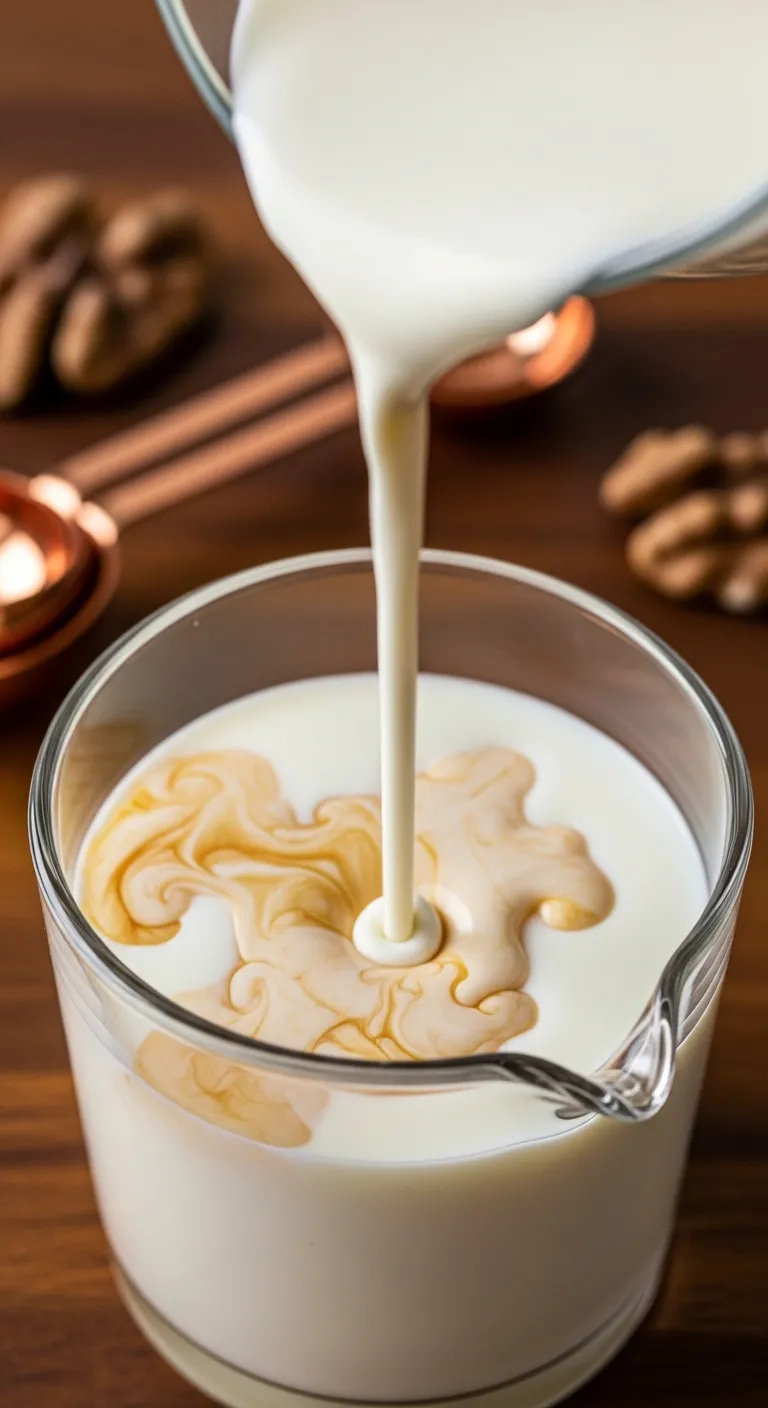
Maple syrup introduces an earthy complexity to your morning ritual. The deep hues look stunning when swirled into pale cream.
Choose Grade A Dark syrup for a robust taste that stands up to strong espresso. Its viscosity mimics the flow of liquid gold.
This natural sweetener creates a cozy atmosphere in your cup. It pairs exceptionally well with craft Starbucks drinks recipes diy style blends.
Maple syrup is not just a sweetener; it is a flavor. It brings notes of caramel and vanilla that white sugar simply cannot match.
Karen Page, The Flavor Bible
The Minimalist Approach with Monk Fruit
Monk fruit appeals to those who prefer a clean, modern aesthetic. It dissolves instantly and leaves no gritty residue behind.
This sweetener maintains the pristine white look of your heavy cream. It offers sweetness without altering the texture.
It is the ideal choice for a lighter, functional energy boost. The lack of a glycemic spike makes it a practical option for focus.
True luxury is found in customizing the smallest details of your daily rituals.
Mastering the Mixing Ratios
Finding the right ratio ensures your coffee remains the focal point. Use these baselines to structure your mixture.
- Subtle Sweetness: 1 tablespoon of maple syrup per cup of heavy cream. This adds a hint of woodsy warmth without overpowering.
- Balanced Profile: 2 tablespoons of maple syrup. This equals the sweetness of standard store-bought creamers.
- Monk Fruit Drops: 5 to 8 drops of liquid extract per cup of cream. This creates a potent sweetness with zero volume change.
- Granulated Blend: 1 tablespoon of powdered monk fruit. Ensure you whisk thoroughly to maintain a smooth suspension.
Experimenting with these ratios allows you to curate your experience. You can adjust the levels based on your daily preference.
Consider how these flavors interact with your coffee beans. A 7 brew drinks orders coffee sweet inspired blend might need more syrup.
The Flavor Architect
- Bring maple syrup to room temperature before mixing into cold heavy cream to ensure a seamless, silk-like integration without seizing.
- If using granulated monk fruit, pulse it in a spice grinder to create a fine dust that dissolves instantly, maintaining a perfectly smooth aesthetic.
- Layer your approach by using a base of maple syrup for earthy notes and finishing with liquid monk fruit to adjust sweetness without altering viscosity.
Top Flavor Infusions: French Vanilla, Salted Caramel, and Mocha
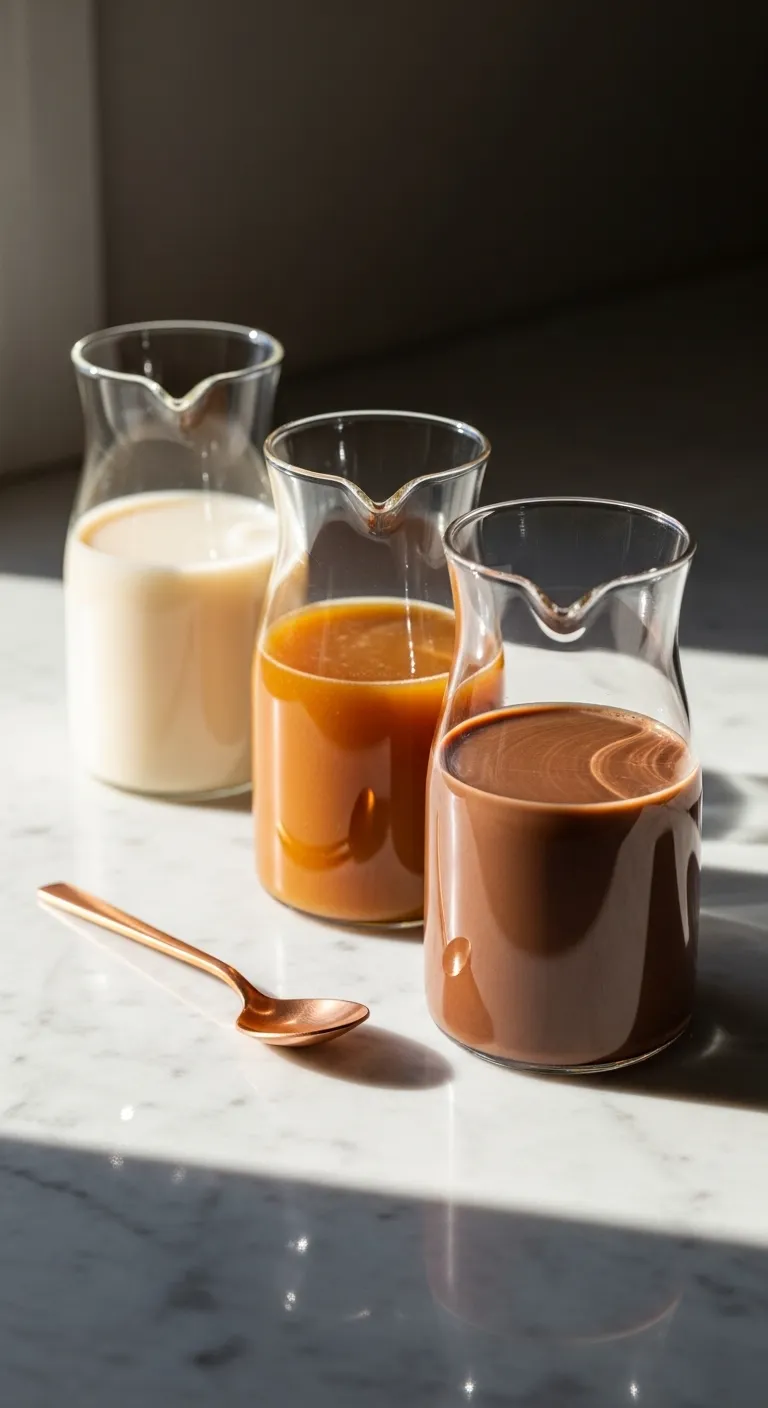
Creating a bespoke coffee station starts with high-quality ingredients. Infusing heavy cream with specific flavors elevates your morning ritual.
The visual appeal of glass bottles filled with rich liquids adds a sophisticated touch to your kitchen counter or breakfast nook.
The true luxury of a home coffee bar lies not in the machine, but in the craftsmanship of the ingredients you pour.
The Classic French Vanilla

French Vanilla remains the gold standard for a reason. It offers a smooth finish that complements rather than overpowers the roast.
To achieve a truly luxurious texture, use real vanilla bean paste. This adds those signature black specks that signify quality craftsmanship.
This method mirrors the techniques used in perfectly easy crème brûlée recipes. The fat carries the flavor.
Store this blend in a clear airtight container. The warm ivory tone looks stunning against dark granite or slate countertops.
Salted Caramel Indulgence
Salted caramel bridges the gap between savory and sweet. It introduces a complex profile that works exceptionally well with dark roasts.
The key here is balance. A pinch of flaky sea salt cuts through the richness of the sugar and heavy cream.
Functionally, this thicker infusion requires vigorous shaking before use. The density of the caramel can settle at the bottom of the jar.
Salt has a greater impact on flavor than any other ingredient. It enhances sweetness and suppresses bitterness.
Samin Nosrat, Salt Fat Acid Heat
Deep Mocha Richness
For those who view coffee as a treat, mocha provides a velvet-like consistency. Use high-quality Dutch-processed cocoa for the best results.
This creates a matte, dark brown hue that looks elegant when poured. It transforms a standard cup into a decadent experience.
Many DIY enthusiasts apply the scoop rule masters use to balance the chocolate intensity effectively.
Ensure the cocoa is fully dissolved to prevent graininess. Heating a small portion of the cream first helps smooth out the texture.
Flavor Pairing & Storage Guide
Choosing the right infusion depends on your coffee bean roast and desired aesthetic. Use this guide to match flavors to your brewing method.
| Infusion Type | Best Roast Pairing | Visual Aesthetic | Shelf Life |
|---|---|---|---|
| French Vanilla | Medium Roast | Classic Ivory | 7-10 Days |
| Salted Caramel | Dark Italian Roast | Golden Amber | 5-7 Days |
| Dark Mocha | Light Blonde Roast | Rich Mahogany | 5-7 Days |
Always label your glass bottles with the creation date. This ensures freshness and adds an organized, professional look to your refrigerator.
Barista Secrets
- To prevent graininess in your Mocha infusion, whisk the cocoa powder into a small amount of heated cream to create a smooth ‘slurry’ before adding the remaining cold ingredients.
- Since cold temperatures mute flavors, taste your Salted Caramel blend at room temperature; it should taste slightly more intense than you want the final chilled product to be.
- Use a white grease pencil to date your glass bottles directly; it adds a vintage apothecary feel and wipes clean easily when it’s time to brew a fresh batch.
Storage Best Practices: Mason Jars and Expiration Guidelines
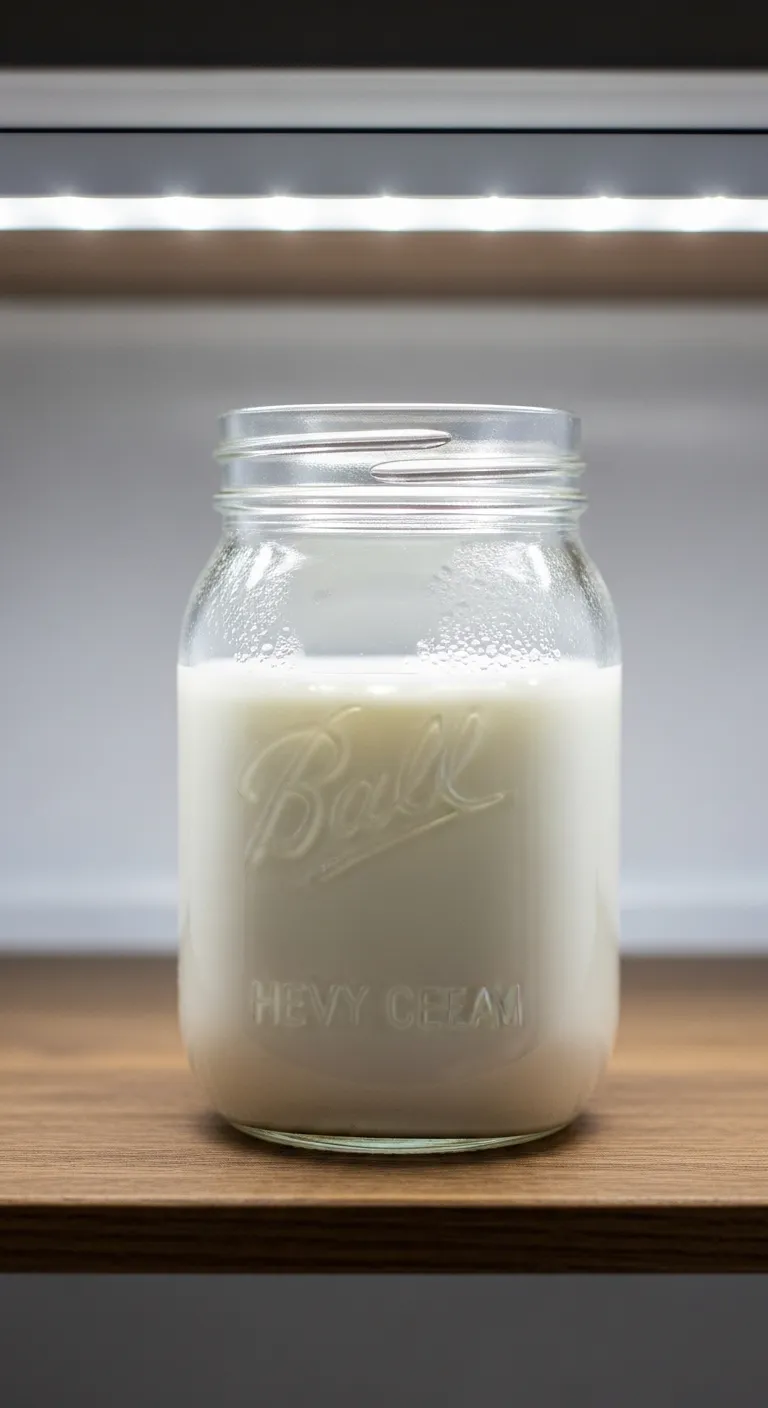
Preserving the velvety texture of your homemade mixture begins with the right vessel. Glass mason jars are the gold standard for dairy storage.
Plastic containers often harbor microscopic scratches that trap bacteria. Glass remains non-porous and keeps the flavor profile pure.
The visual appeal of a sealed glass jar adds to the kitchen aesthetic. The cold glass accumulates a soft frost that highlights the rich cream.
True luxury in the kitchen is finding beauty in the most functional essentials.
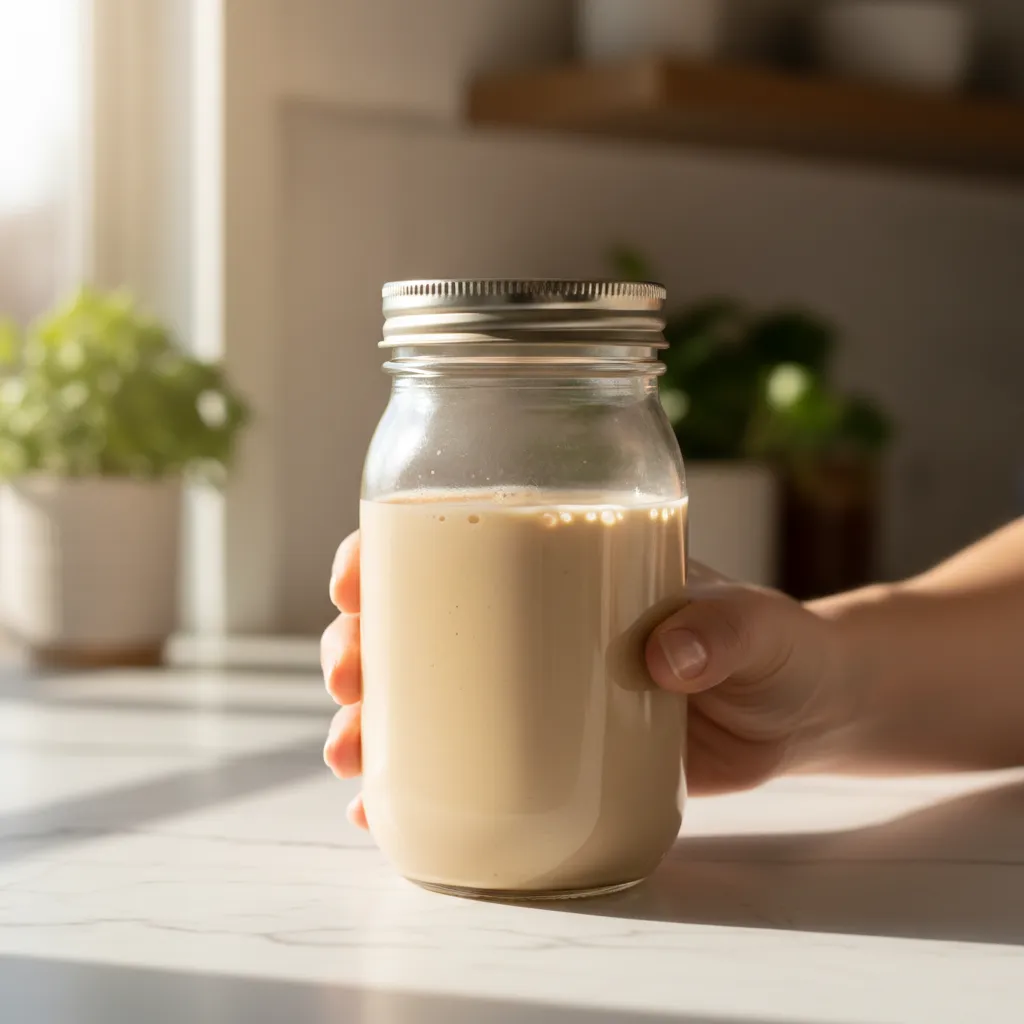
Choosing a jar with a wide mouth facilitates easier cleaning. It also allows for smooth pouring without the mess associated with cartons.
For those treating this as a craft project, these jars serve double duty. They transform a simple staple into one of the most charming 30 Delicious Homemade Food Gifts for Christmas.
Preservation Perfection
- Store jars at the back of the fridge rather than the door to keep the temperature consistent and extend the shelf life of your mixture.
- Use a dissolvable label or chalk marker to date every batch; without preservatives, aim to consume your creation within 7 to 10 days.
- Opt for wide-mouth jars to allow enough room for a handheld frother, letting you quickly re-emulsify the ingredients directly in the container.
Optimizing Refrigerator Placement

Temperature stability is critical for heavy cream based recipes. Never store your creamer in the refrigerator door shelves.
The door is the warmest zone and fluctuates in temperature every time it opens. This thermal shock accelerates bacterial growth significantly.
Place your jar on a middle or lower shelf, pushed toward the back. This area maintains the consistent cold air needed for longevity.
Proper zoning in your fridge also improves workflow. Keep your coffee supplies grouped together to streamline your morning routine.
Milk and cream should always be stored on a lower shelf in the back of the fridge, which is the coldest spot.
Mary Marlowe Leverette, Real Simple
Preservation Pro Tip
- Designate the back of the bottom shelf as your ‘Dairy Zone’; it is the coldest spot and keeps cream fresher for longer.
- Create an internal ‘Coffee Station’ by grouping cream and cold brew together on a shelf to streamline your morning workflow.
- Avoid door storage entirely; the temperature fluctuates every time the fridge opens, leading to faster spoilage.
Tracking Freshness and Expiration
Homemade versions lack the industrial preservatives found in store-bought bottles. The shelf life mirrors the heavy cream used in the base.
Check the expiration date on your heavy cream carton before mixing. Your homemade batch will generally expire on that same date.
If you use this creamer for Dutch Bros Drinks Recipes Diy, taste tests are vital. Coffee acidity can curdle dairy that is on the verge of turning.
We recommend using a small label on the bottom of the jar. Write the “use by” date clearly to avoid any morning guesswork.
Signs of Spoilage Checklist
Trust your senses when evaluating natural dairy products. Before pouring into your hot coffee, run through this quick sensory check.
- Visual Separation: While some separation is normal, chunks that do not dissolve after shaking indicate spoilage.
- Scent Test: Fresh cream has a sweet, neutral aroma. Any hint of sourness or yeast means it must be discarded immediately.
- Texture consistency: The liquid should pour smoothly like velvet. If it pours with a slimy or stringy consistency, it is unsafe.
- Rim Inspection: Check the threading of the mason jar lid. Dried residue here can mold quickly and contaminate the fresh batch.
Creamer Keeper Hacks
- Store your mason jar in the back of the fridge rather than the door shelves; the consistent, colder temperature prevents premature spoilage caused by frequent opening.
- Use a dry-erase marker or a strip of washi tape on the lid to note the expiration date; it stays visible but scrubs off easily when you are ready for a new batch.
- To save your morning brew, test questionable creamer by pouring a drop into a separate cup of hot water first; if it feathers or separates immediately, toss the batch without ruining your main mug.
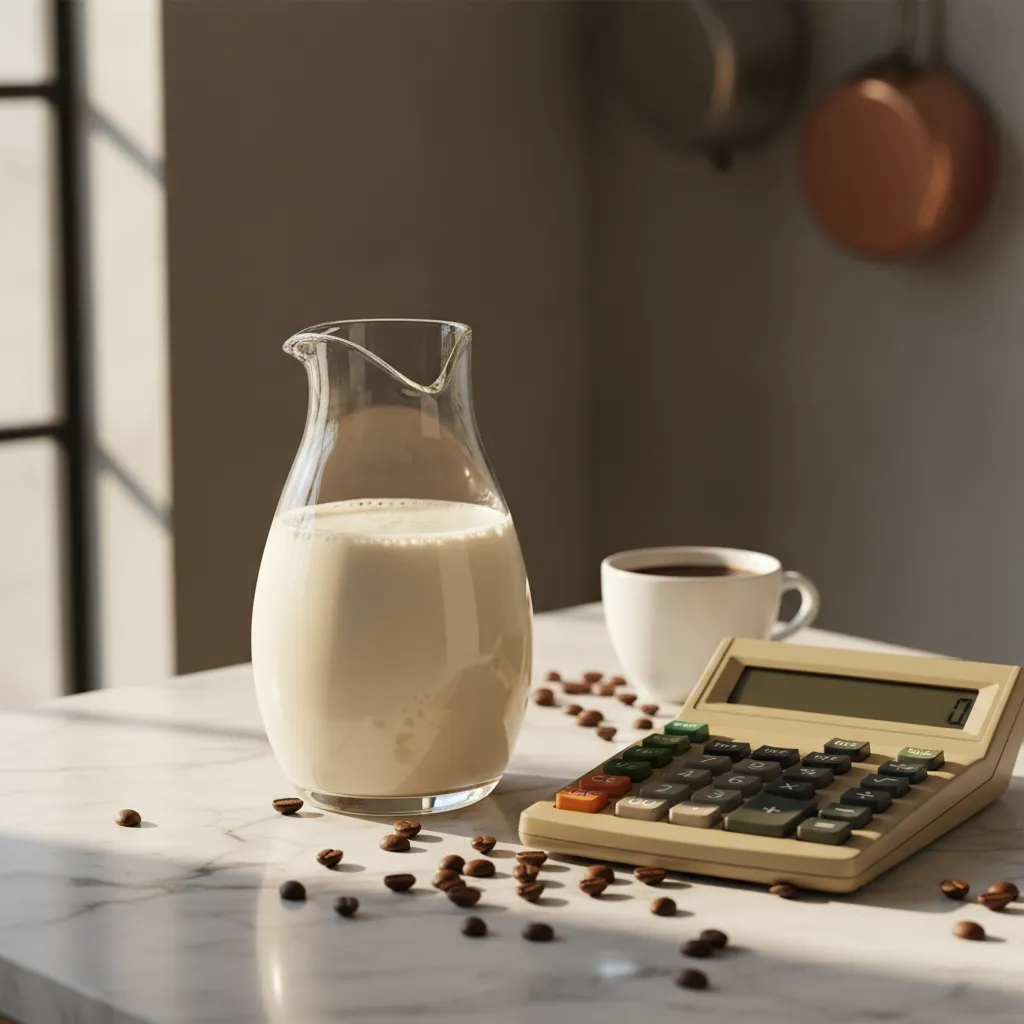
The Financial Verdict: Cost-Per-Cup Analysis vs. Store Brands
Creating your own coffee additions transforms the morning ritual. It immediately elevates the visual texture of your refrigerator interior.
You replace jarring plastic labels with sleek, minimalist glass carafes. This shift also impacts your household bottom line significantly.
Many assume that purchasing heavy cream and milk separately is more expensive. However, the cost per ounce tells a different financial story.
Store-bought creamers often carry a “convenience tax” for simple mixing. By acting as the chemist, you remove the markup on labor and packaging.
True luxury is knowing exactly what goes into your morning cup, while spending less to enjoy it.
We analyzed the current market rates for ingredients versus popular pre-made brands. The savings become clear when viewed over an annual period.
The following breakdown highlights the price difference for a standard 32-ounce batch. This assumes premium organic heavy cream is used for the base.
| Creamer Type | Avg. Cost (32 oz) | Cost Per Tbsp | Est. Annual Cost |
|---|---|---|---|
| Homemade (Heavy Cream Base) | $3.50 | $0.05 | $130.00 |
| Standard Store Brand | $5.00 | $0.08 | $195.00 |
| Artisanal/Premium Brand | $7.50 | $0.12 | $290.00 |
The annual calculation assumes four tablespoons of creamer daily. The savings can fund a significant kitchen upgrade or better coffee beans.
Beyond the raw numbers, you gain control over the ingredient quality. You are paying for pure cream rather than thickeners or stabilizers.
Sourcing Ingredients for Value
Buying heavy cream in larger quantities reduces the unit price. Look for local dairy options that offer glass bottle returns to save even more.
The sweetness profile is another area where costs are cut. Simple syrups made from sugar and water are fractions of the cost of flavored syrups.
If you enjoy experimenting with flavors, check out these sweet coffee inspirations to guide your palate.
Vanilla extract creates a warm, aromatic finish in your cup. While initial bottle costs are high, a single teaspoon flavors an entire quart.
You can also infuse milk with cinnamon sticks or cocoa powder. This adds depth without the artificial aftertaste found in commercial versions.
The Hidden Costs of Plastic
Disposable plastic bottles contribute to visual clutter in the kitchen. They disrupt the serene, organized aesthetic of a modern home.
Investing in durable glassware is a one-time cost. It enhances the tactile experience of pouring your morning coffee significantly.
Proper storage extends the shelf life of your heavy cream mixtures. An airtight seal prevents fridge odors from affecting the delicate flavor.
Cooking from scratch is the single best way to control your food budget… You are paying for the food, not the labor, packaging, or marketing.
Beth Moncel, Budget Bytes
Homemade versions allow you to adjust the richness easily. You can increase the heavy cream ratio for a velvety, luxurious texture.
Conversely, cutting it with more milk creates a lighter pour. This flexibility ensures you never waste ingredients on a texture you dislike.
For those interested in non-dairy alternatives, homemade methods work well too. You can apply similar principles found in creamy drink recipes using coconut milk.
Ultimately, the switch is about intentional living. It creates a rhythm of preparation that respects both your wallet and your design standards.
Smart Sip Strategies
- Purchase heavy cream in larger half-gallon cartons to secure the lowest unit price, then decant into your glass carafe for daily use.
- Use a dry-erase marker to write the expiration date on the bottom of your glass bottle; this keeps the label area clean while tracking freshness.
- Freeze leftover heavy cream in ice cube trays if you cannot finish the batch in time, ensuring zero waste and instant cooling for hot coffee.
The Finished Design: Elevating Your Morning Ritual
Mastering the heavy cream matrix allows you to architect the perfect sip. You are no longer bound by commercial standards or artificial preservatives.
By balancing viscosity and flavor, you construct a stable foundation for a luxurious morning. This DIY approach merges structural integrity with culinary art.
Treat your coffee cup as a canvas. With the right ratios and thermal care, you have the tools to design a beverage that truly resonates with your taste.
Blueprint Queries: Common Design Dilemmas
Without preservatives, the shelf life mirrors the expiration date of your dairy base. Store it in a sealed glass vessel to maintain freshness for 7 to 10 days.
Separation usually indicates thermal shock. Ensure your coffee isn’t boiling, or increase the heavy cream ratio. Higher fat content offers better structural stability against acid.
Absolutely. Liquid sweeteners like maple syrup integrate seamlessly. Granular sugars require gentle heating to ensure they dissolve fully into the emulsion.
For a non-dairy architecture, substitute heavy cream with full-fat coconut milk or cashew cream. The goal is to replicate that high-viscosity mouthfeel.