Creating the perfect morning brew requires the same precision as drafting a structural floor plan. It starts with a solid foundation of quality beans and calibrated equipment, ensuring every element aligns for a reliable result.
By treating your kitchen like a well-designed studio, you can transform a simple routine into a sophisticated daily ritual.
Elevating your coffee service involves a blend of structural integrity and aesthetic styling. Incorporating professional techniques into your DIY repertoire allows for a custom luxury that rivals high-end establishments.
Whether you are optimizing a workspace or refining a living area, these recipes provide a practical guide to achieving artisanal excellence.
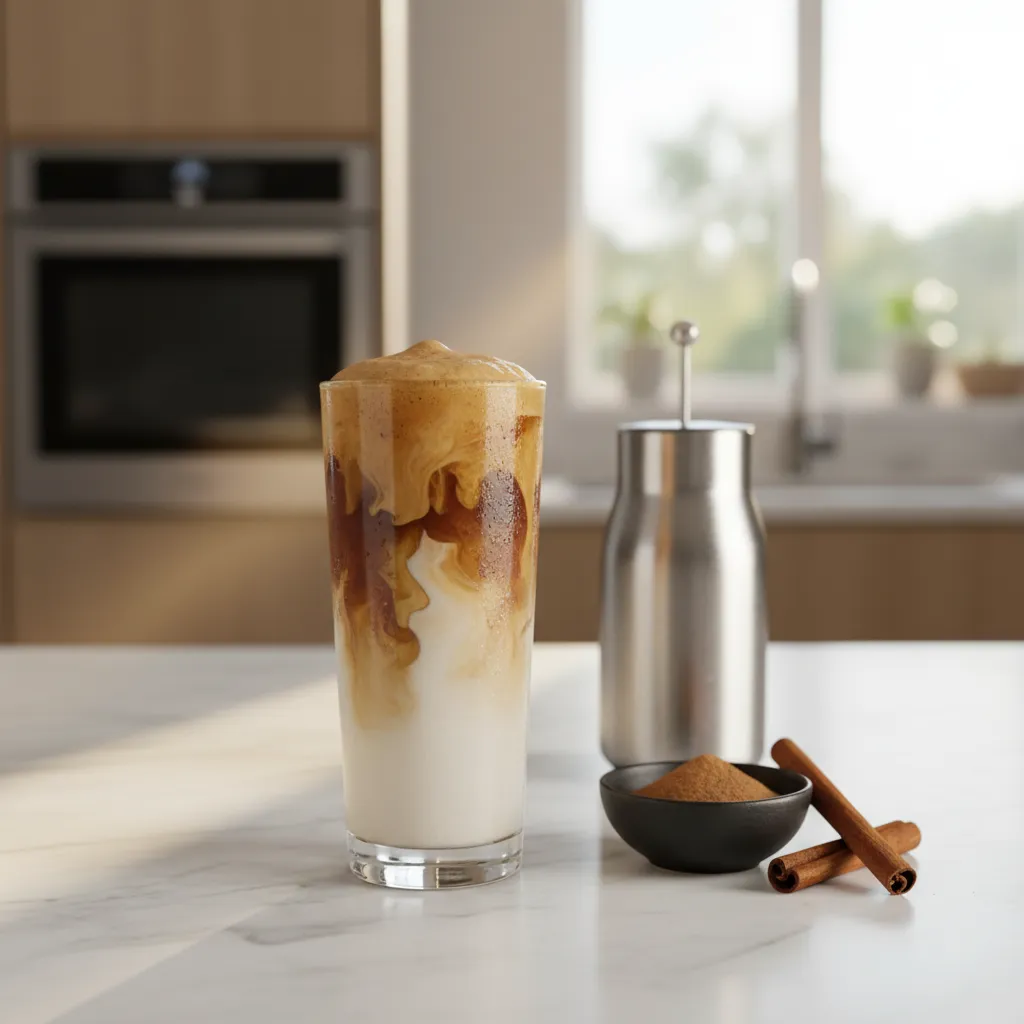
Iced Brown Sugar Oat Milk Shaken Espresso
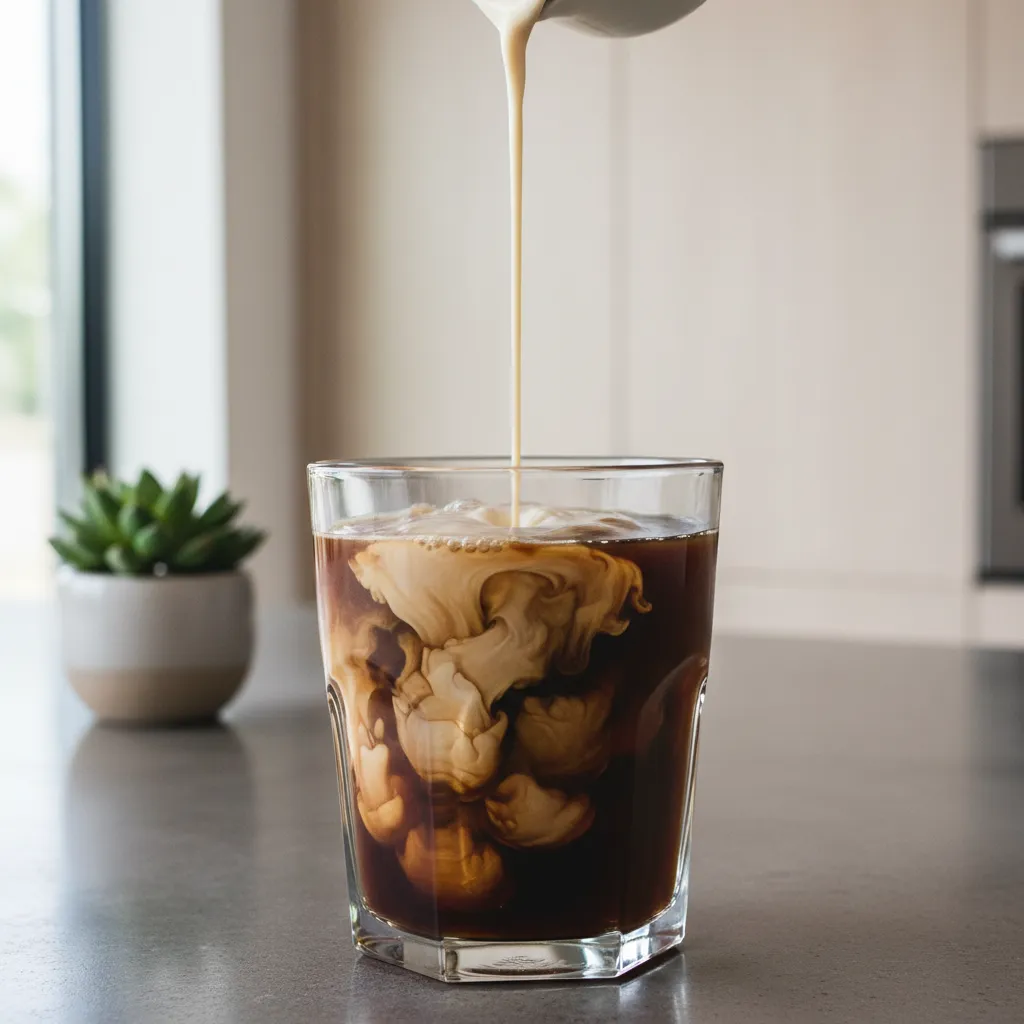
Replicating the café experience requires attention to detail. The interplay of dark espresso and creamy oat milk creates a stunning visual gradient.
This drink is not just about caffeine; it is about texture. The vigorous shake aerates the espresso, creating a rich foam that sits atop the ice.
The aesthetic appeal lies in the separation of layers before mixing. We recommend using a highball glass to fully display the beautiful color shift.
Transform your morning routine into a daily luxury with the perfect pour.
Constructing the Flavor Profile
The foundation of this beverage is the brown sugar syrup. It offers a warmth that white sugar lacks, pairing perfectly with cinnamon notes.
For the best structural integrity of the foam, use freshly brewed espresso. Instant coffee often lacks the necessary oils to create that signature crema.
If you do not have store-bought sweetener, you can elevate your brew with easy homemade coffee syrup recipes.
Choosing the right milk is critical for both taste and visual texture. The fat content determines how the liquid suspends within the coffee.
| Milk Type | Visual Layering | Texture Profile |
|---|---|---|
| Oat Milk (Barista Blend) | High Contrast, Creamy swirls | Velvety, thick mouthfeel |
| Almond Milk | Quick Separation, Thinner | Nutty, slightly watery |
| Whole Dairy Milk | Soft Blending, Gradient | Rich, traditional coating |
The Shaking Technique
Shaking is a functional step, not just a theatrical one. It chills the espresso instantly while introducing air bubbles for a velvety mouthfeel.
Use a mason jar or a cocktail shaker for this process. Ensure your simple home coffee bar ideas include durable glassware.
To assemble, combine two shots of hot espresso with one tablespoon of brown sugar syrup and a generous dash of cinnamon in your shaker.
Add ice until the shaker is half full. Seal tightly and shake vigorously for twenty seconds until the vessel feels frost-cold to the touch.
The quality of your ice matters. Large, dense cubes melt slower, preventing your shaken espresso from becoming watery before you finish it.
The Editors, Bon Appétit
Strain the mixture over fresh ice in your serving glass. Top with oat milk, allowing it to cascade through the foam for a marbled effect.
Barista Secrets
- Add the cinnamon directly to the hot espresso before adding ice; the heat blooms the spice, releasing aromatic oils and preventing a dry, powdery mouthfeel.
- Strain the espresso mixture over fresh ice in your glass instead of pouring the contents from the shaker, as the fractured ice will melt too quickly and dilute the texture.
- If you are using a mason jar instead of a shaker, wrap it in a dish towel before shaking to get a better grip and protect your hands from the extreme cold.
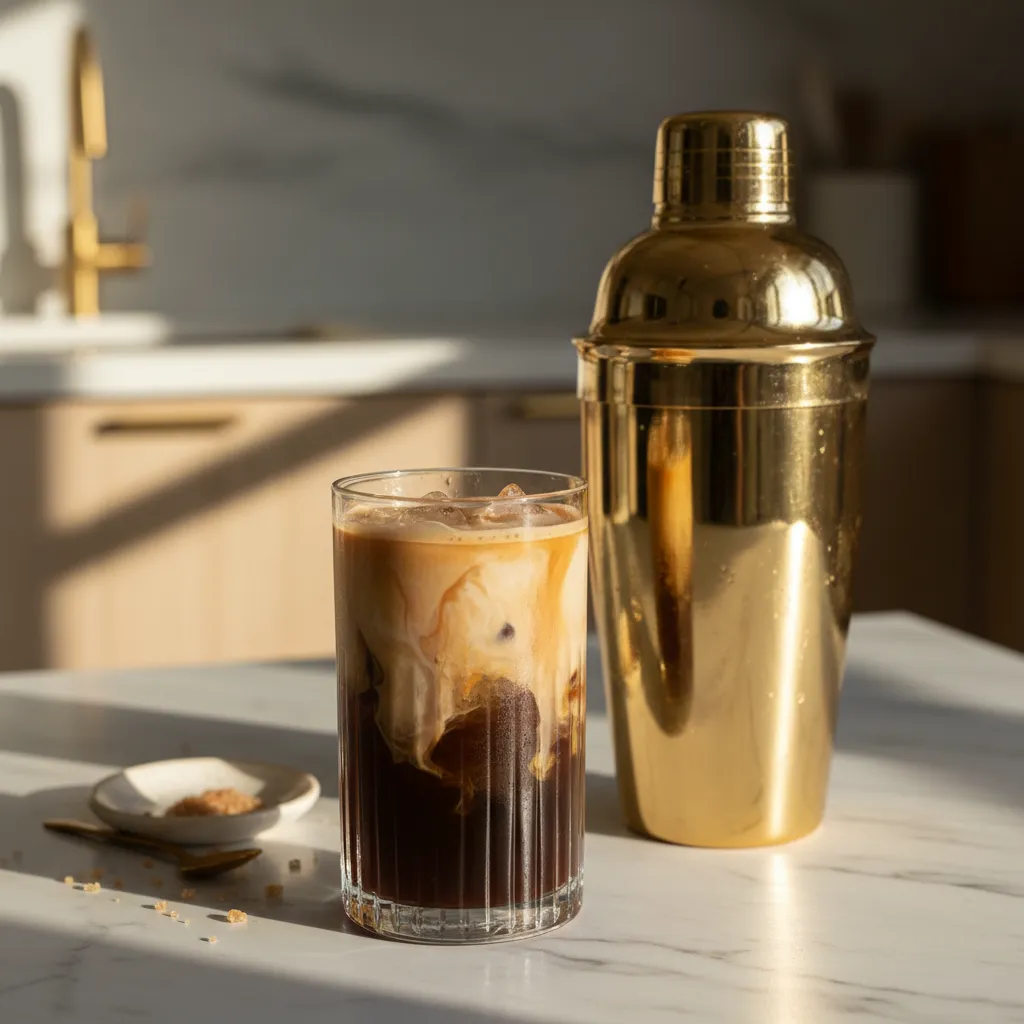
Velvety Vanilla Sweet Cream Cold Brew
Mastering the visual and textural balance of a sweet cream cold brew transforms a morning routine into a cafe experience. The aesthetic appeal lies in the gradient.
Watch as the heavy cream cascades through the dark coffee. This creates a mesmerizing marble effect that elevates the atmosphere of your kitchen.
The texture should be luxurious and velvety, not stiff like whipped cream. It requires a precise balance of viscosity to flow perfectly over the ice.
Design is not just what it looks like and feels like. Design is how it works, even in your morning coffee cup.
The Structural Components
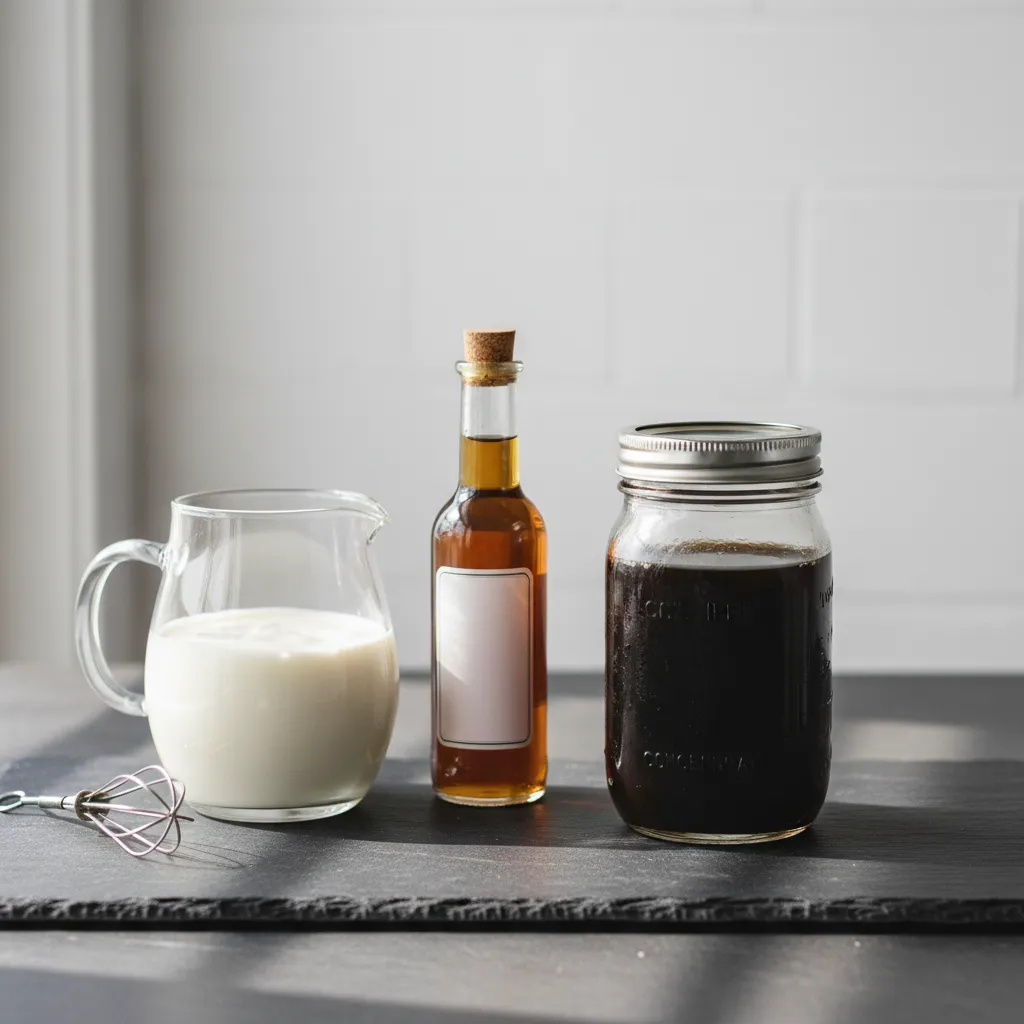
To build this drink, you must focus on the integrity of your ingredients. The foundation is a robust cold brew concentrate that stands up to dilution.
For the sweetener, avoid granulated sugar which creates a gritty finish. Instead, opt for a smooth liquid sweetener to maintain a seamless texture.
You can elevate your brew with easy homemade coffee syrup recipes to ensure the vanilla flavor is authentic and rich.
The Fabrication Process
Creating the foam is an exercise in precision. You are looking for a state of “soft peaks” that holds its shape yet remains fluid.
- The Ratio: Mix 3 parts heavy cream, 2 parts 2% milk, and 1 part vanilla syrup.
- The Aeration: Use a handheld frother. Pulse for 15-20 seconds until the volume expands slightly.
- The Assembly: Fill a glass with ice. Pour coffee to the 3/4 mark. Top gently with the cream.
If you prefer a lighter texture similar to other trends, you might enjoy comparing this to a whipped coffee recipe for a different morning ritual.
The secret to a great cold brew is coarse grounds. Finely ground coffee will result in a cloudy, bitter brew that ruins the clean aesthetic.
The Editors, Bon Appétit
Troubleshooting the Pour
Achieving that Instagram-worthy drift of cream requires the correct density. Use this diagnostic table to adjust your mixture for optimal flow.
| Visual Symptom | Structural Issue | Corrective Action |
|---|---|---|
| Cream sinks instantly | Mixture is too thin | Increase heavy cream ratio by 10% to boost density. |
| Cream sits on top | Over-aerated structure | Reduce frothing time. Aim for wet paint texture, not clouds. |
| Murky gray color | Coffee acidity is high | Switch to a darker roast bean to increase color contrast. |
| Flavor is flat | Lack of zoning | Add a pinch of sea salt to the foam to activate sweetness. |
Serve this beverage immediately to enjoy the cold, distinct layers before they homogenize. The clarity of the glass enhances the visual enjoyment.
Using a clear, double-walled glass not only showcases the layers but maintains thermal stability, keeping the ice frozen longer without condensation.
The Barista’s Blueprint
- Aim for the consistency of melted ice cream when frothing; if the foam forms stiff peaks, it will float on top rather than cascading through the brew.
- Add a pinch of sea salt to the sweet cream mixture before aerating to suppress bitterness and amplify the vanilla notes.
- Pre-chill your glassware or use a double-walled cup to prevent immediate condensation and keep the distinct visual layers intact for longer.
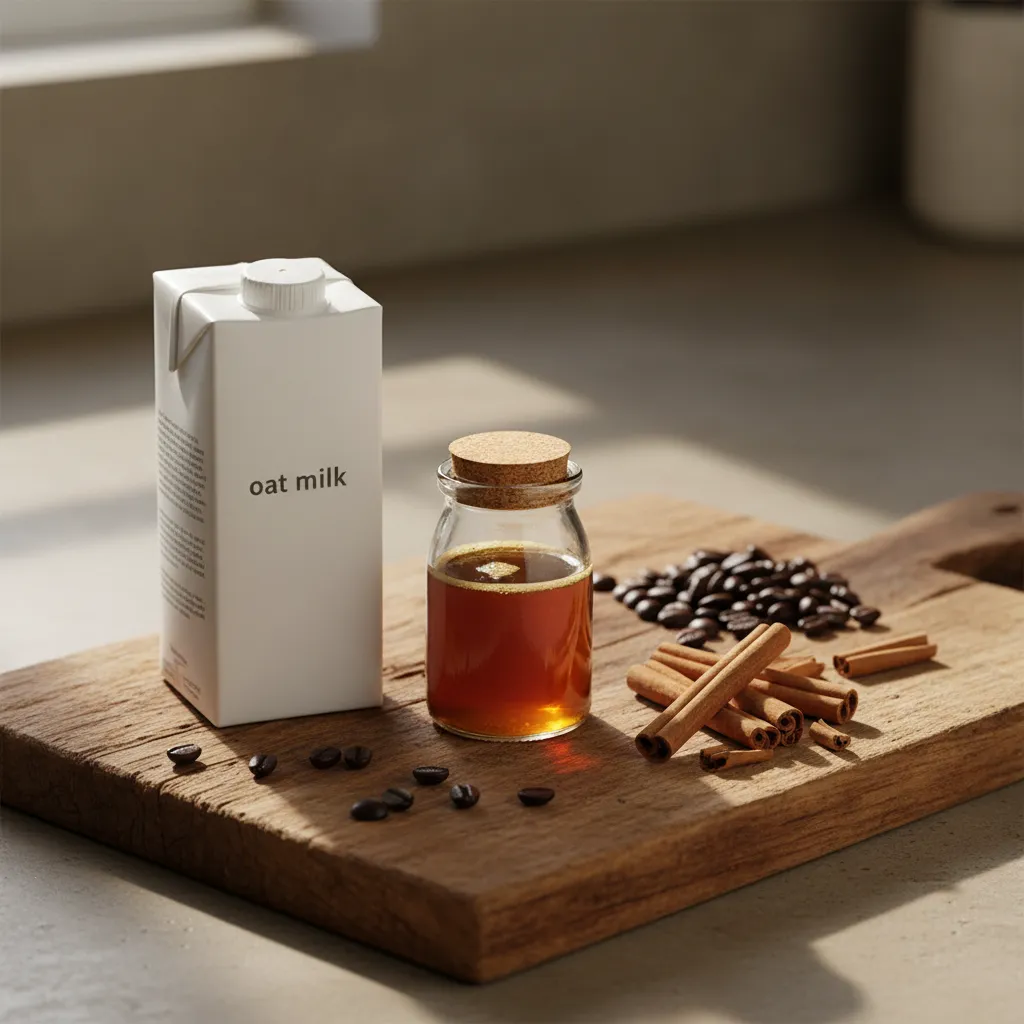
Cozy Maple Cinnamon Latte for Slow Mornings

Crafting a maple cinnamon latte transforms the atmosphere of your kitchen. It shifts the spatial dynamics from purely functional to deeply restorative.
The aroma acts as an invisible layer of decor. It fills the room with a warm ambient scent before you even take your first sip.
This drink is a standout among at home coffee recipes. It balances the structural sweetness of maple with the spicy finish of cinnamon.
We approach this recipe like a blueprint. Every element, from the espresso base to the foam density, contributes to the structural integrity of the drink.
For those who prefer a richer mouthfeel, you can incorporate a homemade creamer base instead of standard milk.
True luxury is the ability to slow down and savor the craftsmanship of your morning ritual.
The Architecture of Flavor
To build this latte, you must understand the zoning of flavors. The maple provides a foundation, while the cinnamon adds a textured top note.
The Materials List:
- Espresso or Strong Coffee: 2 shots (2 oz). This acts as the load-bearing wall of the drink.
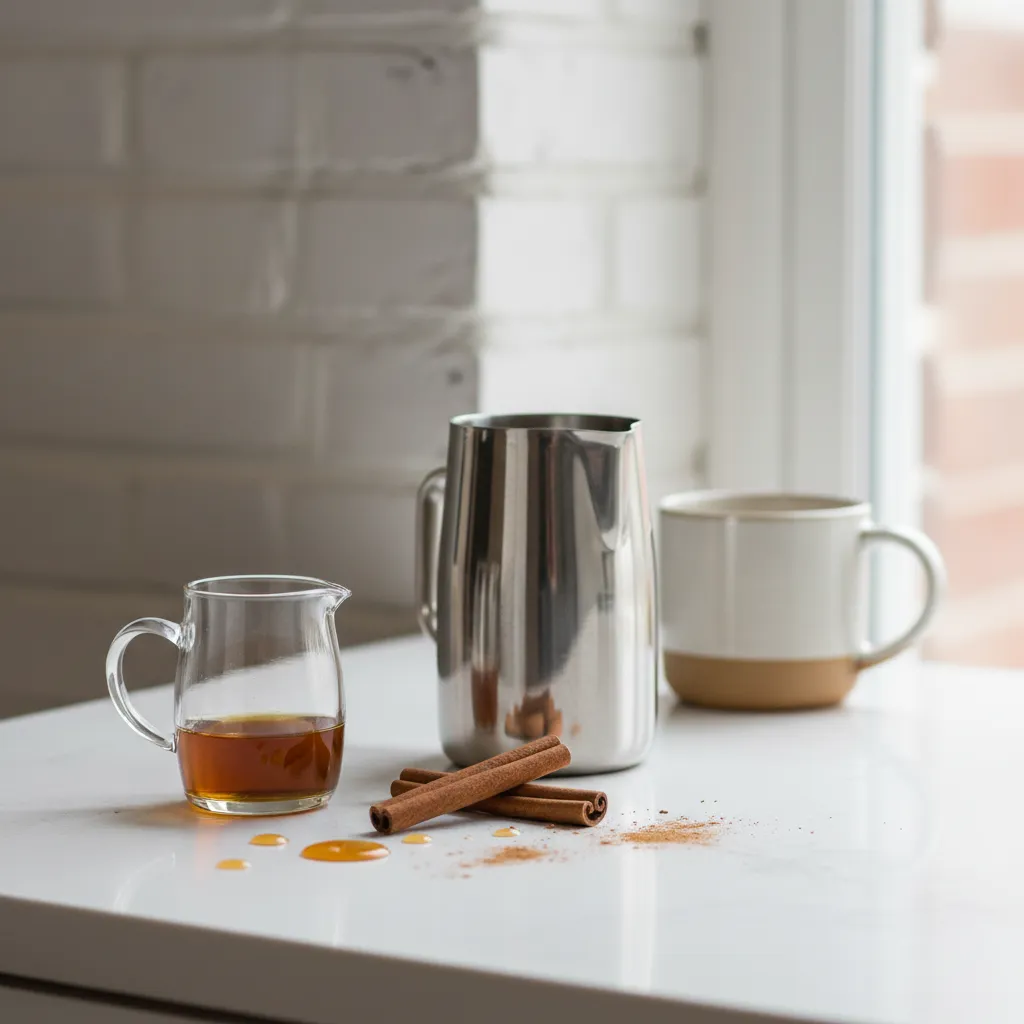
- Pure Maple Syrup: 1 tablespoon. Avoid artificial syrups; they lack the complexity of real sap.
- Ground Cinnamon: 1/4 teaspoon, plus extra for the finish. This adds visual and aromatic texture.
- Milk of Choice: 1 cup. Oat milk creates a velvety finish that pairs exceptionally well with maple.
- Vanilla Extract: A drop. This bridges the gap between the coffee acidity and the maple sweetness.
The Assembly Process
1. Construct the Base
Brew your espresso into a large mug. Immediately stir in the maple syrup and cinnamon while the coffee is hot. This ensures the flavors meld properly.
2. Texture the Milk
Heat your milk to approximately 150°F. If using a wand or frother, aim for micro-foam. This texture mimics the softness of velvet upholstery.
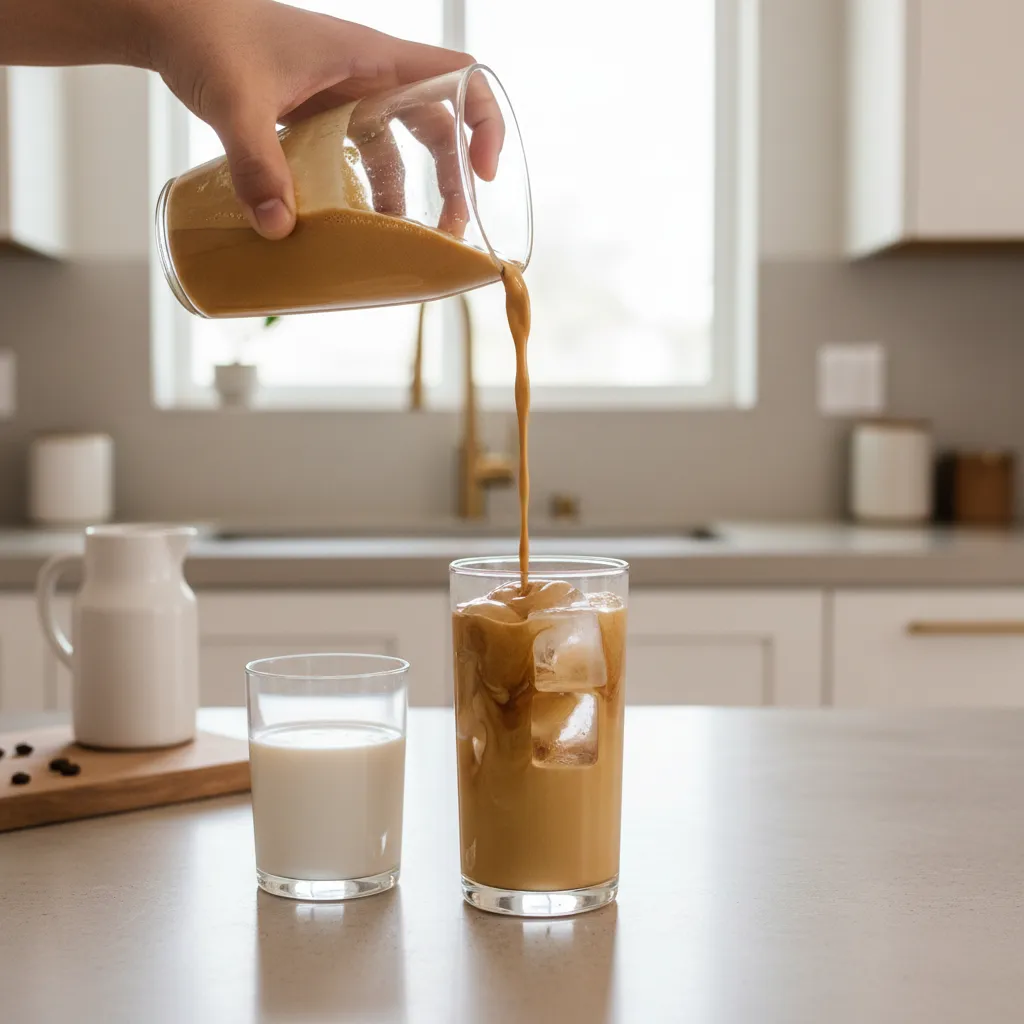
3. The Pour
Pour the steamed milk over the coffee base. Hold the pitcher high initially to mix, then lower it to create a layer of foam on top.
4. The Final Polish
Dust with fresh cinnamon. Serve immediately at your styled coffee station to complete the aesthetic.
Milk has its highest perceived sweetness between 130°F and 150°F. Overheating milk destroys the sugars and ruins the texture.
The Editors, Perfect Daily Grind
Sensory Profile Breakdown
Understanding the sensory impact helps you adjust the recipe to your space. A morning drink should complement the lighting and mood of your home.
| Element | Role in Recipe | Sensory Experience |
|---|---|---|
| Maple Syrup | Sweetener | Adds woody, amber notes that evoke warmth. |
| Cinnamon | Aromatic Spice | Provides heat and a dusty, rustic texture. |
| Steamed Milk | Body | Creates a soft, weighted mouthfeel like cashmere. |
| Espresso | Foundation | Grounds the sweetness with bitter earth tones. |
Enjoying this latte is about more than caffeine. It is about curating a moment of calm within your living space, enhancing the flow of your morning.
The Barista’s Blueprint
- Infuse your milk with a whole cinnamon stick while heating to achieve a deeper, more integrated spice profile without the texture of ground powder.
- Pre-warm your ceramic mug with hot water before brewing to maintain the drink’s thermal integrity and prolong the restorative experience.
- For the most velvety micro-foam, tap the bottom of your milk pitcher on the counter to pop large bubbles, ensuring a finish as smooth as polished stone.
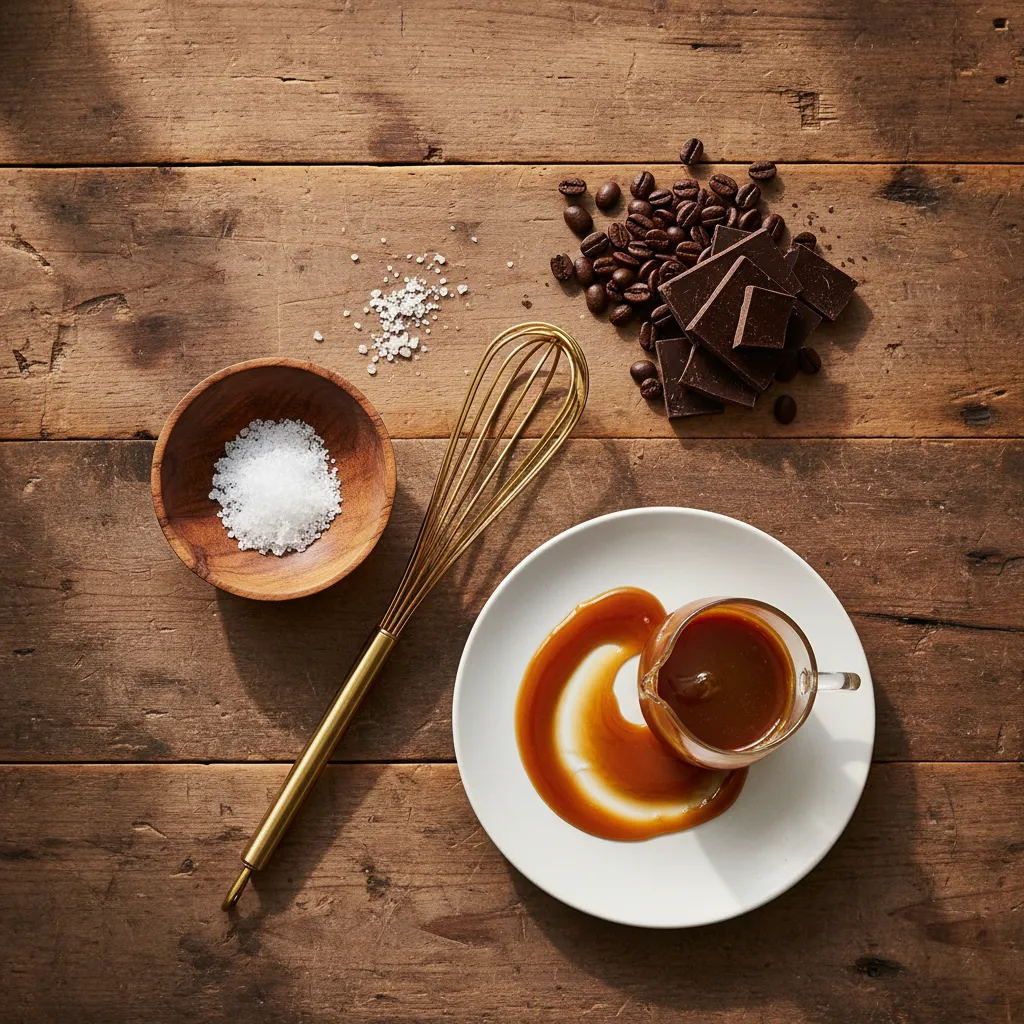
Decadent Sea Salt Caramel Mocha
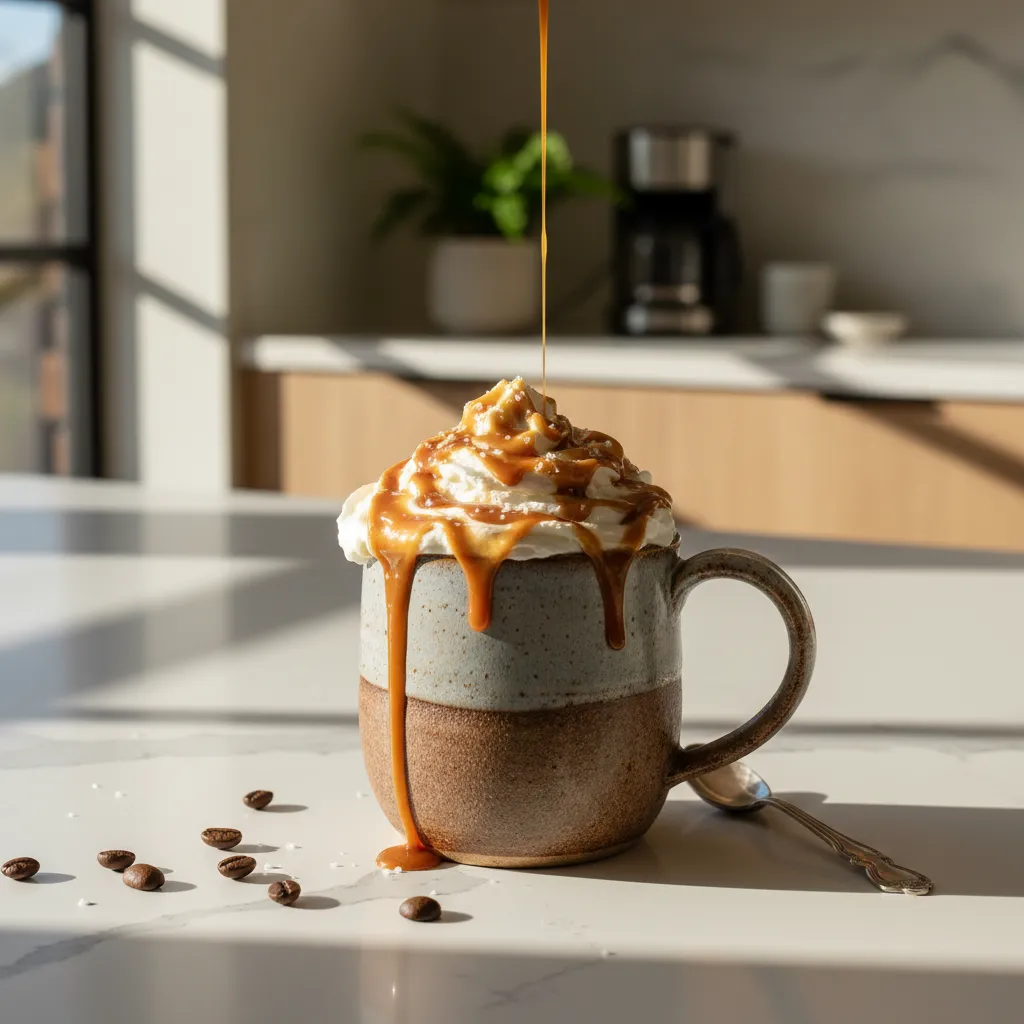
The interplay of salty and sweet creates a sensory experience that rivals any commercial coffeehouse. This drink features a velvet texture.
Ideally, you should enjoy this beverage in a space with warm ambient lighting to match the rich tones of the cocoa. It is pure comfort.
The amber hue of the caramel catches the morning light, acting as a visual focal point before the first sip. It creates a cozy atmosphere.
Functionally, the sea salt acts as a flavor enhancer, suppressing bitterness in the espresso while elevating the sweetness of the chocolate.
Design is not just what it looks like and feels like. Design is how it tastes.
Constructing the Flavor Profile
Building this drink requires attention to the layering of ingredients. Start with a rich homemade creamer base for the best texture.
You will need strong espresso or a dark roast drip coffee as the structural foundation. This ensures the coffee flavor cuts through the sugar.
- Espresso: 2 shots (or ½ cup strong brewed coffee).
- Milk: ¾ cup, steamed to 150°F for optimal sweetness.
- Bittersweet Chocolate Sauce: 2 tablespoons.
- Caramel Sauce: 1 tablespoon, plus extra for the finish.
- Sea Salt: A pinch of flaky Maldon salt or coarse sea salt.
Avoid using standard table salt. The texture of flaky salt provides a necessary crunch that contrasts with the smooth whipped cream.
The Assembly Process
Begin by combining the hot espresso with the chocolate and caramel sauces in your mug. Stir vigorously to ensure they dissolve completely.
This step prevents sludge from settling at the bottom, ensuring a consistent viscosity from the first sip to the last. It improves the flow.
Next, pour the steamed milk over the mixture. If you are using a wand, aim for a micro-foam that mimics the sheen of wet paint.
Salt has a greater impact on flavor than any other ingredient… It makes sugar taste sweeter.
Samin Nosrat, Salt, Fat, Acid, Heat
Finishing Touches and Presentation
Top the beverage with a generous dollop of whipped cream. This adds height and visual drama to the presentation, increasing the appeal.
Drizzle additional caramel in a crosshatch pattern. Mastering caramel drizzle techniques ensures a professional look that impresses guests.
Finally, sprinkle the coarse sea salt on top. The crystals should sit visibly on the caramel, catching the light and promising a savory bite.
Salt Varieties for Coffee Pairing
Choosing the right mineral content changes the finish of your drink. Here is a breakdown of salts to use for the best palate experience.
| Salt Variety | Texture Profile | Flavor Impact |
|---|---|---|
| Maldon Flakes | Crunchy, pyramid shapes | Clean burst of salinity; dissolves slowly. |
| Fleur de Sel | Moist, delicate crystals | Subtle, briny complexity; melts quickly. |
| Himalayan Pink | Hard, dense grains | Milder saltiness with mineral undertones. |
| Kosher Salt | Coarse, flat grains | Pure salt flavor; purely functional. |
This recipe balances the robust architecture of coffee with the soft aesthetics of dessert. It transforms your kitchen into a sensory retreat.
Barista Blueprint
- Pre-dissolve for consistency: Always whisk the chocolate and caramel sauces into the hot espresso before pouring in the milk. This emulsifies the mixture and prevents heavy syrup sludge from settling at the bottom of the mug.
- Preserve the crunch: Apply flaky sea salt strictly as a finishing touch on top of the whipped cream. If added too early or directly to the hot liquid, it dissolves instantly, losing the essential textural contrast.
- The temperature hack: If you don’t have a thermometer, steam the milk until the metal pitcher is just too hot to hold comfortably for more than a second. This usually signals the 150°F sweet spot where natural milk sugars are most prominent.
Refreshing Mint Mojito Iced Coffee

The Mint Mojito Iced Coffee is more than a beverage; it is a study in texture and aromatic architecture. This drink transforms a morning routine.
It combines the robust structural integrity of dark roast coffee with the delicate, volatile oils of fresh mint leaves. It is truly refreshing.
Visualizing the spatial flow of your kitchen is key when preparing this drink. You need a dedicated “wet zone” for muddling and shaking.
Design is not just what it looks like and feels like. Design is how it works, even in your morning cup.
The Art of the Muddle
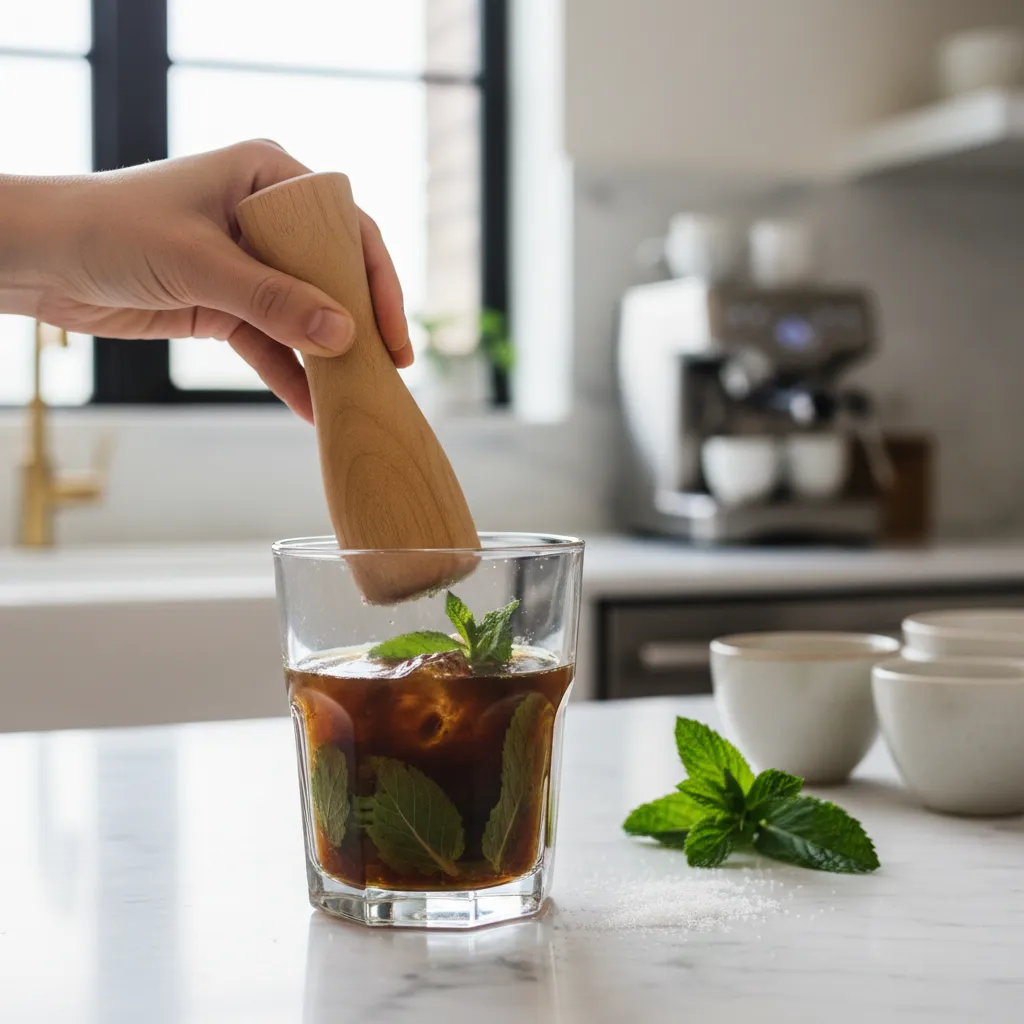
The technique used here dictates the finish. You must release the mint oils without shredding the veins, which causes bitterness.
Treat the herbs like a delicate textile. Use a wooden muddler to gently press the leaves against the sugar granules, creating a paste.
This process creates a base layer of flavor that supports the coffee rather than competing with it. It improves the palate experience.
If you appreciate complex flavor profiles, you might also enjoy exploring other refreshing summer beverages that utilize fresh botanicals.
Assembly and Structure
Once the base is set, the assembly follows a strict vertical logic to ensure every sip is balanced. The ice acts as the aggregate.
- Muddle: Place 10 fresh mint leaves and 1 tablespoon of sugar in a shaker. Press gently until aromatic.
- Brew: Add 6 ounces of bold, room-temperature coffee. A pour-over method works best for clarity.
- Shake: Add ice and shake vigorously. This aeration creates a texture similar to whipped coffee textures.
- Pour: Strain into a glass filled with fresh ice. This separation prevents over-dilution.
- Finish: Float heavy cream on top. The visual contrast between the dark coffee and cream is striking.
To get the most flavor out of fresh herbs, you want to bruise them, not pulverize them. Gentle pressure is all it takes.
The Editors, Bon Appétit
Troubleshooting the Brew
Even with the best materials, execution errors can occur. Use this guide to diagnose structural failures in your drink.
| Problem | Structural Cause | Design Solution |
|---|---|---|
| Bitter Aftertaste | Over-muddled mint leaves | Use less force; twist gently to release oils only. |
| Weak Body | Ice melted too quickly | Chill the coffee before assembly or use larger ice cubes. |
| Flat Texture | Insufficient aeration | Shake longer to introduce micro-bubbles into the liquid. |
| Separated Cream | Acidity imbalance | Use a lower acid bean or add cream slowly over ice. |
The cream should cascade through the dark liquid, creating a dynamic visual effect known as marbling. It adds movement to the glass.
This drink pairs exceptionally well with bright, airy spaces. Enjoy it in a sunroom where the light catches the condensation.
Structural Refinements
- Preserve the drink’s integrity by freezing leftover coffee into ice cubes; this prevents dilution as the thermal dynamics shift and the aggregate melts.
- For a flawless visual finish, pour the heavy cream over the back of a spoon. This disperses the liquid’s weight, creating the perfect marbled aesthetic without immediate mixing.
- To minimize acidity and prevent cream separation, swap the pour-over base for a cold brew concentrate. This creates a smoother foundation for the volatile mint oils.
Curating Your Daily Coffee Ritual
Crafting café-quality drinks at home transforms a mundane routine into a daily ritual of luxury and structural beauty.
By mastering techniques like the vigorous shake or the slow steep, you elevate simple ingredients into complex, layered masterpieces.
Remember that the vessel matters as much as the brew; choose glassware that highlights the visual texture and gradient of your creation.
Embrace the process, experiment with flavor profiles, and enjoy the sophisticated pleasure of a perfectly executed pour.
The Barista’s Design Logic
Not necessarily. A Moka pot or a concentrated AeroPress brew can effectively mimic the density and depth of espresso needed for these structural drinks.
Acidity and temperature shock cause splitting. To prevent this, let the coffee cool slightly or opt for a barista-blend milk containing stabilizers.
When stored in a sterilized, airtight glass container, your syrup should maintain its quality in the refrigerator for up to two weeks.
Vigorous shaking with ice or using a handheld frother introduces necessary air bubbles, creating that luxuriously thick texture.