The holiday season is the perfect time to show your love and creativity through thoughtful, handmade gifts. Here are 30 homemade Christmas gift ideas that will leave a lasting impression on your loved ones.
Of course, here is a summary table for the 30 homemade Christmas gift ideas.


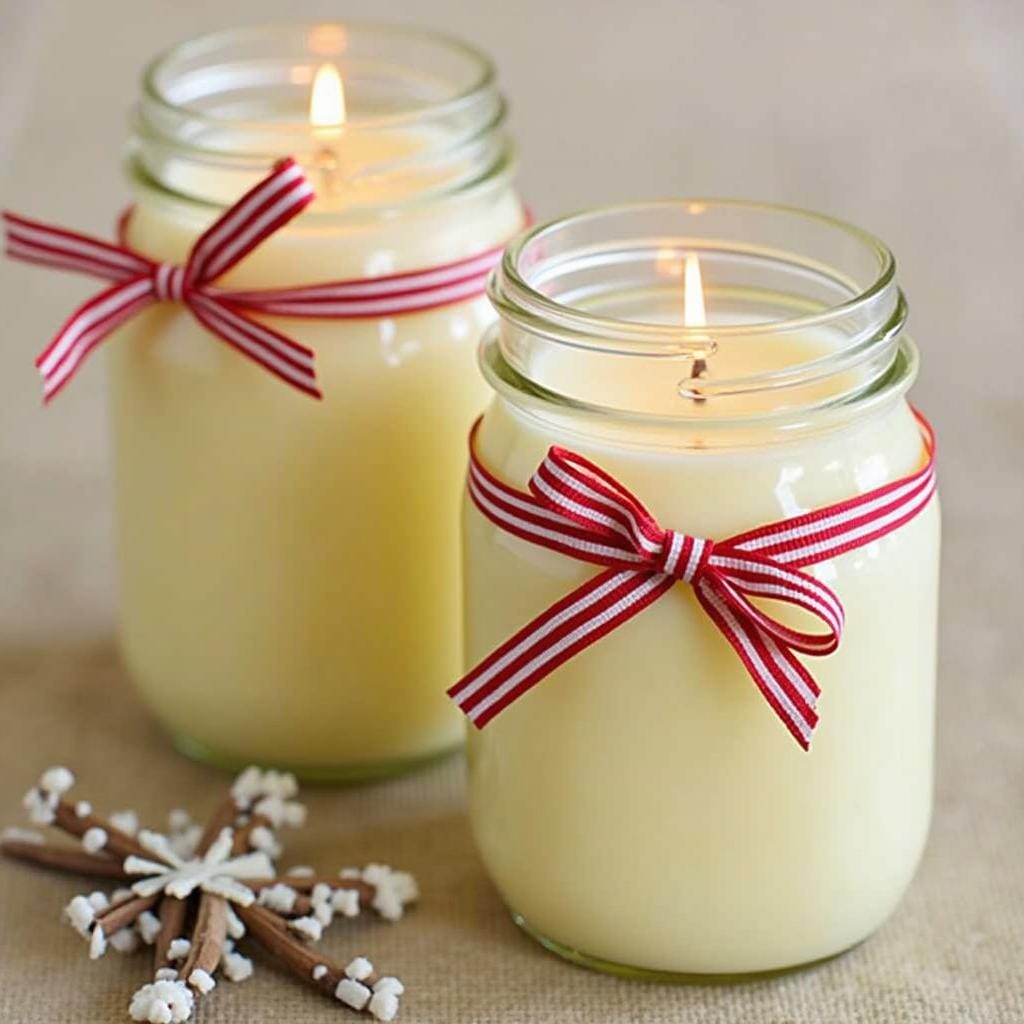
1. Hand-Poured Candles
Homemade candles are both functional and beautiful. Choose festive scents like cinnamon, vanilla, or pine to evoke the holiday spirit. Personalize the jars with labels or ribbon for a unique touch.
Pro Tips:
- Use natural soy wax for a clean, slow burn and excellent scent throw.
- Secure your wick perfectly centered using a clothespin or wick centering tool laid across the jar’s mouth.
- Add your fragrance oil when the wax is at the correct temperature (around 185°F/85°C) to ensure it binds properly.
- For a smooth, professional top, use a heat gun to melt the surface after the candle has set, or do a very thin second pour.
- Allow your candles to “cure” for at least one week before gifting; this allows the scent to fully develop.
- Pre-heat your glass jars slightly in a warm oven to prevent the glass from cracking due to thermal shock.
- Avoid over-saturating the wax with fragrance oil (stick to a 6-10% ratio) to prevent burning issues.
- To prevent “wet spots” where wax pulls from the glass, ensure jars are completely clean and try pouring at a slightly cooler temperature.
- Always include a safety warning label on the bottom with burning instructions.
- For a rustic touch, tie a cinnamon stick or a sprig of dried rosemary to the jar with twine.
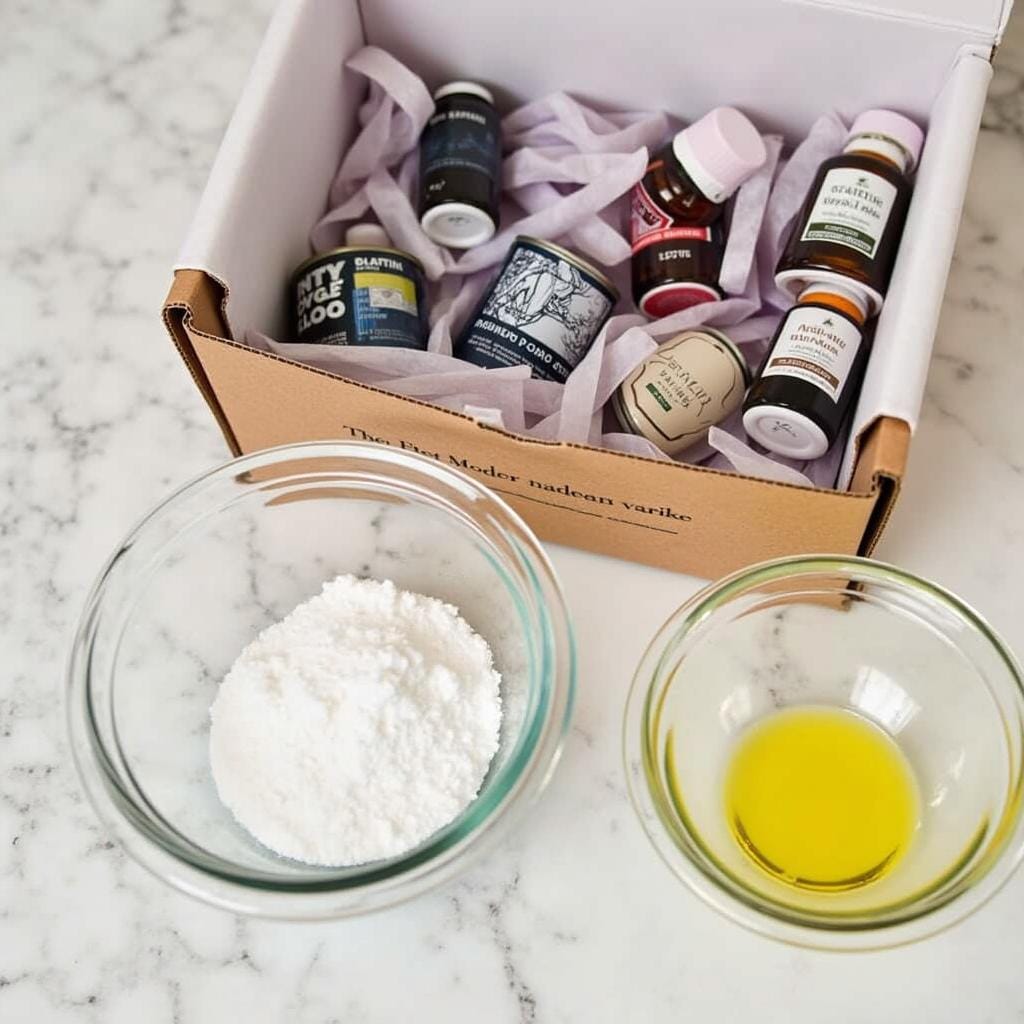
2. DIY Bath Bombs
Bath bombs make for a relaxing and luxurious gift. Combine baking soda, citric acid, essential oils, and natural coloring. Pack them in a decorative box for a spa-like experience.
Pro Tips:
- Stick to a 2:1 ratio of baking soda to citric acid for the best fizzing reaction.
- Use witch hazel in a spray bottle to moisten your mixture; it evaporates quickly and prevents premature fizzing.
- Add a tablespoon of kaolin clay per cup of dry mix to create a harder, more durable bath bomb.
- Use polysorbate 80 as an emulsifier to prevent oils and colorants from sticking to the tub.
- Ensure the consistency of your mix is like slightly damp sand before molding.
- Overfill both halves of your mold and press together firmly to create a dense, solid bomb.
- Let the bath bombs dry in a low-humidity environment for at least 24 hours to fully harden.
- For added luxury, embed dried flower petals like lavender or rose into the mix.
- Use skin-safe colorants specifically designed for bath products to avoid staining skin or tubs.
- Shrink-wrap the finished bath bombs to protect them from moisture and preserve their fragrance.
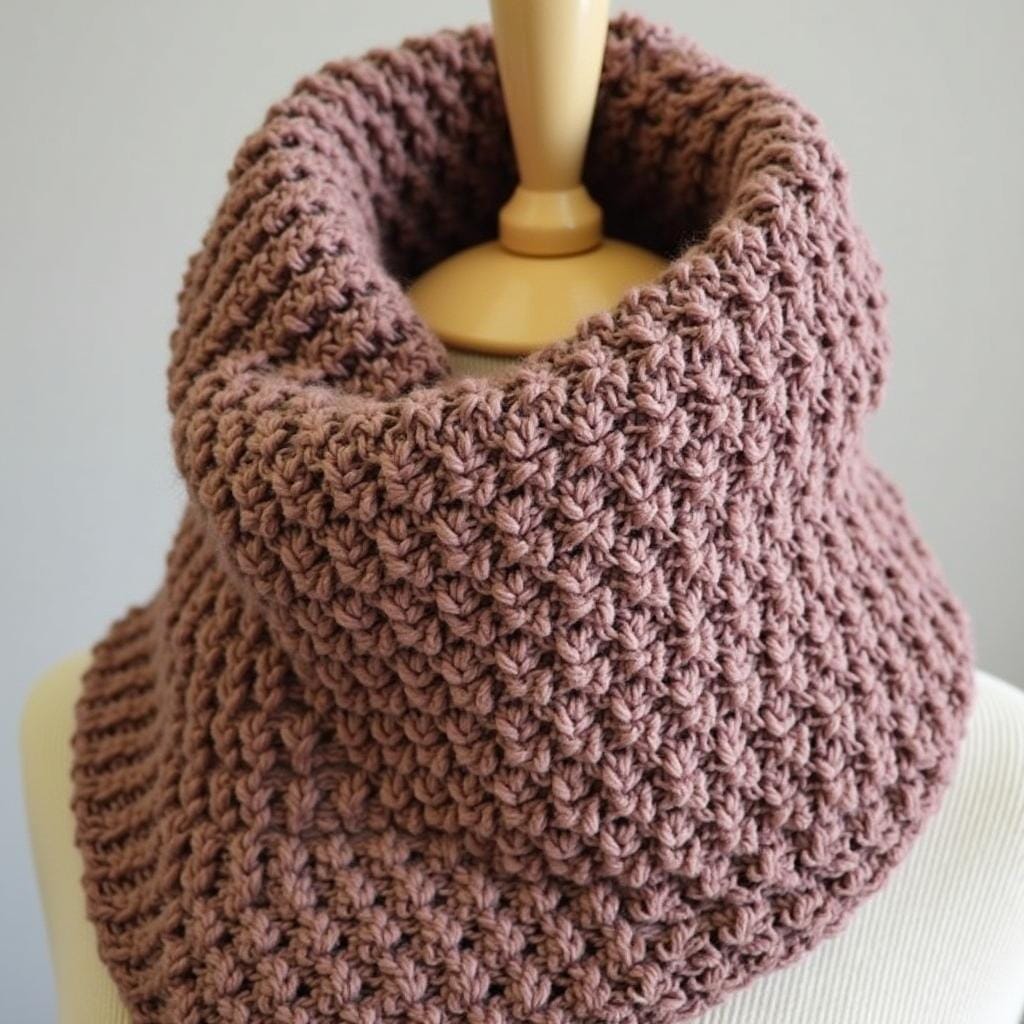
3. Knitted Scarves
A hand-knitted scarf is a cozy and heartfelt gift. Use soft yarn in the recipient’s favorite colors to make it extra special.

Pro Tips:
- Choose a yarn blend like merino wool and acrylic for softness, warmth, and easy care.
- For beginners, use larger needles and chunky yarn; the project will work up much faster.
- Block your finished scarf by wetting it and pinning it into shape to even out stitches and create a professional drape.
- A “seed stitch” or “garter stitch” creates a flat, non-curling scarf that looks great on both sides.
- Measure a scarf the recipient already owns to get the perfect length and width.
- Incorporate a simple cable knit or lace pattern to add texture and visual interest.
- To avoid running out, always buy one more skein of yarn than you think you’ll need from the same dye lot.
- Add tassels or pom-poms to the ends for a fun, stylish finish.
- Include a small, handmade tag with the yarn content and washing instructions.
- If you’re short on time, an infinity scarf or cowl requires less yarn and knitting time than a traditional long scarf.
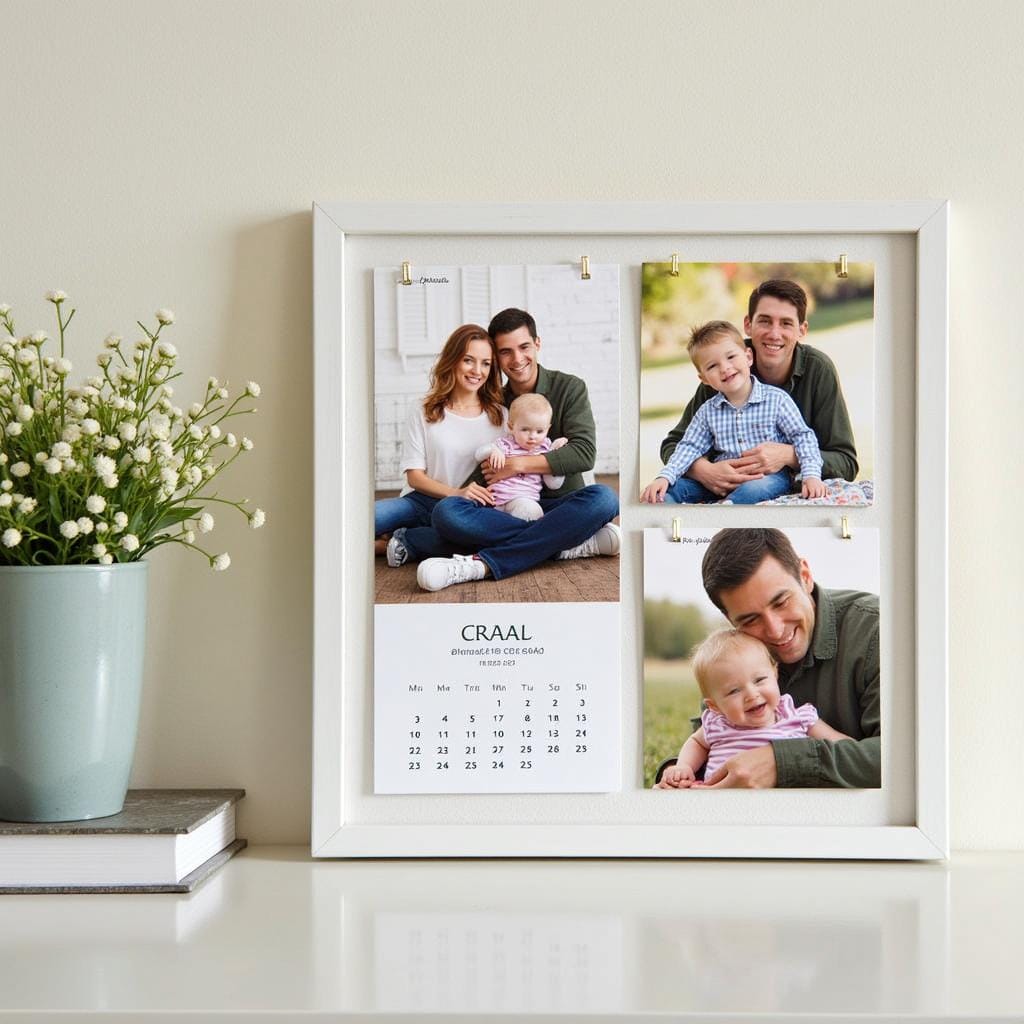
4. Customized Photo Calendars
Create a personalized calendar with family photos or memorable moments. You can design one online or print and assemble it yourself.

Pro Tips:
- Choose a theme for the year, such as “Family Vacations,” “Our Favorite Recipes,” or “A Year of Pets.”
- Use high-resolution photos to ensure the printed images are crisp and clear.
- Mark important family dates like birthdays and anniversaries on the calendar before printing.
- Print on high-quality, heavy cardstock for a durable, premium feel.
- Use a spiral binding machine for a professional finish, or punch holes and tie with a beautiful ribbon or twine.
- Include a meaningful quote or a personal note on each month’s page.
- Create a consistent layout or design template for each month to make the calendar look cohesive.
- Use photo editing software to apply a consistent filter to all photos for a unified aesthetic.
- For a desk calendar, print photos on 4×6 cards and display them in a small wooden stand with a slit.
- Include a “look ahead” page at the end with a full calendar for the following year.
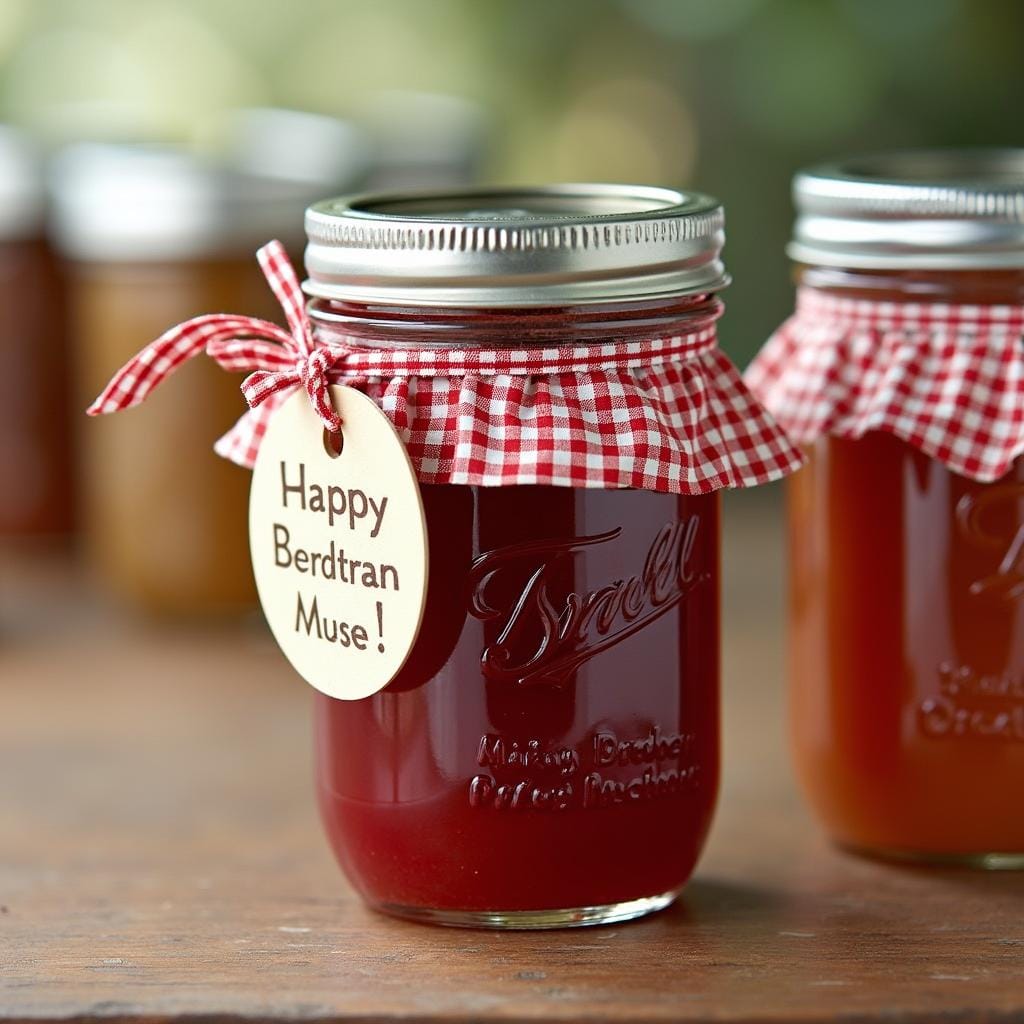
5. Homemade Jams and Preserves
Capture the flavors of the season by making homemade jams or preserves. Use festive jars and add custom labels to give it a professional look.
Pro Tips:
- Always sterilize your jars and lids in boiling water to ensure food safety and a proper seal.
- Use a combination of ripe and slightly underripe fruit; ripe fruit provides flavor, while underripe fruit contains more natural pectin.
- Perform the “wrinkle test” by placing a small plate in the freezer and dropping a bit of hot jam on it to check if it sets.
- For a holiday twist, add spices like cinnamon, star anise, or cardamom to your recipe.
- Create a custom fabric top for your jars by cutting a circle of festive fabric and securing it under the jar’s ring.
- Use a canning funnel to fill jars without spilling jam on the rims, which can prevent a proper seal.
- Label your jars not only with the contents but also with the date they were made.
- For a lower-sugar option, use special pectin formulated for low or no-sugar recipes.
- Create a gift basket by pairing the jam with homemade scones or a loaf of fresh bread.
- Wipe the jar rims with a clean, damp cloth before sealing to ensure no residue interferes with the seal.
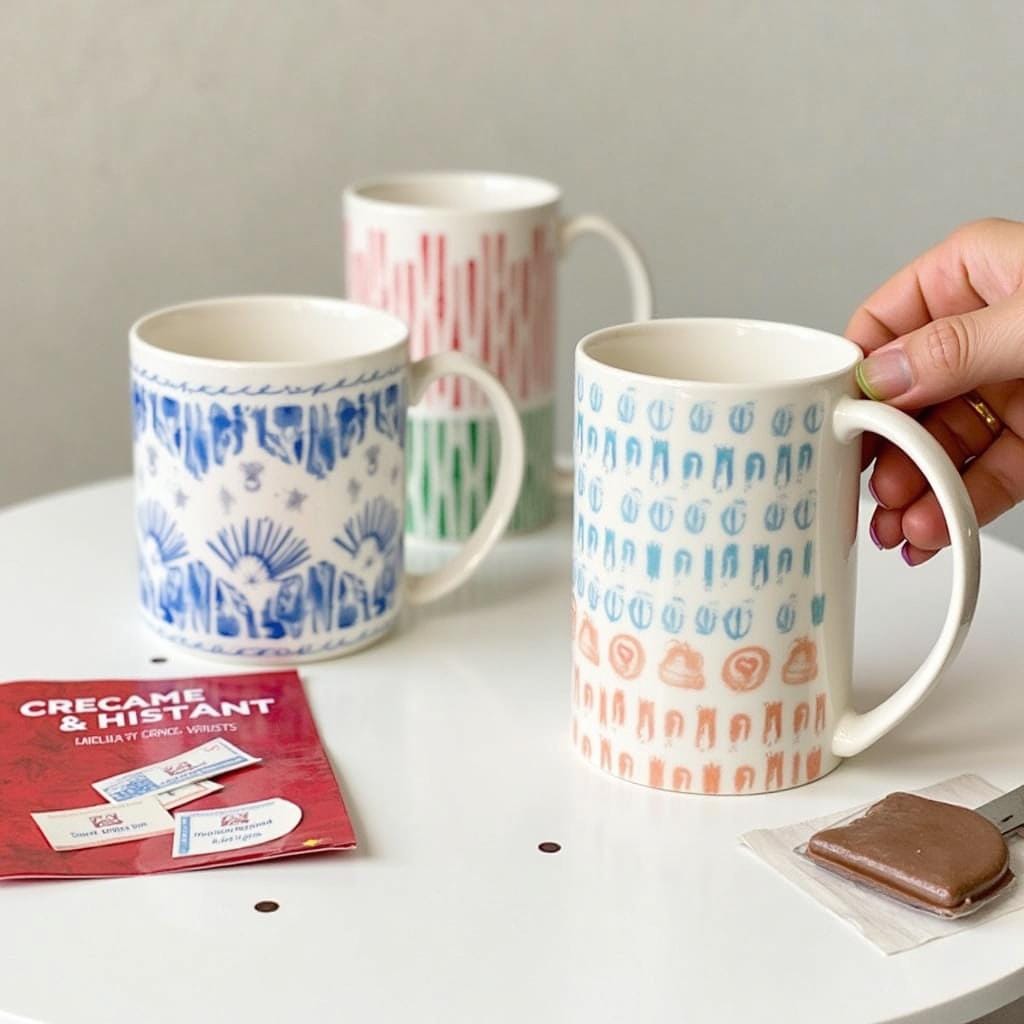
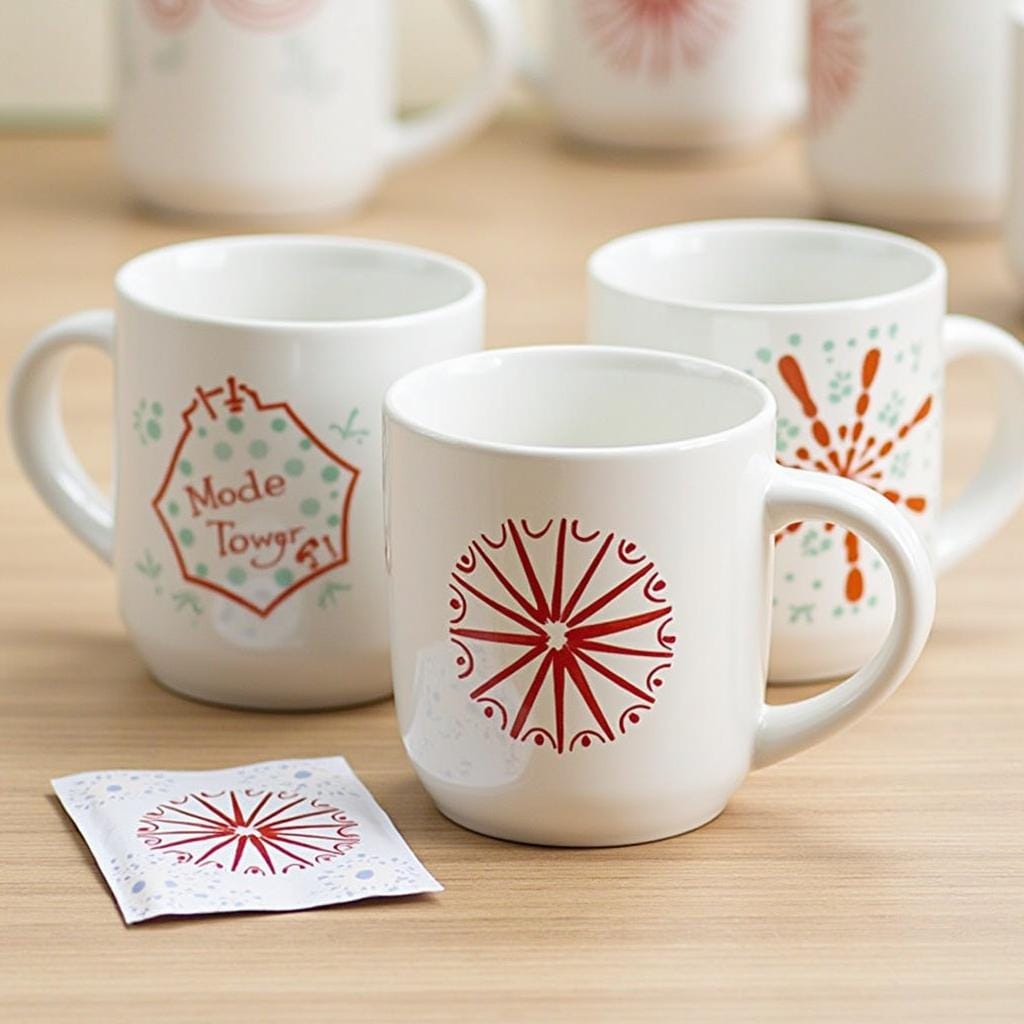
6. Hand-Decorated Mugs
Paint or stencil designs onto plain ceramic mugs using porcelain paint. Include a packet of hot cocoa or tea for a complete gift set.
Pro Tips:
- Clean the mug thoroughly with rubbing alcohol before painting to remove any oils or residue.
- Use oil-based paint markers specifically designed for ceramics for the best durability.
- To fix mistakes while painting, use a cotton swab dipped in rubbing alcohol to wipe them away.
- Let the paint dry for at least 24 hours before baking to set the design.
- Bake the mug according to the paint manufacturer’s instructions (usually in a non-preheated oven) to make it dishwasher-safe.
- Use painter’s tape to create crisp lines for geometric designs or stripes.
- For intricate designs, use carbon paper to trace a printed pattern onto the mug before painting.
- Personalize the mug with the recipient’s initial, a favorite quote, or an inside joke.
- Fill the finished mug with gourmet hot cocoa mix, marshmallows, and a candy cane stirrer.
- Paint the bottom of the mug with a secret message or your initials and the year.
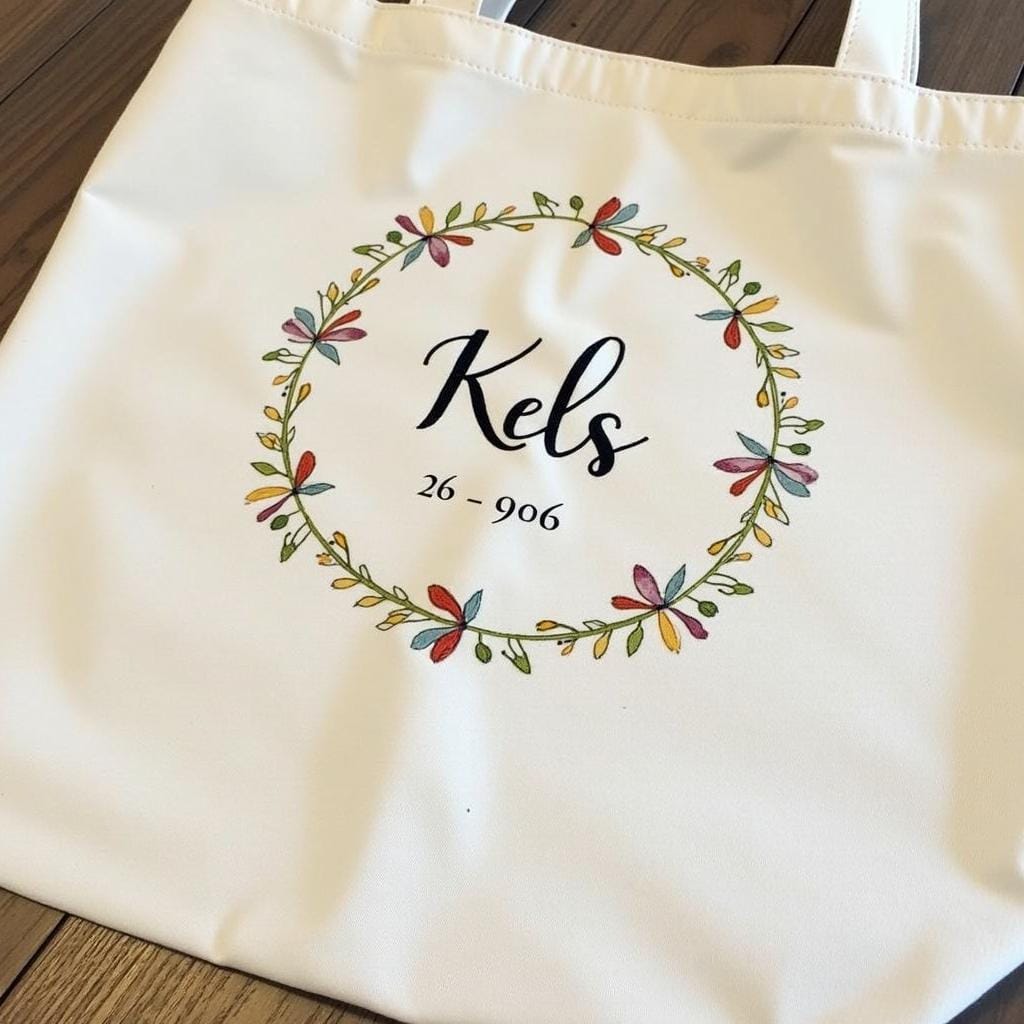
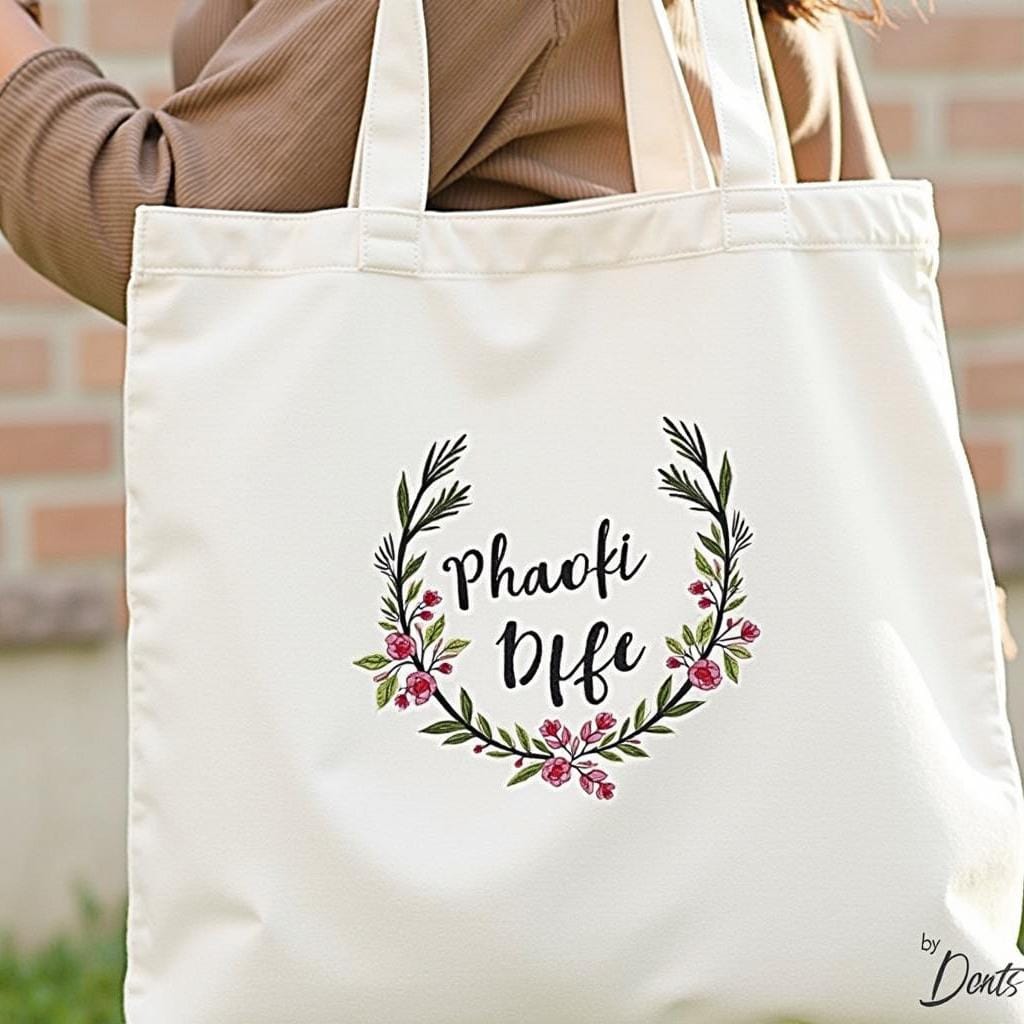
7. Embroidered Tote Bags
Personalize a plain tote bag with hand embroidery. Add initials, floral designs, or festive motifs for a functional and stylish gift.
Pro Tips:
- Choose a sturdy canvas or cotton tote bag that can withstand the tension of the embroidery.
- Use an embroidery hoop to keep the fabric taut for even, neat stitches.
- Trace your design onto the fabric using a water-soluble or heat-erasable fabric pen.
- For bold lines, use all six strands of embroidery floss; for finer details, separate the floss into two or three strands.
- A simple “backstitch” is perfect for outlining, while a “satin stitch” is great for filling in shapes.
- Iron a piece of fusible interfacing onto the inside of the bag behind your design to protect the stitches.
- Add beads or sequins to your embroidery for a touch of sparkle.
- Choose a color palette that complements the tote bag and reflects the recipient’s style.
- Create a design that wraps around the side of the bag for a unique, custom look.
- Wash and iron the tote bag before you begin to prevent shrinking or warping after the embroidery is complete.
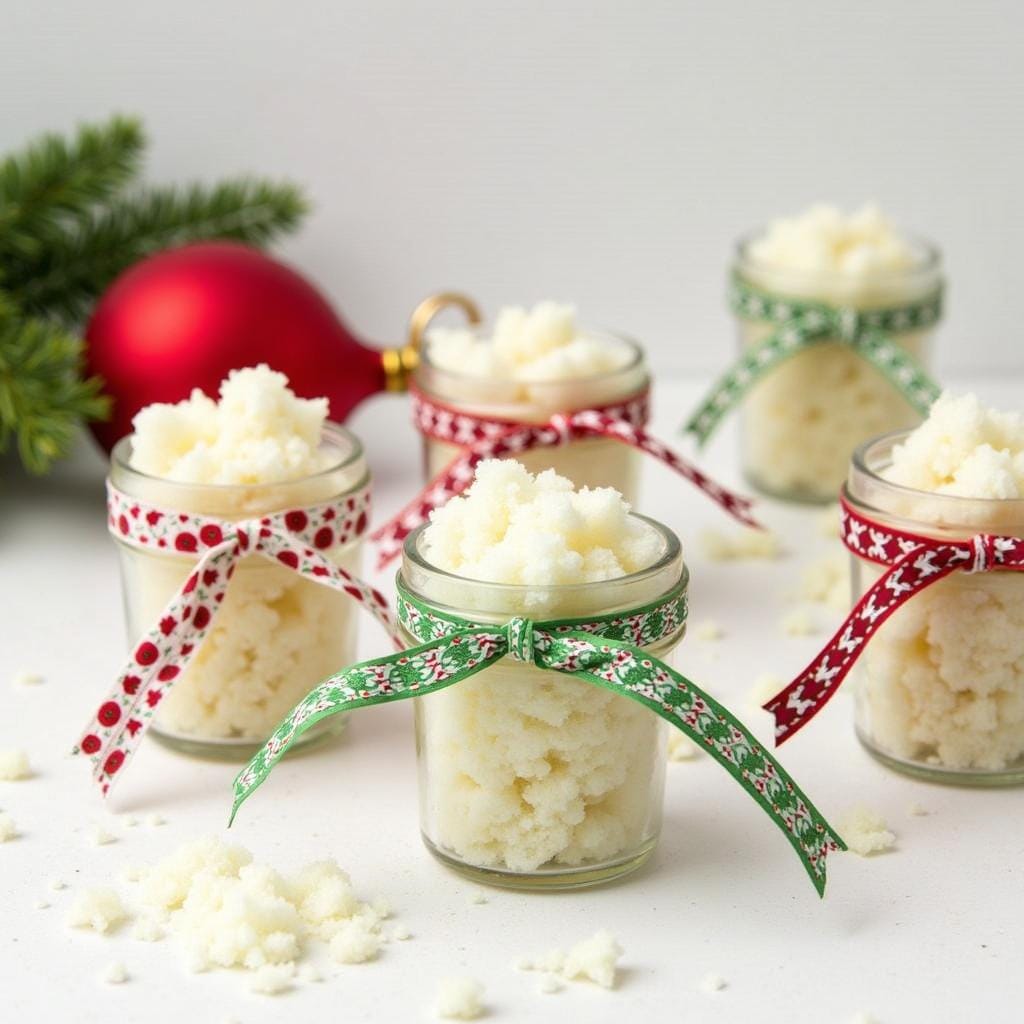
8. DIY Sugar Scrubs
Create exfoliating sugar scrubs using sugar, coconut oil, and essential oils. Package them in small mason jars with holiday-themed ribbons.

Pro Tips:
- Use a 2:1 ratio of sugar to oil for a classic scrub consistency.
- Use brown sugar for a gentler scrub, ideal for the face, and white or raw sugar for a coarser body scrub.
- Add a few drops of Vitamin E oil to act as a natural preservative and add extra skin-nourishing benefits.
- For festive scents, use peppermint essential oil with a drop of vanilla, or a blend of cinnamon, clove, and orange.
- Add natural colorants like beetroot powder for pink, spirulina for green, or cocoa powder for brown.
- Melt the coconut oil before mixing to ensure all ingredients are evenly incorporated.
- Include a small, waterproof label on the jar with the ingredients and scent.
- Add dried ingredients like lavender buds, coffee grounds, or citrus zest for texture and aroma.
- Attach a small wooden spoon to the jar with twine for easy scooping.
- Make a “candy cane” scrub by layering a white peppermint scrub with a pink-colored one in a clear jar.
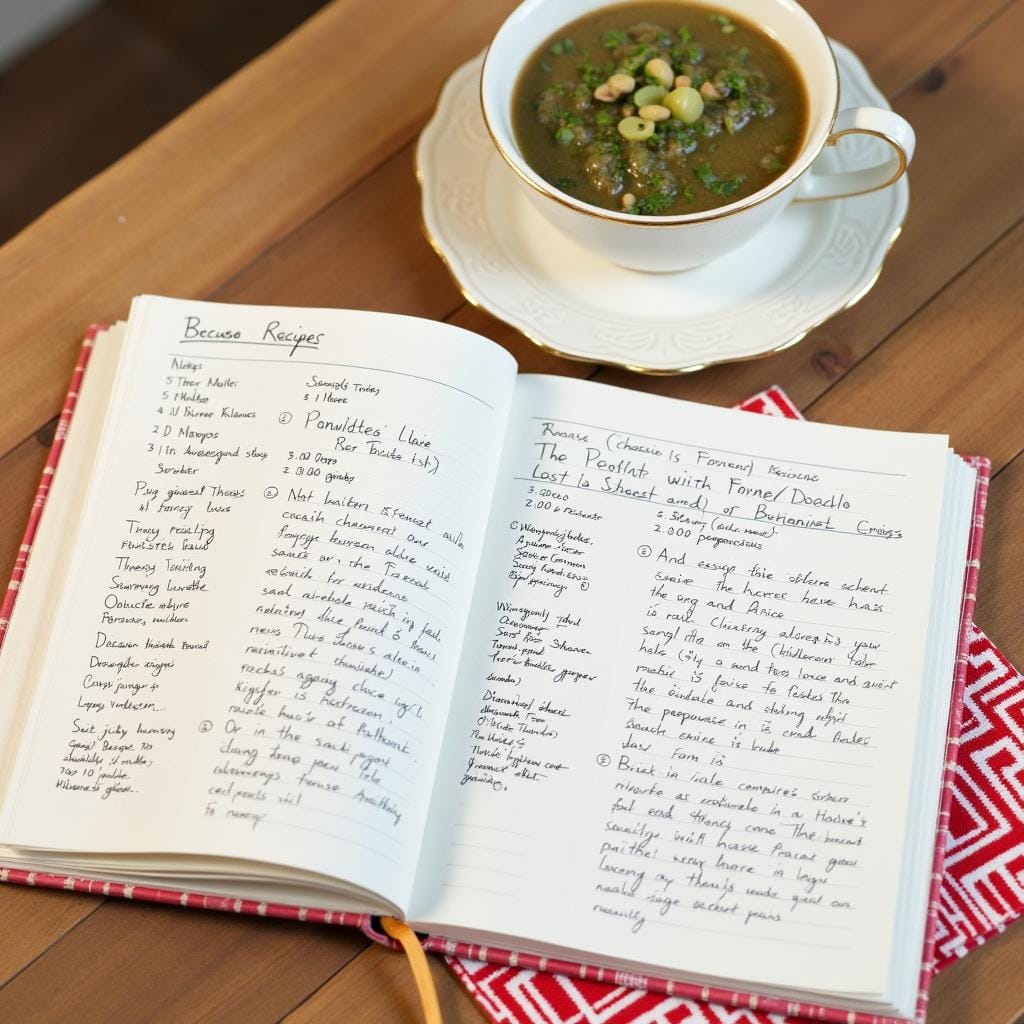
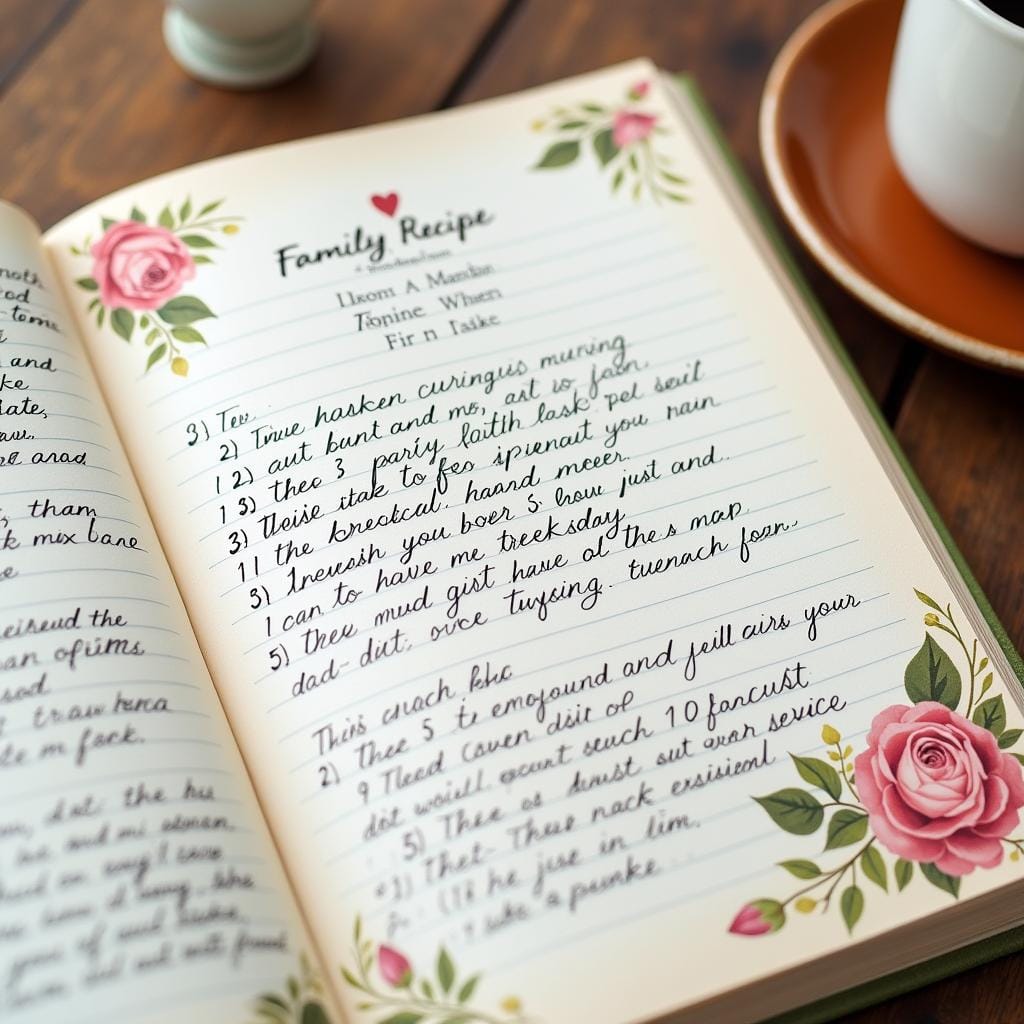
9. Handwritten Recipe Books
Compile favorite family recipes into a beautifully handwritten or printed recipe book. Add personal notes or stories for sentimental value.
Pro Tips:
- Choose a high-quality, durable journal or binder that will last for years.
- Organize the book into sections like “Appetizers,” “Main Courses,” and “Desserts” using tabs.
- Include a photo of the finished dish or a family member enjoying it next to each recipe.
- Write a short personal story or memory associated with each recipe, such as “Grandma’s Christmas Cookies.”
- Use waterproof ink to prevent smudging from kitchen spills.
- Laminate the pages or use plastic sleeves to protect them.
- Include a “Kitchen Conversions” chart at the front or back of the book for easy reference.
- Leave a few blank pages at the end of each section for the recipient to add their own new favorite recipes.
- Scan old, handwritten recipe cards from relatives to include their original handwriting.
- For a typed version, use a decorative font for titles and a clean, readable font for instructions.
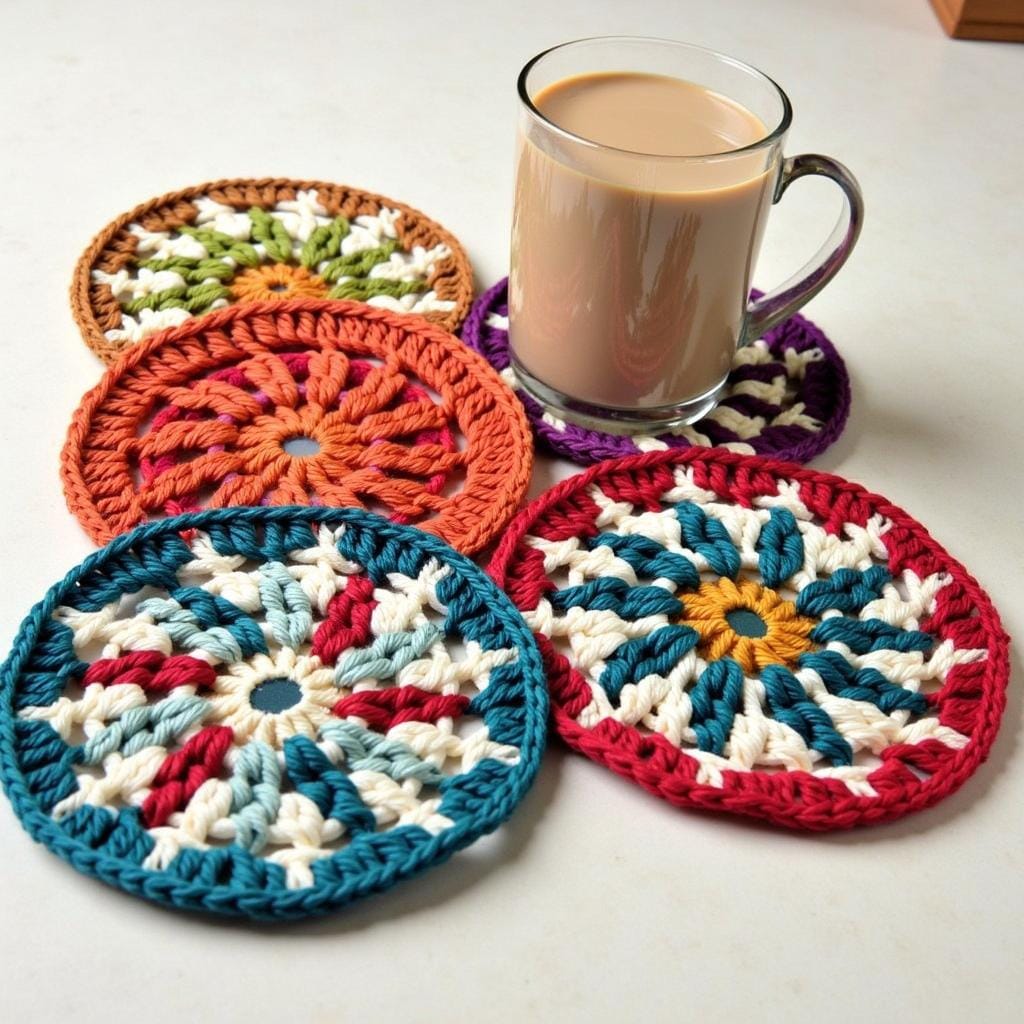
10. Crocheted Coasters
Crochet a set of colorful coasters as a practical and charming gift. Use durable yarn and festive patterns to make them stand out.
Pro Tips:
- Use 100% cotton yarn as it is highly absorbent and heat-resistant.
- Crochet with a smaller hook than the yarn calls for to create a dense, stiff fabric that will lie flat.
- Work in a continuous spiral for a seamless circular coaster.
- Make a set of four or six coasters in coordinating or contrasting colors.
- Block the finished coasters to ensure they are perfectly flat and uniform in shape.
- For a festive touch, use a pattern that resembles a snowflake, star, or citrus slice.
- Add a simple border, like a crab stitch or shell stitch, for a polished edge.
- Choose variegated yarn to create beautiful color patterns without having to change skeins.
- Tie the finished set together with a piece of ribbon or twine and a handmade gift tag.
- To make them extra sturdy, you can sew the crocheted top onto a circle of cork or felt.
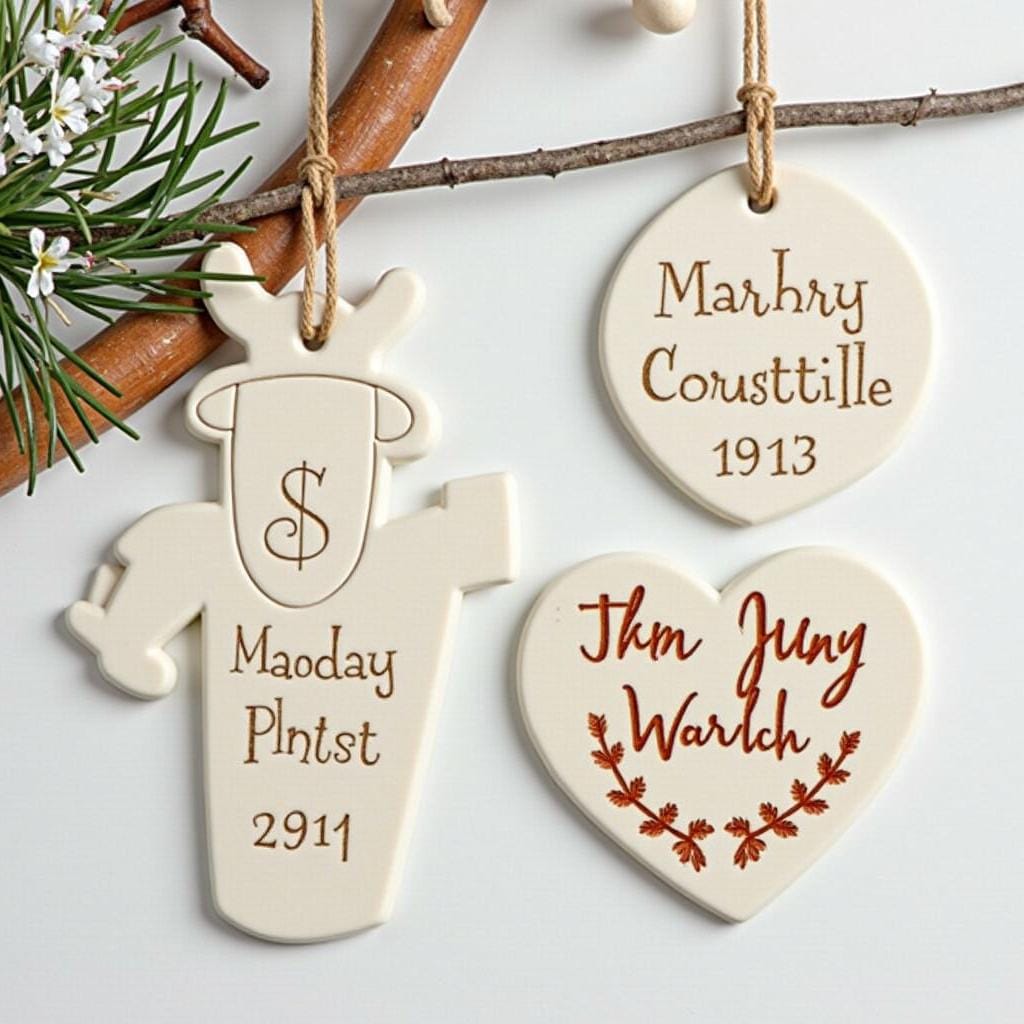
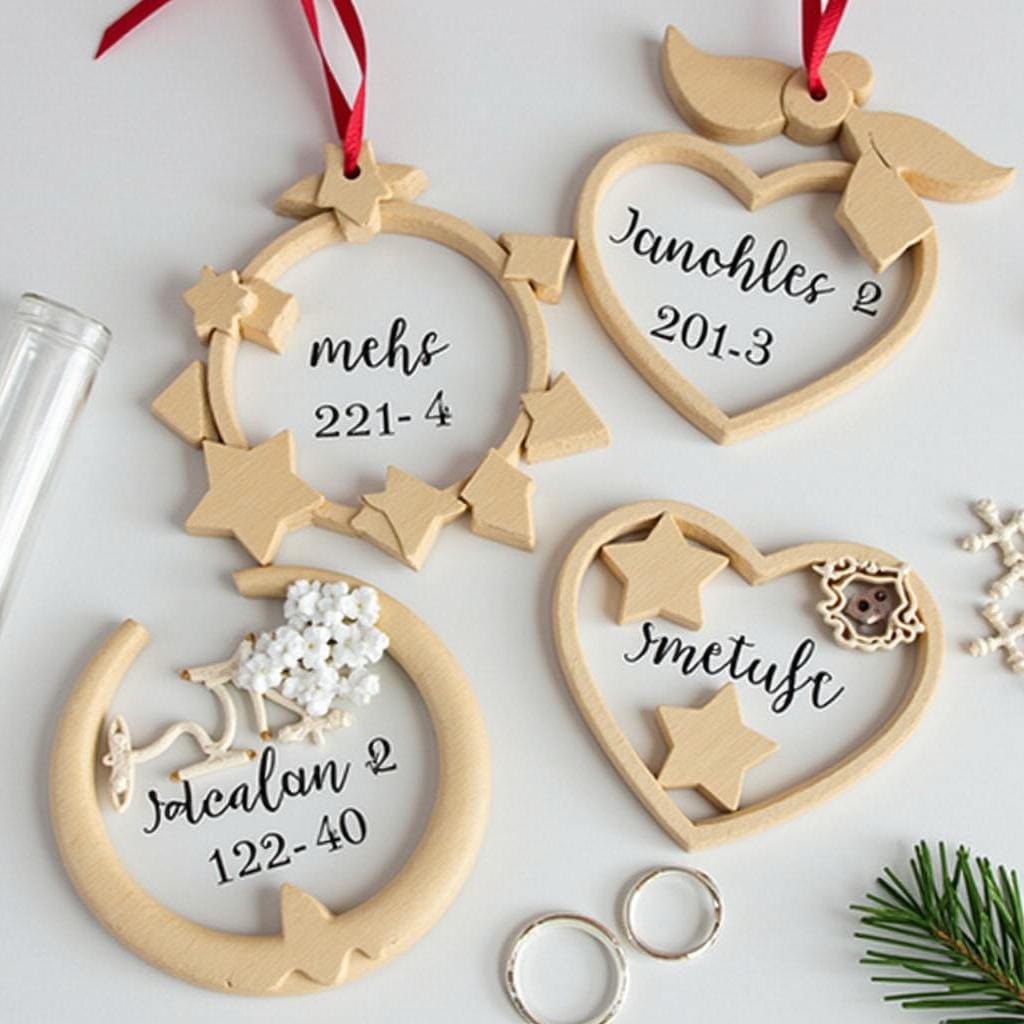
11. Personalized Ornaments
Design custom Christmas ornaments with names, dates, or meaningful symbols. Use clay, wood, or clear glass ornaments for a creative approach.
Pro Tips:
- For clear glass ornaments, fill them with small items like faux snow, tiny pom-poms, or a rolled-up piece of sheet music.
- Use a paint pen or permanent vinyl cut with a Cricut machine to add names and dates to the outside of glass balls.
- For polymer clay ornaments, use cookie cutters for shapes and stamp letters for personalization before baking.
- Drill a small hole in thin wood slices, then use a wood-burning tool or paint to add a rustic design.
- Incorporate a tiny photo inside a clear ornament or decoupage one onto a flat wooden ornament.
- Add a coat of clear sealant (like Mod Podge or spray varnish) to protect your finished design.
- Use the recipient’s favorite colors or match the ornament to their holiday decor theme.
- For a sentimental touch, use a piece of a baby’s first blanket or a wedding invitation inside a clear ornament.
- Create a “First Christmas” ornament for a new baby or newly married couple.
- Finish the ornament with a beautiful silk or velvet ribbon for hanging.
12. Infused Cooking Oils
Make gourmet cooking oils by infusing olive oil with herbs like rosemary, garlic, or chili. Pour them into decorative bottles for an elegant presentation.

Pro Tips:
- Always use dried herbs and ingredients, as fresh ones contain water that can lead to bacterial growth.
- Gently heat the oil and herbs together on low heat for about 5-10 minutes to speed up the infusion, then let cool completely.
- Use a high-quality extra virgin olive oil as the base for the best flavor.
- Strain the oil through a cheesecloth or fine-mesh sieve before bottling to remove the solid ingredients for a clearer look and longer shelf life.
- For presentation, you can add a single, fresh, clean sprig of rosemary or a few chili peppers to the final bottle.
- Create flavor combinations like “Rosemary & Garlic,” “Chili & Lime,” or “Lemon & Thyme.”
- Sterilize your bottles before filling to ensure they are clean.
- Include a small tag with the flavor profile and suggestions for use (e.g., “Great for dipping bread or drizzling on pasta”).
- Make sure the bottles have a tight-fitting cork or cap to keep the oil fresh.
- Advise the recipient to store the oil in a cool, dark place and use it within a few months.
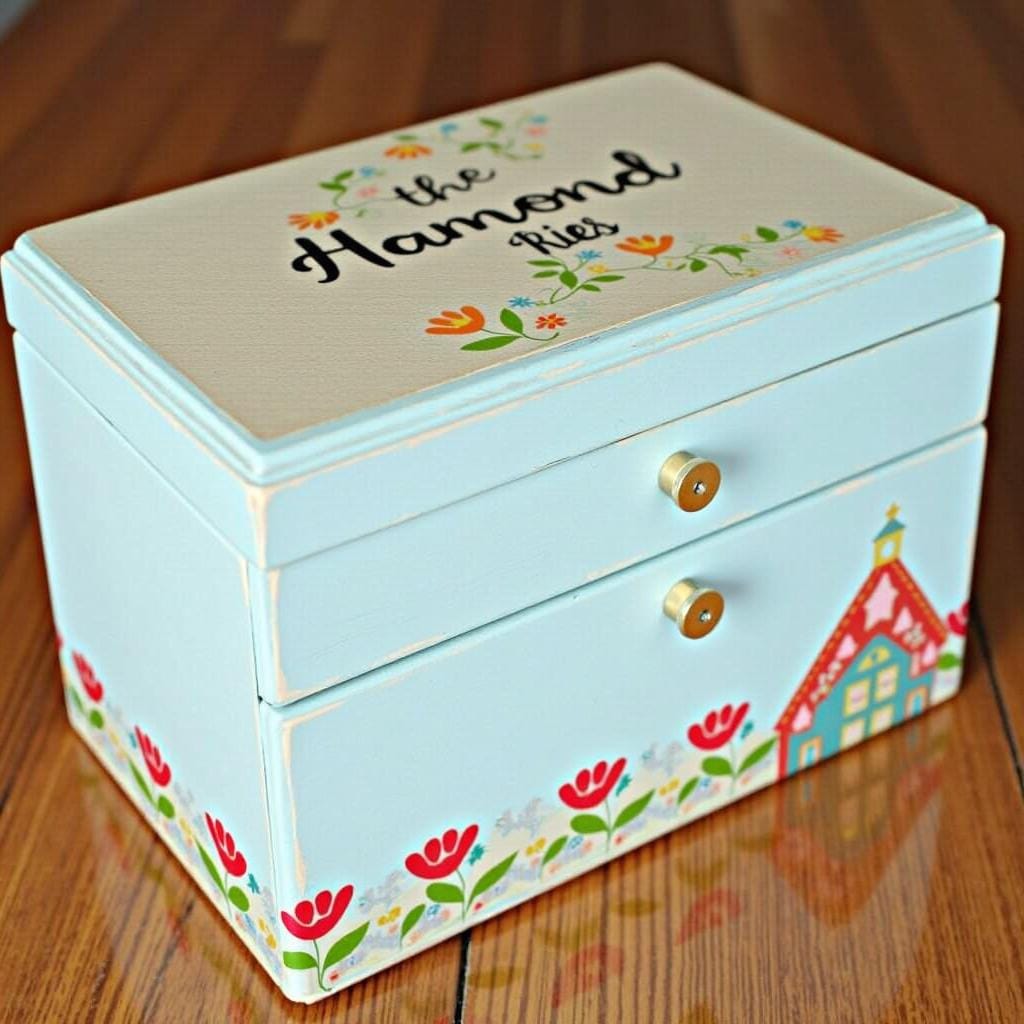
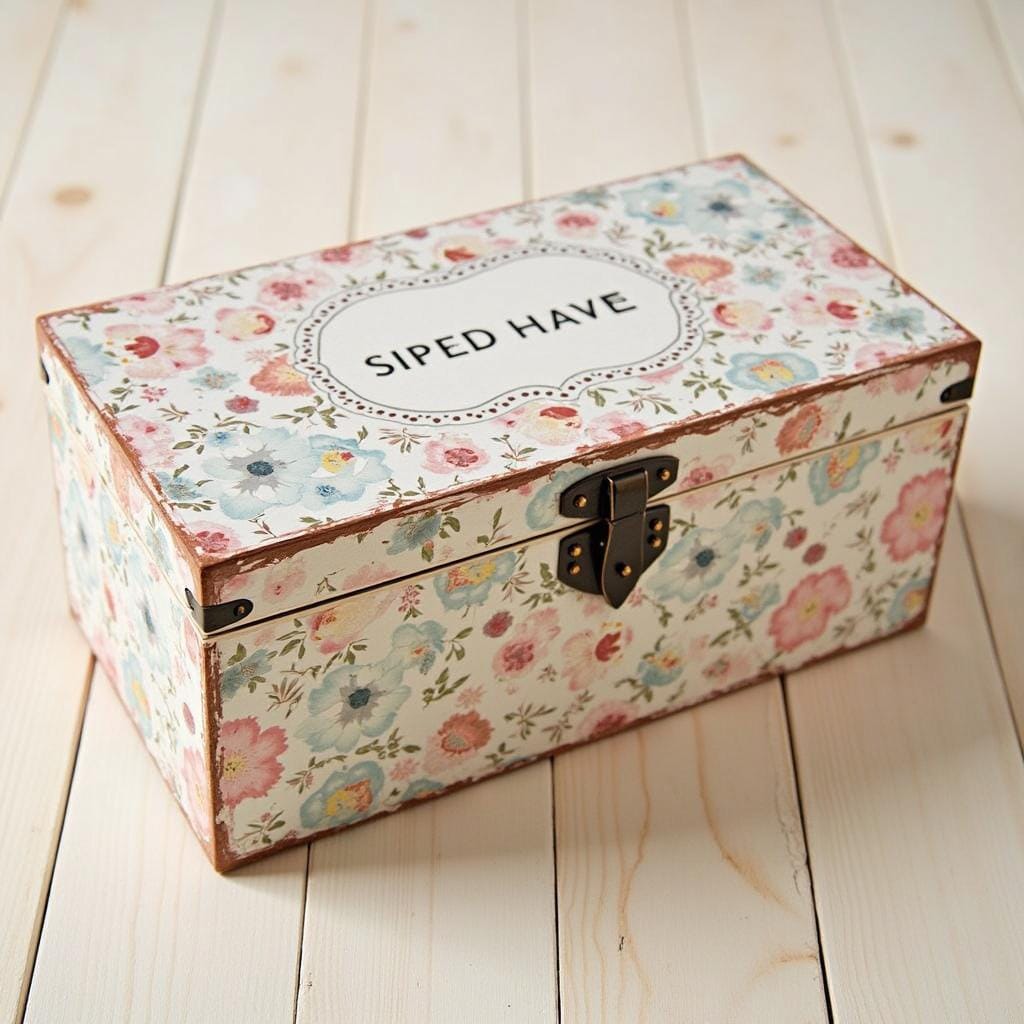
13. Hand-Painted Jewelry Boxes
Decorate plain wooden jewelry boxes with paint, decoupage, or glitter. This personalized gift is both practical and pretty.
Pro Tips:
- Lightly sand the wooden box and apply a coat of primer before painting for a smoother, more durable finish.
- Use acrylic craft paint for the best coverage on wood.
- Create a personalized design with the recipient’s initials, favorite flower, or a meaningful pattern.
- For a decoupage look, use Mod Podge to apply decorative paper or fabric scraps to the box.
- Line the inside compartments with soft felt or velvet for a luxurious touch that protects jewelry.
- Add small, decorative hardware like a new clasp or tiny knobs to elevate the look.
- Apply a coat of clear varnish or sealant to protect the painted design from chipping.
- Use painter’s tape to create clean, crisp lines for a color-block or striped design.
- For a touch of glam, add a fine layer of glitter to the wet paint or use metallic paint for accents.
- Gift the box with a small, simple piece of jewelry already inside.
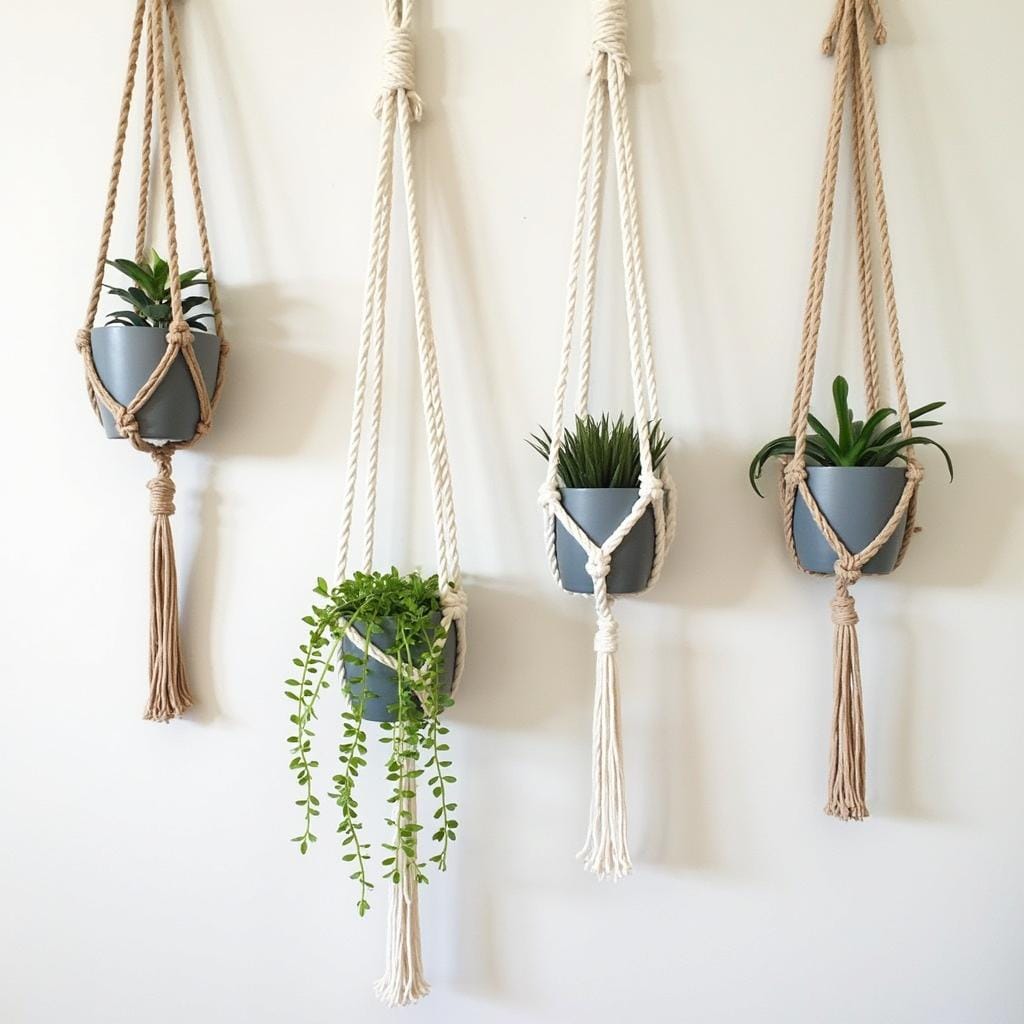
14. DIY Macramé Plant Hangers
Macramé plant hangers are trendy and thoughtful. Pair them with a small potted plant for a complete gift.
Pro Tips:
- Use 3mm or 4mm natural cotton macramé cord for a classic, sturdy hanger.
- Start with a few basic knots like the square knot and spiral knot; you can create beautiful designs with just these two.
- Measure and cut all your cords to the same length before you begin to ensure symmetry.
- Use a clothing rack or a hook on the back of a door to hang your project while you work.
- Incorporate wooden beads or colored rings into your design for extra detail.
- Make sure the “basket” portion of the hanger is snug enough to securely hold a standard-sized pot.
- Create a frayed, tassel-like finish at the bottom by unraveling the ends of the cords.
- For a unique look, use colored macramé cord that matches the recipient’s decor.
- Make hangers in different lengths to be gifted as a set for a tiered window display.
- Include a small, low-maintenance plant like a pothos or succulent with the hanger.
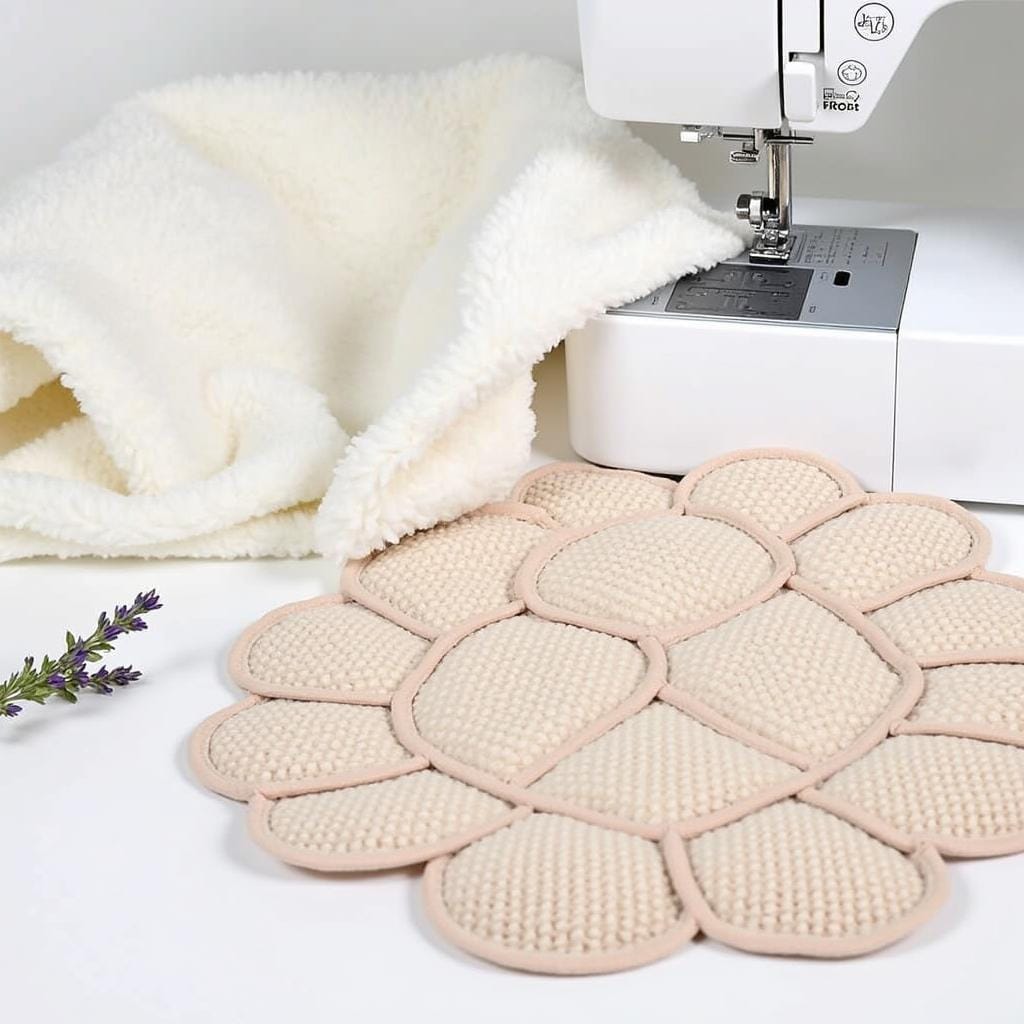
15. Sewn Heating Pads
Sew reusable heating pads filled with rice or dried lavender. These are perfect for soothing aches or staying warm during winter.
Pro Tips:
- Use 100% cotton fabric and thread, as synthetic materials can melt or catch fire in the microwave.
- Use a filler like uncooked white rice, whole corn, or flaxseed, as they hold heat well.
- Mix dried lavender buds or a few drops of essential oil with the rice for a soothing aromatherapy element.
- Double-stitch all seams for extra durability to prevent the filling from leaking out.
- Create channels by sewing vertical lines down the pad to keep the filling evenly distributed.
- Make a removable, washable cover for the heating pad for better hygiene.
- Create different shapes, such as a long rectangle for wrapping around the neck or a small square for hands.
- Test the heating pad in your own microwave first to determine the ideal heating time (usually 1-2 minutes).
- Include a small, handwritten tag with heating instructions and a warning to test the temperature before use.
- Use a funnel to make filling the pad with rice mess-free.
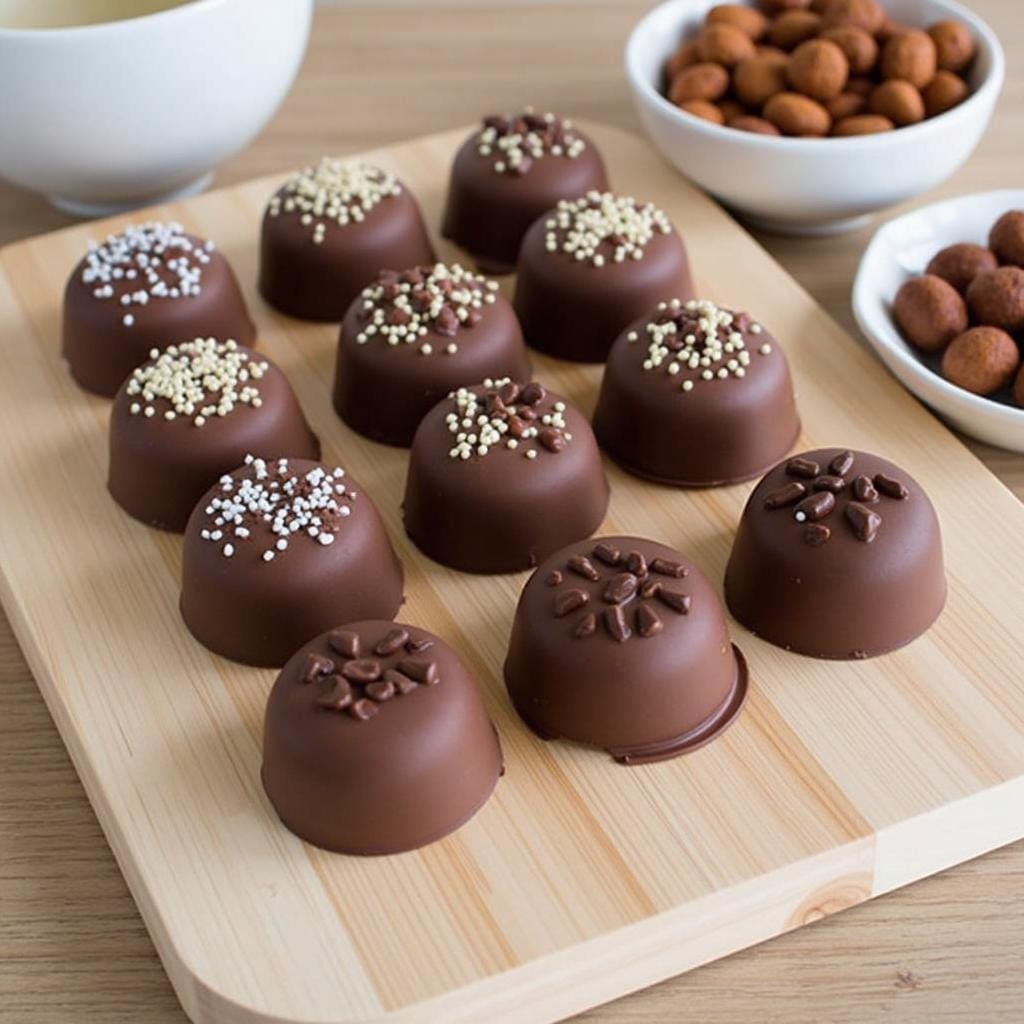
16. Homemade Chocolates
Create assorted chocolates with molds and your choice of fillings. Package them in festive boxes or bags for a sweet treat.
Pro Tips:
- Use high-quality chocolate wafers (couverture chocolate) designed for melting and molding.
- Temper the chocolate properly for a professional, glossy finish and a satisfying “snap.”
- Use silicone molds for easy release; festive shapes like snowflakes, trees, or stars are perfect for Christmas.
- Create assorted fillings like caramel, peanut butter, peppermint cream, or fruit ganache.
- For filled chocolates, paint a layer of chocolate into the mold, let it set, add the filling, and then seal with more chocolate.
- Add texture by mixing in chopped nuts, crispy rice cereal, or toffee bits.
- Decorate the tops by drizzling a contrasting color of chocolate or sprinkling with edible glitter or festive sprinkles.
- Work in a cool, dry room to prevent the chocolate from blooming (getting a chalky white coating).
- Use candy boxes with dividers to present the chocolates like a professional chocolatier.
- Wear food-safe gloves to handle the finished chocolates to avoid leaving fingerprints.
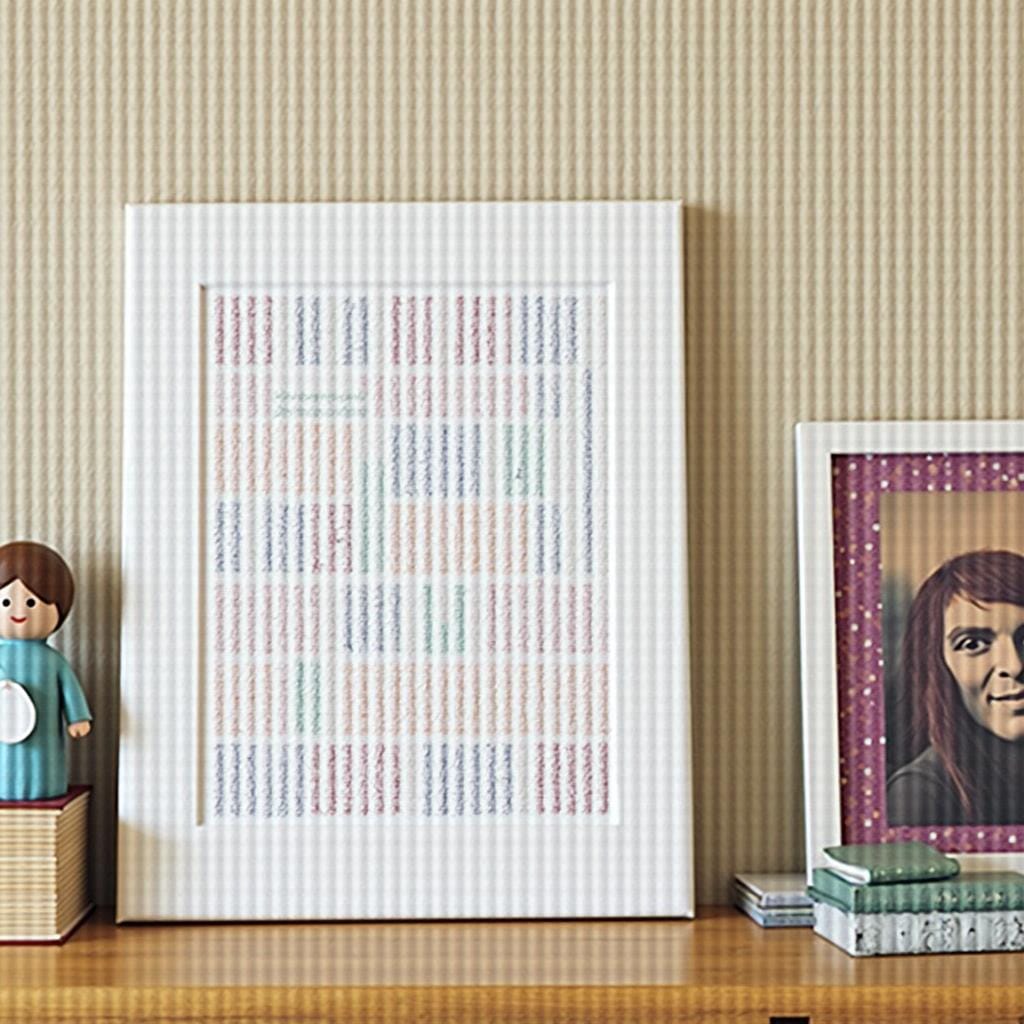
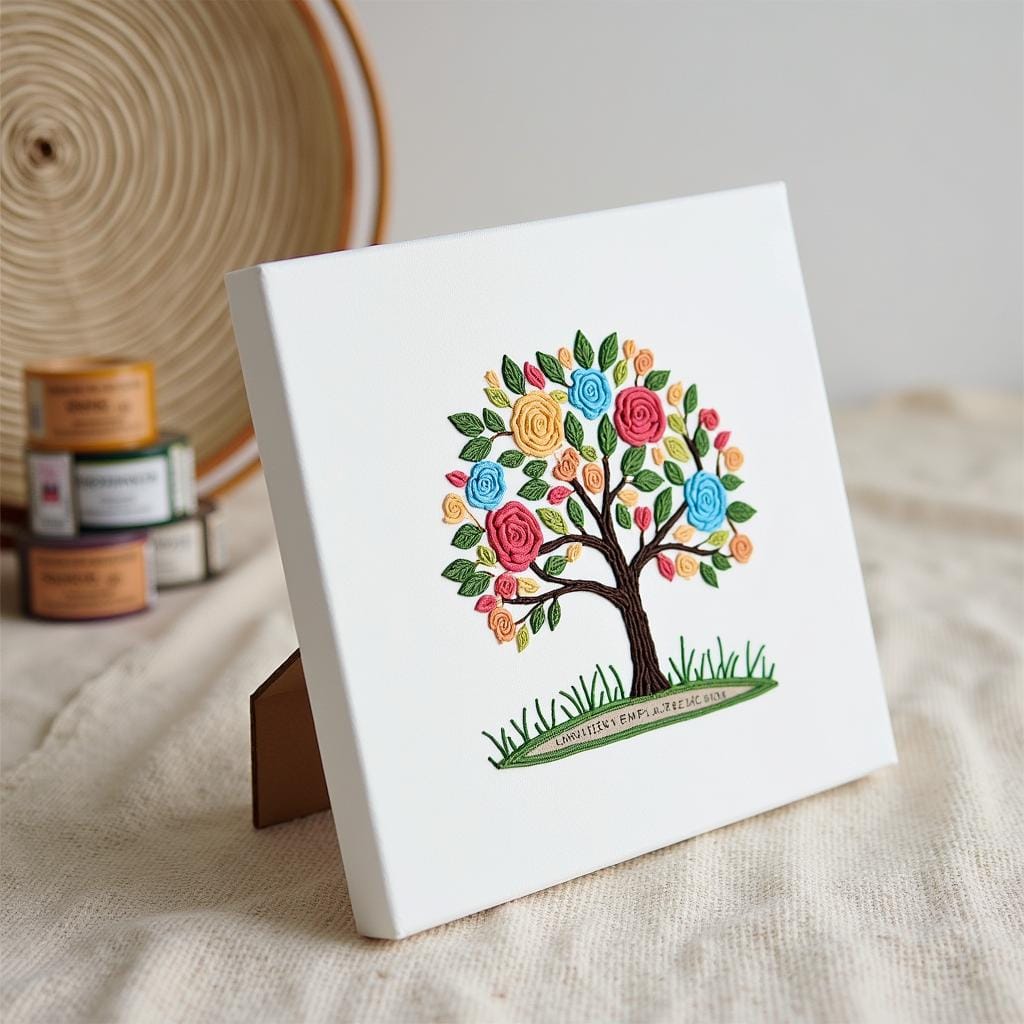
17. DIY Wall Art
Make custom wall art using canvas, paint, or embroidery. Choose designs that match the recipient’s home decor style.
Pro Tips:
- For abstract paint-pour art, mix acrylic paints with a pouring medium for the right consistency.
- Use painter’s tape on a canvas to create a sharp, geometric design, then paint and peel the tape off.
- Create a meaningful piece by stenciling the coordinates of a special place (like a hometown or wedding location).
- For embroidery art, stretch a piece of linen in a hoop and stitch a simple line drawing or floral motif.
- Press flowers and arrange them in a floating glass frame for a delicate, botanical piece.
- Consider the recipient’s home color scheme when choosing your palette.
- A triptych (a piece of art on three separate canvases) can make a big impact.
- Use gold or silver leaf to add a touch of metallic elegance to a simple painting.
- Create a “negative space” painting by placing a sticker (like an initial) on the canvas, painting over it, and then removing it.
- Sign and date your artwork on the back for a personal, lasting touch.
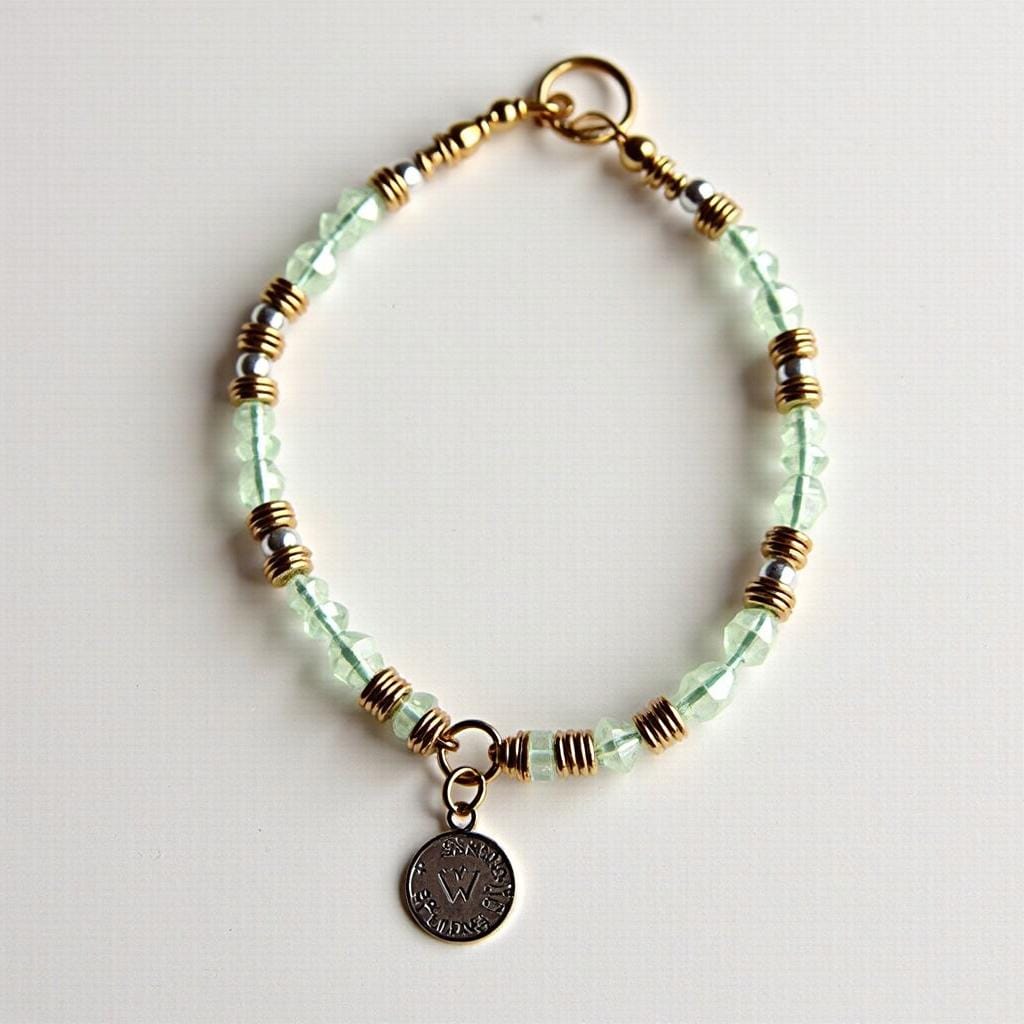
18. Beaded Bracelets
Craft elegant bracelets using beads, wire, and clasps. Personalize them with charms or initials for a thoughtful touch.
Pro Tips:
- Use high-quality beading wire that is both strong and flexible.
- A bead design board is an invaluable tool for planning your pattern and measuring the length before stringing.
- Use crimp beads and crimping pliers to securely attach the clasp for a professional finish.
- Create a pattern using different sizes, shapes, and colors of beads for visual interest.
- Incorporate a special charm that has meaning for the recipient.
- For a simple gift, use stretch cord to make easy, clasp-free bracelets (be sure to tie a very secure surgeon’s knot).
- Add “spacer beads” (small metal beads) between larger, more decorative beads to make them stand out.
- Create a matching set of a bracelet and earrings.
- Use seed beads to create intricate, woven patterns for a more advanced project.
- Package the bracelet in a small velvet pouch or a decorative gift box.
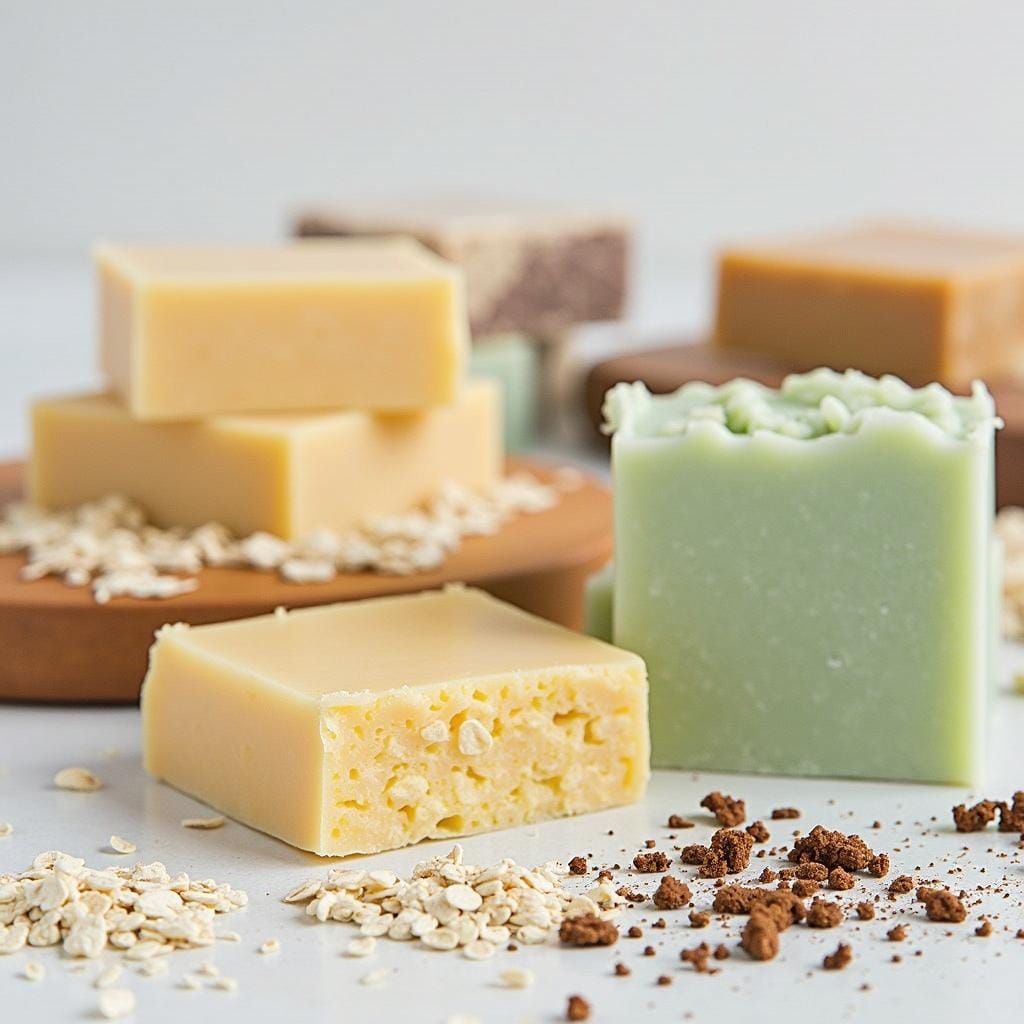
19. Handcrafted Soap Bars
Create natural soap bars using melt-and-pour soap bases. Add scents, colors, and exfoliants like oatmeal or coffee grounds for variety.

Pro Tips:
- Choose a soap base that suits the recipient’s skin type, such as shea butter for moisture or goat’s milk for sensitive skin.
- Cut the soap base into small, even cubes so it melts quickly and evenly in the microwave.
- Add your fragrance oils and colorants after the soap has melted but before it starts to cool and form a skin.
- Use skin-safe mica powders for vibrant color and shimmer.
- For a layered look, pour one color, let it set slightly, spritz with rubbing alcohol, and then pour the next color on top.
- Embed botanicals like dried calendula flowers or a loofah slice into the soap for a decorative and functional touch.
- Use silicone molds in interesting shapes; a standard loaf mold allows you to cut custom-sized bars.
- Spritz the top of the poured soap with rubbing alcohol to eliminate any air bubbles.
- Let the soap cool and harden completely for several hours or overnight before unmolding.
- Wrap the bars in decorative paper or cigar bands with the ingredients and scent listed.
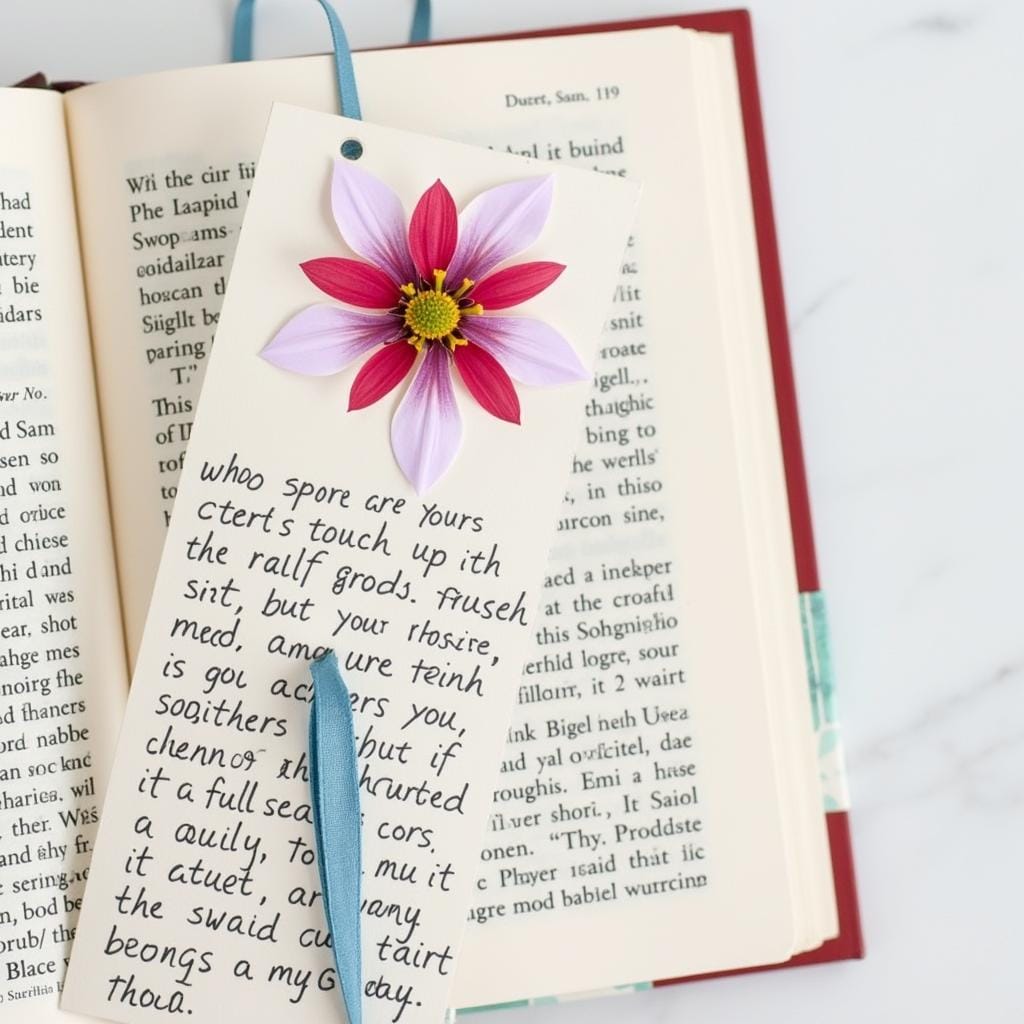
20. DIY Bookmarks
Design personalized bookmarks using cardstock, ribbons, or pressed flowers. These are great for book lovers and easy to make.

Pro Tips:
- Laminate paper bookmarks to make them more durable and water-resistant.
- Use a corner rounder punch for a professional, polished look on cardstock bookmarks.
- Create a tassel from embroidery floss to attach to the top of the bookmark.
- For a unique touch, create a bookmark from a thin strip of leather and stamp the recipient’s initials on it.
- Use watercolor paper to paint a miniature landscape or abstract design.
- Decoupage a bookmark with small pieces of a map from a meaningful location.
- Press small flowers and leaves and arrange them on cardstock before laminating.
- Personalize with a favorite quote about reading or from the recipient’s favorite author.
- Use a hole punch to add a decorative ribbon or a small charm to the top.
- Create magnetic bookmarks that fold over the page by attaching thin magnet sheets to the inside of a folded piece of cardstock.
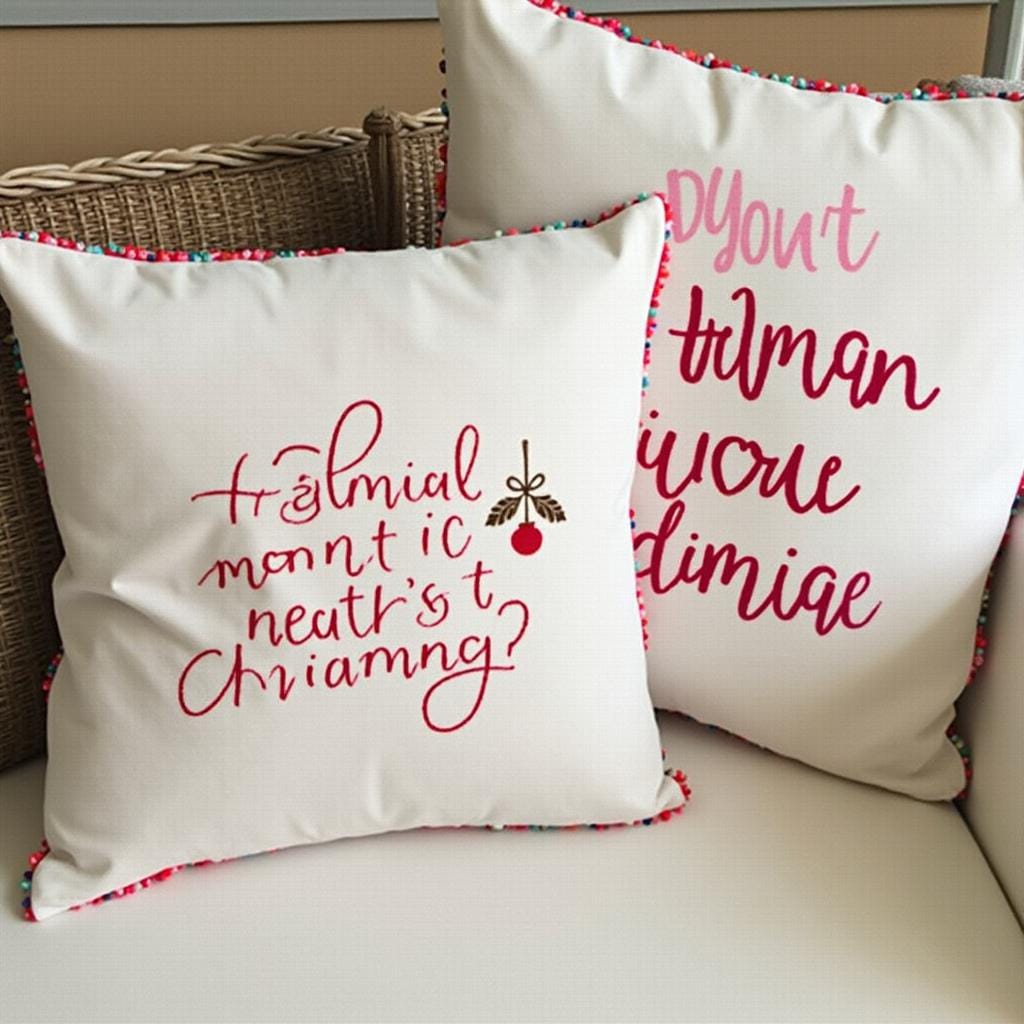
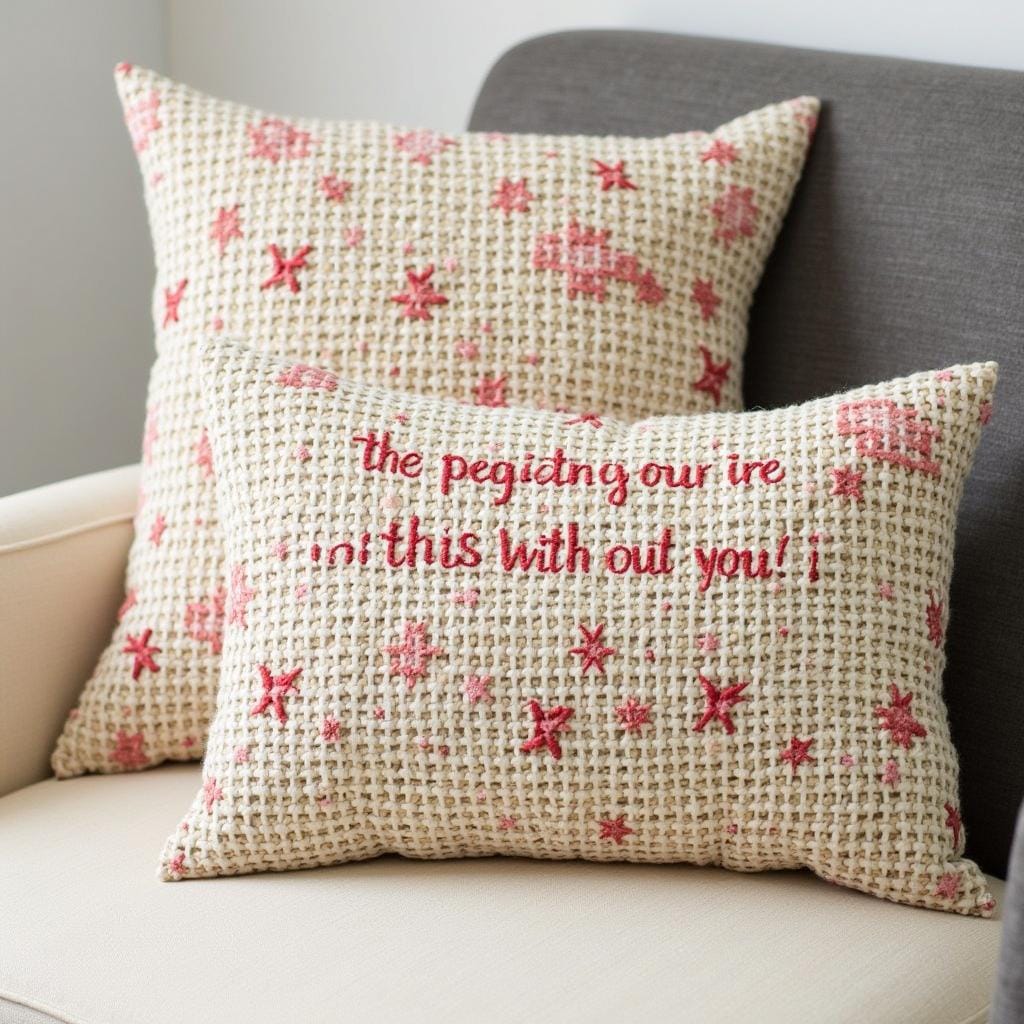
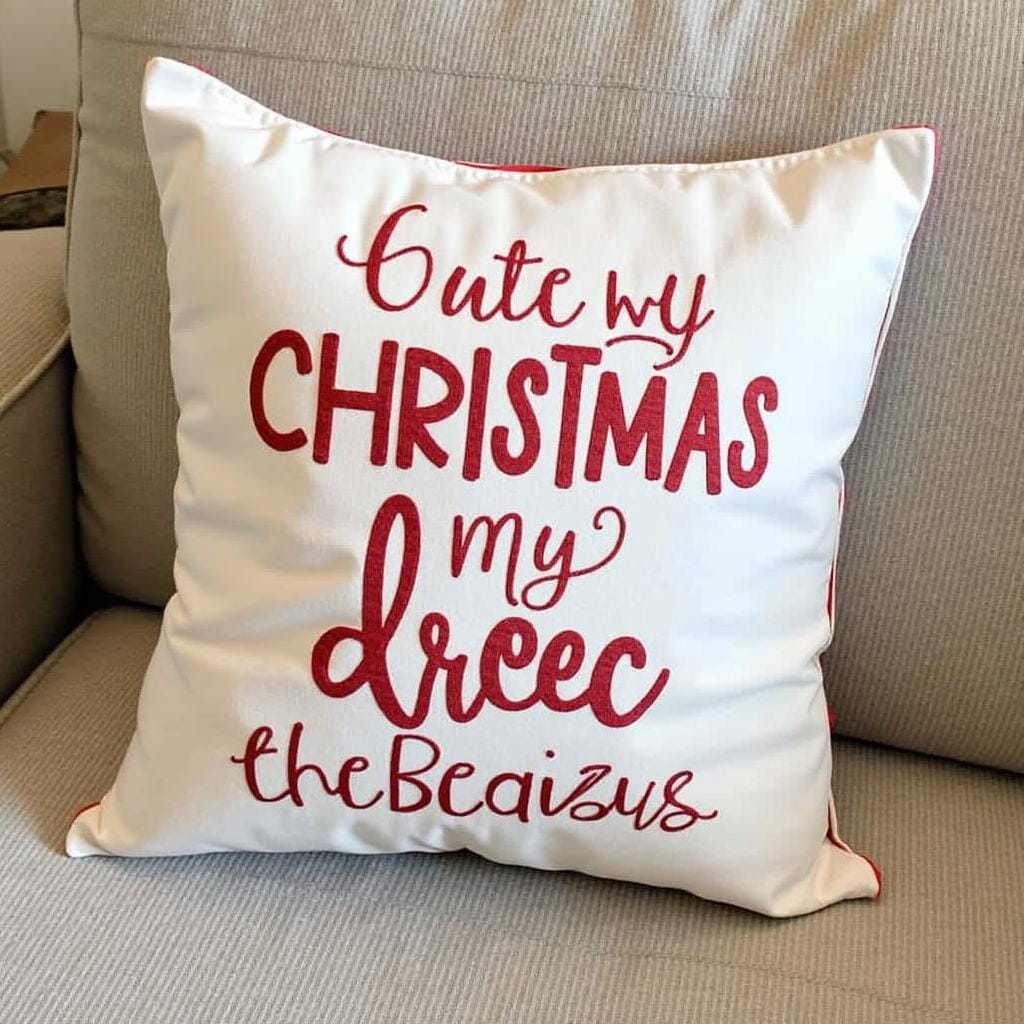
21. Custom Pillows
Sew throw pillows with unique fabrics or designs. You can use festive patterns or embroider a personal message.
Pro Tips:
- For an easy, no-sew option, use iron-on hem tape to seal the edges of the fabric.
- Create an “envelope closure” on the back so the pillow cover can be easily removed and washed.
- Use a pillow insert that is one to two inches larger than your pillow cover for a full, plush look.
- Add details like piping around the edges or tassels on the corners for a high-end look.
- Use fabric paint and stencils to add a custom design to a plain pillow cover.
- Embroider a monogram or a meaningful date for a personal touch.
- For a textured look, use different fabrics like velvet, faux fur, or linen for the front and back.
- Use fabric from an old, sentimental piece of clothing (like a grandfather’s flannel shirt) to create a memory pillow.
- Ensure you pre-wash your fabric before cutting and sewing to prevent shrinking.
- For a pom-pom pillow, securely hand-sew each pom-pom onto the finished cover.
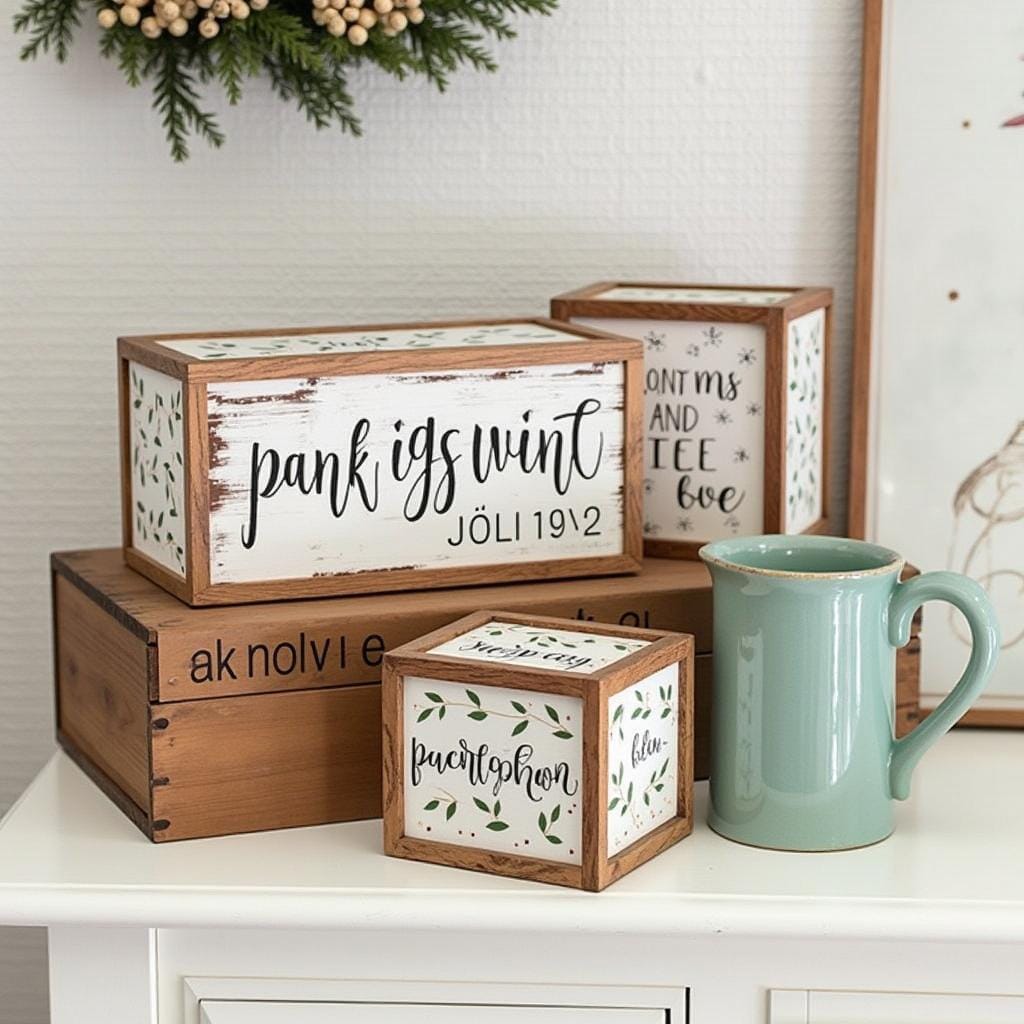
22. Painted Wooden Signs
Create rustic wooden signs with holiday greetings or inspirational quotes. These make for charming home decor gifts.

Pro Tips:
- Sand the wood surface smooth before painting, but leave some texture for a rustic feel.
- Apply a base coat or a wood stain first to create a beautiful background for your lettering.
- Use stencils for perfectly uniform and spaced lettering.
- For a hand-painted look without the stress, use the carbon paper transfer method to trace your design onto the wood before painting.
- Use acrylic craft paint and a fine-tipped brush for detailed lettering.
- Gently sand the edges and surface of the finished sign to give it a distressed, vintage look.
- Apply a clear matte or satin sealant to protect the sign from dust and moisture.
- Attach a sawtooth hanger to the back for easy wall mounting.
- Incorporate a simple graphic, like a pine tree or a star, alongside the text.
- Use reclaimed pallet wood for an authentic, rustic charm.
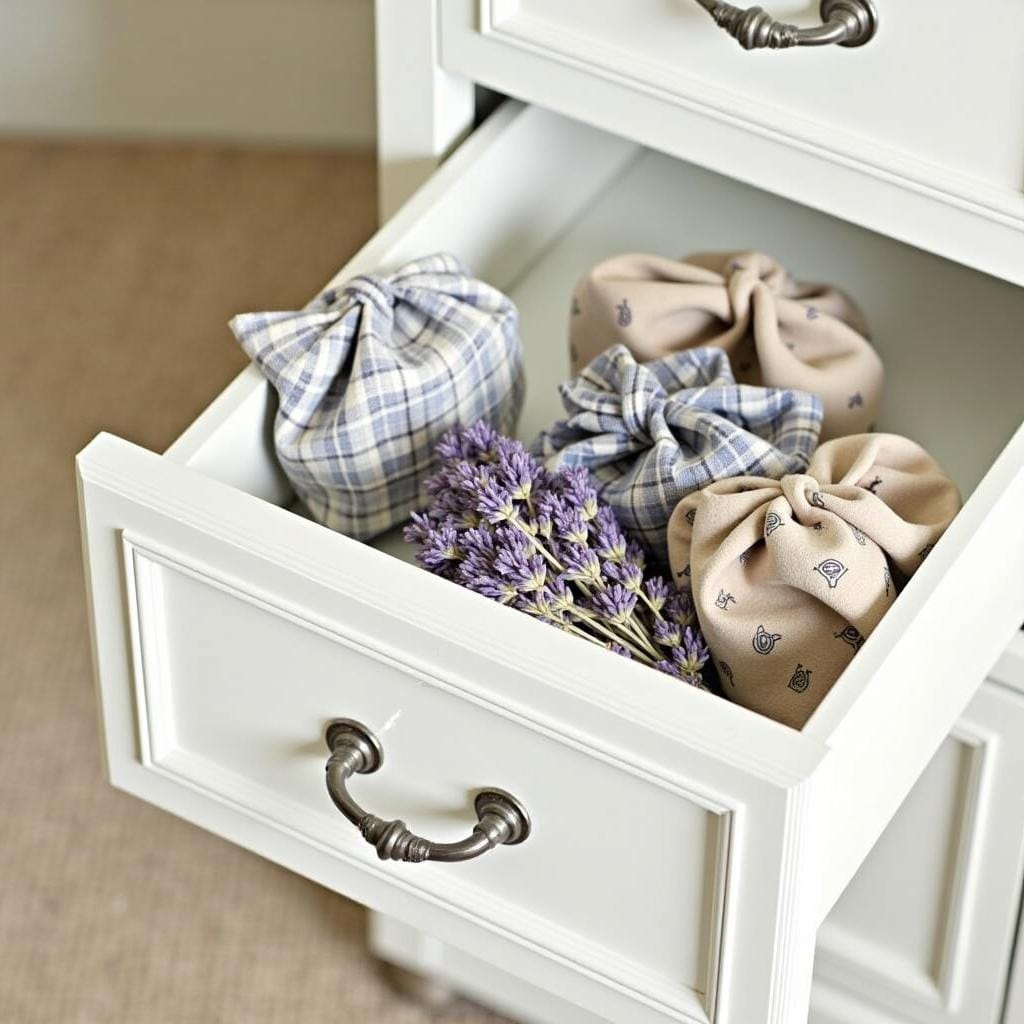
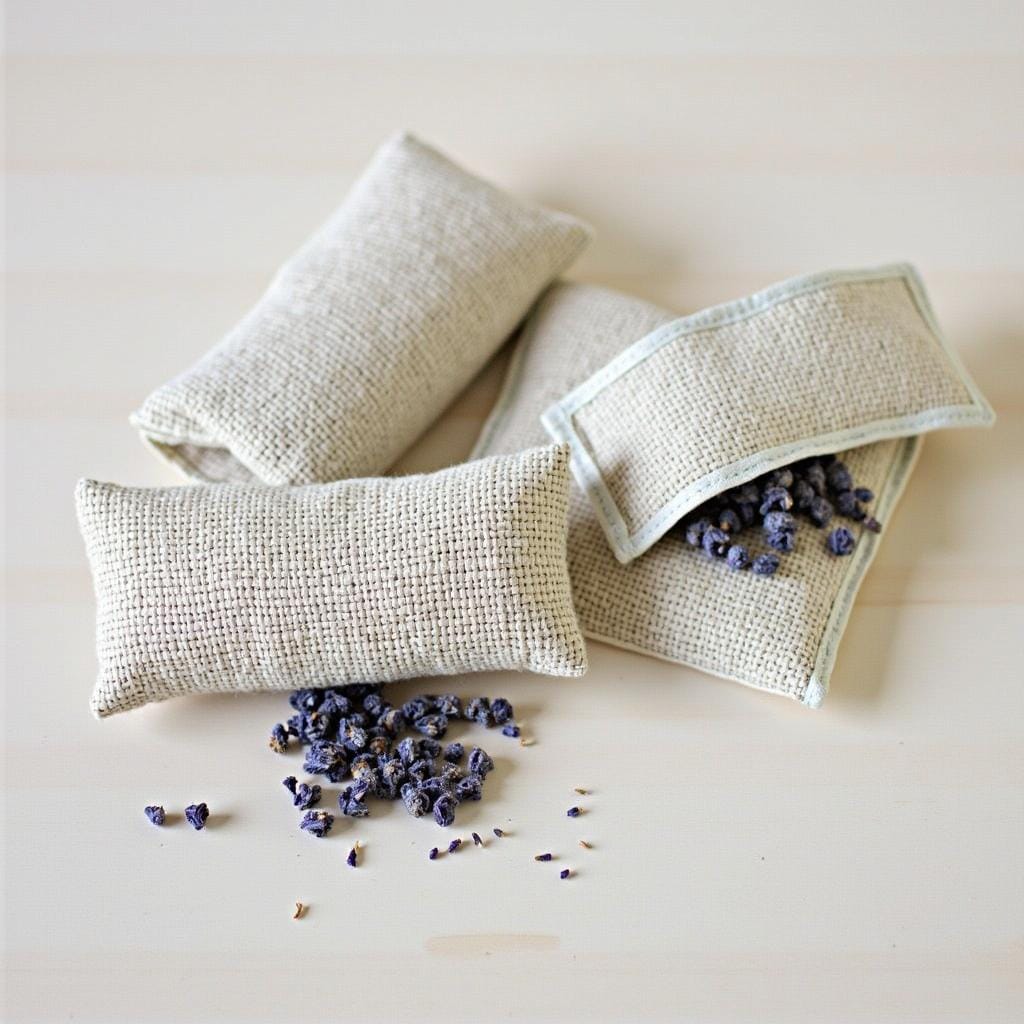
23. Aromatherapy Sachets
Fill small fabric pouches with dried lavender or other fragrant herbs. These are perfect for drawers or closets.
Pro Tips:
- Use a breathable fabric like cotton, linen, or organza to allow the scent to diffuse.
- Mix the dried herbs (like lavender or chamomile) with uncooked rice or flaxseed to add bulk and help retain the scent.
- Add a few drops of a matching essential oil to the filling to enhance and prolong the fragrance.
- Sew small, simple pouches and close them with a decorative ribbon or twine drawstring.
- For a no-sew option, use small muslin drawstring bags that are readily available at craft stores.
- Embroider a small initial or a simple flower onto the sachet for a personal touch.
- Create specific blends, such as lavender and chamomile for relaxation, or cedar and rosemary for a moth-repellent closet sachet.
- Advise the recipient to gently squeeze the sachet every few weeks to refresh the scent.
- Make them in festive shapes like stars or hearts for a holiday theme.
- Package a set of three sachets together, tied with a ribbon.
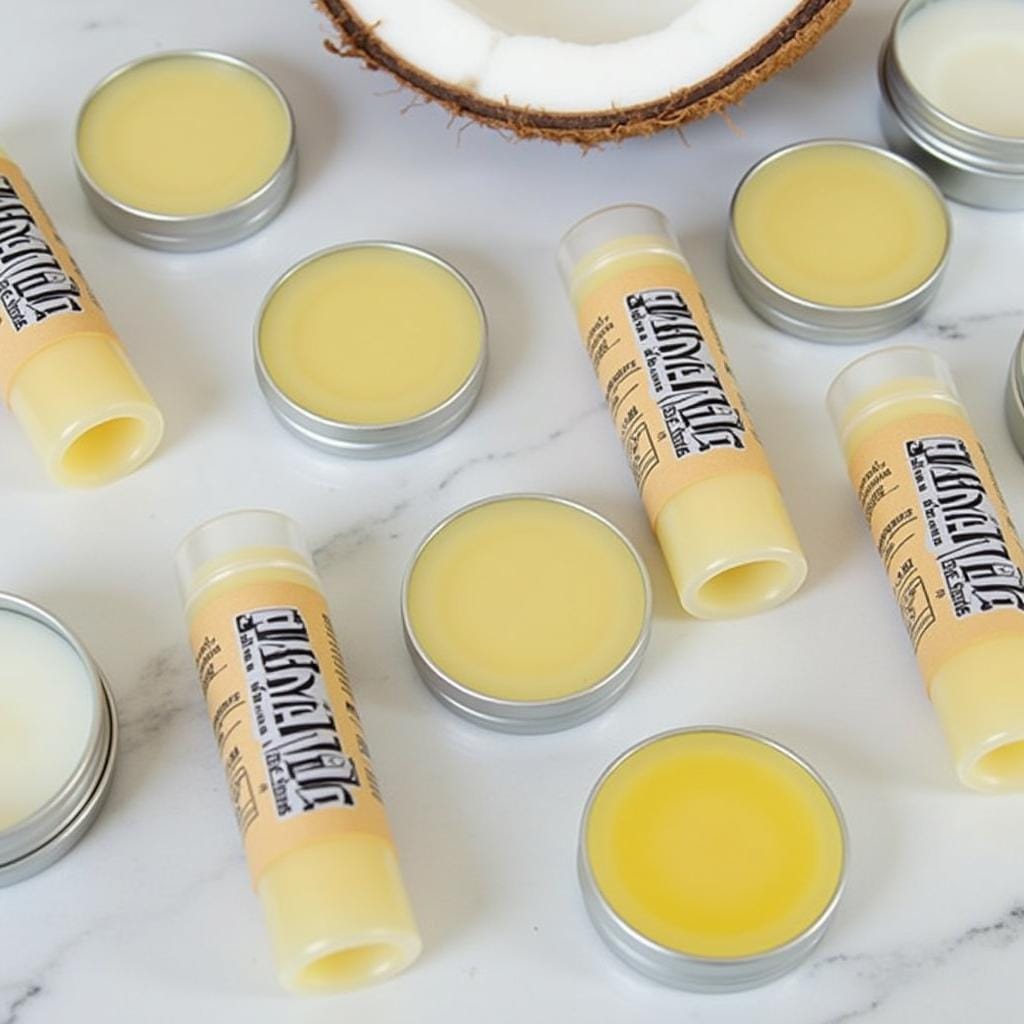
24. Hand-Poured Lip Balms
Make natural lip balms using beeswax, coconut oil, and essential oils. Package them in small tins or tubes with custom labels.
Pro Tips:
- A good starting ratio is 1 part beeswax, 1 part shea or cocoa butter, and 2 parts coconut oil.
- Use cosmetic-grade beeswax pellets as they melt much faster and more evenly than a solid block.
- Add a few drops of Vitamin E oil to help preserve the lip balm and nourish the lips.
- Use lip-safe essential oils like peppermint for a cooling tingle or sweet orange for a pleasant flavor.
- For a hint of color, add a tiny sliver of lipstick or a pinch of beetroot powder to the melted mixture.
- Use a small pipette or a funnel to transfer the hot liquid into lip balm tubes or tins without making a mess.
- Create a custom label with the “flavor” and ingredients, and use a waterproof sticker paper.
- Let the lip balms cool and set completely at room temperature; putting them in the fridge can cause them to crack.
- Make a small test batch first to ensure you are happy with the texture and scent.
- Create a “lip care kit” by gifting the lip balm with a homemade lip scrub.
25. Personalized Keychains
Create keychains using polymer clay, leather, or beads. Add initials or shapes that reflect the recipient’s personality.

Pro Tips:
- For leather keychains, use a leather stamping kit to emboss initials or a short word.
- Create marbled polymer clay by twisting two or more colors together before rolling it out.
- Remember to poke a hole for the keychain ring before baking the polymer clay.
- Use a tassel cap to give a homemade yarn or embroidery floss tassel a professional finish.
- Incorporate beads that spell out a name or a meaningful word.
- For a rustic look, use a small, sanded wood slice and transfer a design onto it with a wood-burning tool.
- Seal painted or clay keychains with a clear varnish to protect them from scratches and wear.
- Use high-quality, sturdy hardware (key rings and chains) to ensure the keychain lasts.
- Add a small charm that reflects the recipient’s hobby or interest.
- For a more advanced project, try metal stamping on a blank metal tag.
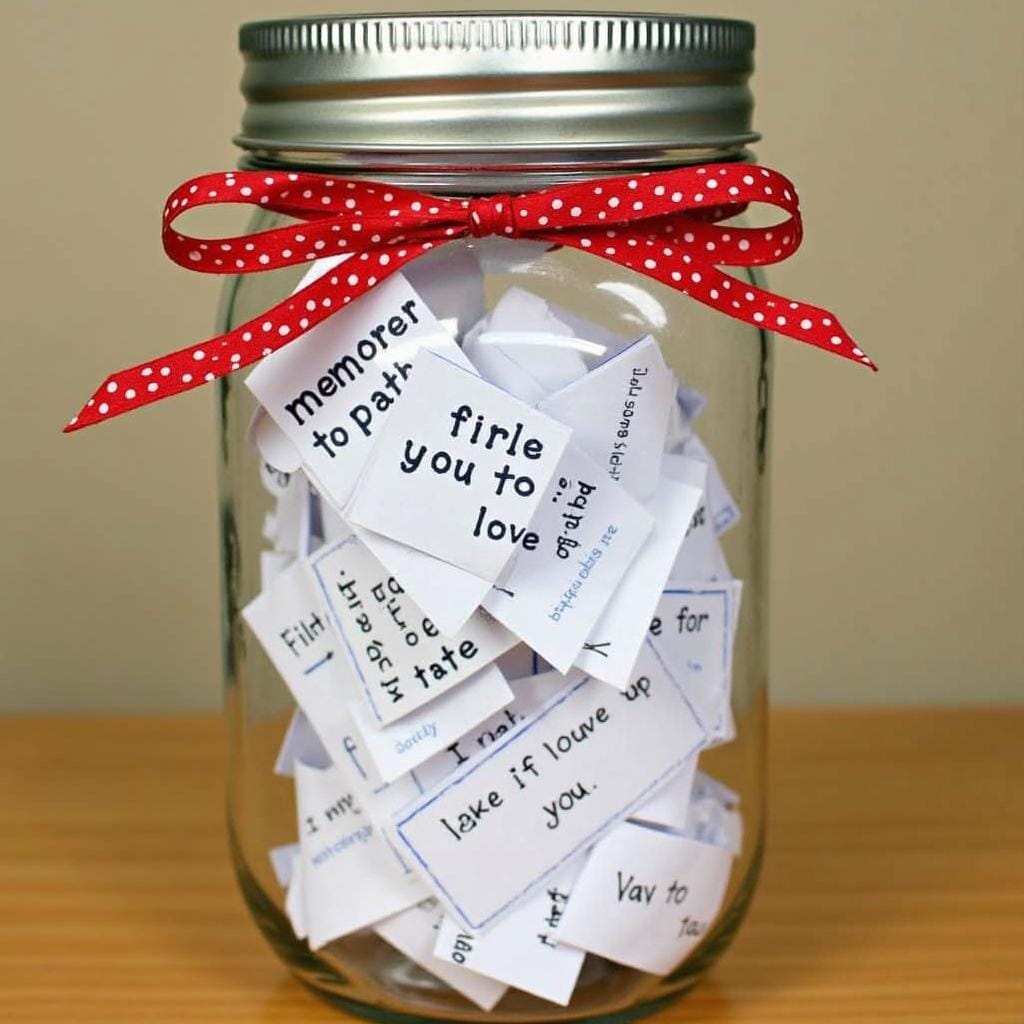
26. DIY Memory Jars
Fill a jar with handwritten memories, quotes, or reasons why you love the recipient. Decorate the jar for an extra festive touch.
Pro Tips:
- Use different colors of paper for different categories of memories (e.g., blue for “Funny Moments,” yellow for “Favorite Trips”).
- Choose a beautiful jar that the recipient will want to display.
- Instead of just memories, you can fill it with “Date Night Ideas,” “Reasons I’m Grateful For You,” or “Positive Affirmations.”
- Roll each note into a tiny scroll and tie it with a thin ribbon or string.
- Decorate the outside of the jar with paint, ribbon, or a custom-made tag.
- The tag could read something like, “Open one when you need a smile” or “A Year of Memories.”
- Involve other family members or friends, asking them to contribute their own memories for the jar.
- Use a good quality pen to ensure the writing doesn’t fade over time.
- Include a few small, blank pieces of paper and a pen so the recipient can add their own new memories.
- For a long-distance friend, create a jar of “Things To Do When We’re Reunited.”
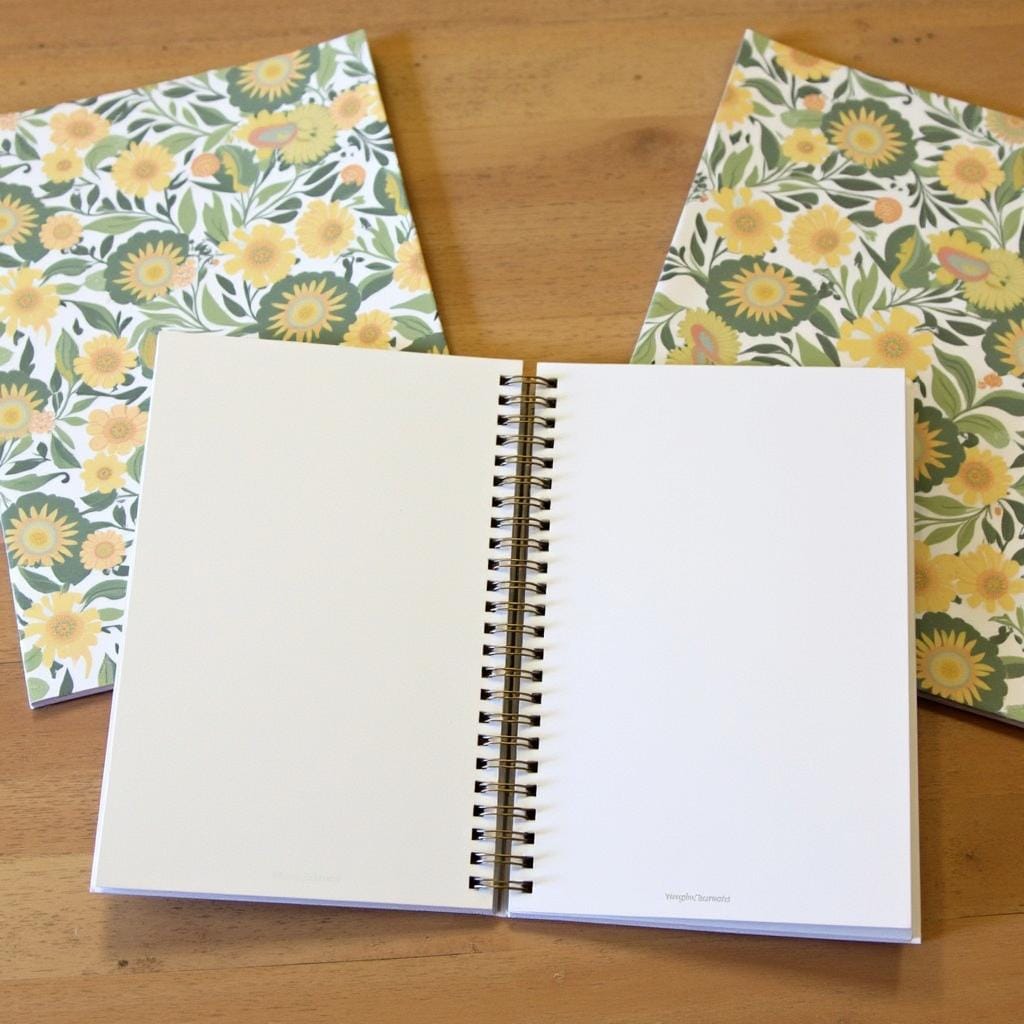
27. Handcrafted Notebooks
Make custom notebooks by binding decorative paper covers with blank pages. Personalize them for the recipient’s interests.
Pro Tips:
- Use high-quality, thick paper for the cover and good quality writing paper for the inside pages.
- A simple saddle stitch using a needle and waxed thread is an easy and durable binding method for smaller notebooks.
- Score the cover before folding it for a clean, crisp crease.
- Use a bone folder to get sharp folds on the paper and cover.
- Personalize the cover with a monogram, a favorite quote, or a hand-drawn illustration.
- Use a corner rounder for a professional, finished look.
- Create different types of notebooks, such as a bullet journal with dot-grid paper or a sketchbook with blank paper.
- Add a small pocket to the inside cover for holding receipts or notes.
- For a more advanced project, try Coptic stitch binding, which allows the notebook to lie completely flat when open.
- Tie the notebook with a ribbon and gift it with a beautiful pen.
28. DIY Festive Wreaths
Craft holiday wreaths using pinecones, ribbons, or faux greenery. These can be hung on doors or used as table centerpieces.

Pro Tips:
- Start with a sturdy base, like a grapevine, wire, or foam wreath form.
- Use a hot glue gun to securely attach your elements to the wreath base.
- Create visual interest by layering different textures, such as shiny ornaments, matte pinecones, and soft ribbons.
- Work in clusters or groups of three when adding elements like pinecones or baubles for a more natural, pleasing look.
- For a symmetrical look, divide the wreath into quadrants and mirror your design.
- Incorporate unconventional elements like dried citrus slices, cinnamon sticks, or faux berries.
- Create a lush, full-looking wreath by attaching smaller sprigs of faux greenery to fill in any gaps.
- Choose a color palette of two or three complementary colors for a cohesive design.
- A large, beautifully tied bow can be the perfect finishing touch.
- Make a small loop of floral wire on the back of the wreath for easy hanging.
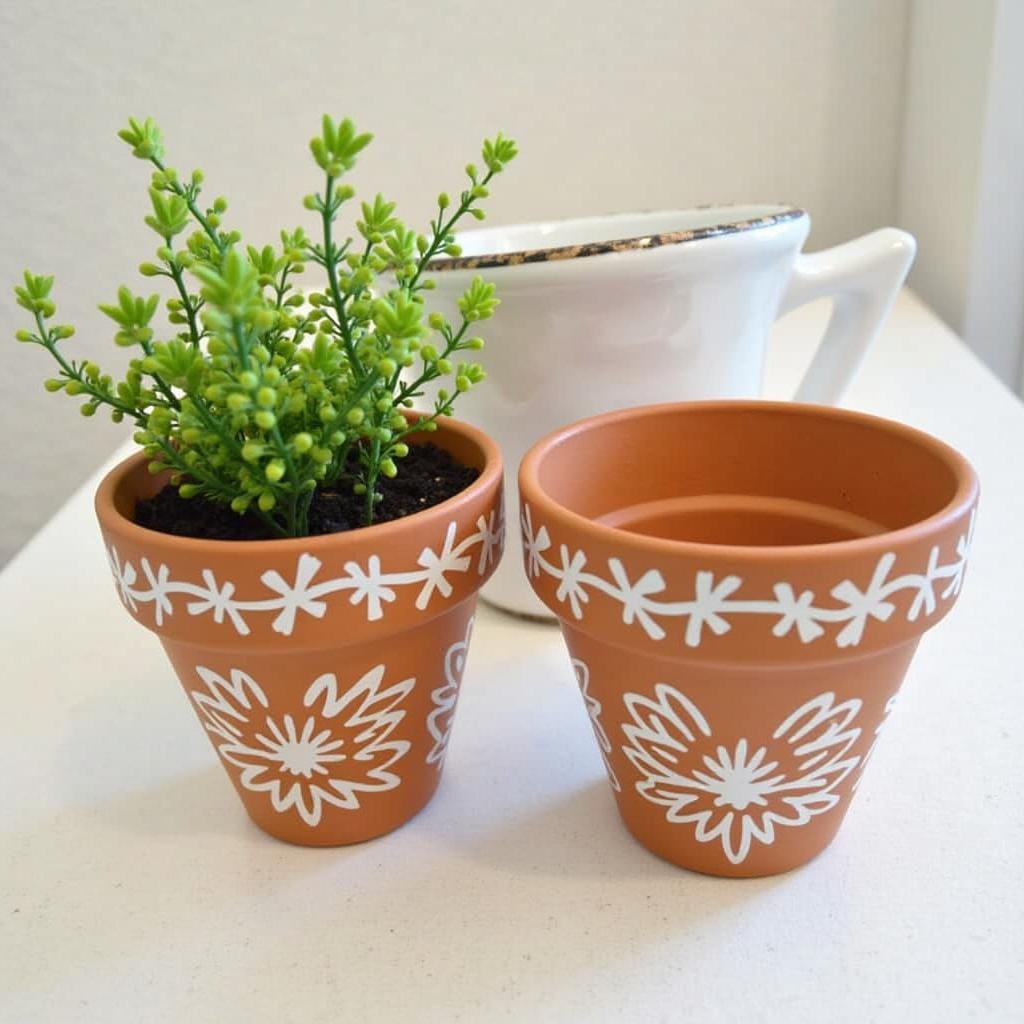
29. Painted Flower Pots
Decorate terracotta pots with paint or stencils. Pair them with a small plant or herb for a delightful gift.
Pro Tips:
- Seal the inside of the terracotta pot with a waterproof sealant before planting to prevent water from leaching through and damaging your design.
- Apply a coat of gesso or a white primer to the outside of the pot before painting to make your colors pop.
- Use acrylic craft paint and seal the finished design with a clear outdoor-grade sealant to protect it from the elements.
- Use painter’s tape to create crisp, geometric patterns or a simple color-dipped look.
- For a fun effect, use chalk paint and write the name of the herb on the pot.
- Use a paint pen for fine details, lettering, or drawing intricate patterns.
- Decoupage the pot with fabric or decorative napkins for a unique, textured look.
- Gift the pot with a small bag of soil and a packet of seeds for a complete “grow your own” kit.
- Don’t forget to paint the matching saucer.
- Pair the pot with a low-maintenance plant like a succulent or a useful kitchen herb like basil or mint.
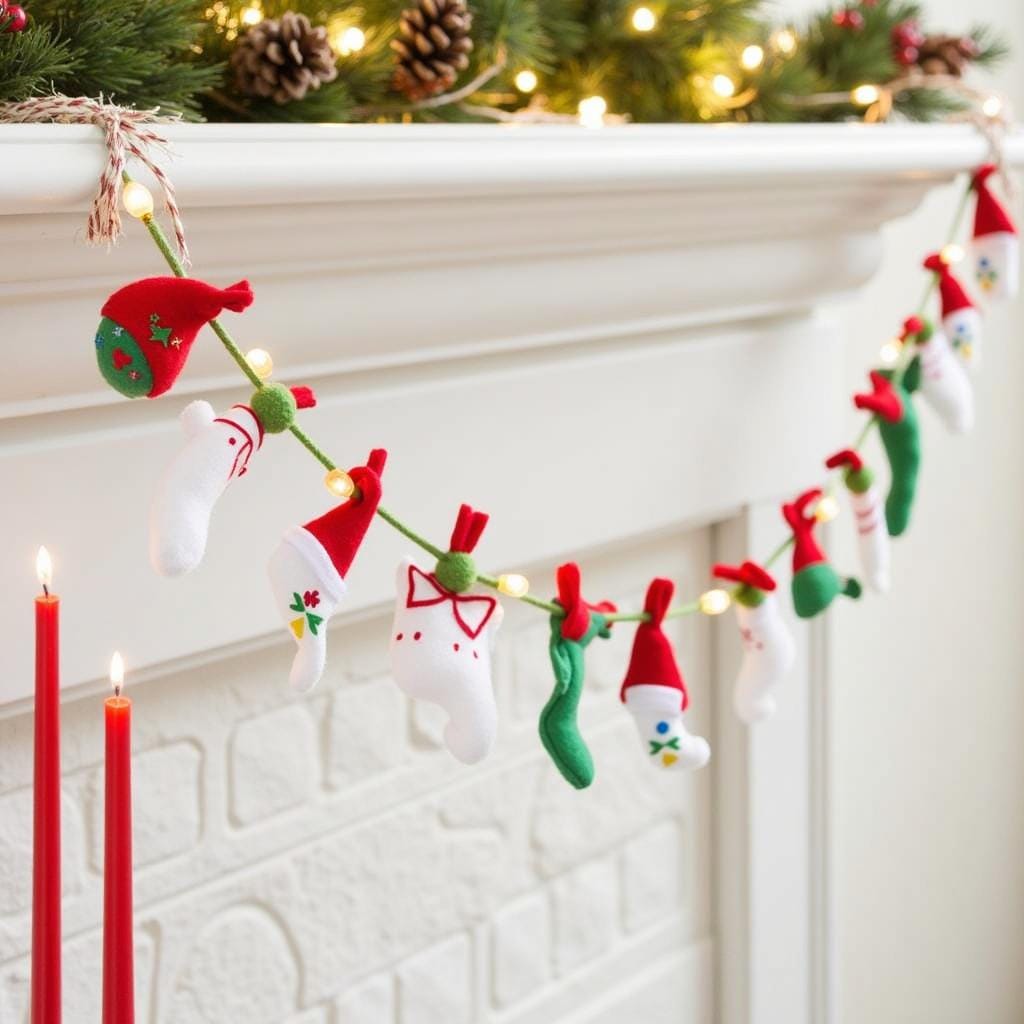
30. DIY Holiday Garlands
Make festive garlands using felt, paper, or string lights. These add a personal touch to holiday decorations and are easy to create.

Pro Tips:
- For a felt garland, use a die-cutting machine or cookie cutters as stencils to create uniform shapes like stars, trees, or circles.
- Create a 3D paper garland by sewing through the middle of several layered paper shapes.
- String dried orange slices, cranberries, and cinnamon sticks onto twine for a natural, fragrant garland.
- For a photo garland, use miniature clothespins to attach photos to a string of fairy lights.
- Make felt ball garlands by stringing colorful felt balls onto embroidery floss with a large needle.
- Leave plenty of extra string on both ends for easy hanging.
- Create a tassel garland using yarn in a festive color palette.
- For a reusable advent calendar, sew small felt pockets onto a long ribbon garland.
- Use a hot glue gun to attach your shapes to the string for a no-sew option.
- For a wintery look, spray paint small pinecones white or silver before stringing them.
Conclusion
Homemade gifts are a wonderful way to show thoughtfulness and creativity during the holiday season. With these 30 ideas, you can create meaningful presents that your loved ones will treasure. Take the time to craft something special and make this Christmas unforgettable!