
Living in a rental can sometimes feel like you’re living in someone else’s space. With restrictions on painting, drilling, and making permanent changes, it can be challenging to make a temporary house feel like a true home.
However, a limited lease doesn’t mean you have to have limited style. The key is to think creatively and embrace the world of temporary decor.
This guide provides 30 trendy, damage-free ideas to help you infuse your personality into every room, ensuring you can take your style with you when you leave, along with your full security deposit.
Walls of Wow (Without the Worry)
Your walls are the largest canvas in your home. While painting might be off-limits, there are countless ways to make a big impact without leaving a trace.
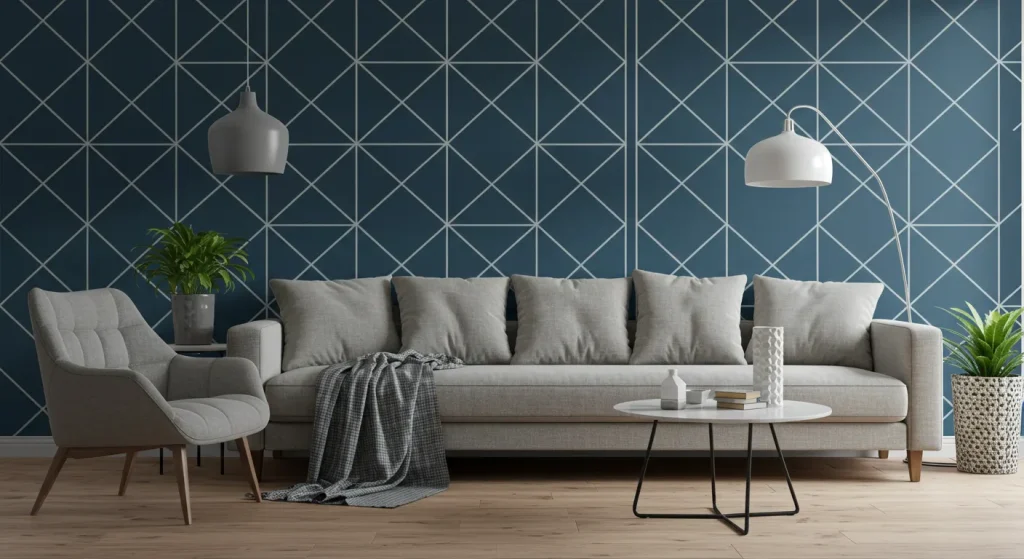
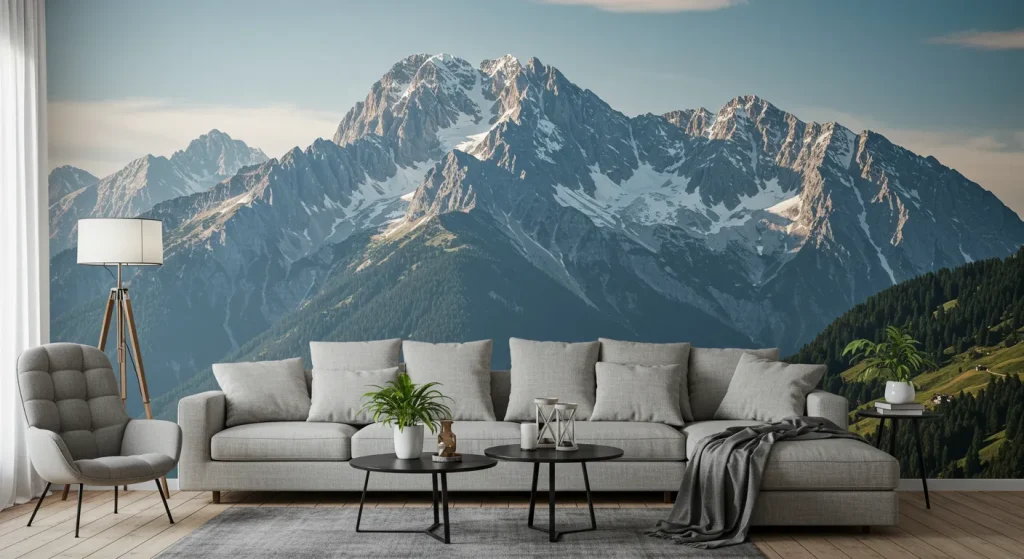
1. Peel-and-Stick Wallpaper
This is the ultimate game-changer for renters. Removable wallpaper comes in thousands of patterns and textures, allowing you to create a dramatic accent wall or even cover an entire room without any long-term commitment.
DIY Tips:
- Start with a clean, smooth wall for the best adhesion.
- Use a squeegee or a credit card to smooth out air bubbles as you apply.
- For a forgiving application, choose a pattern with a busy or organic design that hides small mistakes.
2. Large-Scale Wall Decals
From geometric shapes to botanical illustrations, wall decals can add a pop of personality or a sophisticated mural-like effect. They are easy to apply and peel off cleanly when it’s time to move.
DIY Tips:
- Map out your design with painter’s tape before you start peeling and sticking.
- Cut larger decal sheets into smaller, more manageable sections for easier application.
- Keep the backing paper if you plan to move the decals to a new home.
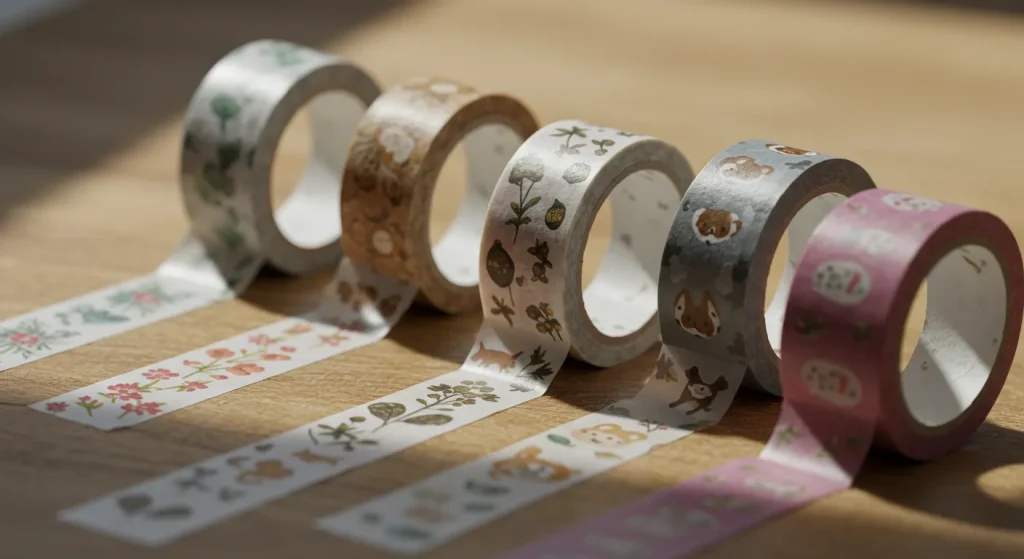
3. Washi Tape Designs
This decorative Japanese tape is gentle on walls and comes in endless colors and patterns. Use it to create geometric patterns, faux picture frames, or even a wallpaper-like design.
DIY Tips:
- Use a level and a ruler to create crisp, straight lines for geometric patterns.
- Layer different colors and widths of tape for a more dynamic look.
- This is a great way to create a faux “headboard” design behind your bed.
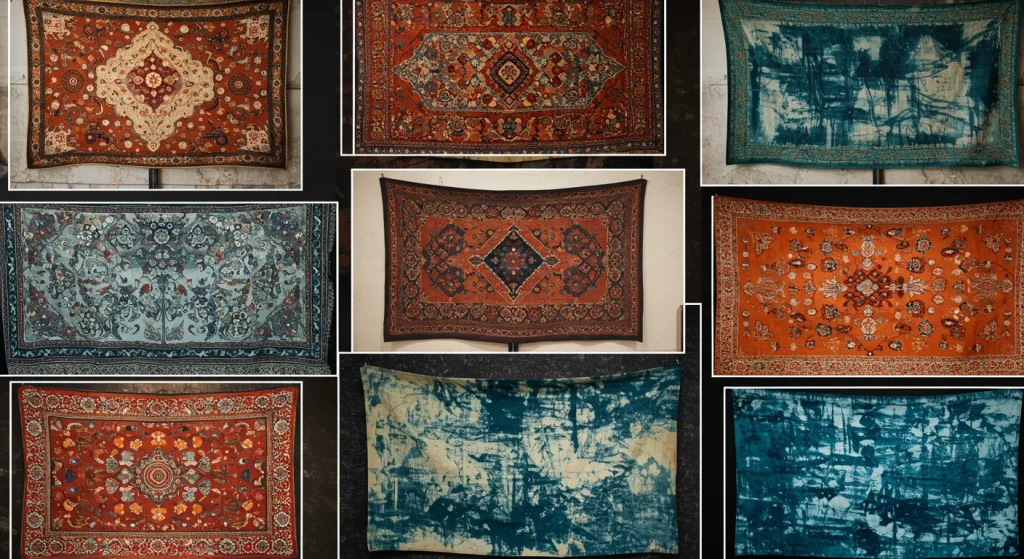
4. Fabric Wall Hangings & Tapestries
A large tapestry or a beautiful piece of fabric can cover a significant amount of wall space, adding color, pattern, and a soft texture to a room.
DIY Tips:
- Use a lightweight curtain rod or a simple wooden dowel to hang your fabric for a polished look.
- For a no-holes approach, use several heavy-duty removable hooks to support the rod.
- A tapestry can be a great way to hide unsightly features like an old fuse box or a poorly placed thermostat.
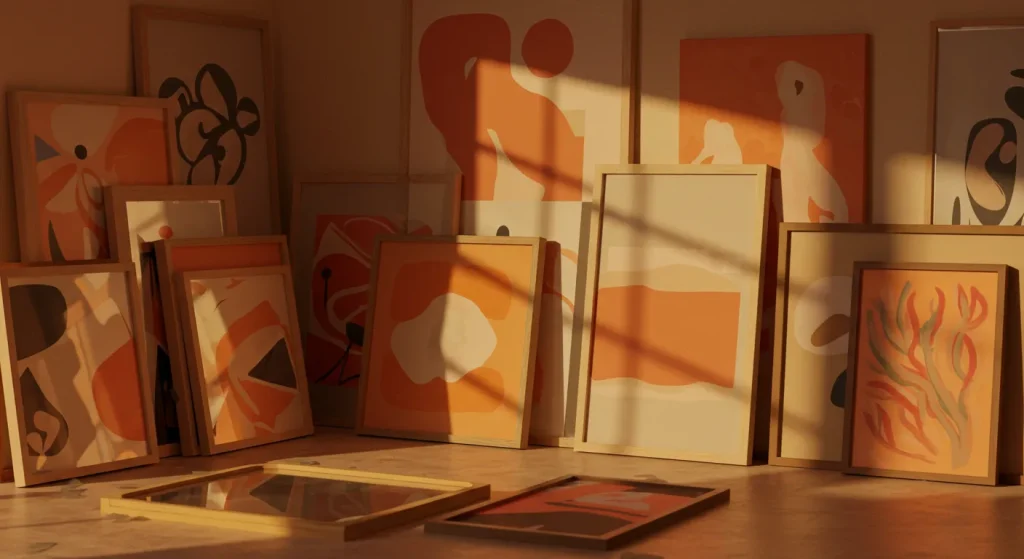
5. Leaning Art & Mirrors
Who says art has to be hung? A large, framed piece of art or a full-length mirror leaned against a wall creates a chic, casual, and layered look that requires zero holes.
DIY Tips:
- Place a small piece of non-slip rug pad under the bottom edge of the frame to prevent it from sliding.
- Layer smaller framed pieces in front of a larger mirror for a dynamic and collected feel.
- This technique works especially well on top of a console table, mantel, or dresser.
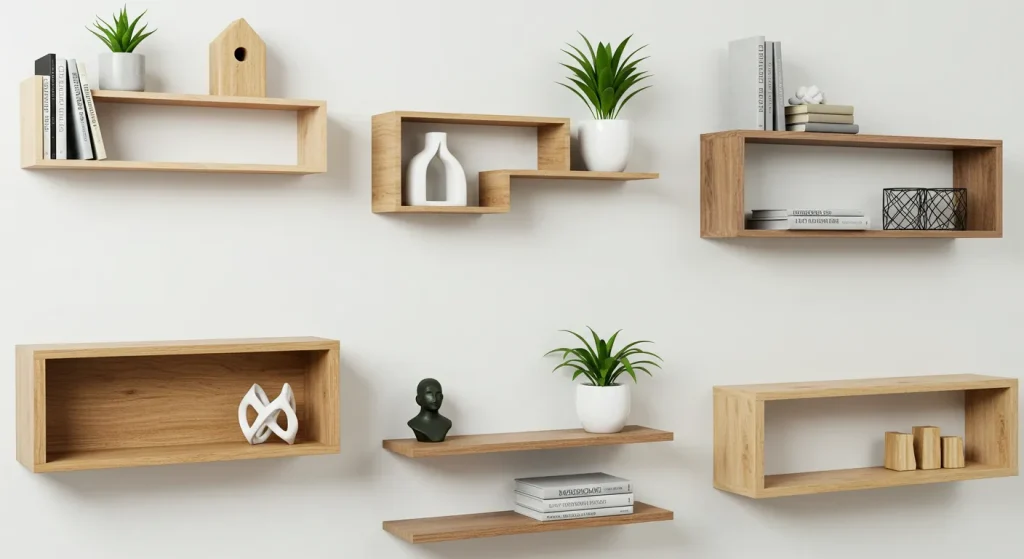
6. Removable Wall Shelves
Many companies now offer stylish shelving units that adhere to the wall with strong, removable strips, allowing you to display your favorite objects without drilling into studs.
DIY Tips:
- Always check the weight limit for the shelves and strips before loading them up.
- Clean the wall with rubbing alcohol before applying the adhesive strips for the strongest bond.
- Arrange shelves in an asymmetrical pattern for a more modern, interesting display.
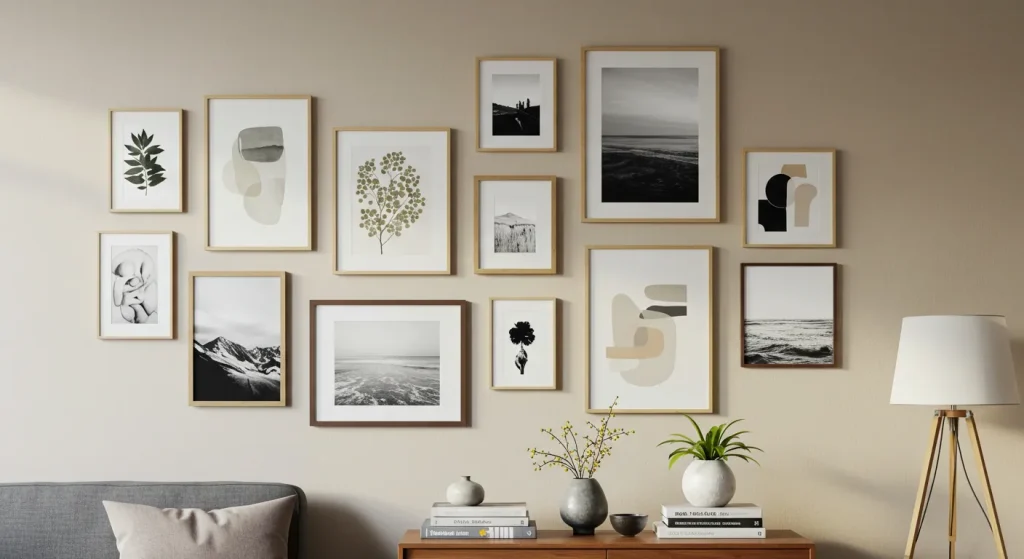
7. Gallery Wall with Command Strips
You can still have that coveted gallery wall. Picture-hanging strips are strong enough to hold a variety of frame sizes and come off cleanly, making them a renter’s best friend.
DIY Tips:
- Plan your layout on the floor first, tracing each frame onto paper and taping the paper to the wall to perfect your arrangement.
- Use a level to ensure each frame is perfectly straight.
- Use two or more pairs of strips for heavier or larger frames for extra security.
Floor & Furniture Facelifts
Don’t let drab floors or uninspired furniture get you down. These simple swaps and additions can completely transform the look and feel of your space.
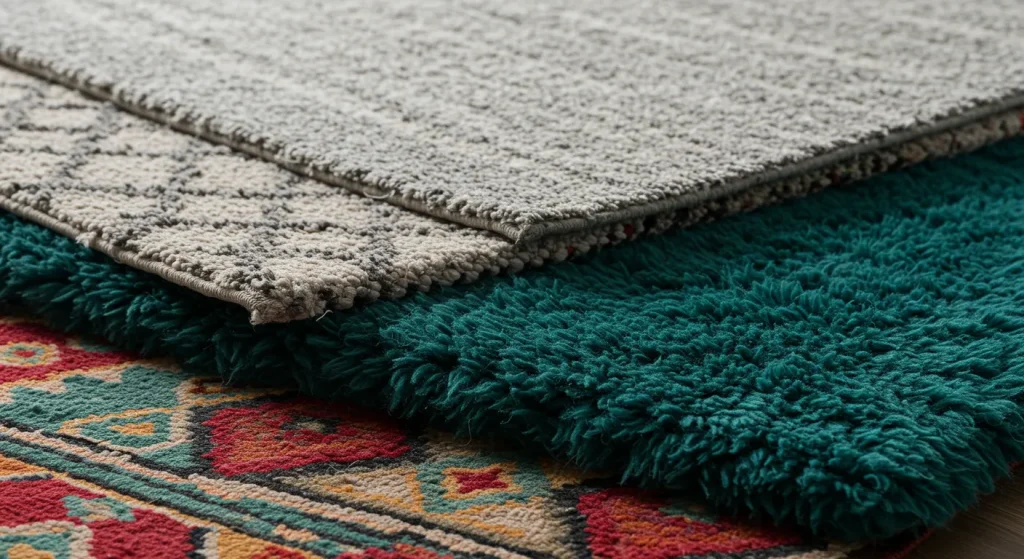
8. Layered Rugs
A large, neutral rug (like jute or sisal) can cover up flooring you don’t love, while a smaller, more colorful or patterned rug layered on top adds personality and defines a space.
DIY Tips:
- When layering, make sure the top rug is significantly smaller than the bottom one to look intentional.
- Use a non-slip rug pad under both rugs to keep them in place.
- Don’t be afraid to mix textures, like a fluffy shag rug over a flatweave jute.
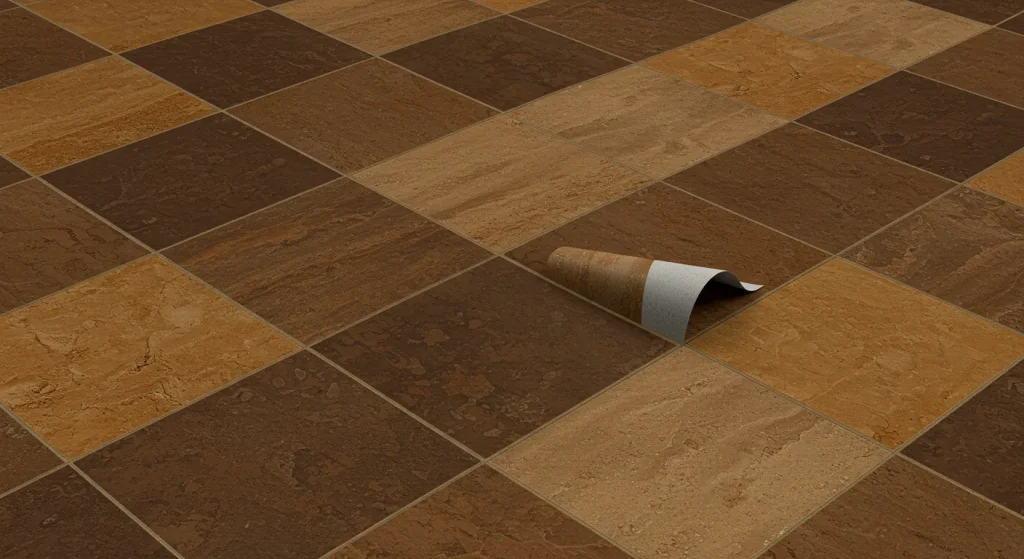
9. Peel-and-Stick Floor Tiles
For dated linoleum in a bathroom or kitchen, removable floor tiles (or floor decals) can offer a stunning and durable temporary upgrade.
DIY Tips:
- Thoroughly clean and dry the existing floor before application.
- Start from the center of the room and work your way out for a symmetrical look.
- Keep a few extra tiles on hand for any potential replacements needed during your tenancy.
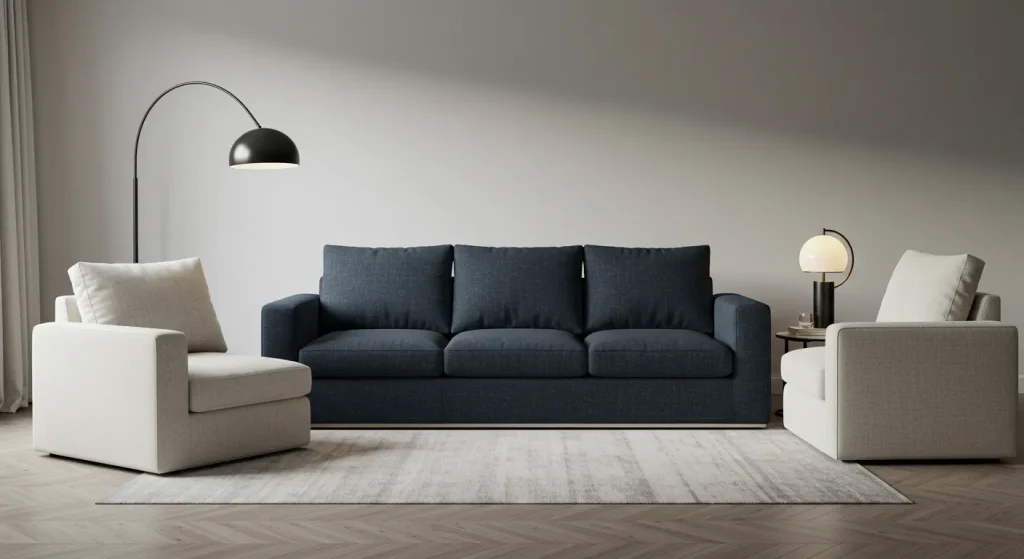
10. Furniture with Removable Slipcovers
Invest in a sofa or armchair with a removable, washable slipcover. This allows you to change the color and style of your main furniture pieces easily and keep them clean.
DIY Tips:
- If your existing sofa doesn’t have a slipcover, you can purchase a stretchy, universal one online.
- Choose a neutral-colored slipcover for your main sofa and add color with throw pillows and blankets.
- Linen or cotton slipcovers offer a relaxed, comfortable look, while velvet can feel more luxurious.
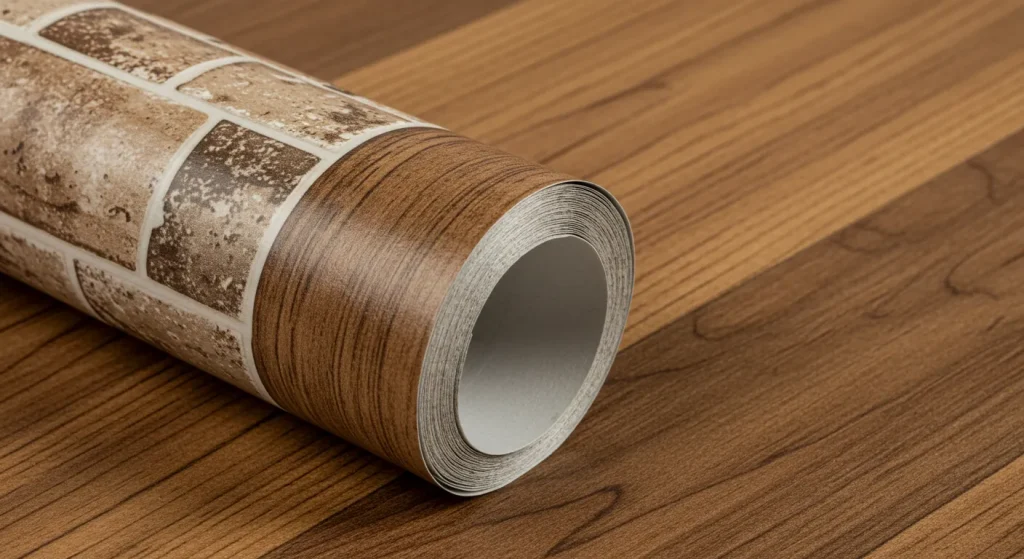
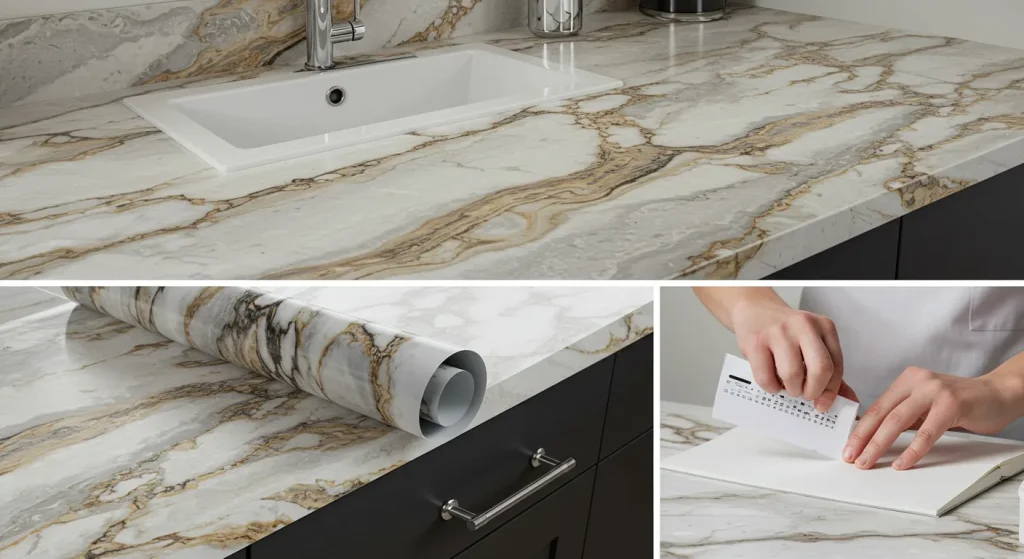
11. Contact Paper for Surfaces
Give a tired desk, dresser, or even a kitchen counter a new lease on life with removable contact paper. It comes in countless finishes, from marble and wood grain to bold, graphic patterns.
DIY Tips:
- Use a hairdryer on a low setting to help the contact paper adhere around curved edges.
- An X-Acto knife will give you the cleanest, most precise cuts.
- If you get an air bubble, prick it with a small pin and smooth it out.
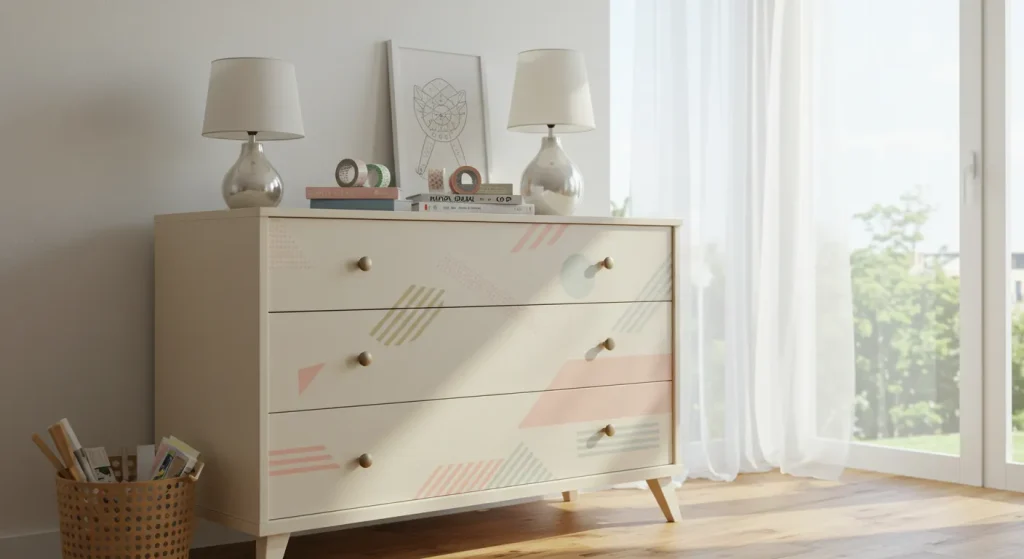
12. Swapping Out Hardware
One of the easiest and most impactful changes you can make is swapping out generic cabinet pulls, knobs, and drawer handles for something more stylish.

DIY Tips:
- Carefully store all the original hardware in a labeled bag.
- Take one of the original knobs or pulls with you when you go shopping to ensure the new hardware will fit the existing holes.
- This is a fantastic way to upgrade a kitchen or bathroom with minimal effort.
13. Tension Rod Solutions
Tension rods aren’t just for showers. Use them inside window frames to hang lightweight curtains, inside bookcases to create partitions, or under a sink to hang cleaning supplies.
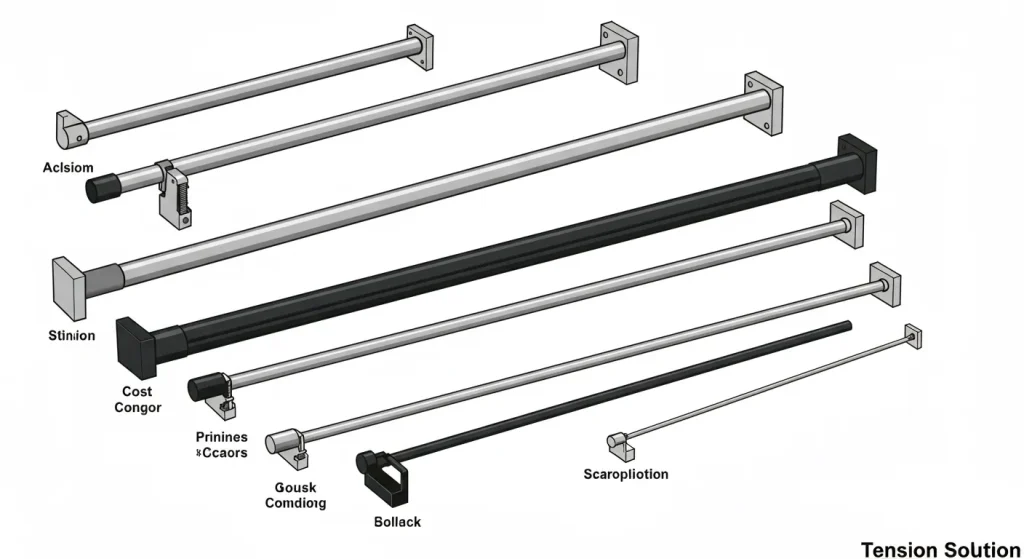
DIY Tips:
- Use a small tension rod inside a kitchen window to hang a few small herb pots.
- Create a “canopy” bed effect by using tension rods on either side of the bed to hang sheer fabric panels.
- Place one in an entryway closet to add an extra rod for hanging scarves and bags.
14. Washi Tape Furniture Accents
Use washi tape to add a pop of color or pattern to the edges of shelves, the front of dresser drawers, or to create a design on a plain tabletop.
DIY Tips:
- Choose a high-quality washi tape that is easily removable.
- Create a simple geometric pattern on the front of a plain white dresser for a custom look.
- This is a fun and easy way to update a child’s furniture temporarily.
Lighting & Ambiance
Good lighting is crucial for making a space feel warm and inviting. Since you can’t change the hardwired fixtures, focus on adding your own layers of light.
15. Plug-In Wall Sconces
Get the sophisticated look of a hardwired sconce without needing an electrician. These plug-in versions simply mount to the wall and have a cord that runs down to an outlet.
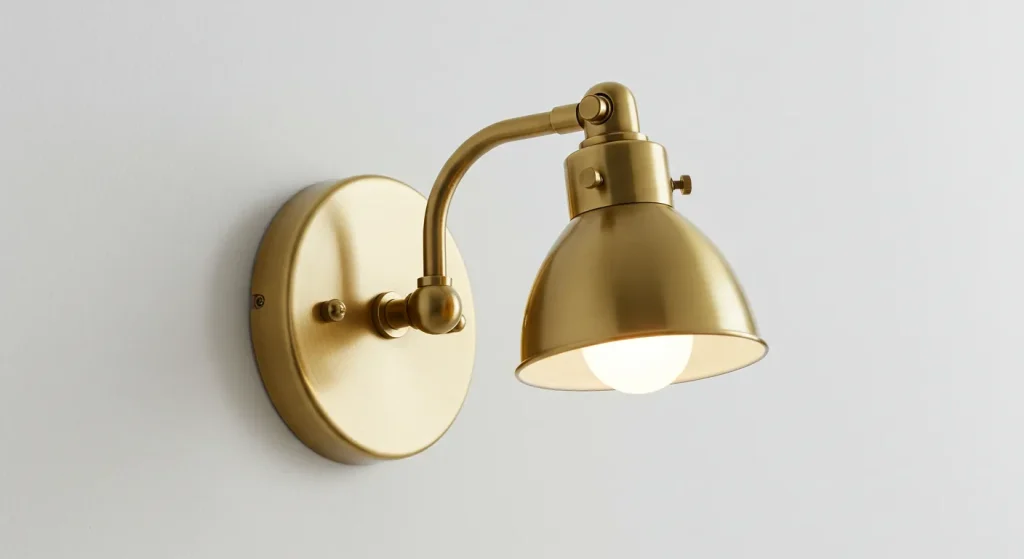
DIY Tips:
- Use a cord cover painted the same color as your wall to make the cord virtually disappear.
- Install a pair of plug-in sconces on either side of your bed to free up space on your nightstands.
- Choose sconces with a dimmer switch to easily control the ambiance.
16. Statement Floor Lamps
A beautiful floor lamp can act as a sculptural piece of art while also providing much-needed light. An arc lamp can elegantly hover over a sofa, providing overhead light without ceiling installation.
DIY Tips:
- Place a floor lamp in a dark corner to brighten it up and make the room feel larger.
- Use smart bulbs in your lamps to control the color and brightness from your phone.
- A tripod floor lamp adds a cool, mid-century modern vibe to a space.
17. String Lights & Fairy Lights
String lights aren’t just for the holidays. They can add a magical, cozy glow to any room. Drape them around a headboard, a mirror, or along the ceiling line.

DIY Tips:
- Use clear, removable hooks to hang string lights without damaging the walls.
- “Curtain” style fairy lights look beautiful hung behind a sheer curtain panel.
- Battery-operated fairy lights can be placed in a glass cloche or a large jar to create a magical lantern.
18. Removable Window Film
If you have less-than-ideal views or need more privacy, removable window film is a stylish solution. It comes in various patterns, from frosted and stained glass to geometric designs.
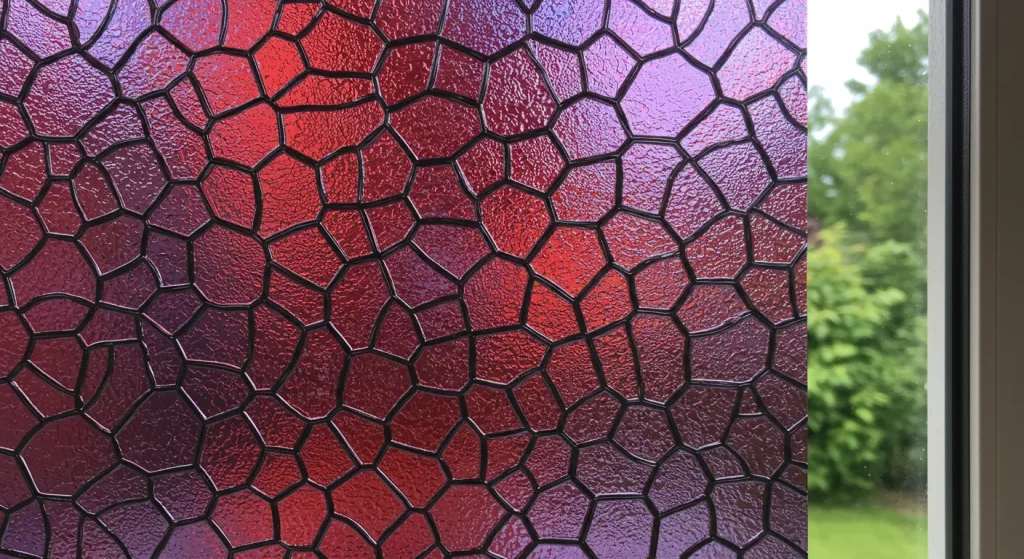
DIY Tips:
- Application is easy: just spray the window with soapy water, apply the film, and squeegee out the excess water and bubbles.
- A frosted film can diffuse harsh sunlight while still letting in plenty of natural light.
- This is a great solution for ground-floor apartments or bathrooms.
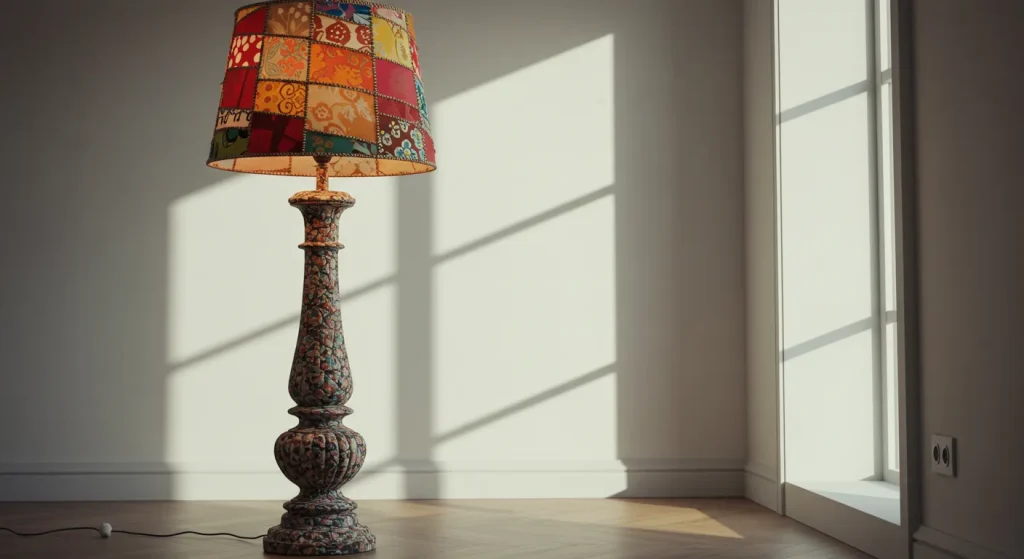
19. Upgrading Lampshades
If you’re stuck with a generic lamp base, you can instantly upgrade its look by swapping out the lampshade for something more modern, colorful, or textured.
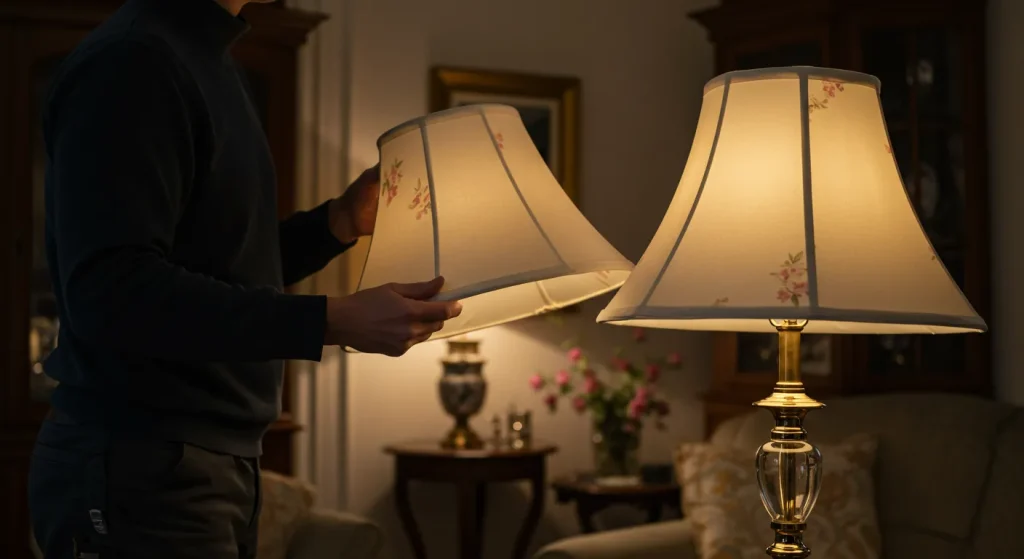
DIY Tips:
- A drum-shaped shade provides a more modern look, while a tapered shade is more traditional.
- Don’t be afraid to play with color or pattern on your lampshades, especially in a neutral room.
- You can easily cover an existing plain shade with new fabric using spray adhesive.
Kitchen & Bath Upgrades
These high-traffic areas can often feel the most generic in a rental. These easy fixes will add major style and function.
20. Peel-and-Stick Backsplash
Give your kitchen or bathroom a major facelift with a peel-and-stick tile backsplash. They are designed to withstand heat and moisture and look remarkably like real tile.
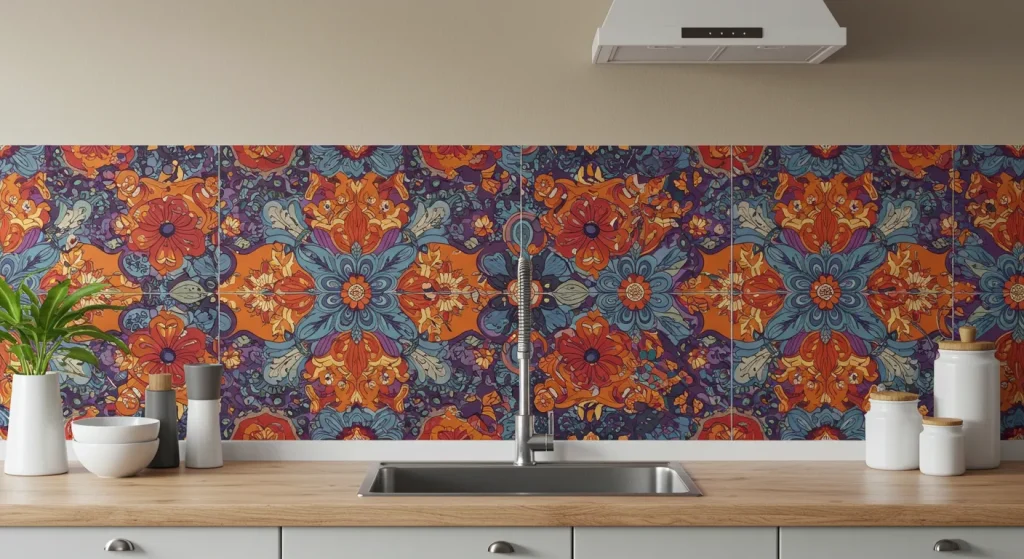
DIY Tips:
- Choose a design that complements your existing countertops and cabinets.
- Overlap the tiles slightly as you apply them for a seamless, grout-like look.
- Make sure the wall is clean and free of grease before you begin.
21. Tension Rod Under-Sink Skirt
If you have an exposed pedestal sink, use a small tension rod and a piece of fabric to create a simple skirt. This hides plumbing and adds a bit of storage space.
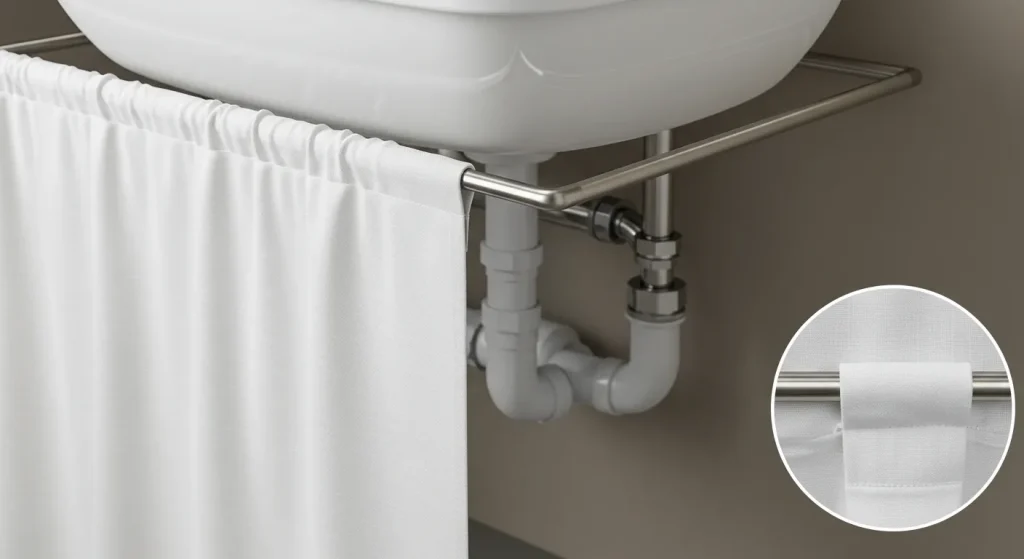
DIY Tips:
- Use fabric with a fun pattern to add a pop of color to your bathroom.
- Attach the fabric to the rod using clip-on curtain rings for easy removal and washing.
- This is a charming, cottage-style solution for adding softness to a bathroom.
22. Over-the-Cabinet Towel Bars
Instantly add towel storage in your kitchen or bathroom with hooks and bars that simply hang over the top of your cabinet doors.

DIY Tips:
- Place a small felt pad on the back of the hook to prevent it from scratching your cabinets.
- Use one on the inside of a kitchen cabinet door to hang pot lids or cutting boards.
- These are also great for hanging hair tools like flat irons and blow dryers.
23. Removable Countertop Film
Similar to contact paper but often thicker and more durable, countertop film can temporarily cover dated or damaged laminate countertops with a fresh, new look like marble or granite.
DIY Tips:
- Patience is key for a smooth application. Work in small sections to avoid bubbles.
- Overlap seams slightly and try to place them in less conspicuous areas.
- Always use cutting boards and trivets, as the film is not as durable as a real stone countertop.
24. Upgraded Shower Head
Swapping out a basic, low-pressure shower head for a modern, high-pressure, or rainfall version is a small change that can make a huge difference in your daily routine.

DIY Tips:
- You typically only need a wrench and some plumber’s tape to make this easy swap.
- Keep the original shower head in a safe place to reinstall before you move out.
- This is a luxurious and affordable upgrade that you can take with you to your next home.
Greenery & Personal Touches
The final layers of decor are what truly make a space feel like your own. Plants, textiles, and smart storage solutions bring life and personality to your rental.
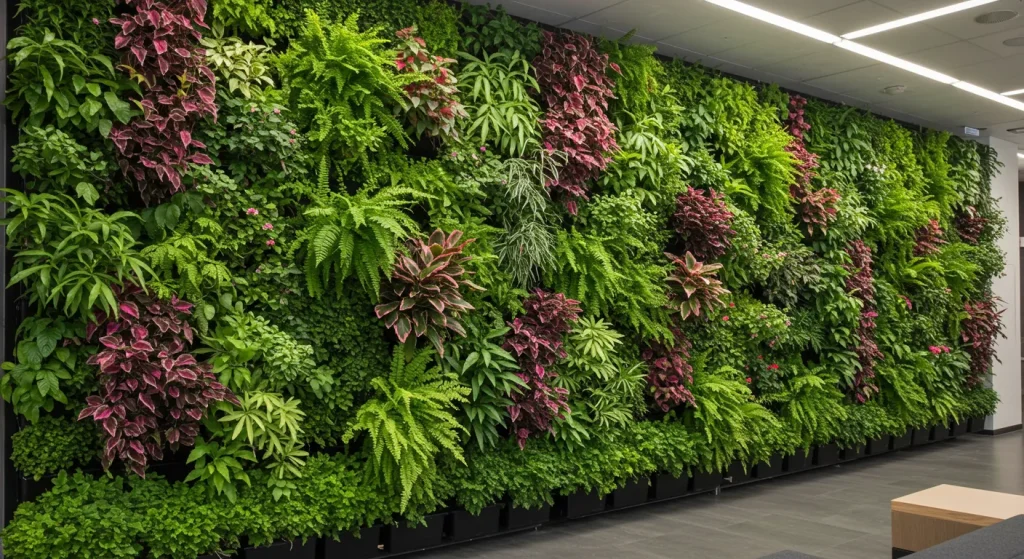
25. Vertical Plant Walls
If you’re short on floor space, go vertical. Use a leaning ladder shelf or a series of tension rods to display a collection of hanging plants.
DIY Tips:
- Choose low-maintenance plants like pothos or snake plants if you’re new to plant care.
- Use macrame plant hangers to add a bohemian, textural element.
- A vertical herb garden in the kitchen is both beautiful and functional.
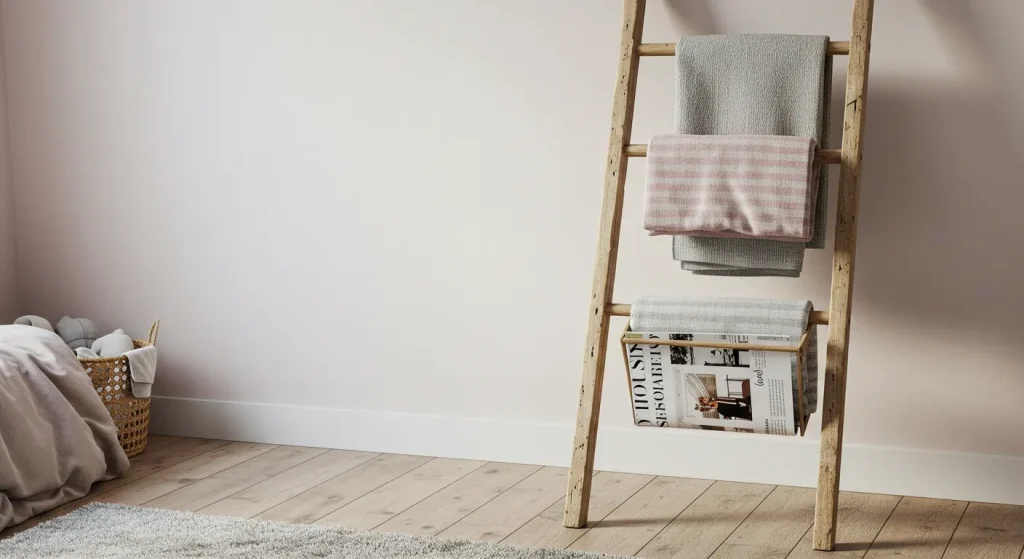
26. Leaning Ladder for Blankets & Magazines
A decorative wooden or metal ladder leaned against a wall is a stylish and practical way to store and display throw blankets, towels, or magazines.
DIY Tips:
- Drape a string of fairy lights around the ladder for a cozy, ambient glow.
- Use S-hooks to hang small baskets or plants from the rungs.
- This is a great solution for adding vertical storage to a small living room or bathroom.
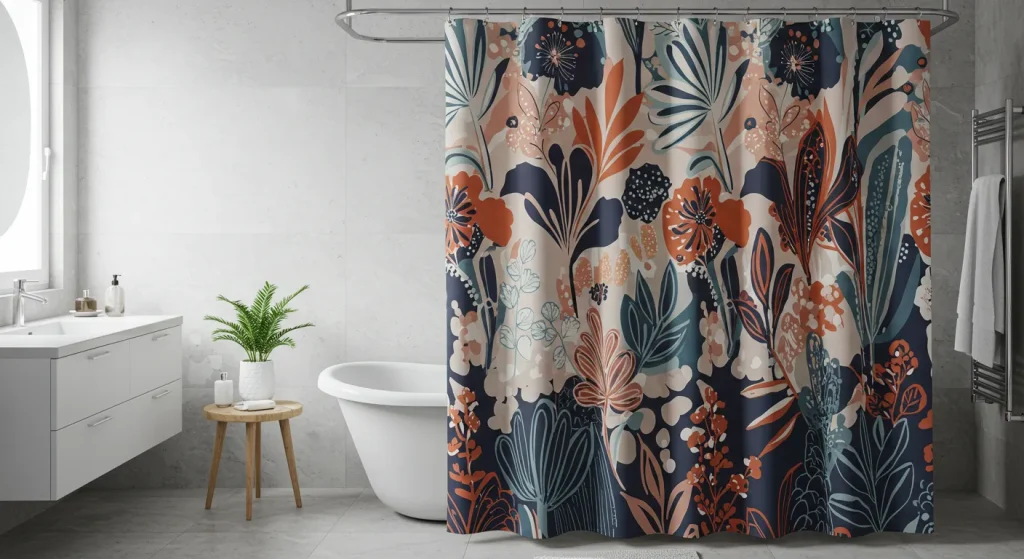
27. Statement Shower Curtain
The shower curtain is the largest piece of fabric in your bathroom, so make it count. Choose a bold pattern, a beautiful piece of art, or a high-quality fabric to instantly elevate the space.
DIY Tips:
- Use a fabric shower curtain with a separate liner for a more luxurious feel.
- Coordinate your bath mat and towels with a color from the shower curtain for a cohesive look.
- This is one of the easiest and most affordable ways to completely change the look of a bathroom.
28. Decorative Trays for Organization
Use trays to corral clutter on coffee tables, dressers, and bathroom counters. Grouping small items like remote controls, perfumes, or jewelry on a tray makes them look intentional and organized.
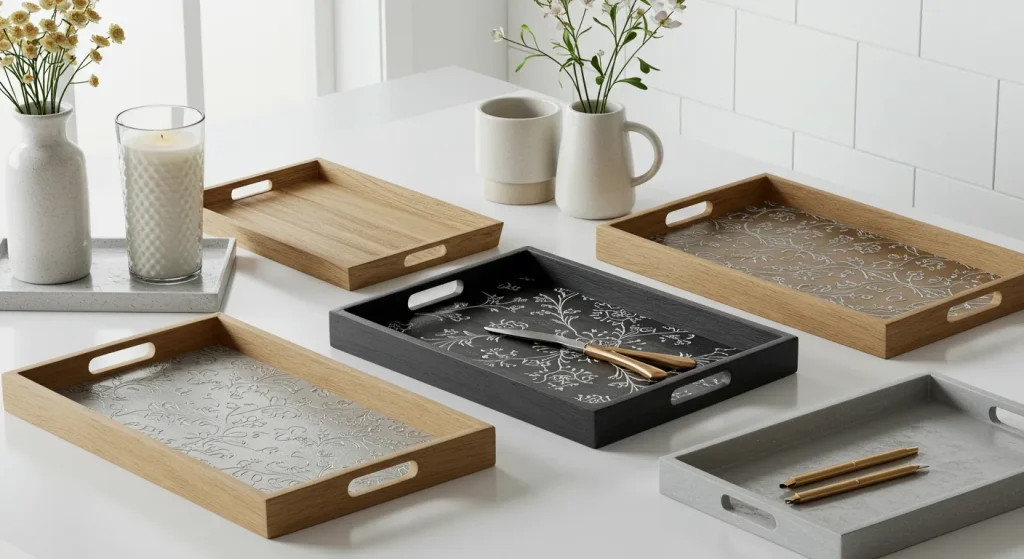
DIY Tips:
- Use a mirrored tray on a coffee table to reflect light and make the space feel brighter.
- A small, decorative tray on your nightstand is perfect for holding your phone, glasses, and a glass of water.
- Mix materials like wood, metal, and ceramic for a collected, layered look.
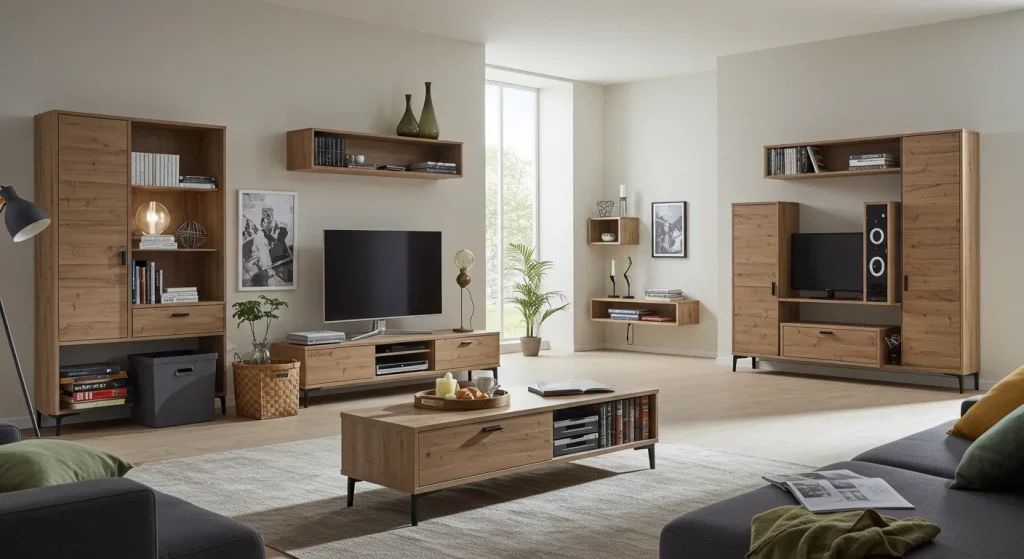
29. Freestanding Storage Units
Instead of built-ins, opt for stylish freestanding shelving units, bookcases, or bar carts. These pieces add much-needed storage and can act as room dividers in an open-plan space.
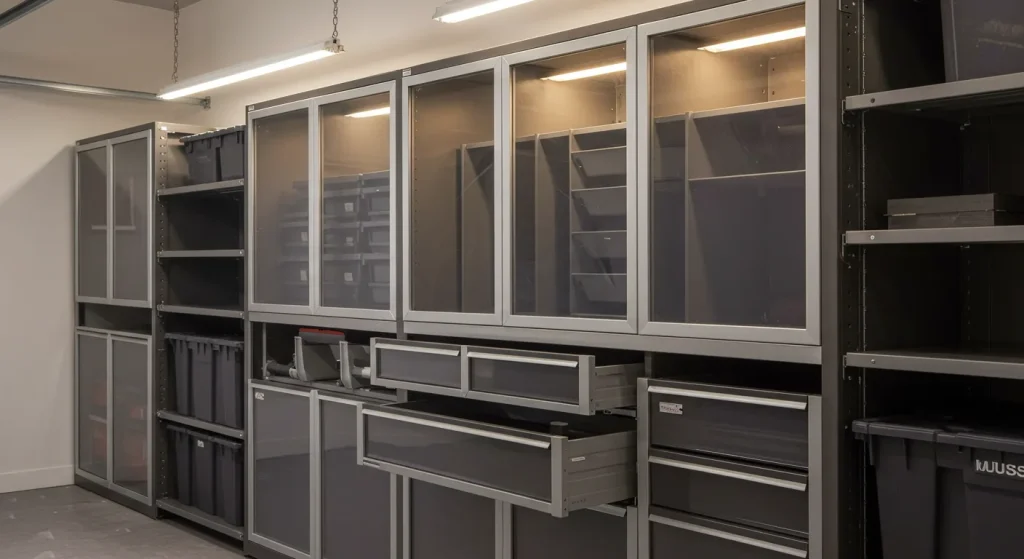
DIY Tips:
- Use a tall, open-backed bookcase as a partial room divider between a living and dining area.
- A bar cart is a versatile piece that can be used for drinks, as a plant stand, or for extra storage in a bathroom.
- Choose pieces with legs to create a sense of spaciousness, as they allow you to see the floor underneath.
30. Utilizing Decorative Screens
A foldable, decorative screen is a renter’s secret weapon. It can hide a messy corner, create a dedicated entryway, or serve as a dramatic, artistic headboard behind a bed.
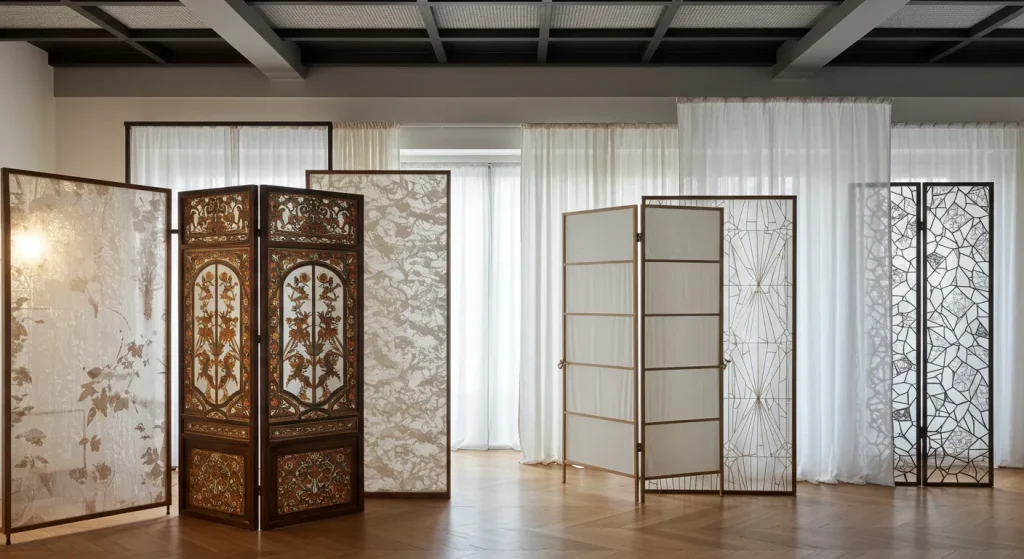
DIY Tips:
- Weave fairy lights through a carved wooden screen for a beautiful, ambient light source.
- Use a screen to create a small, private home office nook in a living room or bedroom.
- Choose a screen with a beautiful pattern or fabric to act as a movable piece of art.
Conclusion
Living in a rental doesn’t mean you have to live in a bland, personality-free box. By embracing these temporary and trendy decor solutions, you can create a home that is a true reflection of your style and personality. From statement walls that peel off without a trace to small hardware swaps that make a huge impact, these ideas empower you to love the space you’re in, no matter how long you plan to stay. So go ahead, get creative, and make your rental feel like home.