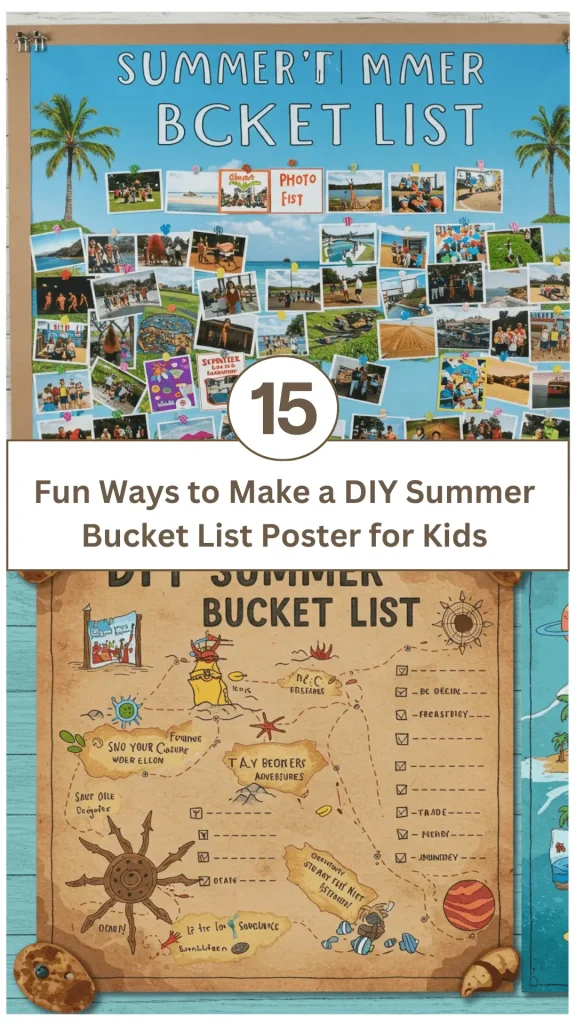
Summer is the perfect time for kids to explore new things, have amazing fun, and make truly unforgettable memories. The long, sunny days are a canvas for adventure.
A DIY summer bucket list poster is a wonderfully creative and visual way to keep them excited about all the new activities the season has to offer. It is more than just a list; it is a roadmap to fun.
Here are 15 fun and imaginative ways to design a personalized summer bucket list poster with your kids. These ideas are all about making the planning just as exciting as the activities themselves.
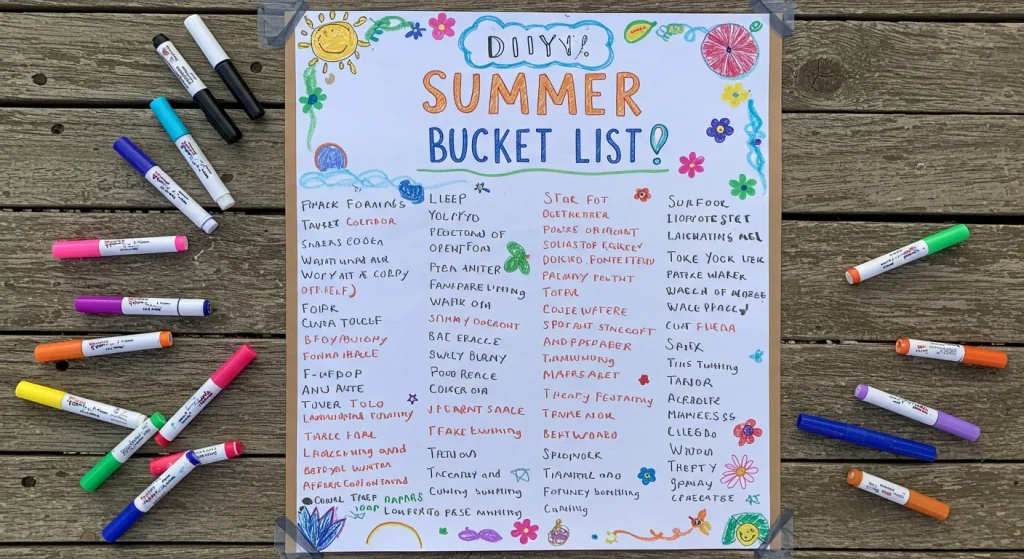
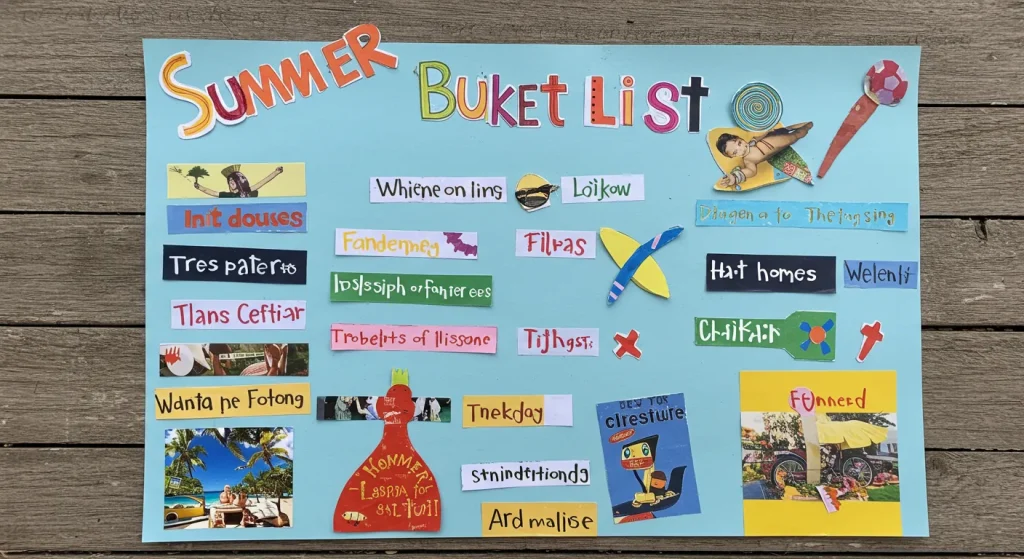
1. Classic Poster Board with Markers
This is the timeless, simple, and always effective method. Grab a large piece of poster board from a craft or dollar store and a set of colorful markers.
Let your kids take the lead in writing down all of their summer goals and wishes. They can decorate the board with their own fun doodles, drawings, and colorful stickers.
This classic approach is all about creative freedom. It is a simple and accessible way for kids of all ages to get excited about the summer ahead.
Styling Tips
- Use a different color marker for each activity to create a vibrant, rainbow look.
- Add fun, summery stickers like suns, ice cream cones, and beach balls around the list.
- Create a fun, bold title at the top, like “Our Epic Summer Adventure” or “Summer 2025 Fun List.”
- Let each family member have their own section of the poster to add their personal summer wishes.
- Draw a small checkbox next to each item so you can get the satisfaction of ticking it off when it is done.
- Use stencils to create neat and uniform lettering for the title.
- Add a fun, glittery border around the edge of the poster board for a touch of sparkle.
- Encourage the kids to draw small pictures next to each activity to represent what it is.
- Hang the finished poster in a high-traffic area, like the kitchen or playroom, where everyone can see it daily.
- This is a perfect, low-cost activity that focuses on pure, simple creativity.
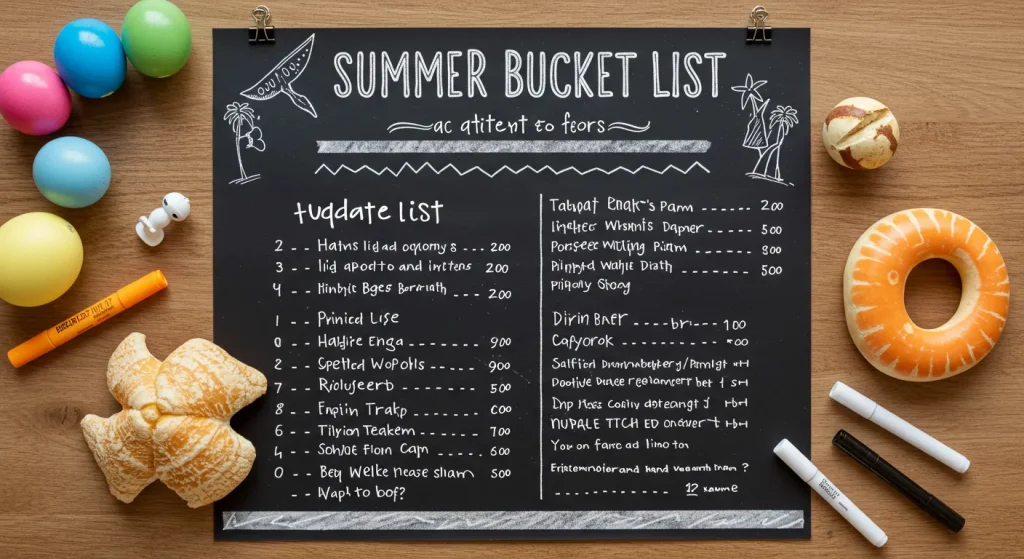
2. Chalkboard Style Poster
For a trendy and stylish look, you can create a poster that mimics a cool cafe chalkboard. This is a fun twist on the classic poster.
Use a piece of black poster paper or paint a large piece of cardboard with chalkboard paint. Then, use white or colored chalk markers to create your bucket list.
The high contrast of the bright chalk on the black background makes the list pop. Kids will love the fun, artistic feel, and it can be easily updated as you go.
Styling Tips
- Use a white chalk marker for the main text to get that classic chalkboard look.
- Add pops of color by using bright pastel chalk markers for doodles and borders.
- Practice some fun, retro-style fonts, like you would see on a coffee shop menu.
- Draw a decorative, ornate border around the edge of the “chalkboard.”
- If you use real chalk instead of markers, you can easily erase and change activities.
- Add some fun, chalk-style drawings of summer items like sunglasses and watermelon slices.
- The chalkboard look is very trendy and will look great hanging in your home.
- This is a great option for older kids and teens who appreciate a more “grown-up” aesthetic.
- Frame the finished black poster board in a simple, rustic wood frame to complete the look.
- Smudge the board slightly with a chalk eraser before you start writing to give it a more authentic, used look.
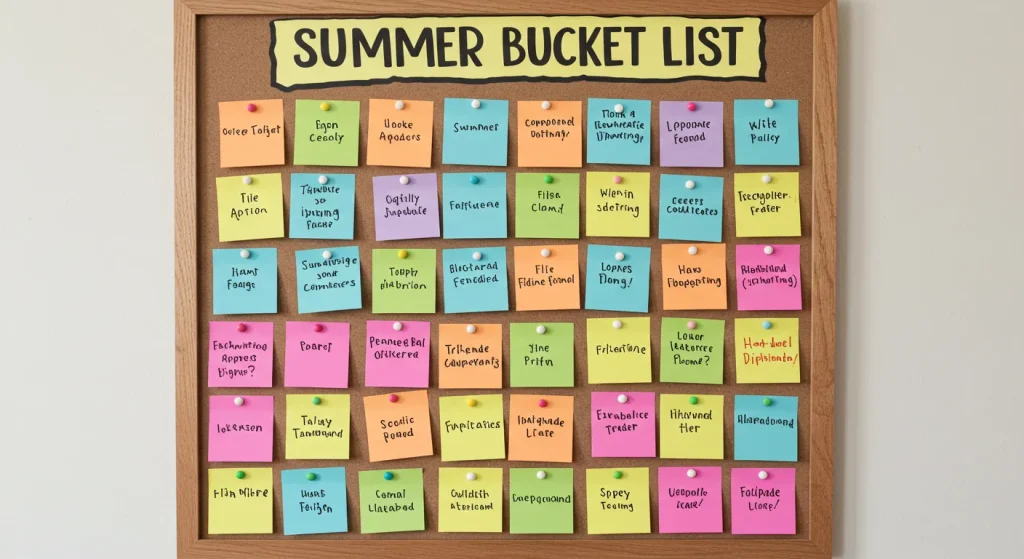
3. Sticky Note Bucket List
This is a wonderfully interactive and satisfying way to create a bucket list. Write each individual summer activity on a separate sticky note.
Arrange all the colorful sticky notes on a poster board, a corkboard, or even just a designated section of a wall.
The best part is that once they complete an activity, the kids get the immense satisfaction of physically removing the sticky note from the board. This makes it a fun and interactive game.
Styling Tips
- Use different colors of sticky notes for different categories of activities, like “Outdoor Fun,” “Crafts,” and “Adventures.”
- Draw a large, empty bucket shape on a poster board and stick all the activity notes “inside” the bucket.
- As you complete each task, move the sticky note to a “Done!” section on the board.
- This method is very flexible; you can easily add new ideas or remove ones that are no longer possible.
- Let each child write their own ideas on the sticky notes.
- Arrange the notes in a fun shape, like a giant sun or a rainbow.
- This is a great option for kids who are motivated by seeing their progress visually shrink the “to-do” list.
- Use fun, shaped sticky notes for extra visual appeal.
- At the end of the summer, you can collect all the “done” sticky notes and put them in a memory jar.
- This is a very low-commitment and easy-to-change method that is perfect for a busy summer.
4. Popsicle Stick Bucket List
This is another fun, hands-on method that turns your bucket list into a fun daily ritual. Write each summer activity on a colorful craft popsicle stick.
Place all the decorated sticks in a jar that you have labeled “Summer Fun.” Each day or week, a child can pull a random stick from the jar to reveal the next adventure.
This adds an element of surprise and anticipation. You can also attach the popsicle sticks to a poster board with small pieces of Velcro for a more visual display.
Styling Tips
- Use colorful craft sticks, or let the kids paint plain ones in bright summer colors.
- Decorate a large glass jar or a simple tin can to hold all the sticks. You can wrap it in colorful paper or paint it.
- Use a permanent marker to write the activities clearly on each stick.
- This method works great for breaking up the summer and preventing kids from wanting to do all the “big” activities first.
- You can have a separate “Done” jar to move the sticks to once the activity is completed.
- On the back of each stick, you could write down any special supplies you might need for that activity.
- Letting fate decide the day’s activity can be a fun way to try new things.
- This is a great way to encourage spontaneity and adventure.
- For the Velcro board method, kids can physically move the stick from a “To-Do” column to a “Done!” column.
- The popsicle sticks themselves feel summery and fun.

5. Interactive Scratch-Off Poster
Add a thrilling element of mystery and excitement to your bucket list by creating a DIY scratch-off poster. This is a project that feels truly magical.
Write or draw all of your summer activities on a poster board. Then, cover each activity with a special, homemade scratch-off paint.
The scratch-off paint is easy to make by mixing equal parts metallic acrylic paint and dish soap. Kids can then use a coin to scratch off a spot and reveal their next task.
Styling Tips
- Use a high-quality, sturdy poster board or cardstock for this project.
- Write your activities inside fun shapes, like circles, stars, or ice cream cone scoops.
- Make sure the text is completely dry before you paint over it. To be safe, place a piece of clear packing tape over the text first.
- Apply two or three thin coats of the scratch-off paint for the best coverage.
- Let the paint dry completely, which can take several hours, before you start scratching.
- This adds a lottery-ticket level of excitement to choosing an activity.
- Create a colorful design on the poster board before you write on it to make it visually appealing.
- This is a fantastic way to build anticipation throughout the summer.
- You can create a small “key” at the bottom that hints at the categories of activities under the paint.
- Tie a shiny penny to the poster with a string to use as the official “scratcher.”
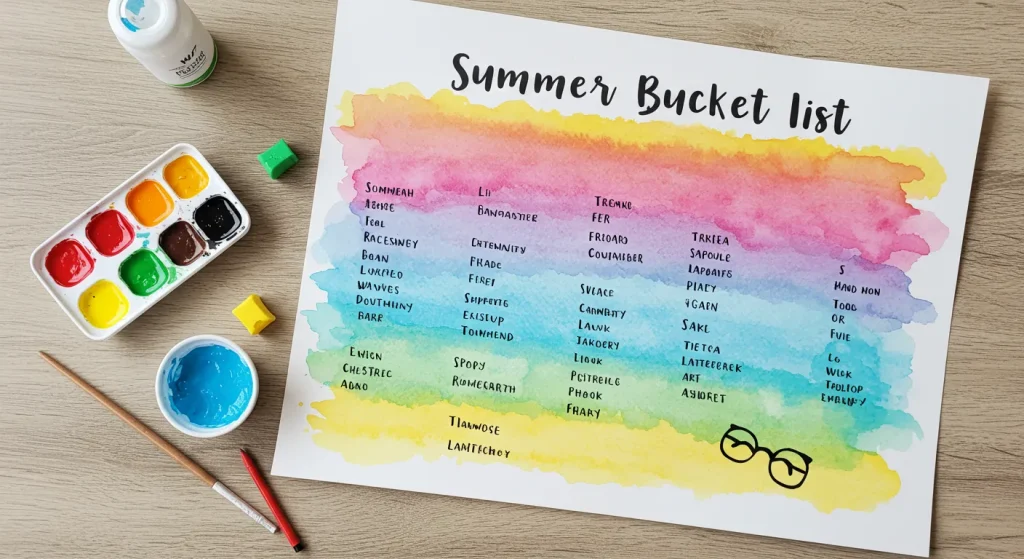
6. Watercolor Wash Bucket List
Create a vibrant, beautiful, and artistic bucket list poster by starting with a watercolor background. This is a fun craft project in itself.
Let your kids use watercolor paints to create a beautiful, abstract wash of summery colors on a piece of thick watercolor paper or poster board.
Once the beautiful painted background is completely dry, you can add all of your summer activities on top using a dark permanent marker. The result is a true piece of art.
Styling Tips
- Use classic summer colors like yellows, pinks, and blues, and let them blend together beautifully.
- Try a “wet-on-wet” watercolor technique for a soft, dreamy background.
- Sprinkle a little salt onto the wet paint to create cool, starburst-like textures as it dries.
- Use a dark, bold marker to write the activities so they stand out against the colorful background.
- Frame the finished poster to make it feel like a special piece of artwork for the summer.
- This is a great way for kids to feel like they are creating a true masterpiece.
- The process of painting is a calming and enjoyable activity in itself.
- This method creates a beautiful, one-of-a-kind poster.
- Let the kids experiment with different painting techniques.
- The final product is a beautiful memento of your summer plans.
7. Handprint-Themed Poster
This is a wonderfully personal and heartwarming way to create a bucket list. It creates a beautiful snapshot of how small your children’s hands were this summer.
Have your kids dip their hands in non-toxic, washable paint and create colorful handprints all over a large poster board.
Once the paint is dry, you can write each bucket list item inside one of the colorful handprints. This is a charming and personalized touch.
Styling Tips
- Use a different bright, summery color for each family member’s handprints.
- You can also use footprints for a fun variation.
- Arrange the handprints to look like the rays of a sun or the petals of a flower.
- This is a particularly sweet idea for families with very young children.
- Write the child’s name and the date next to their handprint.
- This poster becomes a precious keepsake that you will want to save long after the summer is over.
- Use a fine-tipped permanent marker to write the activities clearly inside the handprints.
- Let the kids get enjoyably messy with the paint.
- This is a great sensory activity for toddlers.
- At the end of the summer, you can have them do a “high-five” on the back of the poster to signify it is complete.

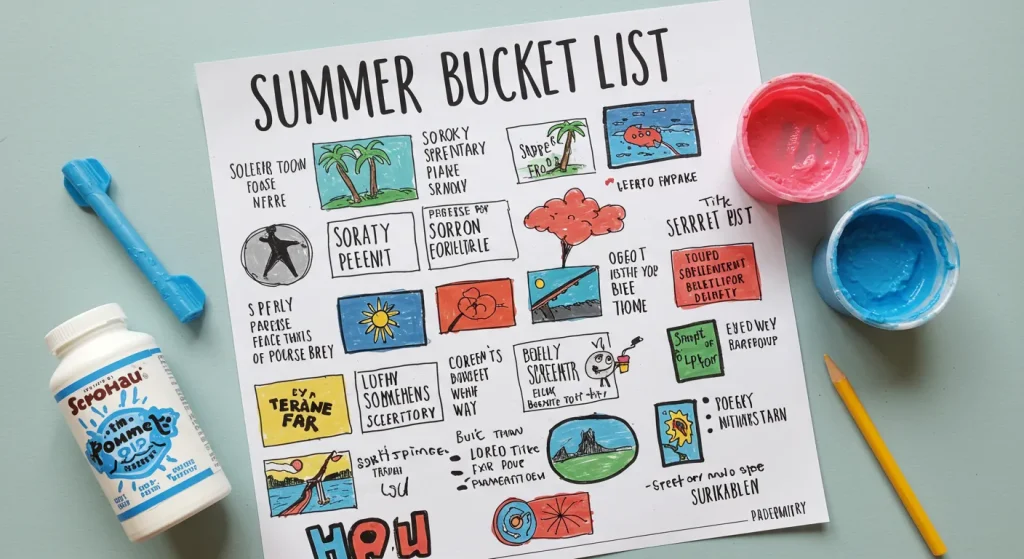
8. Magazine Collage Bucket List
A collage is a fantastic way to create a very visual bucket list. This is an especially great option for younger kids who are not writing or reading yet.
Flip through old magazines, travel brochures, or catalogs with your kids. Have them cut out pictures and words that visually represent each summer activity they want to do.
You can then glue all of the cutouts onto a poster board to create a vibrant and inspiring vision board for your summer fun.
Styling Tips
- Look for big, colorful, and exciting pictures that capture the feeling of each activity.
- Cut out bold words like “Fun,” “Adventure,” and “Summer.”
- Let the kids practice their scissor skills with safety scissors.
- This is a great way to recycle old magazines and newspapers.
- Overlap the images to create a rich, layered, and dynamic look.
- The visual cues help younger children understand and get excited about the planned activities.
- This can also be done digitally by creating a collage on a simple design app and then printing it out.
- Encourage them to find pictures that make them feel happy and excited.
- This method is all about capturing the “vibe” of summer.
- The finished collage will be a busy, energetic, and completely unique piece of art.
9. Roadmap-Style Bucket List
You can turn your bucket list into an exciting adventure by designing it as a roadmap. Draw a long, winding road or a fun path on a large sheet of paper or poster board.
Each stop, town, or landmark along the road represents a different summer activity. This makes the entire process of completing the list feel like a grand journey.
You can even create a small “car” out of paper with your family’s picture in it, and move it along the map as you complete each task.
Styling Tips
- Get creative with the map. Draw fun landmarks like the “Ice Cream Mountains” or the “Splash Pad Sea.”
- Use a long roll of butcher paper to create a very large map that can be spread out on the floor.
- Each “stop” on the map can have a small illustration of the activity.
- This is a great way to visualize your progress through the summer.
- Let the kids help draw and color the map.
- The journey-like format adds a fun, narrative element to your summer plans.
- The final destination on the map could be a special “end of summer” celebration.
- Use different types of lines for the road, like a dotted line for an “off-road adventure.”
- This is a highly imaginative and engaging way to present your list.
- Roll up the finished map and tie it with a ribbon like an old pirate’s map when you are not looking at it.

10. Clothespin Countdown Board
This is another wonderfully interactive and tactile method. Write each of your summer activities on small, individual cards or slips of paper.
Use colorful clothespins to clip all of the cards to a string or a ribbon that you have hung on a wall or a board.
As your kids complete each activity, they can physically unclip the card and place it in a “Done” jar. This creates a satisfying countdown effect as the string gets emptier.
Styling Tips
- Use fun, decorated, or colorful clothespins to make the board more visually appealing.
- Hang multiple rows of string to accommodate a long list of activities.
- On the back of each card, you can write a list of any supplies you will need for that activity.
- This is a great way to visually track your progress throughout the summer.
- Decorate a special jar or box to be the “Completed Adventures” holder.
- This method is very easy to add to or change throughout the summer.
- The physical act of unclipping the card is very satisfying for kids.
- You can hang the string across an empty picture frame for a more polished look.
- Let the kids choose which activity card to do each day or week.
- At the end of the summer, you can read through all the cards in the “Done” jar and reminisce.

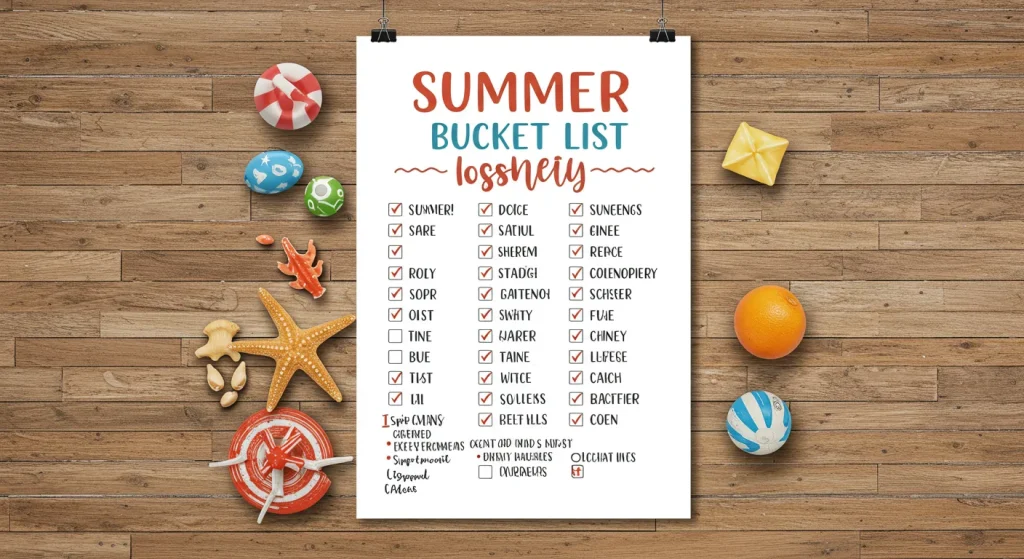
11. Digital Bucket List Printout
For a clean, polished, and very modern look, you can design a digital bucket list on a computer or tablet and then print it out.
Use a simple design program like Canva or even just a word processor. You can incorporate fun fonts, colorful graphics, and even family photos.
Once you have your design perfected, simply print it out on a large sheet of paper. Kids can then physically check off the activities as they go, or use fun stickers.
Styling Tips
- Choose fun, kid-friendly fonts for your list.
- Incorporate digital clipart of summer items like suns and beach balls.
- Create a clean, grid-like layout with checkboxes next to each item.
- You can personalize it by adding your family’s name at the top.
- Print a copy for each child so they can track their own progress.
- This is a great option for families who prefer a more organized and less “crafty” look.
- Laminate the printout and use a dry-erase marker to check things off so you can reuse it.
- You can easily edit and reprint the list if your plans change.
- Place the finished printout in a nice frame and hang it on the wall.
- The clean, professional look can be very satisfying.
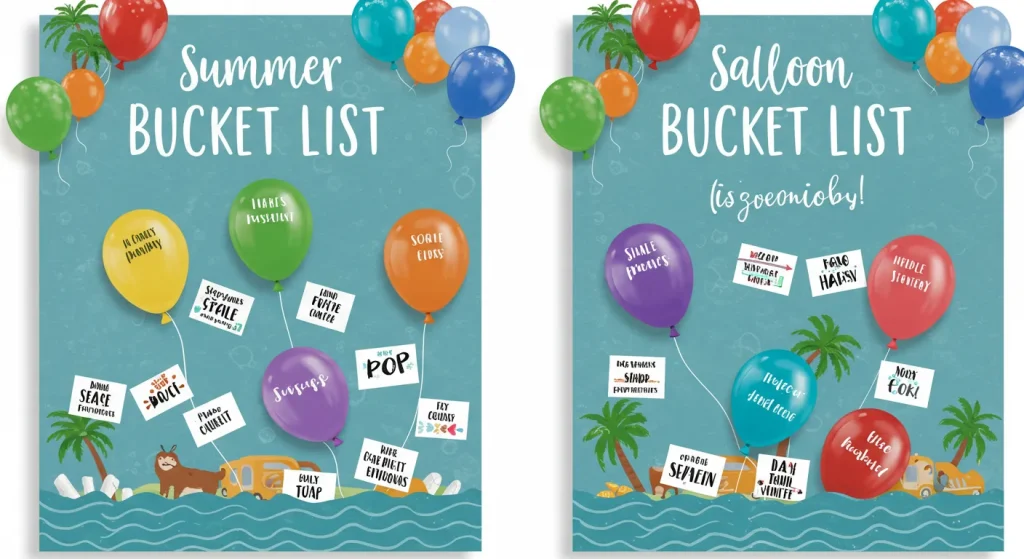
12. Balloon Pop Bucket List
This is perhaps the most exciting and high-energy way to reveal your summer activities. It turns every new task into a mini-celebration.
Write each activity on a small slip of paper, roll it up tightly, and insert it into a balloon before you inflate it.
You can then have a wall of “bucket list balloons.” Each day or week, the kids get to pop a balloon to reveal their next exciting adventure.
Styling Tips
- Use a variety of colorful balloons for a festive look.
- For an extra surprise, you can add a pinch of confetti inside the balloons along with the paper slip.
- Attach the inflated balloons to a large corkboard or tape them to a wall.
- This is a fantastic idea to kick off the start of summer with a “popping party.”
- The element of surprise is a huge motivator for kids.
- Make sure to have a pin or a toothpick handy for the popping.
- This method ensures that the activities are chosen completely at random.
- It adds a bit of theatrical fun to the entire process.
- You can number the balloons if you want to do the activities in a specific order.
- Be sure to pick up all the balloon pieces after the pop for safety.
13. Puzzle Piece Bucket List
This method adds a fun element of challenge and mystery to your summer plans. Start with a blank, white jigsaw puzzle, which you can find at most craft stores.
On the back of the puzzle, write all of your summer activities, with one activity per puzzle piece or spread across a few pieces.
Then, break the puzzle apart. As your kids complete each activity, you can give them the corresponding puzzle piece or pieces. They get to put the puzzle together throughout the summer.
Styling Tips
- Choose a blank puzzle with a manageable number of large pieces for younger kids.
- On the front of the puzzle, you can have a fun summer-themed picture or even a photo of your family.
- Keep all the puzzle pieces in a special “mystery box.”
- This is a great way to encourage goal completion, as they will be eager to find the next piece of their puzzle.
- The challenge of figuring out which activity corresponds to which piece adds to the fun.
- This creates a wonderful, visual representation of their summer accomplishments.
- At the end of the summer, you can glue the completed puzzle together as a keepsake.
- This is a very unique and memorable way to track your bucket list.
- It combines a fun craft, a game, and a to-do list all in one.
- The final, completed puzzle is a beautiful symbol of a summer well spent.

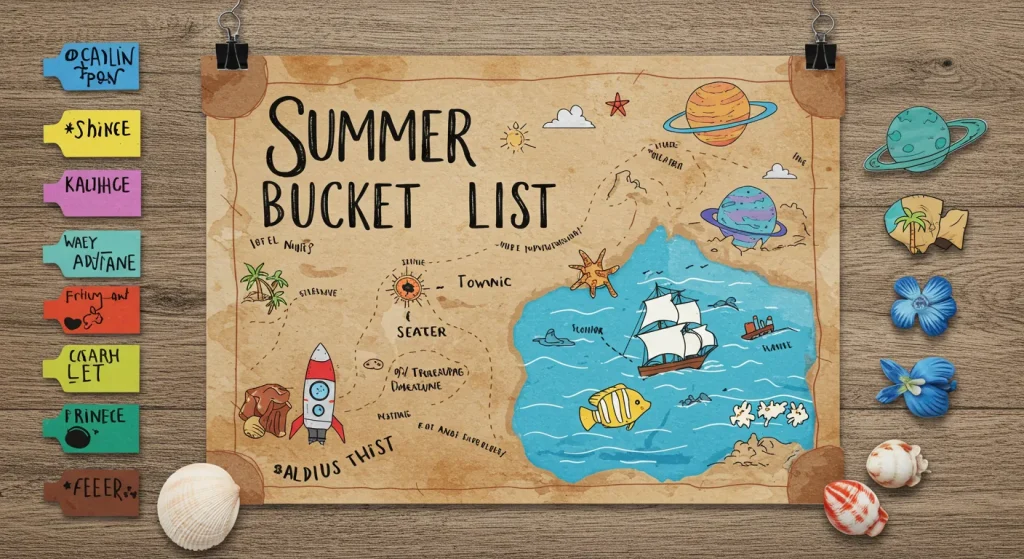
14. Themed Bucket List Poster
You can make your bucket list even more engaging by choosing a fun theme that is based on your child’s specific interests and passions.
For example, you could design a “Treasure Map” bucket list for a pirate lover, a “Space Adventure” chart for a budding astronaut, or an “Ocean Journey” poster for a marine biology enthusiast.
Incorporating their favorite theme makes the entire concept of the bucket list more exciting and personal to them. It shows that you are paying attention to what they love.
Styling Tips
- For a treasure map, use brown paper, burn the edges carefully, and draw a path with an “X” marking each activity.
- For a space theme, use black poster board and silver markers, with each activity being a “planet” to visit.
- For an ocean theme, draw a large underwater scene and write each activity inside a bubble or on a fish.
- Let your child choose the theme themselves.
- All the activities on the list can also be related to the chosen theme.
- This is a great way to spark their imagination and make the list feel like a story.
- Use stickers and drawings that match the theme to decorate the poster.
- The possibilities for themes are endless: dinosaurs, fairies, superheroes, etc.
- This level of personalization makes the bucket list feel incredibly special.
- The theme can tie the whole summer together in a fun, narrative way.
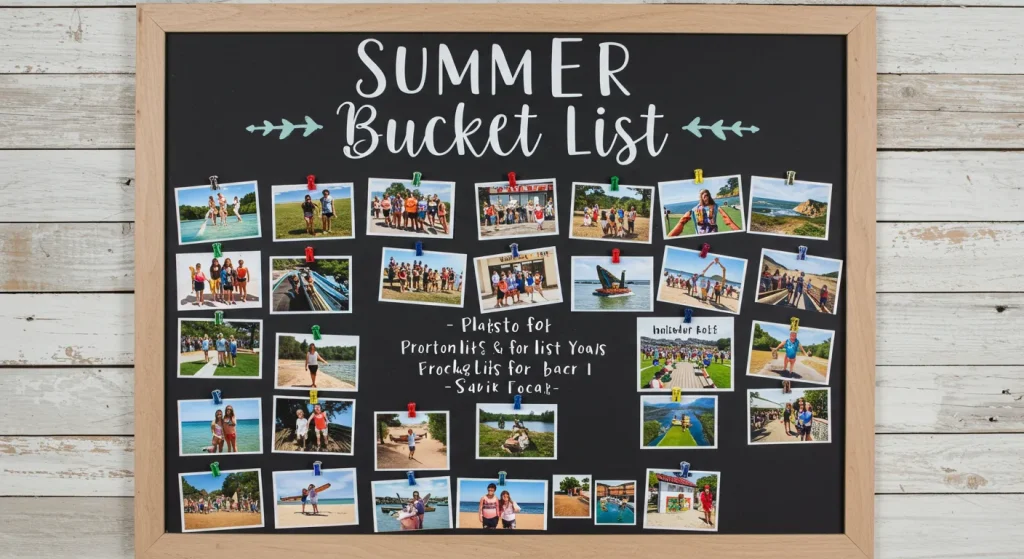
15. Photo Memory Board
This idea turns your bucket list poster into a living, growing memory board throughout the summer. Start with a poster that has all your activities listed.
As you complete each activity, take a photo of the kids doing it. Print out the photo and attach it to the board next to the completed item.
This method serves as both a fun way to track your progress and a beautiful way to create a visual diary of your summer memories.
Styling Tips
- Start with a large corkboard or a foam board as your base.
- Use fun, colorful pushpins or washi tape to attach the photos.
- By the end of the summer, you will have a beautiful collage of all your fun adventures.
- This provides a wonderful opportunity to look back and reminisce about everything you did together.
- This is a great visual motivator, as the kids will be excited to see the board fill up with happy photos.
- Use a small, portable photo printer to print your pictures instantly.
- Let the kids choose their favorite photo from each activity to put on the board.
- You can write the date and a short memory on the back of each photo.
- This is a beautiful project that you will want to keep and look at for years to come.
- It is a bucket list and a scrapbook all in one.
Conclusion
A DIY summer bucket list poster is a truly fantastic way to keep your kids entertained, engaged, and excited about the entire summer season.
With so many fun and creative ways to design one, you can easily choose a style that best suits your child’s unique interests, age, and creativity.
No matter which method you pick, the most important thing is to have fun creating it and even more fun making wonderful, lasting summer memories together as a family.thumb_upthumb_down