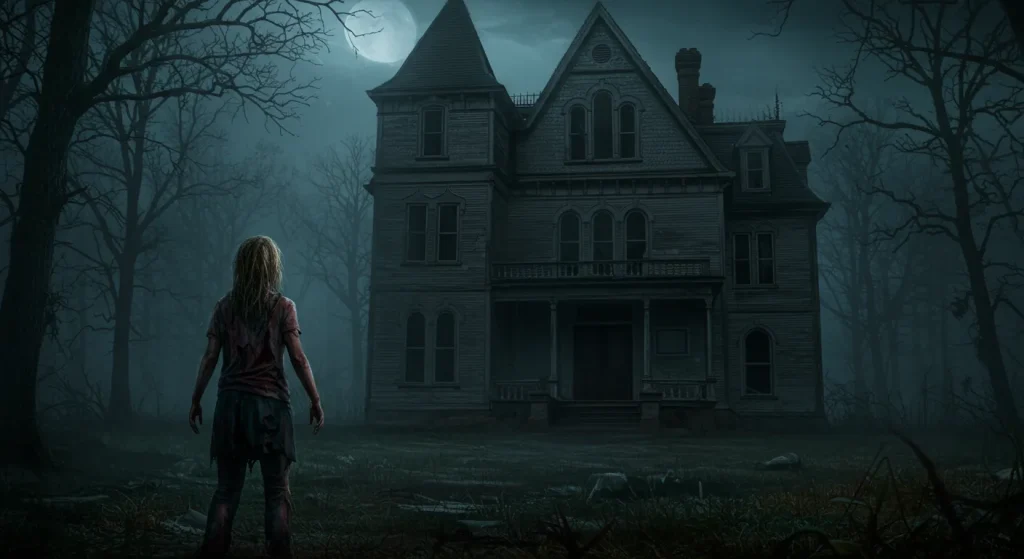
A zombie apocalypse is more than just a theme; it is a story of survival, desperation, and the terrifying collapse of society.
Here is the summary table for the 35 haunted house ideas with a zombie apocalypse twist, including an estimated cost for each and with the category column left empty.
A truly great haunted house based on this concept will immerse your guests in that story, making them feel less like visitors and more like survivors fighting their way to safety.
From the eerie silence of an abandoned city to the heart pounding chaos of a horde, these 35 ideas will help you craft an unforgettable, narrative driven zombie experience.
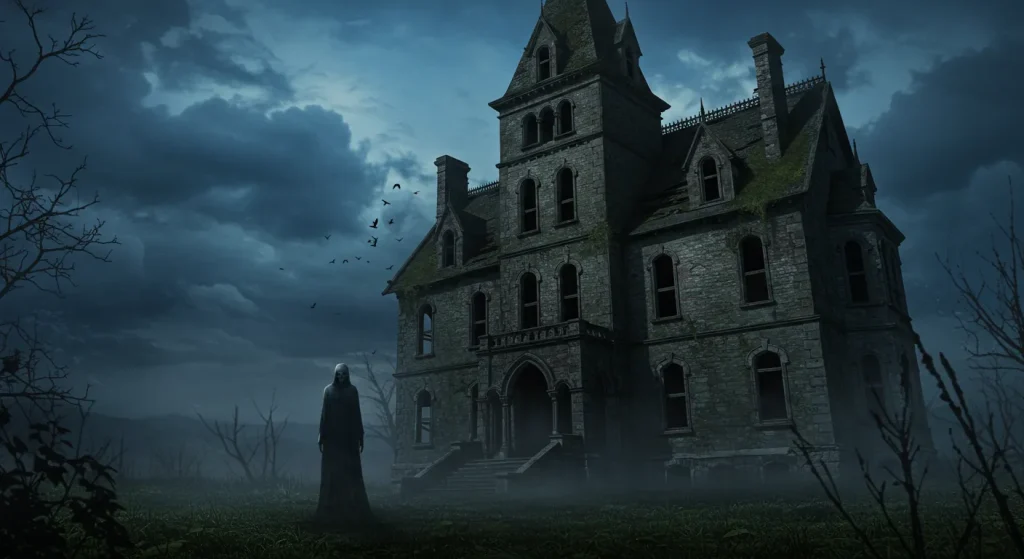
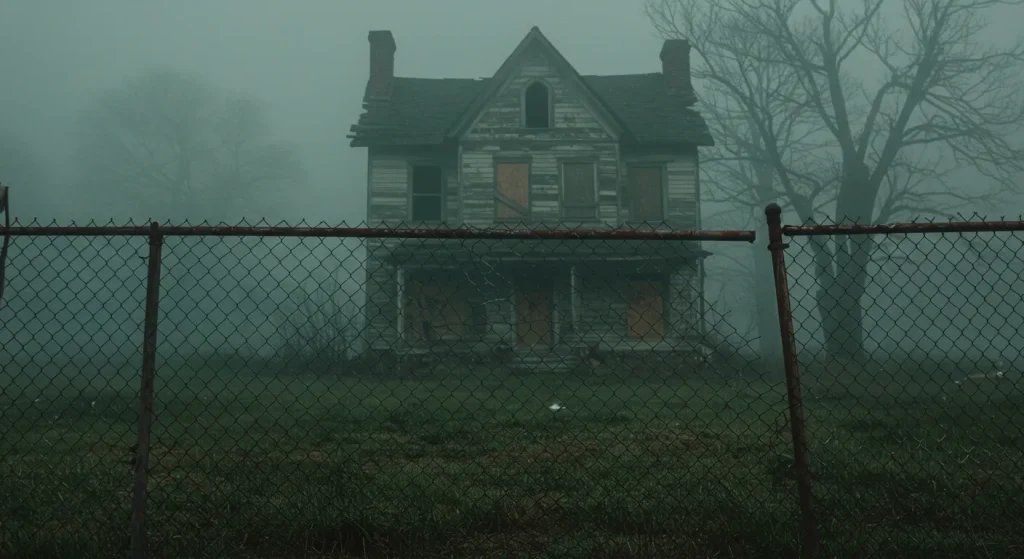
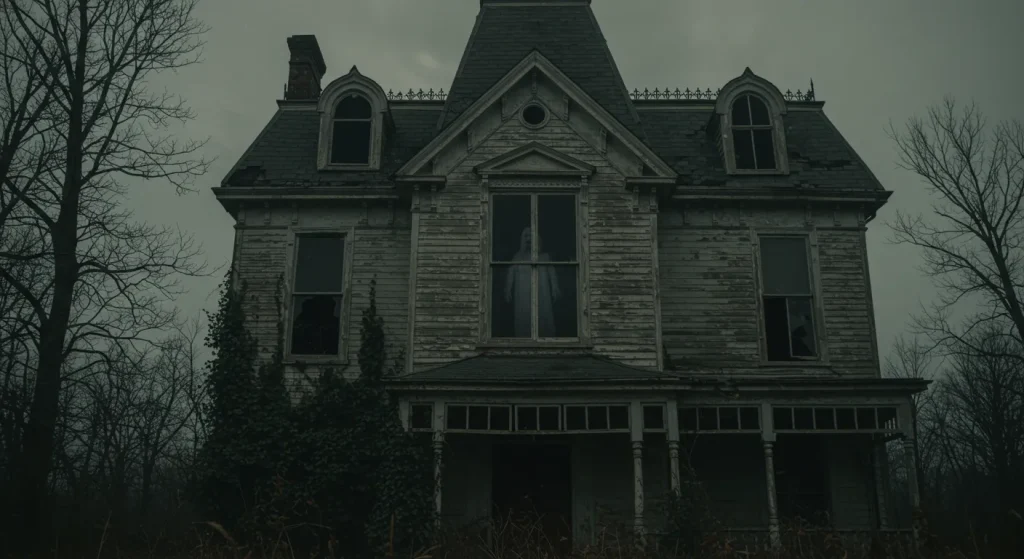
The Outbreak Begins: Setting a World of Decay
The first part of your haunt should establish the world. It is not about jump scares yet; it is about building a powerful sense of dread and telling the story of a world that has ended.
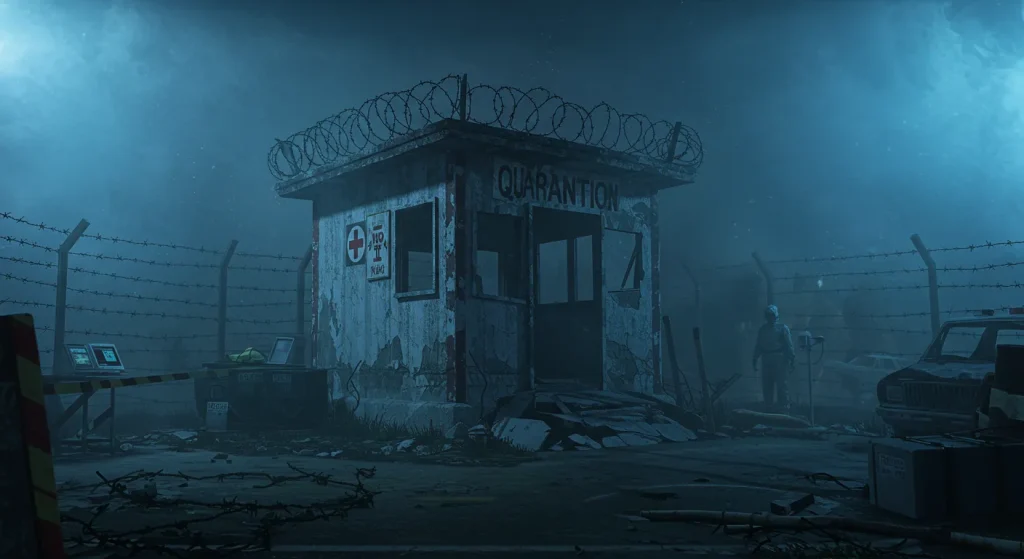
1. The Failed Quarantine Checkpoint
This is the first thing your guests encounter. It is a makeshift, hastily abandoned military checkpoint that has clearly been overrun.
DIY Tips:
- Use sawhorses or overturned furniture to create a makeshift barricade.
- Drape yellow “CAUTION” or “QUARANTINE” tape, found at hardware stores, everywhere.
- Scatter official looking papers (printed from online templates) on the ground.
- Have a single, flickering strobe light on an abandoned “military” vehicle (a dark colored car).
- Use a cheap megaphone to play a looped, distorted recording of a final, panicked military broadcast.
- Have a single, slow moving “zombie soldier” actor shambling near the checkpoint.
- Splatter fake blood on the barricades and the ground.
- An empty, overturned baby stroller adds a powerful and disturbing emotional element.
- A flickering, battery operated road flare can add an eerie red glow.
- The “gate” to the haunt should be a torn section of a chain link fence or a broken barricade.
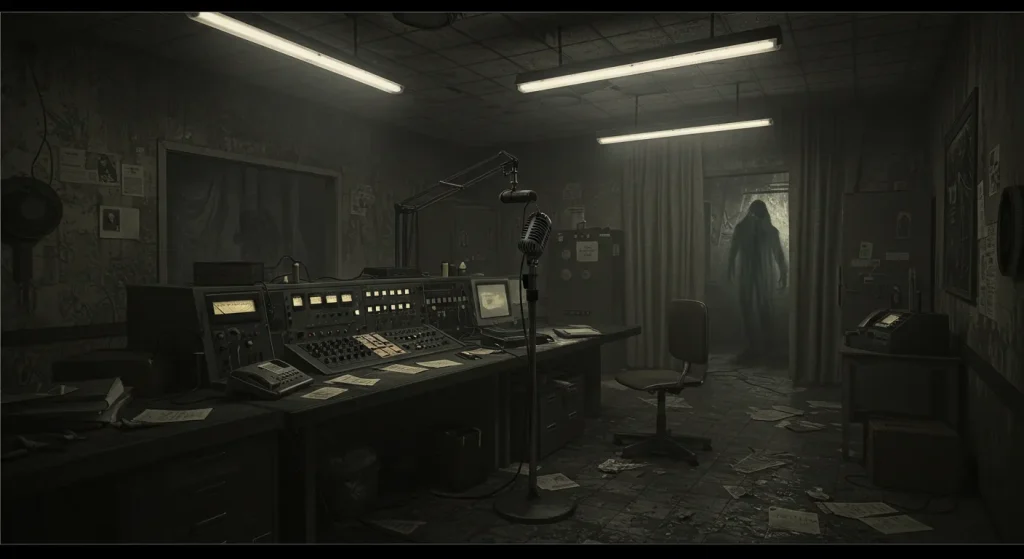
2. The Frantic Radio Broadcast Room
A dark room where the only sensory input is a looping, desperate radio broadcast. It tells the story of the collapse without showing anything.
DIY Tips:
- Place an old, vintage looking radio on a table as the single, spotlit prop in an otherwise dark room.
- Hide a Bluetooth speaker inside or behind the radio.
- Record your own audio file with a panicked DJ, news reports, static, and calls for help. Mention your own town’s name for a terrifying touch of realism.
- The broadcast should occasionally cut out or be interrupted by screams.
- The room should be completely dark, forcing guests to listen intently.
- Have the broadcast end with the sound of the radio station being overrun, followed by silence.
- Scatter a few abandoned chairs and coffee mugs to suggest a recently abandoned listening post.
- A single, slowly blinking light can add to the suspense.
- There should be no live actors in this room; the power is in the guests’ imagination.
- The silence after the broadcast ends is the scariest part of this room.
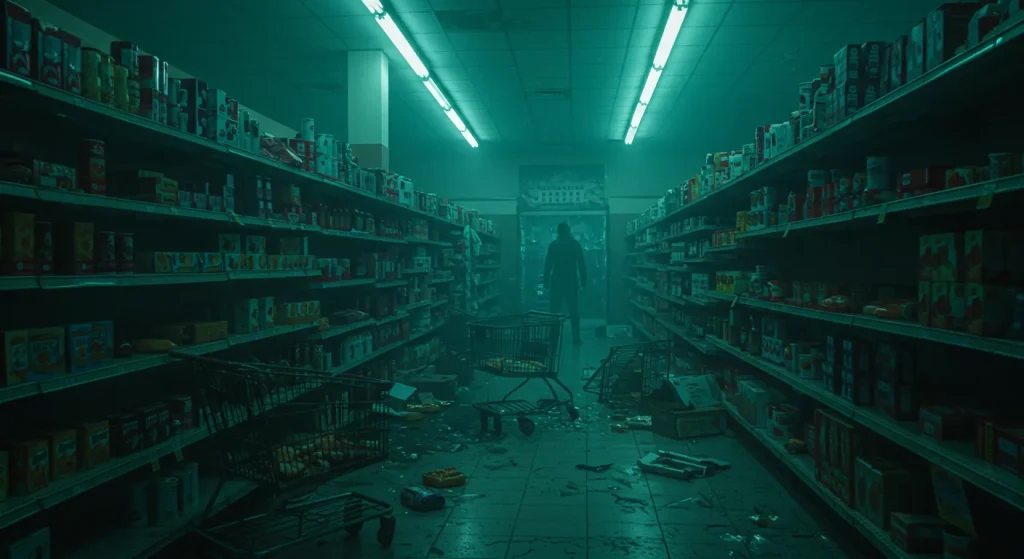
3. The Looted Grocery Store Aisle
This scene shows the desperation of the early days. It is a ransacked, chaotic space that feels like it was abandoned in a hurry.
DIY Tips:
- Use empty food boxes, cans, and bags from your own pantry and scatter them all over the floor.
- Overturn a shopping cart and spill its contents.
- Use a red marker on a white piece of cardboard to create a “SALE” sign, then splatter it with fake blood.
- The lighting should be a flickering, dying fluorescent light (achieved with a starter from a hardware store).
- Have a single “crawler” zombie actor, with only its top half visible, emerging from behind an aisle.
- Write desperate messages like “Gone to the safe zone” or “They’re inside” on the walls with a washable marker.
- The sound should be a low hum of a refrigerator and the distant sound of alarms.
- Place a single, abandoned child’s shoe in the middle of the aisle.
- Use a can of aerosol spray cheese to create the look of rotting, spilled food.
- A “clean up in aisle 4” announcement, distorted and on a loop, is a creepy audio cue.
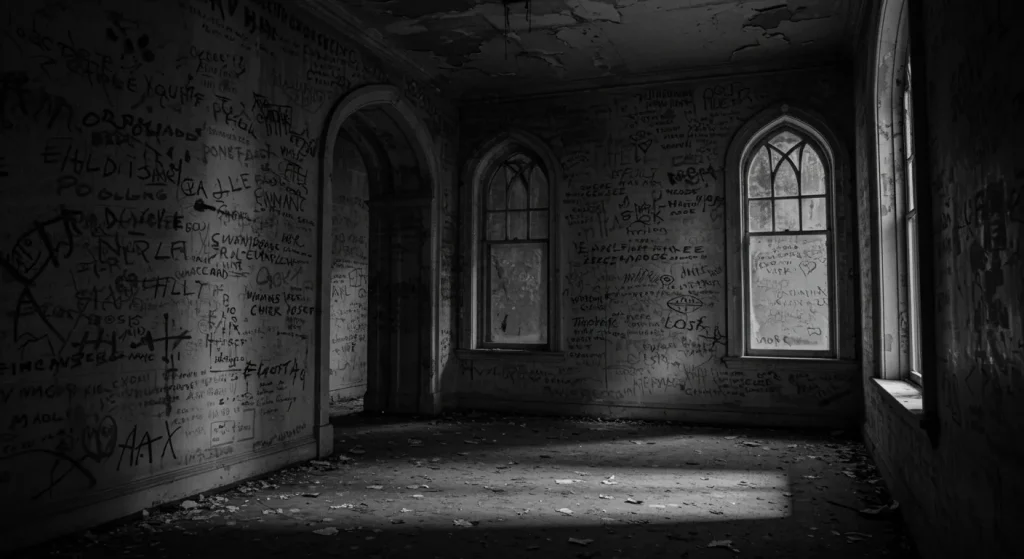
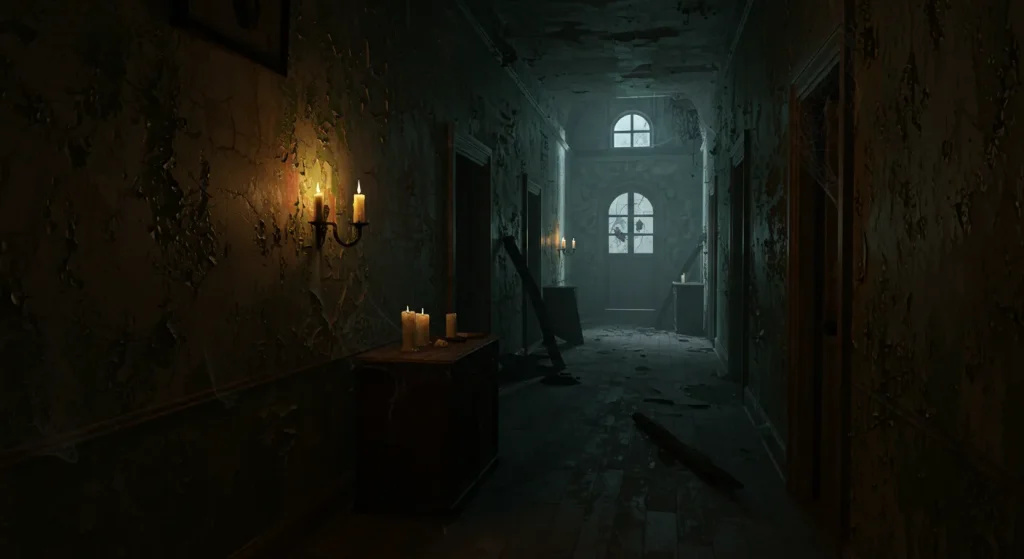
4. Scrawled Messages of the Lost
A simple hallway that tells a story through messages left behind by other survivors.
DIY Tips:
- Use washable paint or chalk to write desperate, frantic messages on the walls.
- Messages can include “Don’t open, dead inside,” “If you’re reading this, it’s too late,” or arrows pointing to a “safe zone.”
- Some messages should be smeared or cut off, as if the writer was taken.
- Use red paint to create bloody handprints that have slid down the wall.
- The only light should be from the guests’ own (provided) cheap flashlights.
- This is a no actor, purely atmospheric hallway that builds dread.
- Have a hidden speaker play the faint sound of someone crying.
- At the end of the hall, have the words “LOOK BEHIND YOU” scrawled.
- This is a great, cheap way to fill a transitional space.
- The handwriting should look panicked and messy.
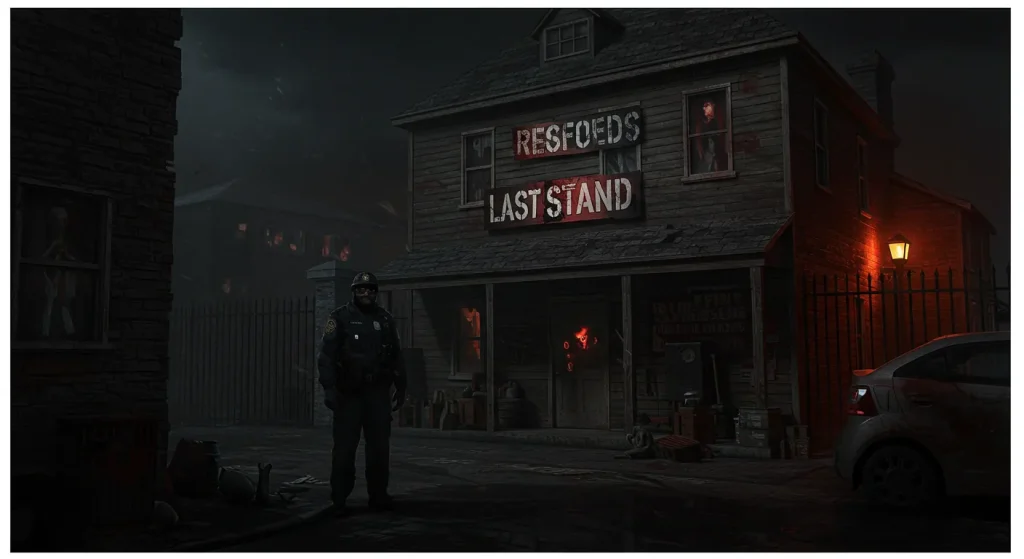
5. The First Responder’s Last Stand
A tableau that shows a heroic but failed attempt to hold back the horde.
DIY Tips:
- Create a “zombie” out of a dummy or stuffed clothes and have it “feasting” on a mannequin dressed as a police officer or firefighter.
- Scatter empty, plastic shell casings on the floor.
- Have a police car siren sound effect playing, but have it sound like it is dying and winding down.
- A single, flashing red and blue light can be the only illumination.
- Use fake blood generously on both the “zombie” and the “victim.”
- An overturned ambulance gurney is a great prop if you can find one.
- Have a radio on the ground with a looping “officer down” call.
- This is a static scene, designed to be a chilling visual without a live actor.
- Place the scene behind a hastily constructed “barricade” that guests have to peek over.
- This sets the tone that even the heroes have fallen.
The Infected Zone: Confronting the Horde
This is the core of your haunt, where guests come face to face with the undead. The key is variety in your scares.
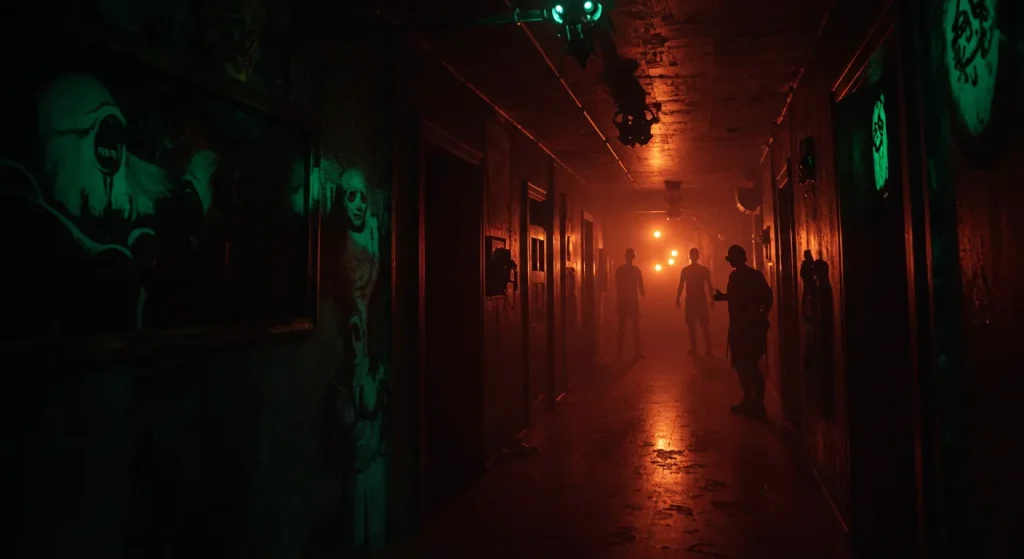
6. The Horde Hallway
A narrow hallway where zombies are coming from all sides, creating a feeling of being overwhelmed and trapped.

DIY Tips:
- Use several actors for this, but supplement them with dummies or stuffed clothes in the background to create the illusion of a larger horde.
- The hallway should be narrow, forcing guests into single file.
- Instruct your actors to grab and reach, but never to hold on to guests.
- The lighting should be dim and flickering, making it hard to see where the next zombie is coming from.
- The primary sound should be the collective groaning and moaning of the horde.
- Have some zombies reaching through holes cut in the walls (made from black plastic sheeting).
- A few “crawler” zombies on the floor are a great addition.
- The actors’ makeup can be simple; in the dark, the silhouette and movement are what matters.
- This is a high energy, chaotic part of the haunt.
- A single, very loud noise at the end can scatter the horde and allow guests to “escape.”
7. The Ankle Biter
A classic jump scare, adapted for the apocalypse. This works best in a very dark room.
DIY Tips:
- Have an actor lie completely hidden under a draped table, a low bed, or a pile of debris.
- As a guest walks by, the “zombie” actor should quickly reach out and grab their ankle.
- The actor should be moaning and groaning like a zombie.
- The key is for the actor to be completely invisible before the scare.
- This is a great scare to place in a seemingly “empty” room.
- The actor should release quickly; the shock is the goal.
- This is a low prop, high impact scare.
- The rest of the room should have some minor distractions to draw the eye away from the hiding spot.
- Use a dark blanket or tarp to create the hiding spot.
- This preys on the fear of what you cannot see at your feet.
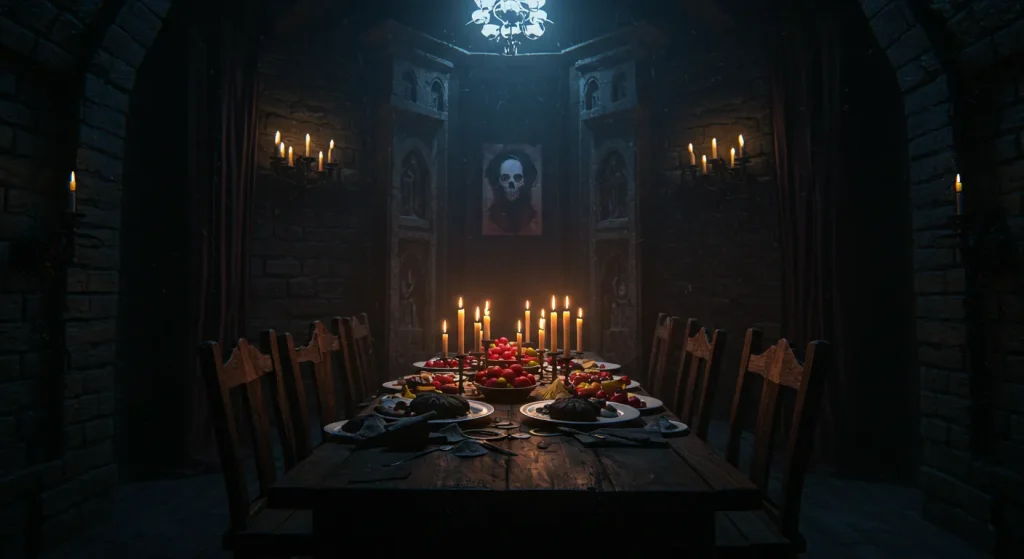
8. The Feasting Chamber
A gruesome and repulsive room that focuses on the horror of what zombies do to their victims.
DIY Tips:
- This room should be well lit but with a sickly, yellow or green light.
- Have one or two zombie actors hunched over a “body” (a mannequin or dummy).
- Use fake guts and body parts from a Halloween store, and plenty of fake blood.
- The key is the sound. Have a hidden speaker playing loud, wet, squishing, and tearing sounds.
- The actors should ignore the guests at first, completely engrossed in their “meal.”
- The scare comes when one of the zombies suddenly looks up, revealing a bloody face, and lunges at the guests.
- The room should smell slightly metallic and coppery.
- Drape the walls in clear plastic sheeting, like a butcher’s room.
- This room is about the gross out factor.
- Have a half eaten “limb” that one of the zombies can brandish at the guests.
9. The Twitcher
This scare is not a lunge, but a terrifying performance. It shows the horrifying process of a person turning into a zombie.
DIY Tips:
- Have a single actor in a well lit room, dressed in normal clothes but with a pale, sweaty makeup look.
- The actor should be on the floor, convulsing and twitching in the final stages of turning.
- They can be crying and begging for help between twitches.
- The sound should be the actor’s own gasps and groans, and perhaps the sound of cracking bones.
- The scare is psychological. Guests will be unsure if they should help or run.
- The finale comes when the actor stops twitching, goes still for a moment, and then slowly looks up with “dead” eyes.
- This requires a good actor who can hold the performance for each group.
- The room should look normal, as if the person just succumbed to a bite.
- A fake “bite mark” on the actor’s arm is a crucial detail.
- The terror comes from the slow, agonizing transformation.
10. The Strobe Light Attack
A disorienting and chaotic scare that makes a few zombies feel like a massive horde.
DIY Tips:
- Dedicate a small room or hallway to this effect. Use a simple strobe light as the only light source.
- Have one or two zombie actors in the room.
- The flashing lights will only reveal the zombies in brief, terrifying glimpses, making it impossible to track their movements.
- The actors can take a step closer with each flash of light, creating a terrifying “weeping angel” effect.
- Play loud, disorienting music, like industrial noise or a blaring alarm.
- The path through the room should be straight and free of obstacles due to the disorientation.
- The actors should use jerky, unnatural movements.
- This is a great way to maximize the effectiveness of just a few actors.
- The chaos and sensory overload is the main point of this room.
- WARNING: Strobe lights can be dangerous for people with epilepsy. Post a clear warning sign.
11. The Chain Link Fence
A classic zombie trope. The guests are on a “safe” path, but zombies are relentlessly trying to break through a barrier.
DIY Tips:
- Use a section of real chain link fence, or create a “fence” with PVC pipes and netting.
- Have several zombie actors on the other side of the fence.
- Their goal is to slam against the fence and reach their hands through the gaps as guests walk by.
- The sound of the rattling fence is a huge part of the scare.
- The actors should be moaning and snarling, focused entirely on getting to the guests.
- This creates a feeling of being hunted without any direct contact.
- You can have a section of the fence that is “broken,” with a zombie crawling through.
- The lighting should be behind the zombies, silhouetting them against the fence.
- This is a great, safe way to have a very interactive scare.
- The actors can grab at clothing, but should not hold on.
12. The Crawler’s Corridor
A scare that comes from an unexpected level. The threat is not at eye level, but on the ground.
DIY Tips:
- This works best in a very dark hallway.
- Have one or two actors on the floor, dressed as “crawlers” (zombies who have lost their legs).
- The actors should make no noise until a guest is right next to them.
- The scare is the sudden lunge and grab at the ankles from the darkness.
- Use old, shredded pants to make the “missing legs” look more realistic.
- The actors can pull themselves along the floor with their arms, making a scraping sound.
- This is a great way to use actors who may not be comfortable standing for long periods.
- The surprise of a low level attack is very effective.
- The hallway should be narrow to force guests to walk close to the crawlers.
- A single, dim light at the end of the hall can provide just enough illumination to make out the shapes on the floor.
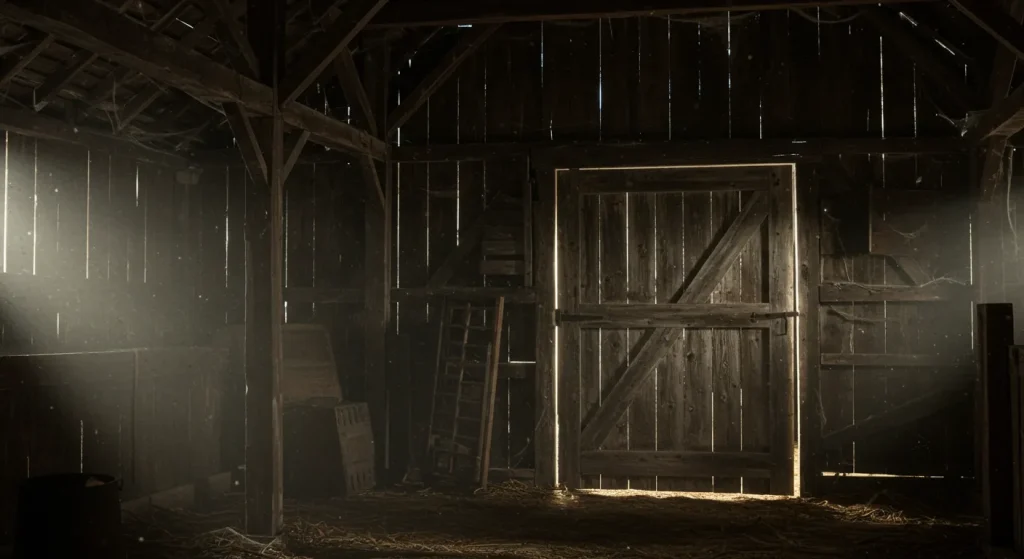
13. The Barn Door Scare
An iconic scare from The Walking Dead that is perfect for a rustic or outdoor themed section of your haunt.
DIY Tips:
- Use a large, solid door (or a wall) for this effect.
- Have several zombie actors hidden behind the door.
- As guests approach, the actors should begin to push against the door, making it bulge and groan.
- The key is the visual of dozens of hands pushing through the cracks of the door.
- You can cut hand sized holes in a false wall or a large piece of cardboard and have actors push their arms through.
- The sound should be a mix of groaning zombies and the creaking of wood under strain.
- A heavy chain and a padlock on the door add to the visual.
- This is a great “barrier” scare that builds immense tension.
- The door should never actually open; the terror is in the anticipation of it breaking.
- Backlight the cracks in the door so the hands are silhouetted.
The Survivor’s Sanctuary (That Is Not Safe)
This section of the haunt creates psychological horror. It plays with the idea of a safe space being violated and the fear that humans can be just as dangerous as the undead.
14. The Unsettling Welcome
Guests enter a seemingly safe, well lit room where a “survivor” offers them a moment of rest. This is all about misdirection.
DIY Tips:
- The room should be clean and have a friendly actor who offers the guests a (fake) drink of water.
- The actor should be a little too friendly, a little too eager for the guests to stay.
- The scare comes when the friendly actor reveals a bite mark, or when a zombie bursts from a hidden closet.
- The contrast between the “safe” room and the sudden violence is the key to this scare.
- Have the sound of soft, calming music playing, which is abruptly cut off by a scream.
- The friendly actor can try to stop the guests from leaving, revealing their insanity.
- There can be a “sick” person coughing in a corner who is about to turn.
- This room is about lulling the guests into a false sense of security.
- The actor can ask the guests questions about the outside world, getting more and more agitated.
- The sudden turn from safety to terror is a powerful psychological shock.
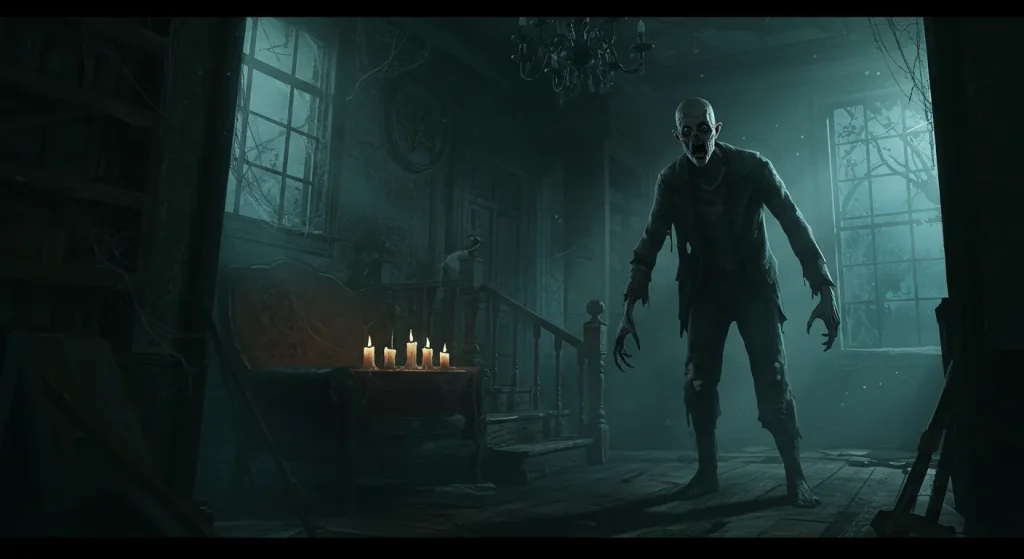
15. The Infected Survivor
The threat is not outside; it is already in the room with you. This is a slow burn, performance based scare.
DIY Tips:
- Have an actor in a “safe room” who is trying to hide a bite mark on their arm.
- They should be sweating, shaking, and acting paranoid.
- The other “survivors” in the room can be arguing about what to do with them.
- The tension builds as the actor gets sicker and more agitated.
- The final scare is when the actor “turns,” convulsing and then lunging at the guests or the other actors.
- This requires a good actor who can sell the performance.
- The other actors should be trying to keep the guests “safe” from the turning person.
- This is a great storytelling moment in your haunt.
- The room should feel claustrophobic and tense.
- The final lunge should be sudden and chaotic.
16. The Paranoia Room
In this room, the guests are the source of fear. The “survivors” are terrified of them, convinced that one of the guests is infected.

DIY Tips:
- Have several actors in a barricaded room who are armed with fake weapons.
- As the guests enter, the actors should shine flashlights in their eyes and scream at them to “show us your arms!”
- The actors should be paranoid and untrusting, arguing with each other about whether to let the guests pass.
- This is a great interactive scene that makes the guests feel uncomfortable and accused.
- One of the actors can be a “leader” who interrogates the guests.
- The scare is psychological; there are no zombies in this room, only unstable humans.
- The actors can force the guests to walk a certain path, keeping their “weapons” aimed at them.
- This is a great change of pace from the constant monster attacks.
- The room should be messy and look like people have been living there for a long time.
- The scene ends with the actors reluctantly letting the guests pass, warning them not to come back.
17. The Ration Pile Scare
A classic jump scare hidden in a place where guests would least expect it.
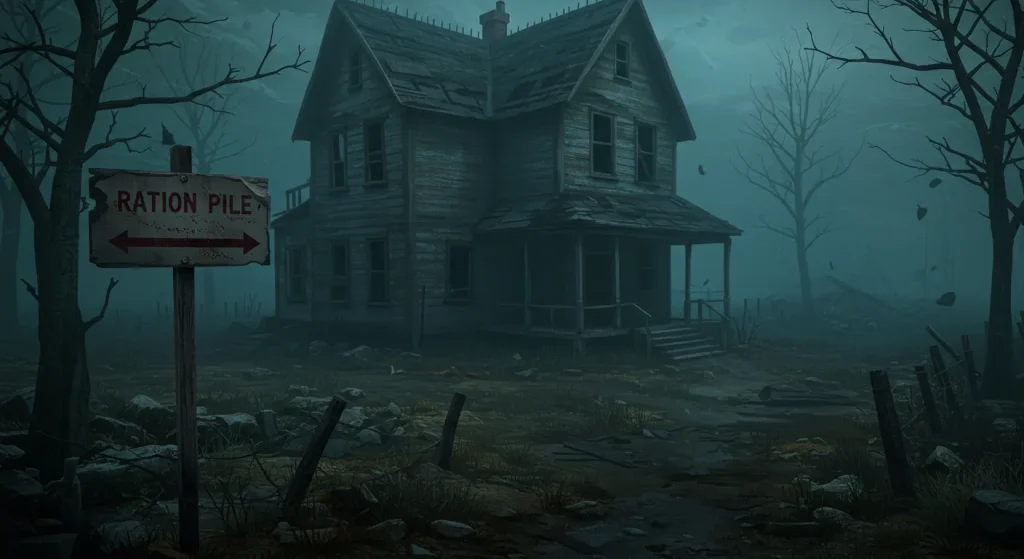
DIY Tips:
- Create a large pile of “supplies” in a corner of a “safe room.” Use empty boxes, blankets, and bags.
- Have an actor completely hidden within the pile of supplies.
- As guests are looking at other things in the room, the “zombie” should burst out from the pile of supplies.
- This is a great surprise because the room is supposed to be safe.
- The actor should be camouflaged with blankets or debris.
- The jump should be sudden and loud.
- This is a very effective and low prop scare.
- The rest of the room should be well lit to sell the “safe” illusion.
- The actor can be a “crawler” zombie that was hiding in the pile.
- The other “survivor” actors in the room should react with terror, adding to the chaos.
18. The Silent Lookout
A purely psychological scare that uses stillness and silence to create unease.
DIY Tips:
- In a “safe house” room, have an actor standing on a chair, staring silently out a blacked out window.
- The actor should be completely unresponsive to the guests.
- They should not move or speak, no matter what the guests do.
- The other “survivors” can tell the guests to “leave him alone, he’s been like that for days.”
- The fear comes from the unknown. What did he see that broke him?
- This is a creepy, atmospheric moment that is all about performance.
- The actor should be silhouetted against the window.
- A faint sound of wind can be playing outside the window.
- This is a great, quiet moment to build suspense between high energy scares.
- For a final scare, as the guests are leaving, the actor can let out a single, bloodcurdling scream.
The Medical Tent & Failed Cures
This section of the haunt can be more gruesome and scientific, playing on fears of disease, infection, and experiments gone wrong.
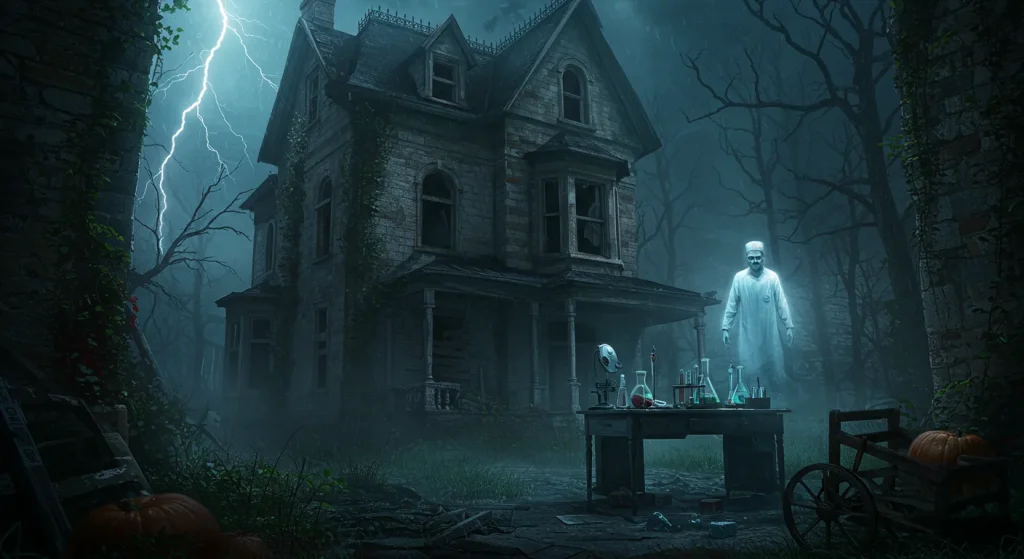
19. The Patient Zero Lab
The place where it all began. This room tells the origin story of the apocalypse.
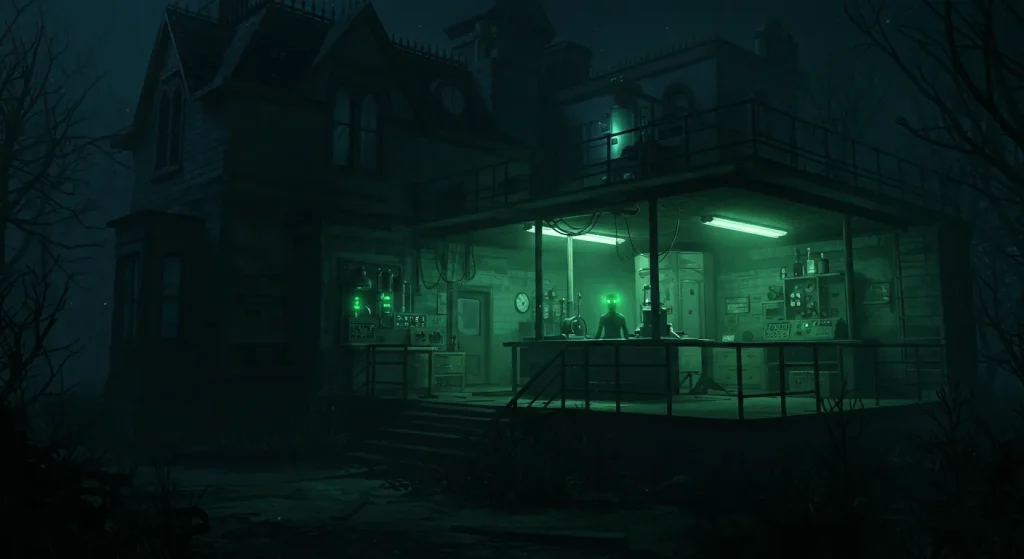
DIY Tips:
- The room should be sterile and white, with flickering fluorescent lights.
- Have a broken glass containment unit in the center of the room.
- Scatter scientific papers and charts with “biohazard” warnings on them.
- Have a looping video on a computer monitor of a scientist’s final, panicked log entry.
- The sound should be a low, electronic hum and a blaring alarm.
- A “body” of a scientist in a lab coat can be on the floor.
- Splatter fake blood coming from the broken containment unit.
- This is an atmospheric, storytelling room with no live actors.
- Use dry ice to create a “lab accident” fog effect.
- Write “GOD HELP US” on a whiteboard in a panicked scrawl.
20. The Bite Victim’s Turn
A live, performance based scare that is incredibly effective and disturbing.
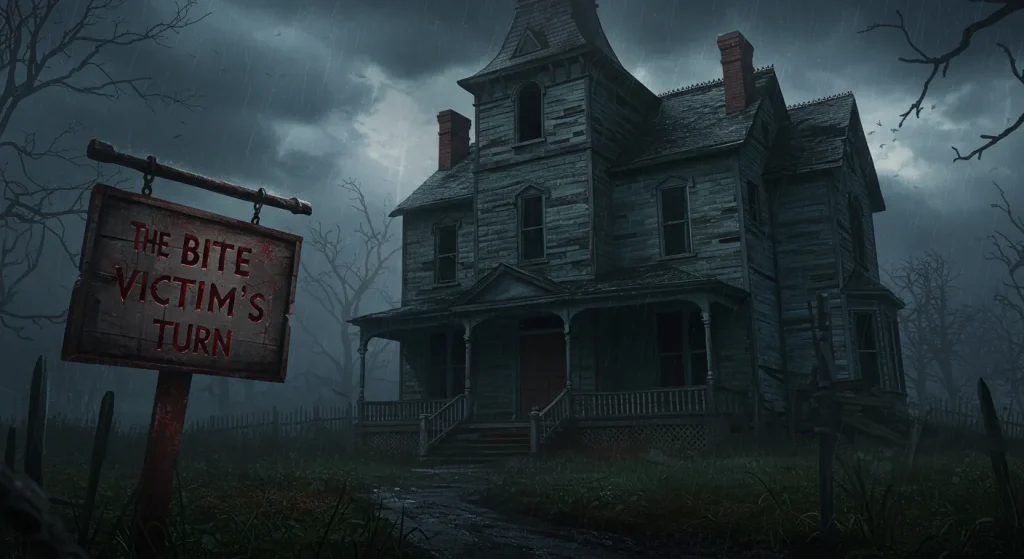
DIY Tips:
- Have an actor strapped to a gurney or a chair in a “medical tent.”
- Another actor, dressed as a doctor, can be explaining to the guests that they are “trying to stop the infection.”
- The “bite victim” should begin to convulse and twitch violently.
- The performance should build in intensity until the victim “turns,” breaking their restraints and lunging.
- This requires a good actor who can sell the agonizing transformation.
- The “doctor” should react with terror and try to protect the guests.
- A fake bite mark with lots of fake blood is a crucial prop.
- The lighting should be a single, harsh light focused on the victim.
- The sound should be the actor’s own screams and groans.
- This is a powerful, story driven scare.
21. The Failed Cure Experiment
A gruesome tableau of a scientific experiment that has gone horribly wrong.
DIY Tips:
- This room is all about the props. Use fake body parts, medical tubing, and beakers filled with colored liquid.
- Have a “zombie” strapped to a dissection table, with fake organs and blood everywhere.
- The zombie can be a live actor who is pretending to be dead, and can suddenly move.
- The walls should be covered in complex, nonsensical scientific formulas and diagrams.
- The lighting should be a sickly green or blue.
- The sound should be an electric buzzing and a slow, bubbling sound.
- This is a great room for gross out horror.
- Have a looping audio log from the “scientist” explaining that the cure only made them stronger.
- Use clear plastic sheeting to create a “quarantine” feel.
- A cheap fog machine can add to the “lab accident” atmosphere.
22. The Body Bag Room
A deeply unsettling and claustrophobic tactile scare.
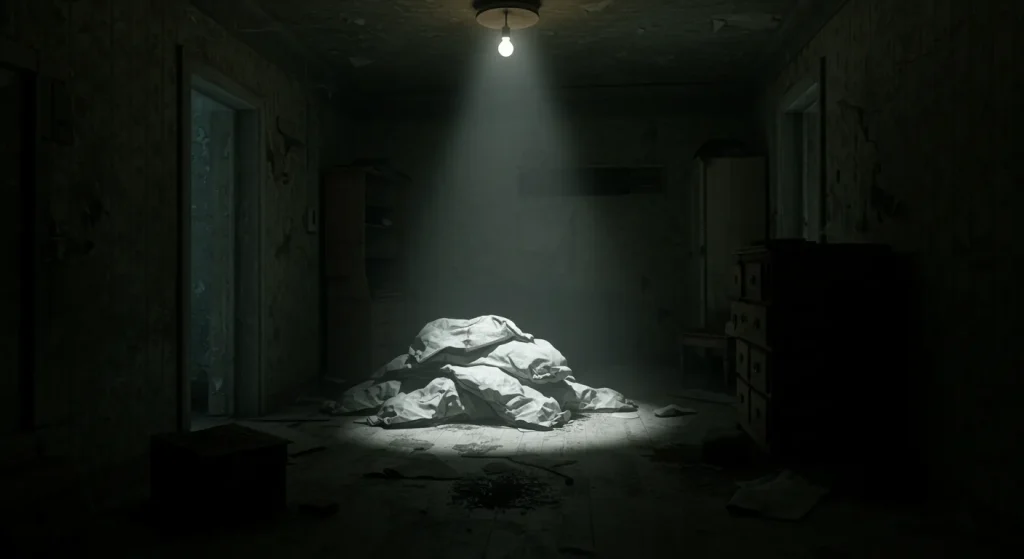
DIY Tips:
- Stuff several large, black trash bags with pillows or soft foam to create the shape of bodies.
- Hang them from the ceiling of a dark hallway so that guests have to push their way through the “body bags.”
- The weight and shape of the bags is what makes this scare so effective.
- For an extra scare, one of the body bags can be a live actor who grabs at the guests as they pass.
- The hallway should be very dark, so guests can only feel their way through.
- The sound should be a low, droning hum.
- Splatter some of the bags with fake blood.
- This is a great way to use a transitional hallway.
- The actor should be silent until they grab someone.
- The feeling of pushing through the “bodies” is the main source of fear.
23. The Quarantine Tent
Create the feel of a makeshift CDC or military medical tent.
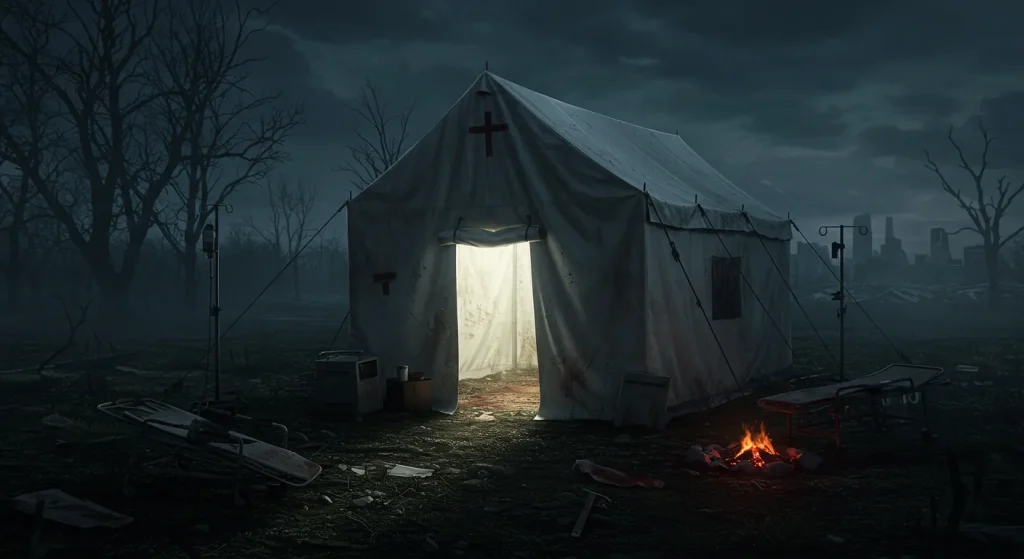
DIY Tips:
- Use white plastic sheeting or painter’s drop cloths to create the walls of the tent.
- The lighting should be a harsh, sterile white.
- Have an actor in a full hazmat suit who is “scanning” the guests with a fake device.
- The actor can be telling them to “move quickly” and that the “area is not secure.”
- A strobe light and a siren can go off, signaling a “containment breach.”
- This is when a zombie actor can burst through one of the plastic walls.
- This is a great, high energy, and chaotic scene.
- Use biohazard symbols and quarantine signs everywhere.
- The “hazmat” actor can be spraying a fine mist of water from a spray bottle to “decontaminate” the guests.
- This is a great way to transition into a more intense part of the haunt.
24. The Virologist’s Last Log
An audio based scare that tells a story and builds to a jump.
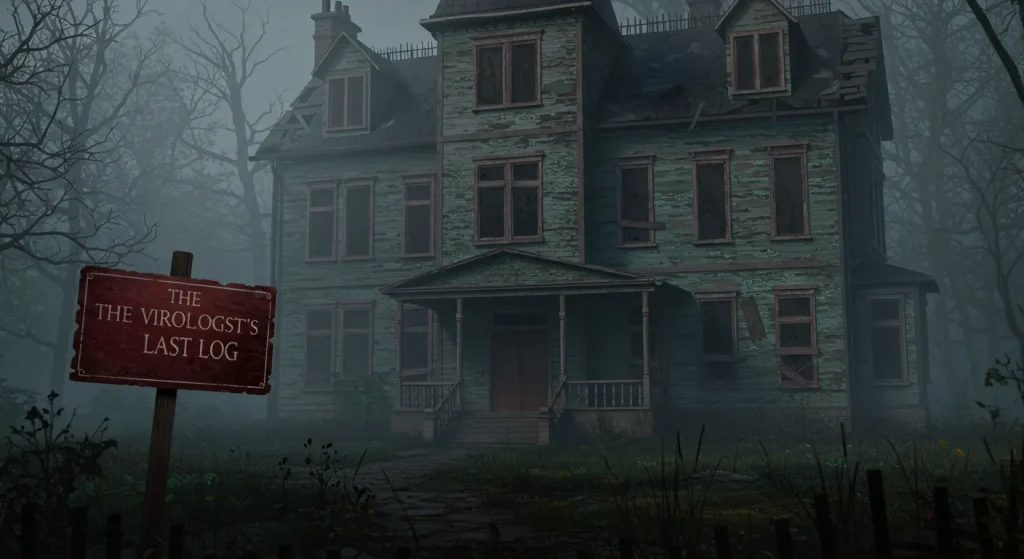
DIY Tips:
- Set up a “lab” room that looks like it has been abandoned in a hurry.
- Have a computer monitor or a tablet playing a video of a scientist’s final, panicked video log.
- In the video, the scientist should describe the symptoms of the virus, and then begin to show them herself.
- The video should end with the scientist turning into a zombie and lunging at the camera.
- At the exact moment the zombie lunges at the camera, a live actor in the same costume should lunge from a hidden spot in the room.
- The timing of this scare is crucial.
- The room should be dark, with the only light coming from the screen.
- This is a very clever and effective misdirection scare.
- The live actor should be hidden behind a curtain or in a closet.
- The audio from the video provides the entire buildup to the scare.
25. The Specimen Jars
A simple but deeply creepy prop based room.
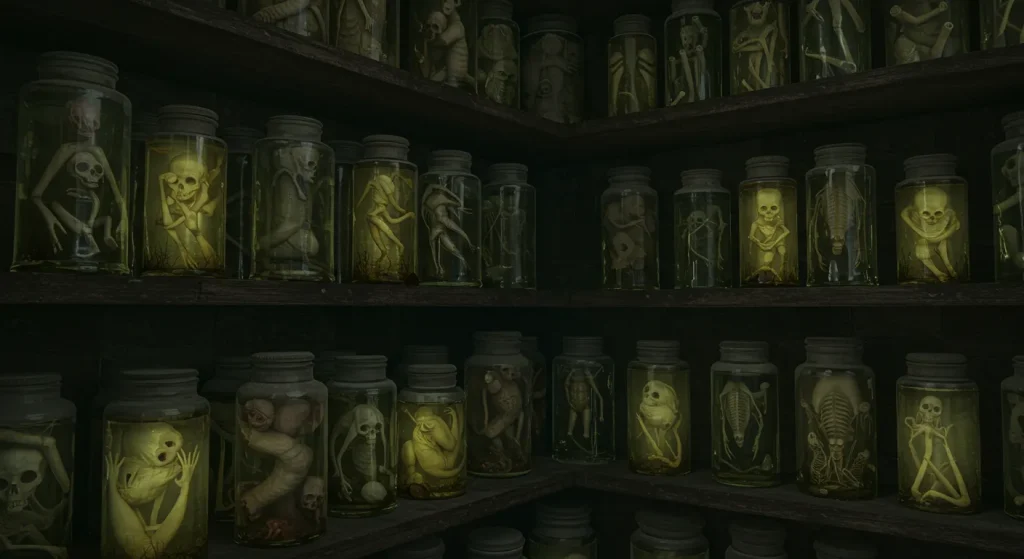
DIY Tips:
- Collect a variety of glass jars.
- Fill them with water and a few drops of food coloring.
- Place a variety of creepy props in the jars, like plastic dolls’ heads, rubber snakes, and fake eyeballs.
- The best “specimen” is a cauliflower floret, which looks remarkably like a brain in a jar.
- Create handwritten, scientific looking labels for each jar, like “Patient Zero Brain Tissue.”
- Line the jars up on a shelf and light them from below with a string of lights.
- This is a great, low cost way to create a creepy atmosphere.
- For a scare, one of the “jars” can be a hole in the wall with an actor’s face inside.
- The room should be silent except for a low, electronic hum.
- This is a great detail for a “lab” or “mad scientist” themed area.
26. The Dissection Table
A gruesome tableau that can be combined with a powerful jump scare.

DIY Tips:
- Drape a table with a white sheet and lay a “body” (a dummy or a live actor) on it.
- Cover the body with another sheet, leaving only the feet exposed.
- Scatter fake, bloody medical tools around the table.
- The scare is when the live actor, pretending to be a corpse, suddenly sits up and screams.
- The lighting should be a single, harsh light hanging over the table.
- Splatter fake blood on the walls and the sheet.
- The actor must remain perfectly still until the moment of the scare.
- This is a classic and highly effective scare.
- The sound should be a slow, rhythmic beeping of a heart monitor that flatlines right before the scare.
- The room should look like a makeshift morgue or a medical lab.
27. The CDC Lockdown
A high energy, chaotic room that simulates a containment breach.
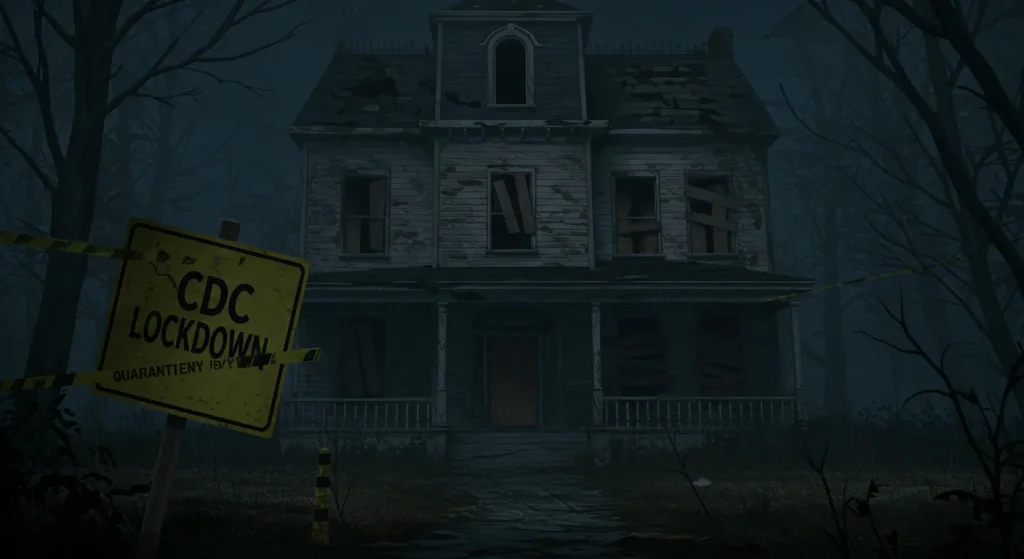
DIY Tips:
- This room should be a chaotic maze of plastic sheeting.
- Use a red, flashing emergency light as the only light source.
- A loud, blaring siren should be going off continuously.
- Have several zombie actors who are only visible in the brief flashes of the red light.
- The actors should be lunging and grabbing from behind the plastic sheets.
- This is a very disorienting and panicked experience.
- The goal is to make the guests feel like they are in the middle of a disaster.
- This is a great finale or a transition to the finale.
- The path should be confusing but ultimately lead to the exit.
- The combination of the siren, the flashing light, and the zombies is a huge sensory overload.
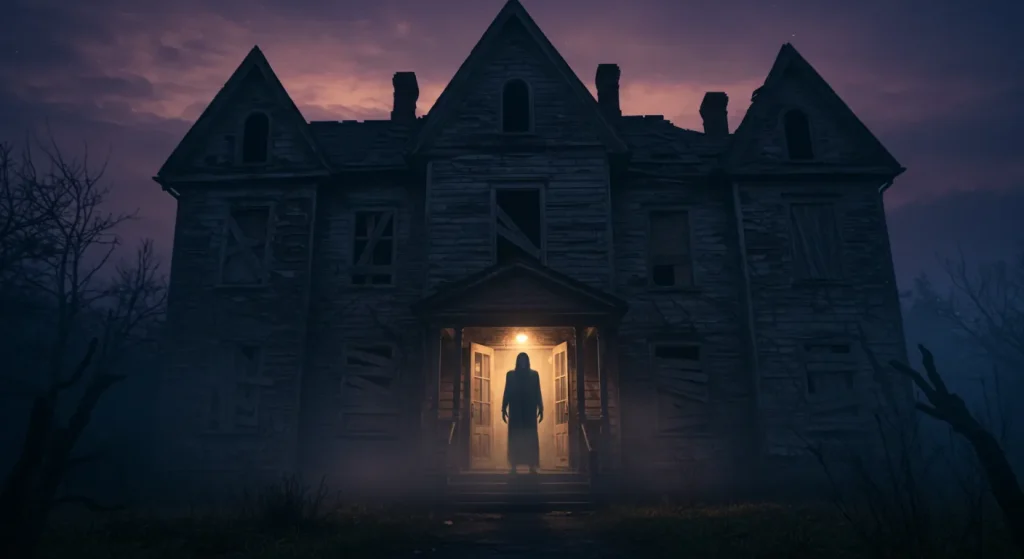
The Escape: A Frantic Finale
The final part of your haunt should be a high energy, desperate push for survival. The guests should feel like they have just barely made it out alive.
28. The “Run for the Gate” Finale
A classic chase scene that provides an explosive and memorable end to the haunt.
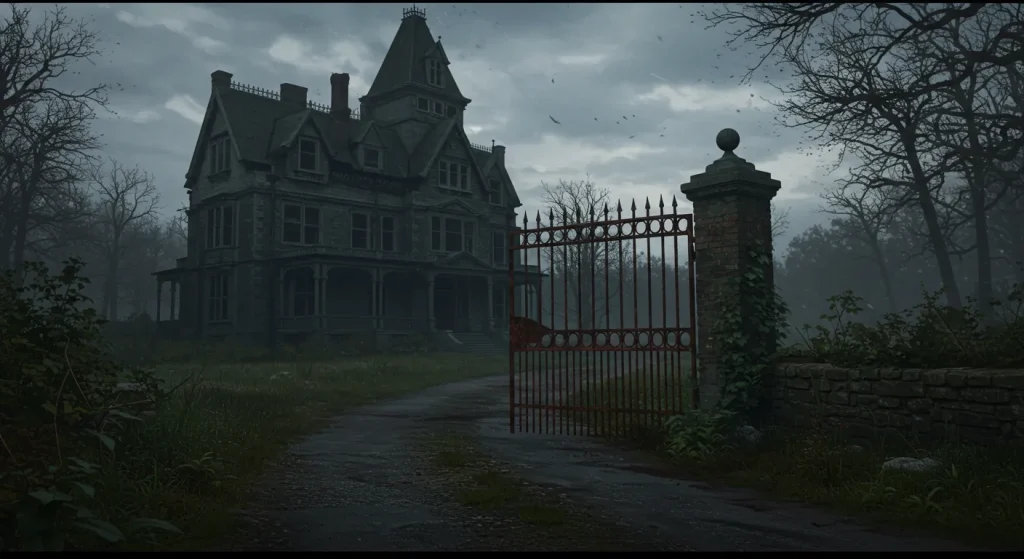
DIY Tips:
- The final area should be an outdoor space or a large garage.
- Have several zombie actors who are hidden at the exit of the haunt.
- As the guests emerge, the zombies should begin to chase them towards a designated “safe zone” gate.
- The safe zone should be clearly marked and well lit.
- The actors should be fast and intimidating, but should never get too close to the guests.
- The sound should be a mix of panicked screaming and zombie groans.
- This is a high energy and very fun finale.
- Make sure the chase path is completely clear of any trip hazards.
- A “survivor” actor can be at the gate, yelling for the guests to “Hurry!”
- The feeling of relief upon reaching the safe zone is immense.
29. The Car Alarm Diversion
A loud and disorienting scare that uses a common, jarring sound.
DIY Tips:
- This works best if your haunt exits near your driveway.
- Have an actor hidden in a car.
- As the guests pass the car, the actor should trigger the car’s panic alarm.
- The sudden, loud, and familiar sound is a huge jump scare.
- The flashing headlights will add to the disorientation.
- For a bigger scare, a second zombie actor can lunge from the other side at the same moment the alarm goes off.
- This is a very effective and easy to set up scare.
- You can also use a remote car starter to trigger the alarm from a distance.
- The scare comes from the unexpected source and the loudness of the alarm.
- This is a great, modern twist on a simple noise scare.
30. The Final Window Scare
Give them one last jump scare when they think they are completely safe.
DIY Tips:
- This takes place after the main haunt is over, as guests are leaving and talking in a “safe,” well lit area.
- Have an actor in a terrifying zombie mask suddenly appear and slam their hands against the outside of a nearby window.
- The scare works best when everyone’s guard is completely down and they are laughing.
- The actor should appear and disappear very quickly.
- This is a perfect, final punctuation mark of fear.
- You can also have an actor hidden in a bush near the sidewalk who lunges out as guests walk to their cars.
- The key is the element of complete surprise in a supposedly safe space.
- Make sure the actor at the window is careful not to actually break the glass.
- This creates a final scream and a lasting memory.
- It reinforces the idea that in a zombie apocalypse, you are never truly safe.
31. The Tunnel of the Bitten
A claustrophobic and tactile finale that makes guests feel like they are pushing through a mass of infected bodies.
DIY Tips:
- Create a tunnel out of large cardboard boxes or black plastic sheeting.
- Have several actors hidden in the walls of the tunnel.
- They should not lunge, but should simply reach their hands through slits in the walls and grab at the guests’ arms and legs as they pass.
- The tunnel should be very dark.
- The sound should be a chorus of low, wet groans coming from all sides.
- This is a very personal and creepy scare.
- The actors’ hands can be covered in fake blood or slime.
- The goal is to make the guests feel like they are being swarmed.
- This is a great, high impact finale that requires minimal space.
- The exit of the tunnel should lead directly to the “safe zone.”
32. The “Get to the Chopper” Call
An audio based finale that creates a sense of extreme urgency.

DIY Tips:
- The final room should look like an evacuation point, perhaps a rooftop or an open field.
- Have a loud, looping audio track of a helicopter’s blades and a pilot shouting “We’ve got to leave now! Get to the chopper!”
- Flashing lights can simulate the helicopter’s searchlight.
- A powerful fan can create a “rotor wash” wind effect.
- The scare comes from the zombie actors who are “overrunning” the evacuation point, forcing the guests to make a final dash for the exit.
- This is a great, story driven finale that makes the guests feel like they are in a movie.
- The “safe zone” is the “chopper,” which is the exit of the haunt.
- The urgency of the audio track will make the guests run.
- A “soldier” actor can be yelling at the guests to hurry.
- This creates a chaotic and exciting final scene.
33. The Sacrificial Survivor
An interactive finale that is both scary and a little bit sad.
DIY Tips:
- Have a “survivor” actor who has been guiding the guests through the final section of the haunt.
- At the very end, as the guests are about to escape through a door, a horde of zombies should block the way.
- The “survivor” actor should yell “I’ll hold them off! Go!” and then turn to “fight” the zombies, creating a diversion for the guests to escape through the real exit.
- This is a heroic and memorable finale.
- The “fight” can be a simple, safe, and choreographed struggle.
- The guests will feel a connection to the actor, which makes the “sacrifice” more impactful.
- The sound should be a mix of heroic music and zombie snarls.
- This is a great way to end your haunt on an emotional note.
- The real exit should be a less obvious door or path.
- The final image the guests see is their “friend” being overwhelmed by the horde.
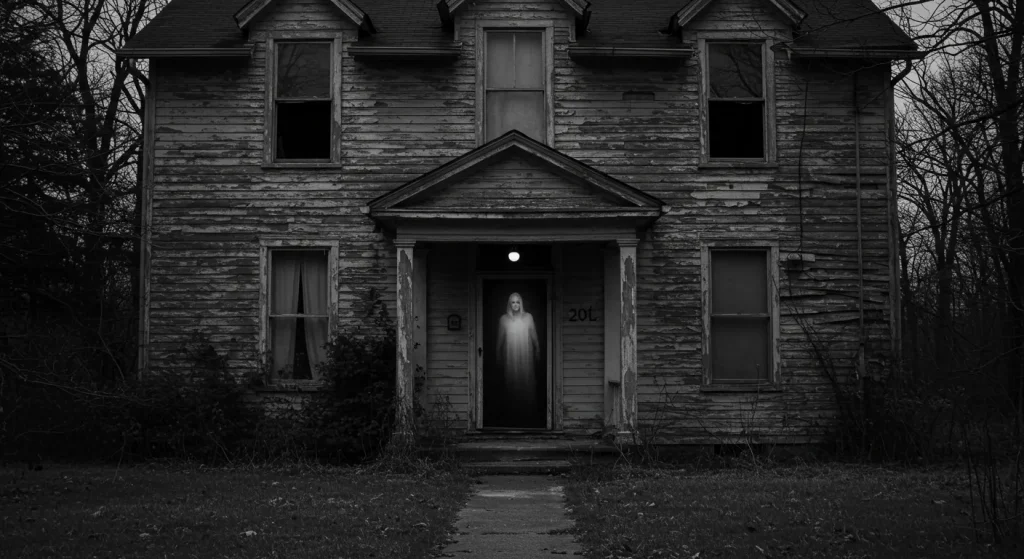
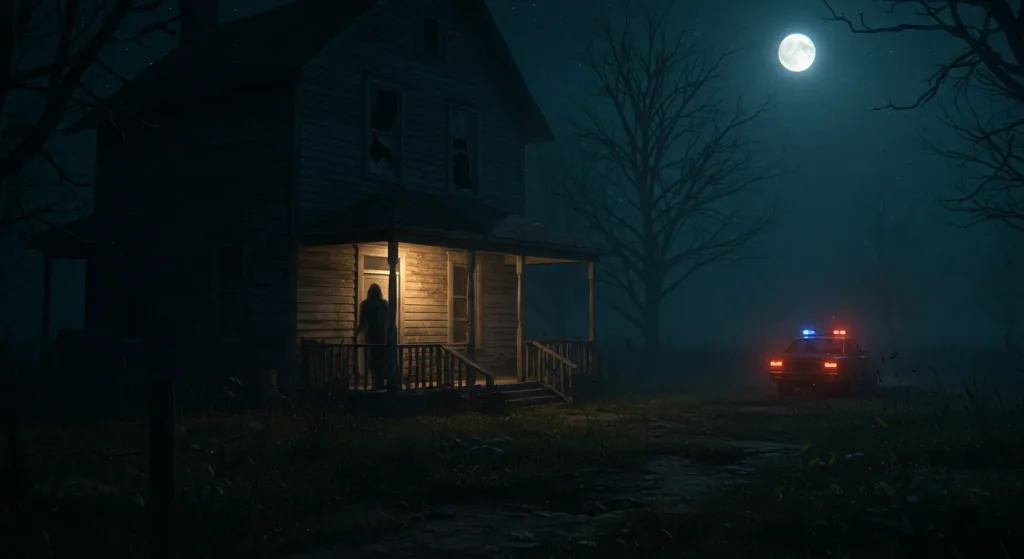
34. The Silent Watcher at the Exit
A final, psychological scare that leaves a lasting impression of dread.
DIY Tips:
- As guests exit the haunt and are in the “safe zone,” have a single zombie actor standing perfectly still at a distance, just staring at them.
- The actor should be partially hidden in the shadows, perhaps at the edge of the woods or down the street.
- They should not move or make a sound, just watch the guests.
- This is a deeply unsettling final image.
- It suggests that even though the guests have escaped, the threat is still out there, and it is watching them.
- This requires a disciplined actor who can hold their position.
- The lighting in the “safe zone” should be warm and inviting, which makes the silent figure in the distance even more menacing.
- This is a purely psychological scare that costs nothing.
- The costume should be a simple, classic zombie look.
- This will be the final, creepy image that your guests remember as they leave.
35. The Final Bite
A final, personal scare that makes the guests question their own survival.
DIY Tips:
- This is a great scare for a “medical tent” themed exit.
- Have an actor in a doctor or scientist costume who is “scanning” the guests for infection as they leave.
- The actor should declare all the guests “clear” and send them on their way.
- As the last guest is about to exit, a “hidden” zombie should lunge and “bite” the doctor.
- The doctor should then look at the guests with panicked, terrified eyes and say, “I’m infected.”
- This is a great final jump scare combined with a psychological twist.
- The “bite” should be a safe, simulated action.
- The look of terror on the “safe” doctor’s face is the key to this scare.
- The haunt ends with the guests realizing that the infection is now in their safe zone.
- This is a fantastic, story driven finale that leaves the guests with a sense of lingering dread.
Conclusion
A truly genius haunted house is a carefully orchestrated symphony of fear, built on a foundation of suspense and punctuated by moments of pure terror. By layering atmospheric effects, psychological tricks, and high energy startles within a cohesive zombie apocalypse narrative, you can create an unforgettable and thrilling experience for your guests. Remember that safety is paramount, always use battery operated lights, ensure clear pathways, and make sure your actors know their boundaries. Now go forth, embrace the apocalypse, and get ready to craft a frighteningly fun night that will haunt your friends’ dreams for years to come.