
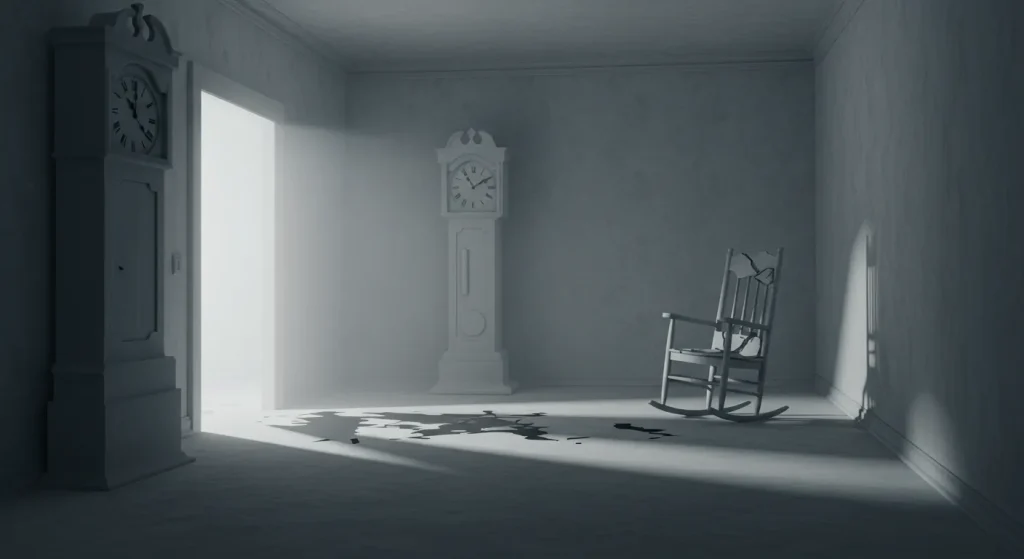
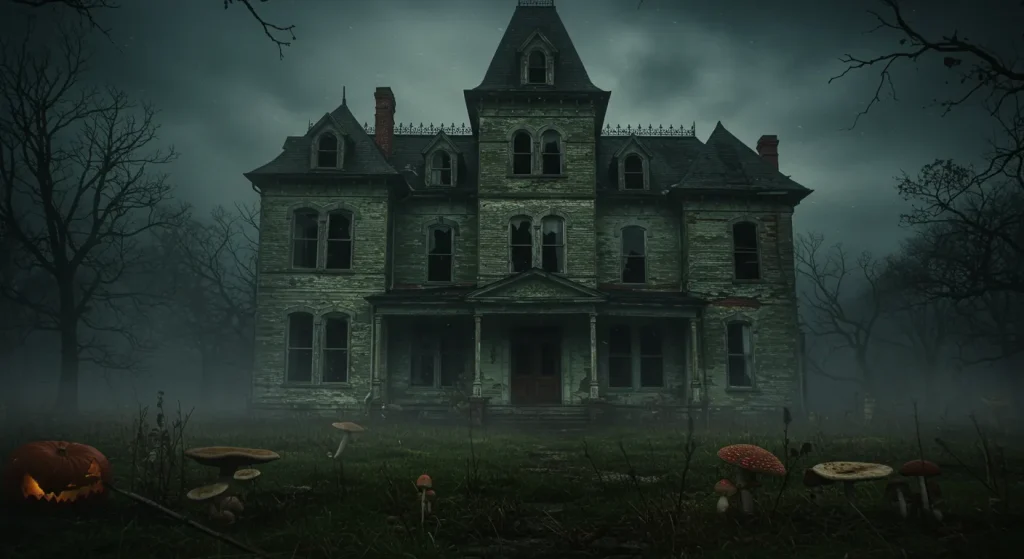
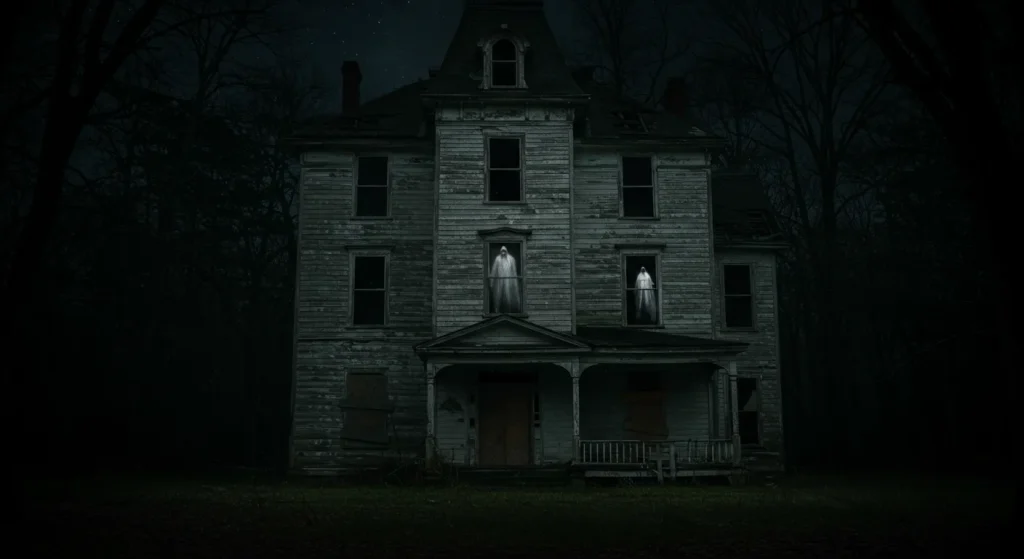
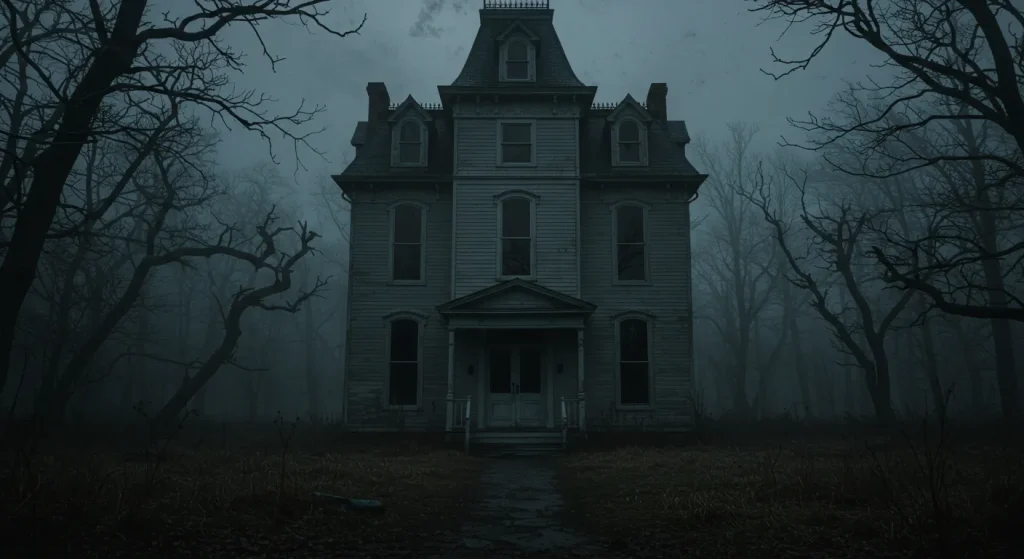
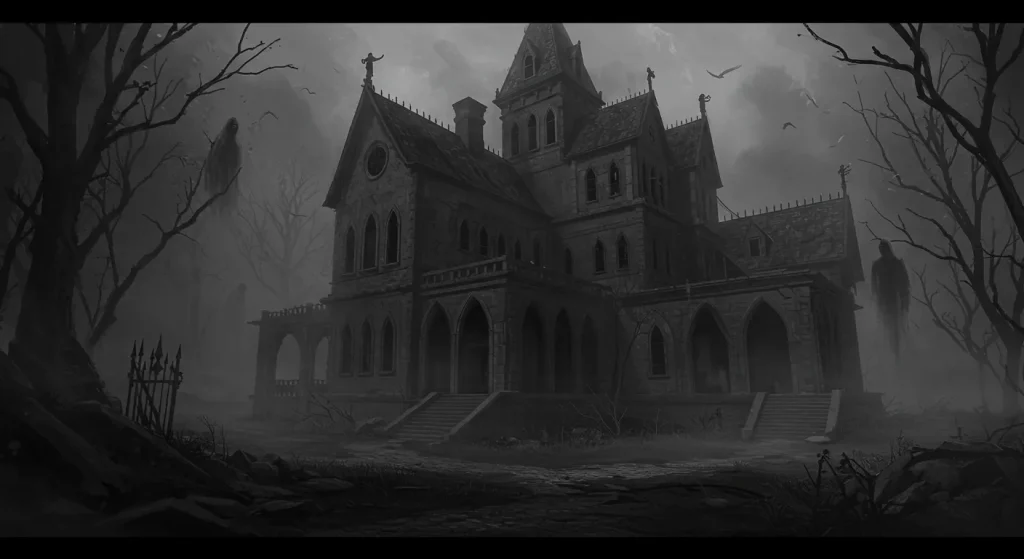
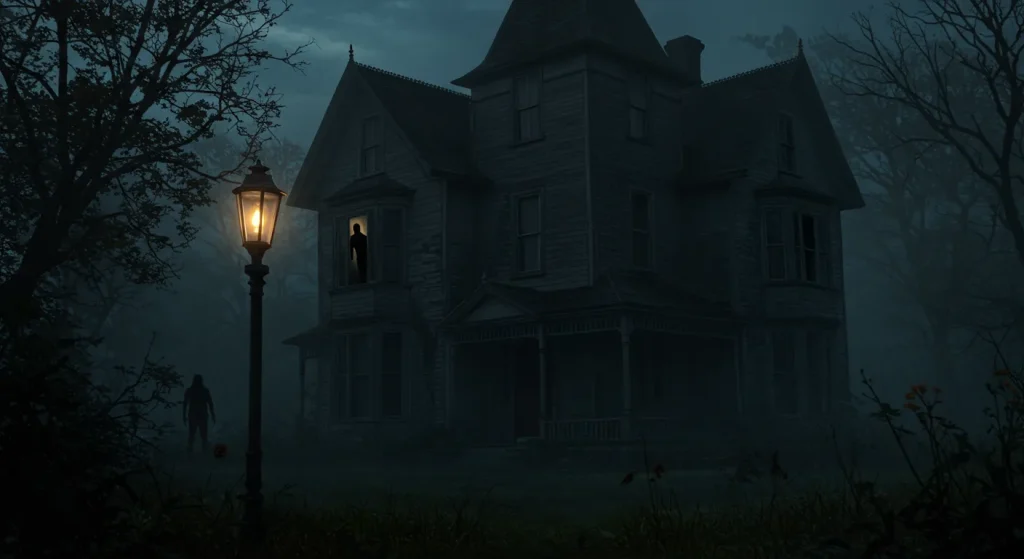
Creating a truly memorable haunted house is about crafting an immersive experience that taps into our deepest fears.
Here is the summary table for the 25 DIY Haunted House Ideas, including an estimated cost for each.
This guide offers 25 DIY ideas, from subtle atmospheric tricks to full blown terror, designed to help you transform your home into the ultimate spooky experience.
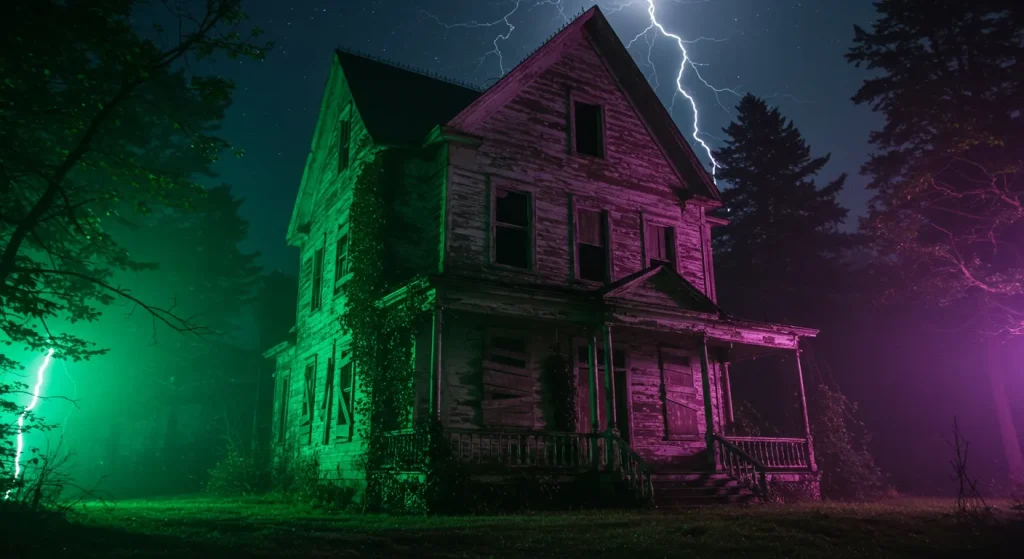
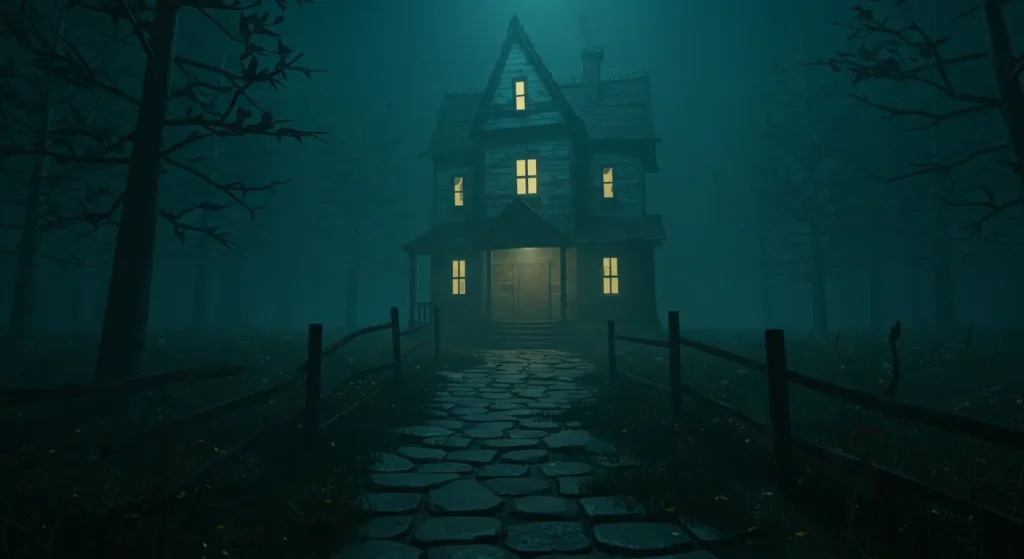
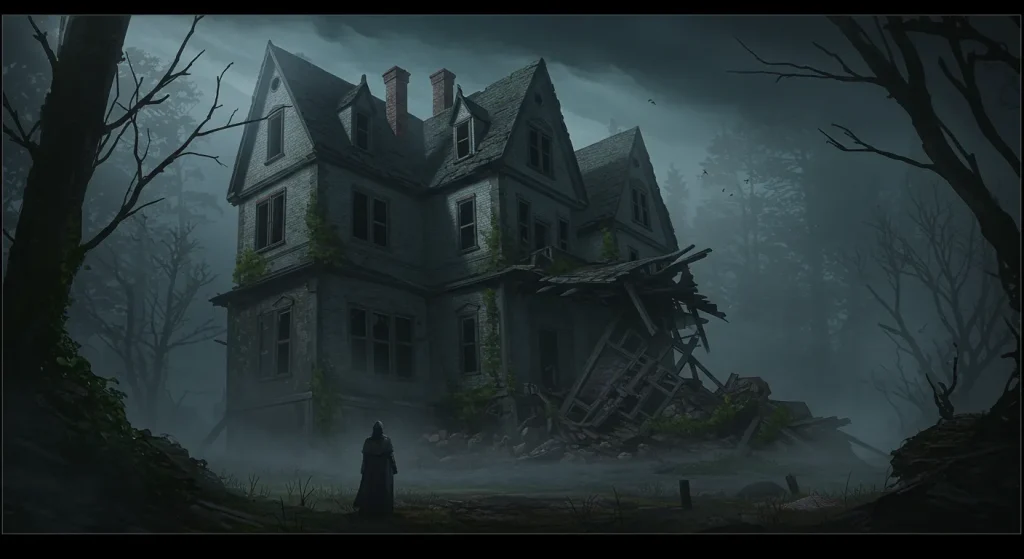
Architects of Anxiety: Crafting the Atmosphere
Before the first creature lunges from the shadows, you must build a world of dread. The atmosphere is the foundation of fear, convincing your guests that something is deeply wrong long before they know what it is.
1. The Sensory Void
This first room is designed to strip away your guests’ primary sense: sight. By plunging them into near total darkness, you immediately amplify their hearing, touch, and imagination, making them incredibly vulnerable.
DIY Tips:
- Use thick, black trash bags or old blankets to completely cover every window, doorway, and light source. Tape over any seams where light might leak through.
- The only light should be a single, dim, flickering battery operated candle placed on the opposite side of the room, providing a goal but no real illumination.
- Remove any ticking clocks and unplug appliances that hum. The goal is an unnatural silence that makes every creak of the house feel intentional.
- Run a simple guide rope along one wall. A rough, scratchy rope from a hardware store will feel much creepier than a smooth one.
- Keep the temperature in this room slightly colder than the rest of the house to enhance the feeling of emptiness.
- Place a sign at the entrance that reads “No Flashlights. The Spirits Are Shy.” to discourage phone use.
- Use dark, heavy rugs on the floor to muffle footsteps, adding to the disorienting silence.
- The transition is key. Have the next room be brightly lit, which will temporarily blind guests as they exit, creating another moment of vulnerability.
- A single, unexpected sound, like a marble dropping in a far corner (achieved by a hidden helper), can be incredibly effective in this silence.
- Consider a very faint, damp, earthy smell from a hidden bowl of dirt to suggest a freshly dug grave.
2. The Eerie Echo Chamber
Sound is the invisible actor in your haunt. A constant, low level, creepy audio track will keep everyone on edge, their brains constantly trying to identify threats that are not there.
DIY Tips:
- Use one or more hidden Bluetooth speakers connected to a phone or old device.
- Find a long, one hour plus “haunted house ambient sounds” or “dreadscape” track on YouTube or a streaming service.
- Choose a track with low drones, distant, unintelligible whispers, and subtle creaking rather than obvious screams or monster growls.
- Place the speaker in an unexpected location, like inside a vent or high up on a bookshelf, to make the sound source difficult to pinpoint.
- Ensure the sound is on a continuous loop so there are no jarring breaks in the atmosphere.
- Subtly increase the volume as guests move through the room to build a sense of approaching dread.
- Layer sounds. Have the main ambient track playing, but have a hidden helper occasionally trigger a different, sharper sound, like a single violin pluck or a baby’s cry.
- In a hallway, place speakers at both ends, playing slightly different tracks to create a disorienting, layered soundscape.
- The sound should be just loud enough to be unsettling, but quiet enough that guests have to strain to hear details.
- Experiment with bass. A very low, almost subsonic drone can create a physical feeling of unease without being an obvious sound.
3. The Obscuring Mists
Fog obscures vision, creates an ethereal atmosphere, and makes any room feel instantly like a scene from a horror movie. It hides your actors and forces guests to question what is real.
DIY Tips:
- A simple, inexpensive fog machine is the best investment you can make for a home haunt.
- Use a low lying fog fluid for an effect that clings to the ground and looks extra spooky, as if you are wading through a graveyard.
- Place the machine in a corner, slightly hidden behind a piece of furniture, so guests walk into a wall of fog rather than seeing the source.
- Backlight the fog with a single colored light (like blue or green) placed on the floor to give the mist a ghostly, otherworldly glow.
- Do not overdo it. The goal is to obscure, not to make it impossible to breathe or navigate. Use the machine in short bursts.
- Combine the fog with a fan on a low setting to gently circulate the mist throughout the room.
- The smell of fog fluid can be distinct. Add a few drops of a “damp earth” or “forest floor” scent to the fog machine to enhance the realism.
- Use the fog to hide an actor who can lunge out from the mist for a classic and effective scare.
- In a completely dark room, fog can make flashlight beams visible, creating a “laser swamp” effect if you use colored lights.
- Ensure your smoke detectors are temporarily disabled or covered in the room you are using the fog machine in to prevent false alarms.
4. The Corpse Chill
An unexpected blast of cold air on the back of the neck or ankles is a simple sensory trick that bypasses the brain and goes straight to a primal shiver.
DIY Tips:
- Hide a small, powerful fan on the floor, aimed at the walkway from behind a curtain or under a table.
- For an even more effective and creepy effect, place a bowl or cooler of ice directly in front of the fan to make the air extra cold.
- Trigger the fan with a remote controlled outlet switch for a perfectly timed scare as guests walk by.
- Aim the fan at exposed skin, like the ankles or the back of the neck, for the biggest impact.
- Combine this with a sound effect, like a sudden whisper or a ghostly sigh, to create a multi sensory scare.
- In a “butcher” scene, this can simulate the chill of a meat locker.
- You can create a makeshift air tunnel with a cardboard tube to direct the cold air to a very specific spot.
- This is most effective in an otherwise warm or stuffy room, as the contrast will be more noticeable.
- Have an actor exhale a puff of fake smoke (from a vape with no nicotine) into the cold air stream to create a visible “ghostly breath” effect.
- Do not leave the fan running continuously. The scare comes from the sudden, unexpected change in temperature.
5. The Scent of Decay
The sense of smell is powerfully linked to memory and emotion. An old, musty, or “off” scent makes a space feel ancient, unsettling, and fundamentally wrong.
DIY Tips:
- For a musty, “old house” smell, slightly dampen an old towel and leave it in a hidden corner of the room.
- For an earthy, “graveyard” smell, simply leave a bowl of dirt and damp leaves in a corner.
- A few drops of patchouli oil on a cotton ball, hidden away, can create a powerful, cloying scent.
- In a “butcher” or “zombie” room, a very small amount of liquid smoke can create a meaty, unsettling aroma.
- Simmering a pot of water with dirt, old leaves, and a splash of vinegar on a hot plate can create a potent “witch’s brew” smell.
- Avoid sweet, candy like scents like pumpkin spice, as these can break the illusion and make the haunt feel less serious.
- The scent should be subtle enough that guests wonder, “What is that smell?” rather than being an overwhelming stench.
- Use different scents in different rooms to signal a change in theme.
- A simple air freshener with a “sandalwood” or “cedar” scent can also provide a woodsy, cabin in the woods vibe.
- Remember to air out your house thoroughly after the event.
Engineering the Fright: Classic Jump Scares
These are the tried and true frights that form the backbone of any good haunt. They are all about timing, misdirection, and the element of surprise.
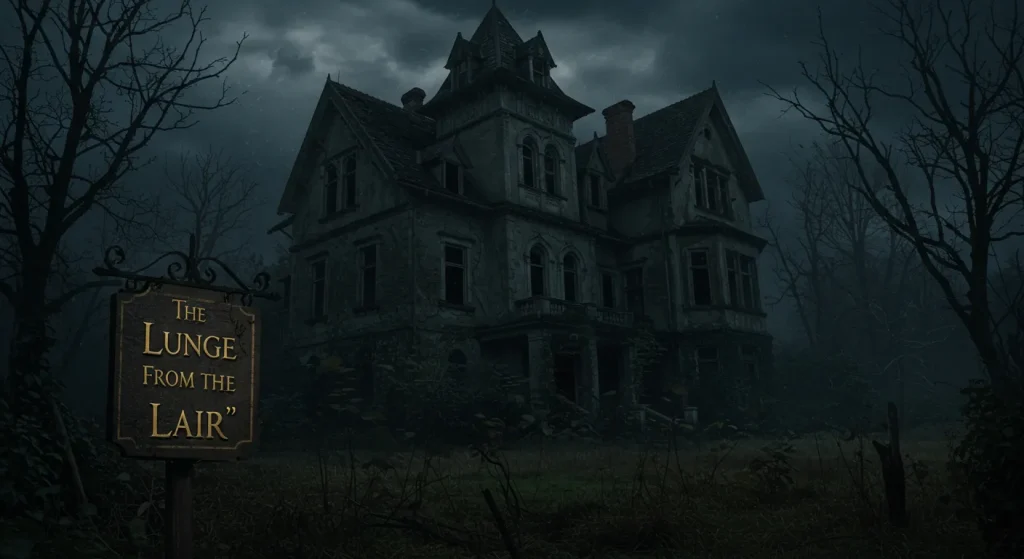
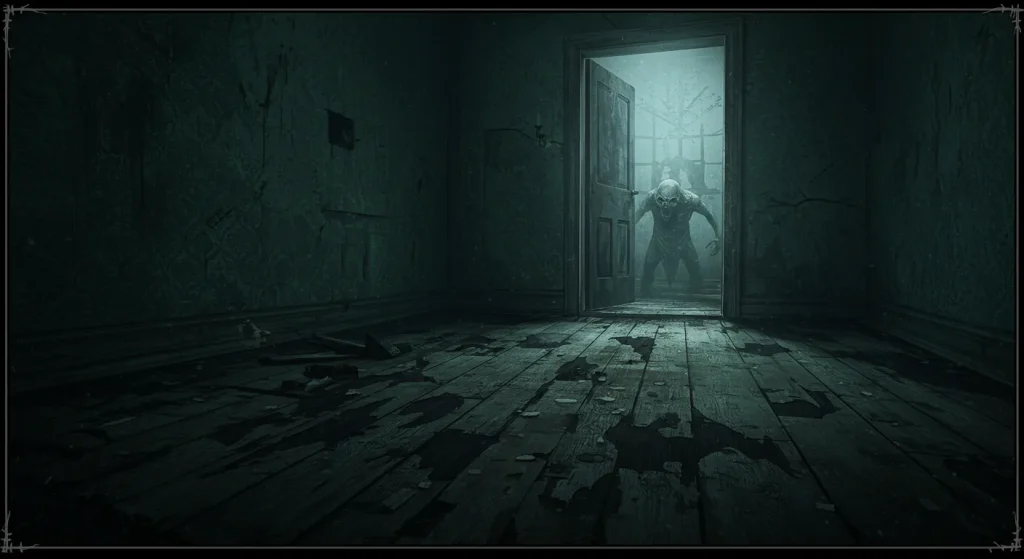
6. The Lunge from the Lair
The oldest trick in the book is a classic for a reason. It preys on the universal fear of what is hiding just out of sight and delivers a powerful, adrenaline pumping scare.
DIY Tips:
- This works best with a closet, pantry, or a space behind a curtain. Position the door so it is slightly ajar to draw attention to it.
- The actor should be completely hidden and silent until the moment of the scare.
- The scare is a three part motion: swing the door open violently, lunge forward while screaming or roaring, and then immediately retreat back into the darkness.
- Use a simple, full face mask so the actor does not have to worry about their expression.
- Do not allow the actor to touch the guests. The lunge is about invading their personal space, not physical contact.
- Misdirection is key. Have a distracting prop or a minor scare on the opposite side of the room to draw the guests’ attention away from the door.
- For a double scare, have a second actor hidden in another part of the room who screams a moment after the first lunge.
- The sound of the door banging against the wall is part of the scare.
- Have the actor use a prop, like a plastic knife or a fake spider, to thrust towards the guests.
- The retreat is just as important as the lunge. It leaves the guests wondering if the creature is still there.
7. The Ceiling Dropper
A sudden movement from above is a guaranteed way to get a shriek, as we are conditioned to look for threats at eye level.
DIY Tips:
- Tie a large, lightweight fake spider or a rubber bat to a piece of black fishing line or thread.
- Drape the line over a ceiling beam, a curtain rod, or a hook in the ceiling, with the prop positioned just out of sight above the doorway.
- Have a hidden helper stand on the other side of the room, holding the other end of the string.
- As a guest walks through the doorway, the helper should pull the string to make the prop drop down directly in front of their face.
- For a more advanced version, use a pulley system to make the drop smoother and faster.
- This works best in a dimly lit area where the fishing line will be invisible.
- You can also use a lightweight prop head or a rubber snake for this scare.
- The prop should be light enough that it will not hurt anyone if it makes contact.
- Combine this with a sound effect, like a spider’s hiss or a bat’s screech, for a multi sensory scare.
- Resetting is easy. Simply pull the prop back up into position for the next group.
8. The Living Decoy
Blur the line between what is real and what is not to create incredible suspense and a powerful payoff.

DIY Tips:
- Set up a room with several spooky looking, non moving figures, such as scarecrows, store bought dummies, or even just clothes stuffed with newspaper.
- Have a live actor dress in an identical costume and stand perfectly still among the decoys.
- The actor must have incredible discipline and not move a muscle, not even to breathe noticeably, until the perfect moment.
- The scare comes when a guest gets very close to inspect the “props.” The live actor should then suddenly turn their head, grab, or stand up.
- Lighting is key. Use dim, flickering light to make it harder to distinguish the real person from the fakes.
- Place the live actor in a spot where guests are likely to walk very close to them.
- For a bigger scare, have two live actors hidden among the decoys.
- This is a psychological scare as much as a jump scare. The suspense of not knowing what is real is terrifying.
- The costume should be simple and easy to replicate, like a scarecrow with a burlap sack mask.
- The reveal should be swift and shocking, followed by the actor returning to a perfectly still position.
9. The Underfoot Fiend
A touch from an unseen source, especially from below, is one of the most primal fears.
DIY Tips:
- Have an actor lie completely hidden under a table draped with a long, dark tablecloth that reaches the floor.
- As a guest walks by, the actor should quickly reach out from under the cloth and grab their ankle or leg.
- The actor must remain completely silent and unseen before and after the scare.
- This also works with a low bed with a bed skirt, or from behind a sofa.
- For a no actor version, you can create a simple mechanism with a string tied to a fake hand that a hidden helper can pull.
- The floor around the hiding spot should be clear of any obstacles.
- This is a great scare for a dining room or bedroom scene in your haunt.
- The actor should grab and release quickly. The shock is the goal, not a prolonged struggle.
- You can enhance the scare by having a distracting noise or prop on the other side of the room.
- This is a low tech, high impact scare that is consistently effective.
10. The Flashing Nightmare
A strobe light is disorienting, creates a sense of panic, and makes it hard to see where a threat is coming from, turning a single actor into an army.
DIY Tips:
- Dedicate a small room or hallway to this effect. Use a simple, cheap strobe light as the only light source.
- Have an actor in a monster costume stand in a corner.
- The flashing lights will only reveal the monster in brief, terrifying glimpses, making it impossible for guests to track their movements.
- The actor can take a step closer with each flash of light, creating a terrifying “weeping angel” effect.
- Cover the walls with chaotic drawings or spooky words that are only visible in the brief flashes.
- Play loud, disorienting music, like industrial noise or static, to add to the sensory assault.
- This effect is extremely disorienting, so the path through the room should be straight and free of obstacles.
- For a bigger scare, have a second actor in the room who is revealed after the first one.
- A simple, creepy mask and dark clothes are all the costume you need for this effect to work.
- WARNING: Strobe lights can be dangerous for people with epilepsy. It is essential to have a clear warning sign posted at the entrance to this room.
Beyond the Jump Scare: Psychological Torment
These scares are designed to mess with your guests’ minds and create a sense of unease and paranoia that lingers long after the initial shock.
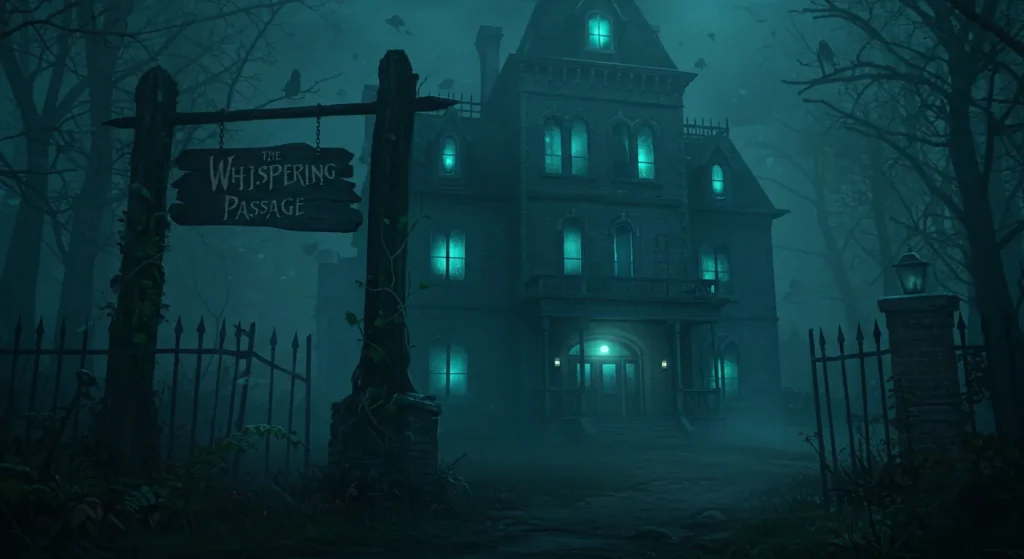
11. The Whispering Passage
This scare uses only audio to create a deeply unsettling, personal experience that makes guests feel like they are the target of the haunting.
DIY Tips:
- Place several small, hidden Bluetooth speakers along a dark hallway.
- Have helpers in another room whisper creepy, disjointed phrases into their phones, which are connected to the different speakers.
- The whispers should come from different directions, making it impossible to pinpoint the source.
- Whispering a guest’s name as they walk by is an advanced and truly terrifying technique. You can get names from a sign in sheet at the beginning.
- The whispers should be soft and sound like they are right next to the guest’s ear.
- Simple phrases like “Get out,” “I see you,” or just quiet, incoherent muttering are very effective.
- This is a purely psychological scare that requires no actors in the space itself.
- The hallway should be very dark to force guests to rely on their hearing.
- Combine this with a single, slow moving, silent actor at the far end of the hall for a terrifying visual payoff.
- The memory of hearing their own name whispered in the dark will stay with guests long after they leave.
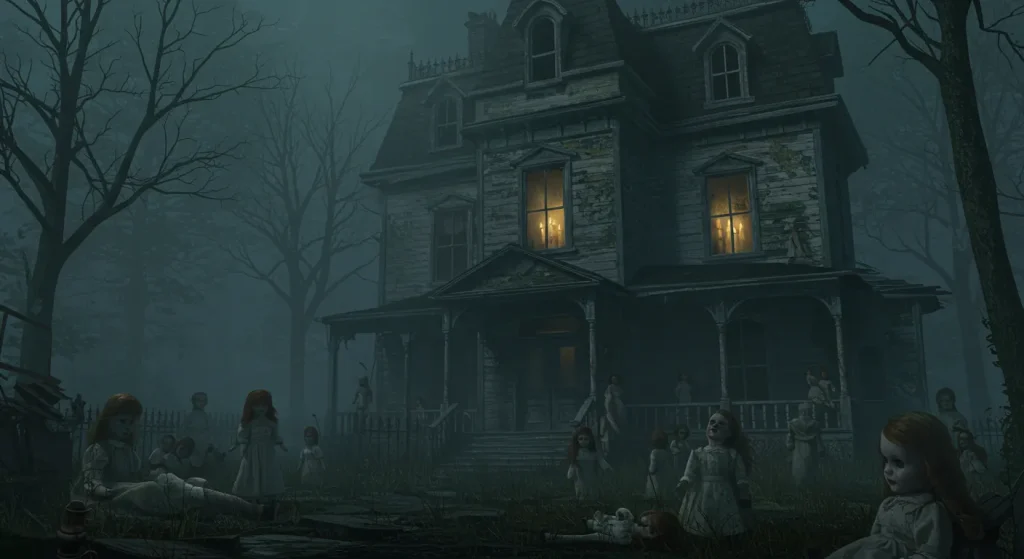
12. The Doll Assembly
The “uncanny valley” of dolls that look almost human is a powerful source of fear. This room is designed to be deeply unsettling rather than a jump scare.
DIY Tips:
- Collect an assortment of old, creepy looking dolls from thrift stores and garage sales. Cracks, missing eyes, and matted hair are all a plus.
- Use a black permanent marker to black out the eyes of a few of the dolls for an extra creepy effect.
- Arrange the dolls in a deeply unnatural way. Seat them in a circle in tiny chairs as if for a tea party, or have them all facing the door in rows as guests enter.
- The ultimate scare is to have a live actor dressed as a doll, sitting perfectly still among the others, who suddenly turns their head or blinks.
- The lighting should be dim and flickering, perhaps from a single, bare bulb.
- Play a faint, distorted recording of a children’s lullaby or a music box.
- Have some of the dolls in strange positions, like hanging from the ceiling by a ribbon or staring into a corner.
- A single, empty rocking chair slowly rocking in the corner adds a powerful element of unseen presence.
- The room should be silent except for the music. The quiet is what makes it so unnerving.
- The goal is to make guests feel like they are being watched by a hundred tiny, malevolent eyes.
13. The Crimson Scene
Recreate a classic horror movie scene in your own bathroom for a truly shocking and gruesome reveal.
DIY Tips:
- The key prop is a cheap, clear or white shower curtain liner.
- Create realistic looking “blood” by mixing red food coloring with corn syrup. Add a drop of blue for depth and a little chocolate syrup to make it darker.
- Splatter the “blood” on the tub and the inside of the curtain, and create a bloody handprint that is sliding down.
- Place a single, dim, flickering light in the bathroom. A red light bulb can be very effective.
- Have a silhouetted figure (a simple cutout or a dummy) standing behind the curtain, which is only visible when a guest enters the bathroom.
- Write a spooky message like “HELP ME” on the bathroom mirror in the “blood.”
- Have the sound of a slow, steady drip playing from a hidden speaker.
- Scatter a few bloody towels on the floor.
- For a final scare, have an actor hidden in the tub who can pull back the curtain or grab at the guest.
- Make sure to use materials that are washable and will not permanently stain your bathroom fixtures.
14. The Shifting Gaze
An object that moves or changes when you are not looking is a classic and deeply unsettling haunting trope.
DIY Tips:
- The easiest and most effective method is to use a digital picture frame.
- Load the frame with a series of seemingly normal, vintage portraits. Program it to have one of the portraits suddenly and briefly flash to a ghoulish, demonic version.
- Hang several normal, static portraits on the wall, but have only the one digital frame that changes. This will make the effect more surprising.
- The change should be quick, just a one second flash, to make guests question if they really saw it.
- For a low tech version, use a picture frame with a deep set frame. Place a creepy picture behind a normal one, and have a hidden actor pull a string to quickly remove the top picture.
- The lighting in the room should be dim and dramatic, focused on the portraits.
- This is a great scare for a “haunted mansion” theme.
- The actor who reveals the change should be completely unseen.
- This plays on the fear that the very environment is alive and watching you.
- You can also do this with a doll in a glass case, having an actor slightly change its position when guests are not looking.
15. The Unstable Connection
This is an interactive scare that builds a story and a false sense of control before a final, chaotic fright.
DIY Tips:
- Set up a small table with a fake Ouija board (you can draw one on a piece of cardboard) and some flickering, battery operated candles.
- Have an actor dressed as a frantic, nervous medium who is trying to contact a spirit.
- The actor should engage the guests, telling them the spirit is shy and will only appear if they are quiet.
- As the “séance” progresses, the actor gets more and more frightened, saying the spirit is angry.
- A hidden helper can begin to knock on the walls or tap on a window.
- The lights should flicker (a helper flipping a switch works).
- The scare culminates with a “ghost” (another actor in a sheet or a mask) lunging from the shadows as the medium screams.
- The planchette on the Ouija board can be moved by a hidden string or magnet.
- This scare is all about the actor’s performance, building the tension slowly.
- The final scare feels more earned and terrifying because of the suspenseful buildup.
When the Terror Touches You: Sensory Assaults
These ideas target the physical senses, creating discomfort, revulsion, and a feeling of being trapped, often in complete darkness.
16. The Hall of Encroaching Walls
Forcing guests into a tight, enclosed, and moving space is a powerful way to induce a primal sense of panic.

DIY Tips:
- You will need several large, heavy duty black trash bags and a roll of duct tape.
- Inflate the trash bags about three quarters of the way and tape them securely to the walls of a hallway.
- The bulging, yielding bags will press in on the guests as they try to squeeze through, making the space feel like it is breathing.
- The hallway should be dark, so guests have to feel their way through.
- The crinkling sound of the plastic bags adds an unsettling audio element.
- This is a high impact scare that only costs a few dollars in supplies.
- For a more advanced version, have a hidden actor gently push on the bags from behind a false wall.
- The space should be narrow enough that guests have to turn sideways to get through.
- This is a purely physical and psychological scare; no actor is needed in the hallway itself.
- Ensure the bags are securely taped so they do not fall and become a trip hazard.
17. The Gossamer Gauntlet
A simple but incredibly effective tactile scare that preys on the common phobia of spiders and the unknown.
DIY Tips:
- Buy several bags of cheap, stretchy spider web material.
- The secret to making it look and feel creepy is to stretch it as thin as possible until it is barely visible.
- Stretch the material across a dark hallway at varying heights, from the ankles to the face.
- The feeling of the sticky, unseen webs brushing against guests’ faces and arms as they walk through is deeply unsettling.
- Add a few very lightweight plastic spider rings to the web so they occasionally fall on guests.
- This is a low cost, high impact scare that is very easy to set up.
- The hallway should be dark to maximize the surprise and the unpleasantness of the sensation.
- Combine this with a sound effect of skittering spiders for a multi sensory assault.
- This is a great transitional hallway between two major scare rooms.
- Make sure there are no heavy props in the web that could fall and hurt someone.
18. The Abattoir
This is a gross out room that assaults the senses of sight, sound, touch, and smell, creating a truly repulsive and terrifying experience.
DIY Tips:
- Hang clear plastic sheeting (like painter’s drop cloths) from the ceiling and on the walls.
- Splatter the sheets with fake, washable blood.
- Have a recording of dripping, squishing, and buzzing fly sounds playing.
- Have an actor in a butcher’s apron and a creepy mask working on “body parts” (props from a Halloween store) on a table.
- The floor should be slightly damp and sticky (a little spilled soda can achieve this).
- For the smell, a very small amount of liquid smoke can create a meaty, unsettling aroma.
- The lighting should be a single, harsh, bare bulb, perhaps one that flickers.
- Hang some of the “body parts” from the ceiling on hooks so guests have to brush past them.
- The actor should not speak, but should be intensely focused on their gruesome work, only looking up at the guests as they are about to leave.
- This room is about creating a feeling of revulsion and the desire to escape as quickly as possible.
19. The Labyrinth of Shadows
Total sensory deprivation is terrifying. This forces guests to rely on touch alone to find their way out of a disorienting, completely dark space.
DIY Tips:
- Use black plastic sheeting and a staple gun or strong tape to create a simple, winding maze in a larger room like a garage or basement.
- The walls of the maze should be soft and yielding, not rigid.
- The path should be simple enough to navigate but have a few dead ends to create confusion and panic.
- Have an actor dressed in all black waiting silently in one of the dead ends for a huge scare.
- There should be absolutely no light in the maze.
- The floor can be uneven (using the unstable floor trick) to add to the disorientation.
- The only sound should be the guests’ own panicked breathing and footsteps.
- This is a very intense experience, so it may be wise to have an easy “chicken” exit for those who cannot handle it.
- The feeling of being lost and vulnerable is the primary source of fear.
- The actor at the end should not grab, but can simply breathe loudly or whisper right behind a guest.
20. The Unsteady Path
The feeling of the ground shifting beneath your feet is a deeply primal fear that can be easily and cheaply created.
DIY Tips:
- In a small, dark room, place a layer of soft, yielding objects on the floor. Pillows, cushions, or even empty plastic bottles work well.
- Cover the entire floor with a large, heavy duty black tarp or an old, dark blanket, securing it tightly at the edges of the room.
- Guests will be completely unnerved as they try to walk across the shifting, unstable surface in the dark.
- This is a great way to control the pace of your haunt, as guests will be forced to move slowly and carefully.
- You do not need an actor in this room; the environment itself is the scare.
- Make sure the room is dark so guests cannot see what is causing the instability.
- This is a great physical scare that is completely safe.
- The sound of the plastic bottles crunching underfoot adds another layer of unease.
- This can be combined with other scares, like whispers or a sudden cold breeze.
- The path through the room should be short, as this is a mentally taxing experience.
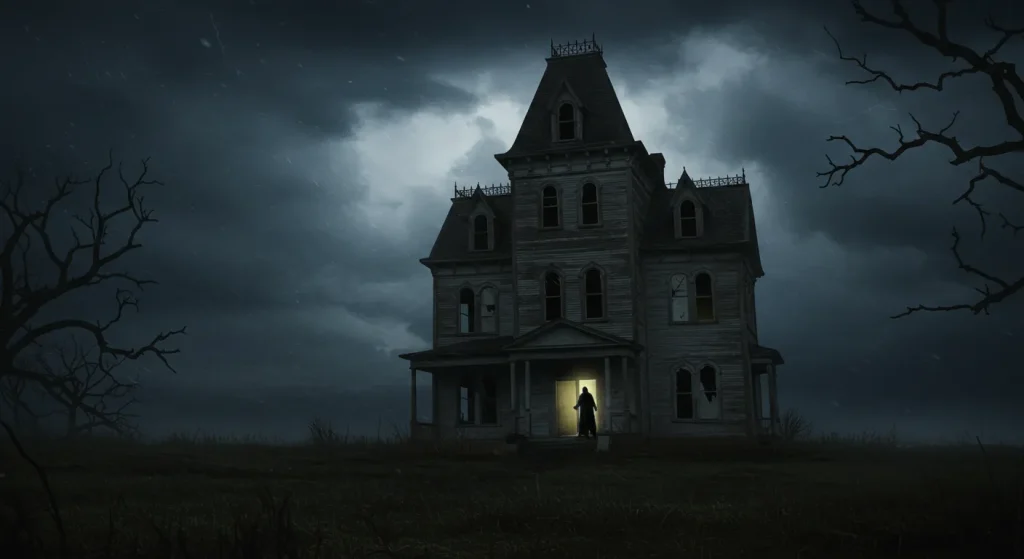
The Final, Lasting Scream: Crafting the Climax
The final scare is the one your guests will remember and talk about the most. It should be a high energy, terrifying climax to their journey through your haunt.
21. The Chainsaw Pursuit
This is the ultimate, classic haunted house finale. It is pure, adrenaline fueled terror that provides an explosive end to the experience.
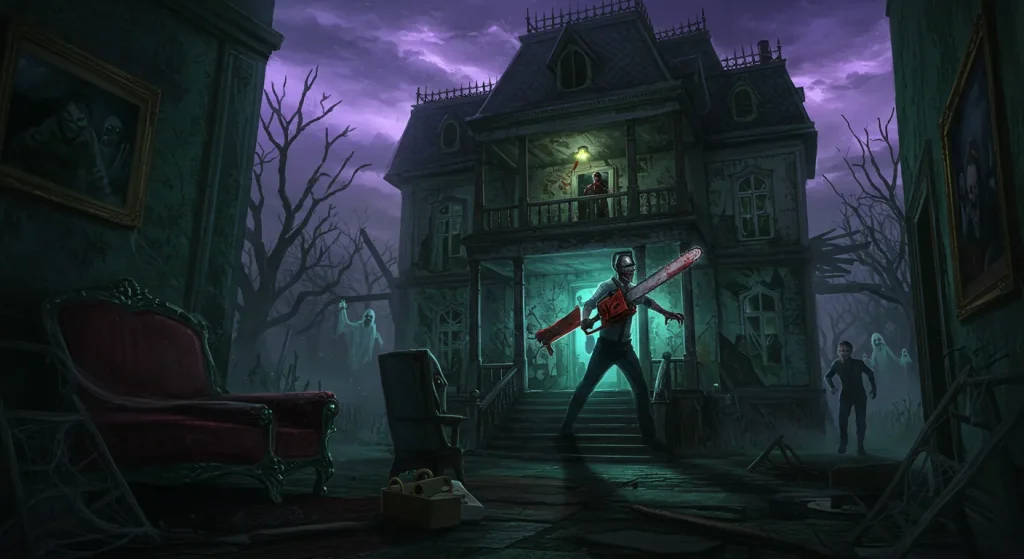
DIY Tips:
- SAFETY FIRST. This is the most important tip. Use a real chainsaw, but you absolutely must remove the chain. The terrifying noise and the smell of gasoline are what create the scare, not any actual danger.
- Have your scariest looking actor, in a terrifying mask and costume, wait just outside the final exit door, hidden from view.
- As guests emerge from the haunt, thinking they are finally safe, the actor should suddenly start the chainsaw and run towards them.
- The actor should never get too close to the guests, the goal is to chase them out into the yard or designated safe zone.
- This is most effective at night, where the darkness adds to the chaos.
- Have a clear, well lit “safe zone” for guests to run to.
- The actor’s costume should be intimidating, like a Leatherface or hillbilly-style character.
- Practice starting the chainsaw beforehand to ensure it works reliably.
- The sudden, deafening roar is the most important part of this scare.
- Make sure the chase-out area is clear of any trip hazards.
22. The Parting Shot
Give them one last jump scare when they least expect it, proving that they are never truly safe.
DIY Tips:
- This takes place after the main haunt is over, as guests are leaving and saying their goodbyes in a well lit, “safe” area.
- Have an actor in a terrifying mask suddenly appear and slam their hands against the outside of a nearby window.
- The scare works best when everyone’s guard is completely down and they are laughing and talking about the haunt.
- The actor should appear and disappear very quickly.
- This is a perfect, final punctuation mark of fear.
- You can also have an actor hidden in a bush near the sidewalk who lunges out as guests walk to their cars.
- The key is the element of complete surprise in a supposedly safe space.
- Make sure the actor at the window is careful not to actually break the glass.
- This creates a final scream and a lasting memory.
- It reinforces the idea that the horror is not contained to just the haunted house.
23. The Lingering Stalker
A silent, psychological scare that creates a lasting sense of dread that follows your guests home.
DIY Tips:
- This requires a dedicated actor and a safe, visible area like a sidewalk.
- As the last group of guests is leaving your property, have one of your scariest, most silent actors (like a Michael Myers or a slender man type) slowly emerge from the shadows.
- The actor should begin following the guests down the street from a significant distance.
- The actor must never run, speak, or get too close. They should just walk at a steady, relentless pace.
- One of the guests will eventually look back and see the figure, creating a final, authentic, and deeply personal scream.
- The actor should stop and turn around once they have been clearly spotted.
- This is an advanced scare that requires a responsible actor and a safe neighborhood environment.
- The power of this scare is that it breaks the fourth wall of the haunt and brings the fear into the real world.
- The costume should be simple, iconic, and silhouetted.
- This creates a story that guests will tell for years.
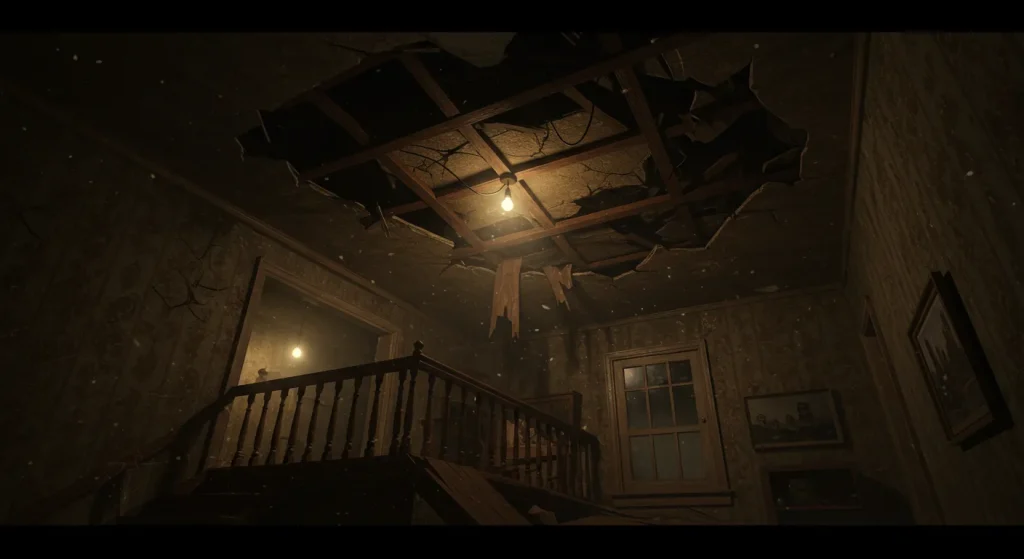
24. The Cavernous Collapse
Create a disorienting and frightening final obstacle before the exit that feels like the very structure is coming down.
DIY Tips:
- Create a tunnel out of large, empty cardboard boxes from an appliance or furniture store.
- Have a hidden helper or actor positioned on top of or next to the tunnel.
- As guests are halfway through, the helper should push down and shake the top and sides of the boxes, making it feel like the tunnel is collapsing on them.
- A flickering, dim light at the end of the tunnel will make it even more disorienting.
- Play a sound effect of rumbling rocks and cracking wood.
- The tunnel should be short so guests do not feel truly trapped.
- This is a great physical scare that is completely safe.
- You can have an actor’s hands, covered in fake blood, push through the sides of the cardboard.
- The exit should be immediately visible after the tunnel to provide a sense of relief.
- This is a great way to use up large amounts of cardboard from your recycling.
25. The Deceptive Door
Lead your guests to a door that they think is the exit, only for it to open into one final, terrifying, and intimate scare.
DIY Tips:
- Label a door clearly with a glowing, friendly-looking “EXIT” sign.
- When they open the door, it should lead into a very small, closet-sized room, not the outside.
- Have your most terrifying, detailed monster or actor waiting inside this small room.
- The sudden proximity to the monster in such a confined space is the scare.
- The real exit should be an unassuming, hidden door on another wall of the same small room.
- The “EXIT” sign creates a false sense of security, which makes the final scare much more powerful.
- The small room should be well lit to properly show off the final monster.
- The actor in this room should be your best performer, as it is a very up close and personal scare.
- The contrast between the promise of safety and the reality of the final monster is what makes this so effective.
- Make sure the real exit is easy to open and leads directly to safety.
Conclusion
A truly terrifying haunted house is a carefully orchestrated symphony of fear. By building a suspenseful atmosphere, layering different types of scares that target all the senses, and preying on common phobias, you can create an unforgettable and thrilling experience for your guests. Remember that safety is paramount, always use battery operated lights, ensure clear pathways, and make sure your actors know their boundaries. Now go forth, embrace the darkness, and prepare to scare the wits out of your friends and family.