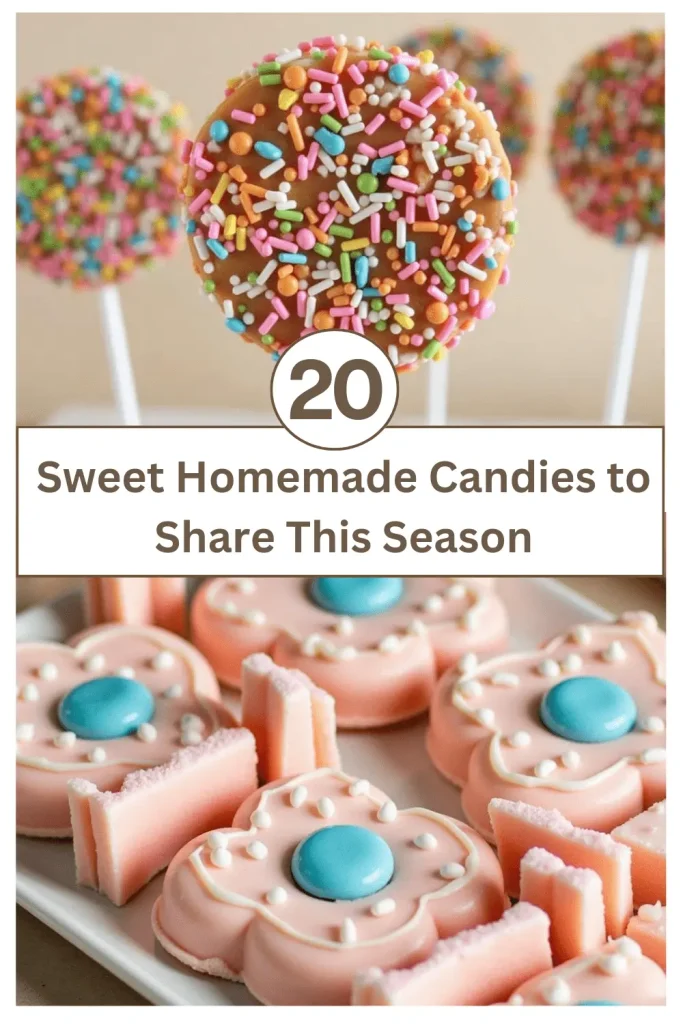
The holiday season is the perfect time to indulge in homemade sweets and share the joy with friends and family. From classic confections to creative treats, these 20 homemade candies will make your celebrations extra special.
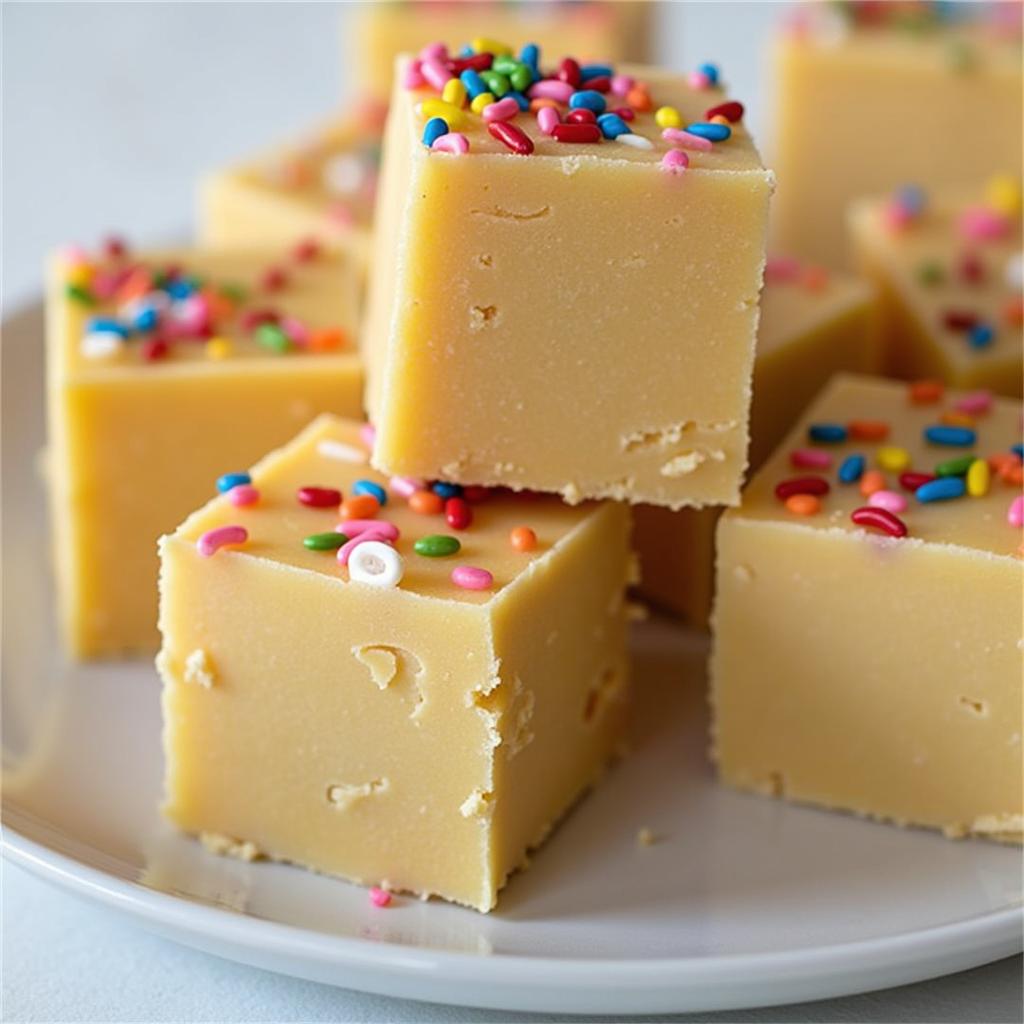
1. Classic Fudge
Ingredients and Variations
- Start with a base of semi-sweet chocolate chips, sweetened condensed milk, butter, and vanilla extract.
- For a nutty crunch, stir in toasted walnuts, pecans, or almonds before pouring the fudge into the pan.
- Create a rocky road version by adding mini marshmallows and chopped nuts.
- Swirl in a cup of peanut butter or caramel sauce just before setting for a beautiful and flavorful twist.
- Make a peppermint fudge by adding a teaspoon of peppermint extract and topping with crushed candy canes.
- For a richer flavor, use high-quality dark chocolate (60% cacao or higher).
Tips for Perfect Fudge
- Always use a heavy-bottomed saucepan to prevent the mixture from scorching on the bottom.
- Stir the mixture constantly and gently while it melts to ensure it’s smooth and doesn’t burn.
- For traditional cooked fudge, use a candy thermometer to ensure you reach the “soft-ball stage” (235°F to 245°F).
- Line your setting pan with parchment paper, leaving an overhang on the sides to easily lift the fudge out once it’s set.
- Once set, use a large, sharp knife dipped in hot water to make clean, precise cuts.
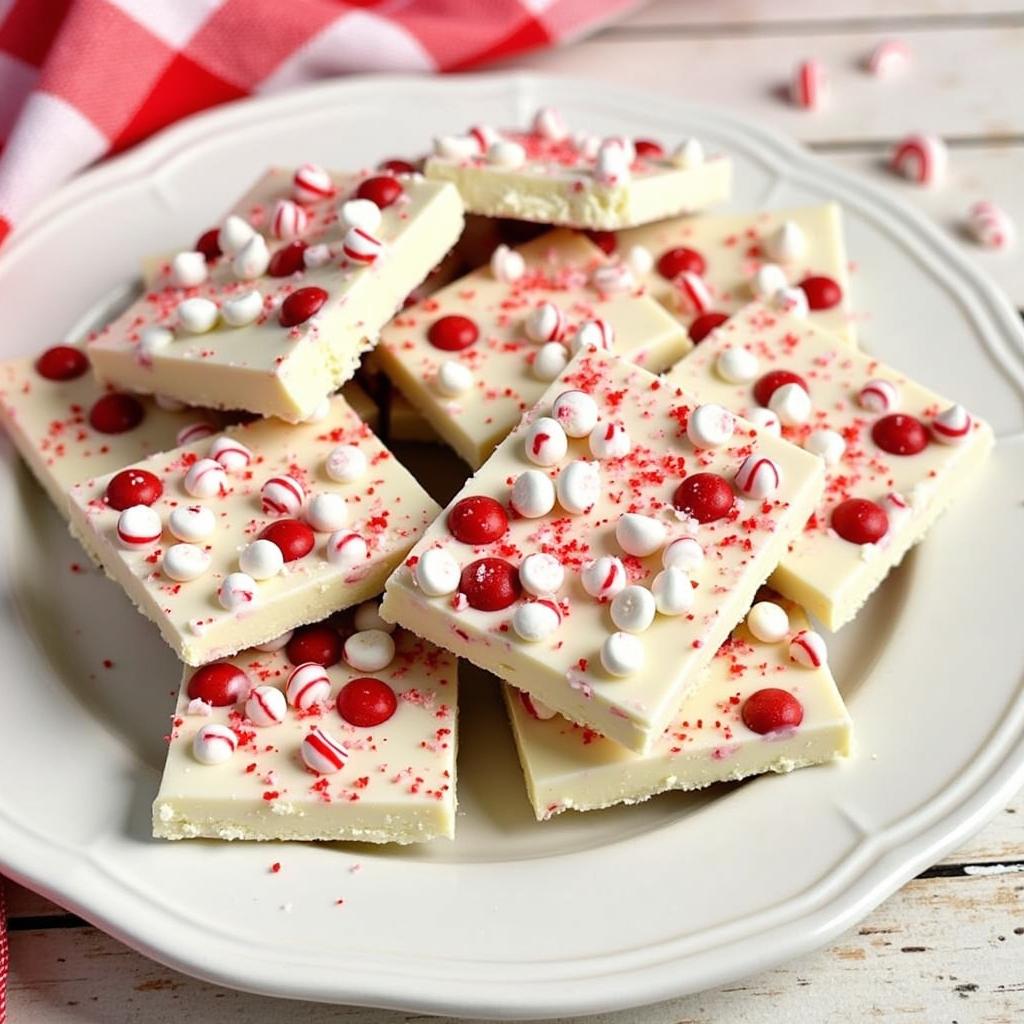
2. Peppermint Bark
Simple and Festive
- The classic recipe calls for a layer of melted semi-sweet or dark chocolate, followed by a layer of white chocolate.
- Sprinkle a generous amount of crushed peppermint candies or candy canes over the top layer of white chocolate while it’s still wet.
- For best results, use high-quality chocolate bars or wafers designed for melting, not chocolate chips which contain stabilizers.
- To add more flavor, stir a quarter teaspoon of peppermint extract into both the dark and white chocolate layers.
- Make sure the bottom chocolate layer is completely firm before adding the top layer to prevent them from mixing.
Presentation Ideas
- Once fully set, break the bark into large, irregular, rustic-looking pieces.
- For a more polished look, use a sharp knife to cut the bark into neat squares or rectangles.
- Package the bark in clear cellophane bags tied with festive red and white ribbon for gifting.
- Place pieces of bark in a decorative holiday tin, using parchment paper to separate the layers.
- Create a swirled effect by dropping spoonfuls of dark and white chocolate and dragging a toothpick through them before adding peppermints.
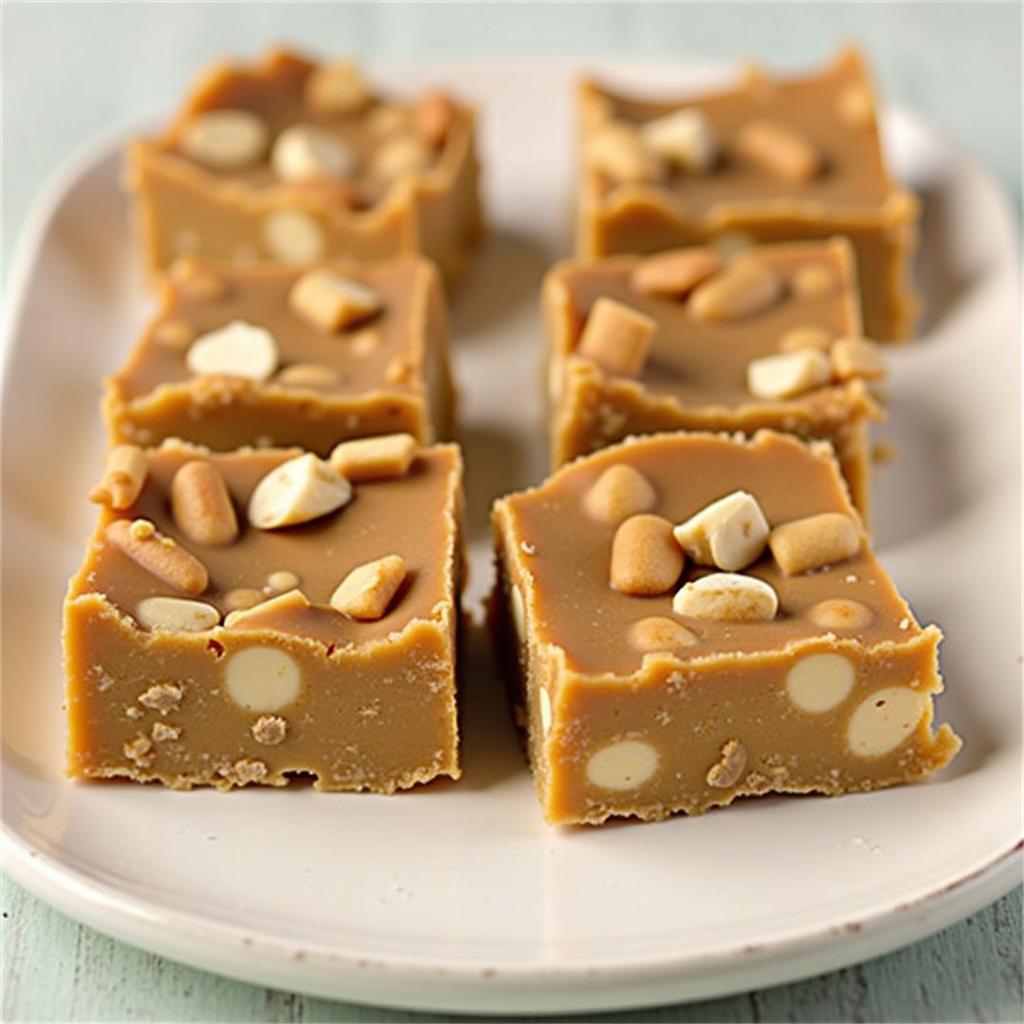
3. Peanut Butter Cups
Homemade Goodness
- The filling is a simple mixture of creamy peanut butter, powdered sugar, and a little melted butter for stability.
- Use milk chocolate for a classic, sweet taste or dark chocolate for a more intense, rich flavor.
- For a crunchier filling, use chunky peanut butter or add finely chopped peanuts.
- Line a mini muffin tin with paper or foil liners to create the perfect cup shape.
- Start by spooning a layer of melted chocolate into the bottom of each liner and let it set.
- Roll the peanut butter filling into small balls and flatten them slightly before placing on the chocolate base.
Personalization Options
- Use festive silicone molds in shapes like stars, hearts, or Christmas trees instead of standard round cups.
- Top the cups with a sprinkle of sea salt before the chocolate sets to enhance the flavor.
- Experiment with other nut butters, such as almond or cashew butter, for the filling.
- For a fun surprise, place a mini pretzel or a single piece of caramel in the center of the peanut butter filling.

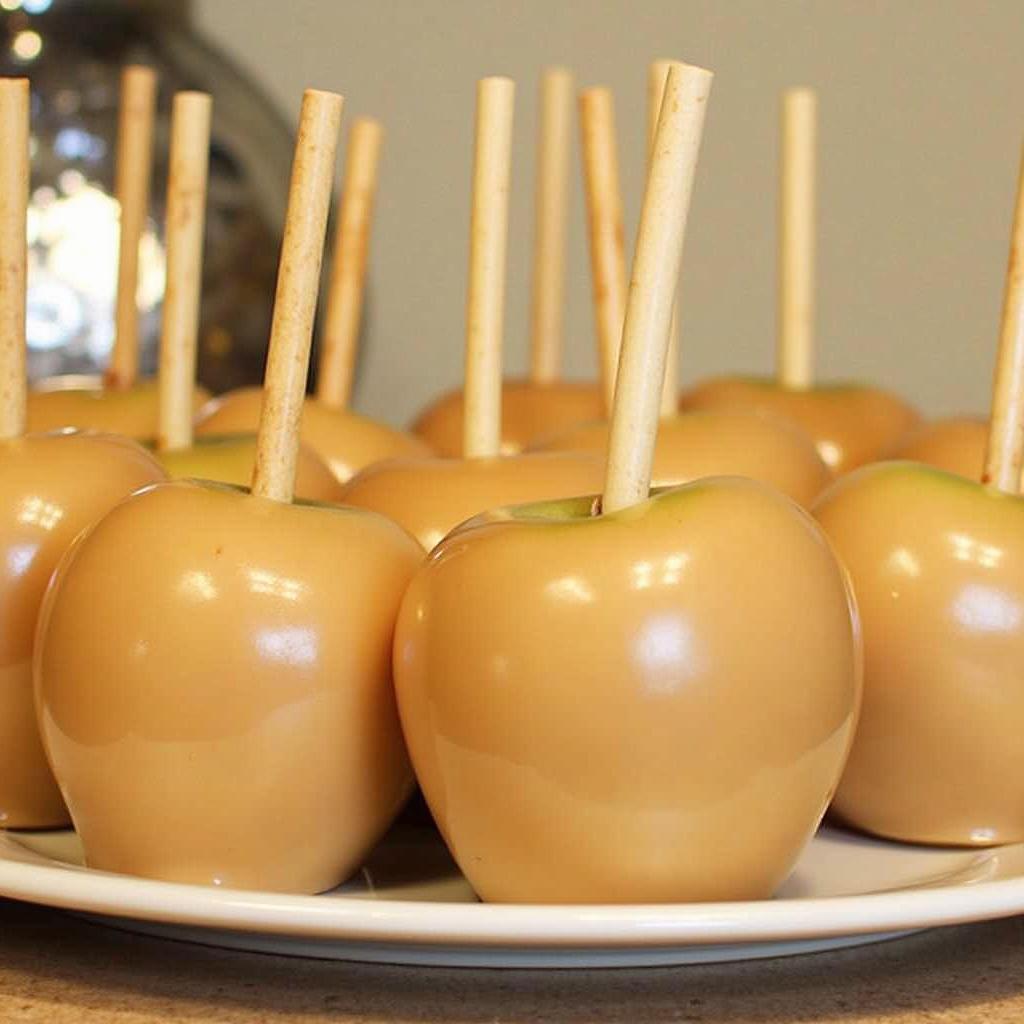
4. Caramel Apples
A Sweet and Tart Treat
- Use crisp, slightly tart apples like Granny Smith, Honeycrisp, or Fuji, as they hold up well and balance the sweetness of the caramel.
- Make sure your apples are washed and thoroughly dried, as the caramel won’t stick to a wet surface.
- Insert sturdy wooden sticks or decorative lollipop sticks firmly into the top of each apple.
- For a perfectly smooth caramel, use a candy thermometer and cook the mixture to the firm-ball stage (245°F to 250°F).
- Dip the apples into the warm caramel, tilting the pan to coat them completely, and let the excess drip off.
Fun Add-Ons
- After dipping in caramel, immediately roll the apples in your favorite toppings while the caramel is still soft.
- Classic toppings include chopped peanuts, pecans, or walnuts.
- For a festive look, use holiday-themed sprinkles, mini chocolate chips, or crushed toffee bits.
- Try rolling the apples in shredded coconut, mini M&Ms, or crushed Oreo cookies.
- Once coated, drizzle the apples with melted dark, milk, or white chocolate for a final decorative touch.
5. Toffee Squares
Buttery Delight
- The base is a simple combination of butter and sugar, cooked to the “hard-crack stage” (300°F to 310°F).
- Using a candy thermometer is crucial for achieving the perfect crisp, brittle texture without burning the sugar.
- Pour the hot toffee mixture onto a parchment-lined baking sheet and spread it into a thin, even layer.
- While the toffee is still warm, sprinkle a layer of chocolate chips over the top and let them sit for a few minutes to melt.
- Use an offset spatula to spread the melted chocolate evenly over the toffee base.
- Sprinkle finely chopped nuts like almonds, pecans, or walnuts over the melted chocolate.
Storage Tips
- Allow the toffee to cool completely at room temperature or in the refrigerator until firm.
- Once set, break the toffee into bite-sized pieces.
- Store the toffee in an airtight container at room temperature to maintain its crispness.
- If you live in a humid climate, storing it in the refrigerator may be necessary to prevent it from becoming sticky.
6. Coconut Truffles
Tropical Indulgence
- Create a simple, no-bake filling by mixing sweetened shredded coconut with sweetened condensed milk.
- For extra flavor, add a splash of vanilla extract or coconut extract to the filling mixture.
- Chill the coconut mixture for at least 30 minutes to make it firm and easier to roll into balls.
- Use a small cookie scoop to ensure all your truffles are a uniform size.
- Dip the chilled coconut balls in high-quality melted dark chocolate for a classic flavor combination.
- Let the excess chocolate drip off before placing the truffles on a parchment-lined baking sheet to set.
Decoration Ideas
- While the chocolate coating is still wet, sprinkle the truffles with toasted shredded coconut.
- Drizzle the set dark chocolate truffles with melted white chocolate for a beautiful contrast.
- Top each truffle with a single almond or a sliver of dried fruit.
- For a festive touch, roll the truffles in colorful holiday sprinkles or edible glitter.

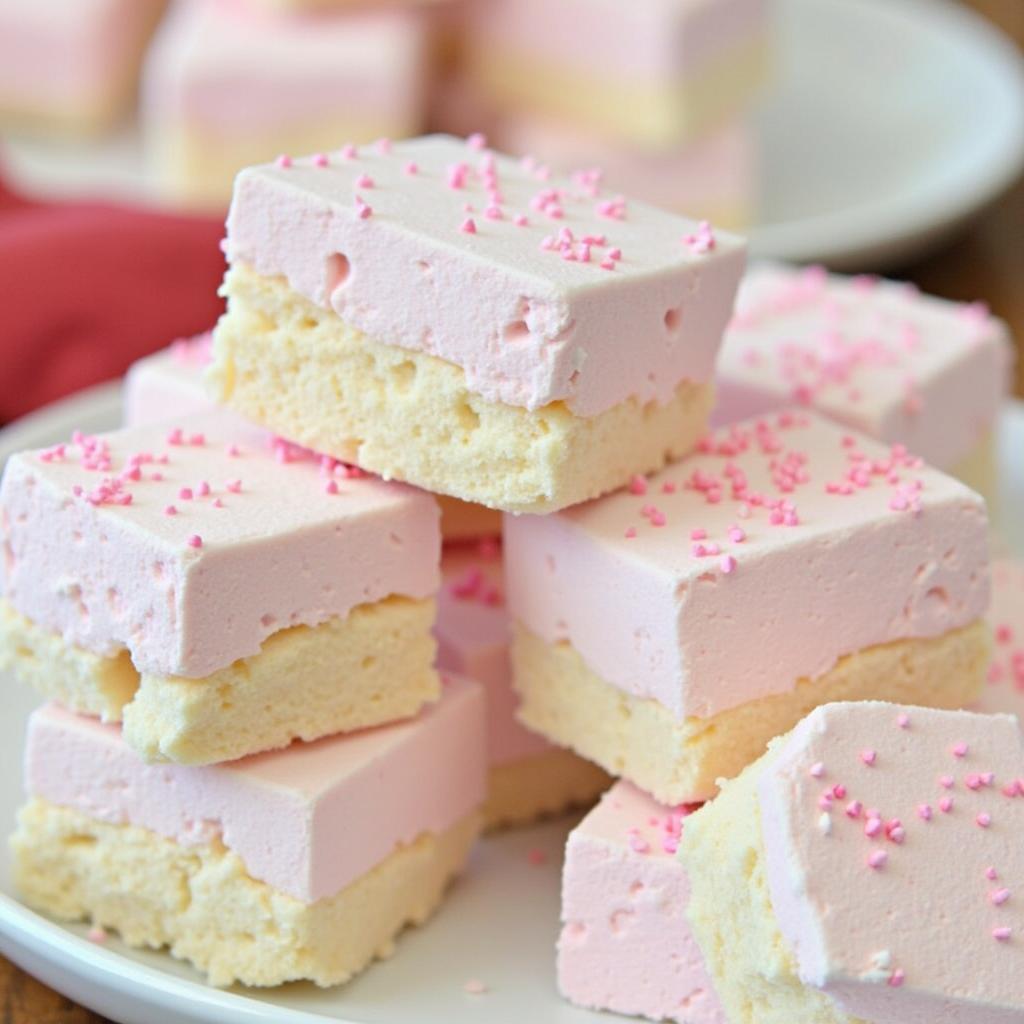
7. Homemade Marshmallows
Light and Fluffy
- The base ingredients are gelatin, sugar, corn syrup, and water.
- Use a stand mixer with a whisk attachment to whip the sugar mixture until it becomes thick, white, and fluffy.
- This process can take 10 to 15 minutes of continuous whipping.
- Prepare a pan by greasing it well and dusting it generously with a mixture of powdered sugar and cornstarch.
- Pour the fluffy marshmallow mixture into the prepared pan and smooth the top.
- Let the marshmallows set, uncovered, at room temperature for at least 4 hours or overnight.
Flavor Variations
- For classic vanilla marshmallows, add a tablespoon of high-quality vanilla extract during the last minute of whipping.
- Create peppermint marshmallows by adding peppermint extract and a few drops of red food coloring.
- For chocolate marshmallows, whisk in unsweetened cocoa powder with the powdered sugar dusting.
- Add rosewater or orange blossom water for a unique, floral flavor.
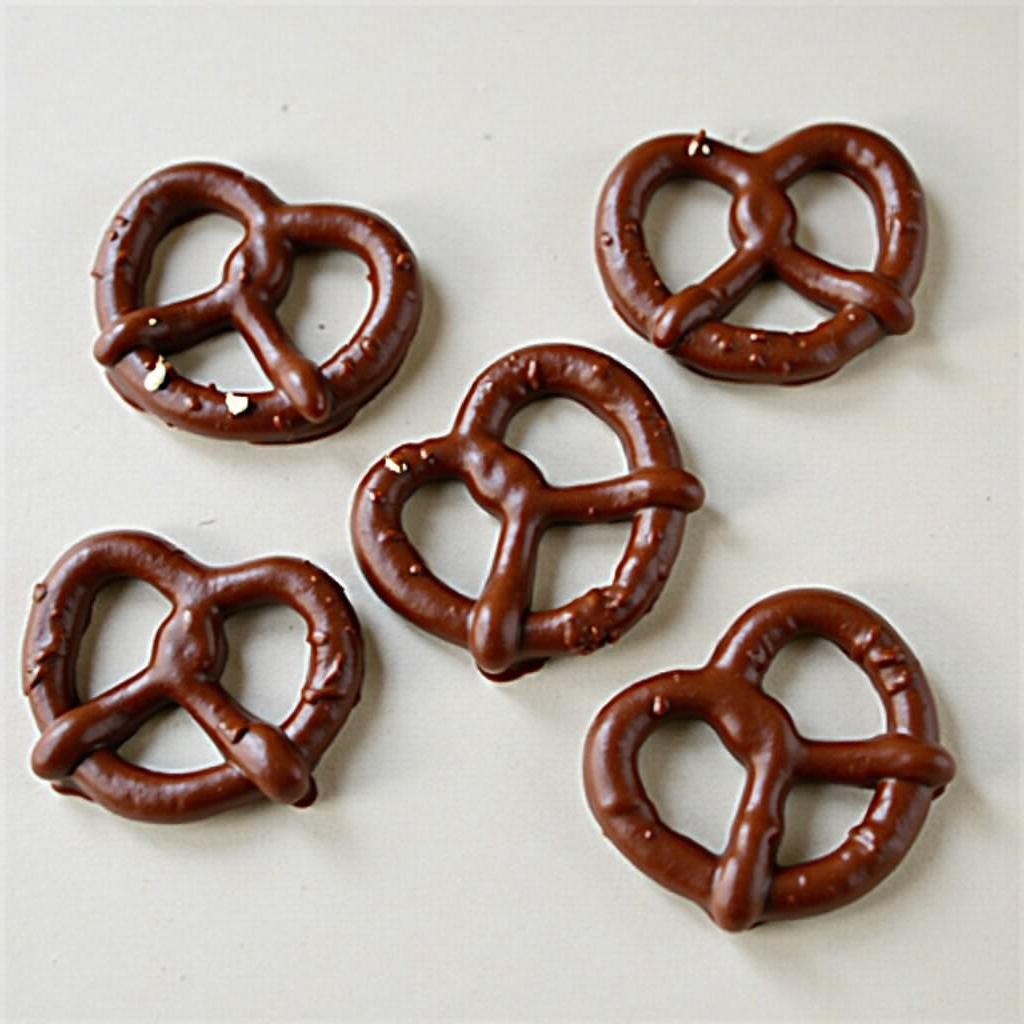
8. Chocolate-Covered Pretzels
Sweet and Salty
- This treat offers the perfect combination of sweet chocolate and a salty, crunchy pretzel.
- Use pretzel rods, twists, or mini pretzels for different looks and sizes.
- Melt chocolate wafers or high-quality chocolate bars for the smoothest coating.
- Dip about two-thirds of each pretzel into the melted chocolate, leaving a portion uncoated to hold.
- Lay the dipped pretzels on a sheet of parchment paper to set.
- For a neater look, use a tall, narrow glass for melting the chocolate to make dipping pretzel rods easier.
Quick and Easy
- This is a perfect no-bake treat for last-minute holiday preparations or for kids to help with.
- Decorate the pretzels immediately after dipping while the chocolate is still wet.
- Use holiday-themed sprinkles, crushed nuts, toffee bits, or nonpareils for decoration.
- Drizzle a contrasting color of chocolate, like white chocolate over dark, for an elegant finish.
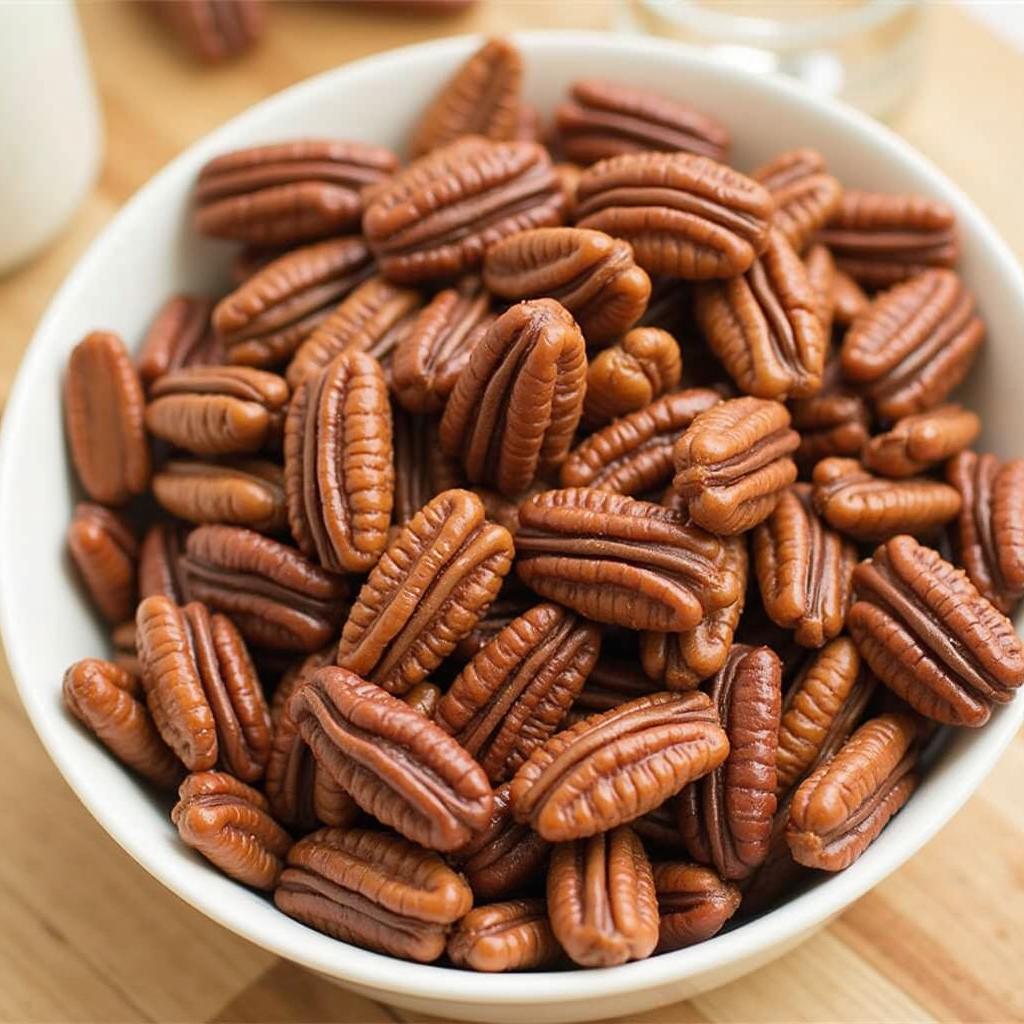
9. Candied Pecans
Spiced Perfection
- The classic coating is made from egg whites, sugar, cinnamon, and a pinch of salt.
- Whip an egg white until frothy, then toss the pecans in the egg white before coating them in the sugar-spice mixture.
- Spread the coated pecans in a single layer on a parchment-lined baking sheet.
- Bake at a low temperature (around 300°F), stirring occasionally, until they are dry and toasted.
- For a spicy kick, add a pinch of cayenne pepper or chili powder to the sugar mixture.
- You can also try other warm spices like nutmeg, allspice, or cardamom.
Serving Suggestions
- Package the cooled pecans in jars or decorative bags for a wonderful homemade gift.
- Serve them in a bowl as a festive snack at holiday parties.
- Use them as a crunchy and sweet topping for salads, yogurt, or oatmeal.
- Chop them up and sprinkle them over ice cream, baked sweet potatoes, or roasted vegetables.
10. Homemade Gummy Bears
Fun and Fruity
- The basic recipe requires just three ingredients: fruit juice, unflavored gelatin, and a sweetener like honey or sugar.
- Use different types of fruit juice, such as grape, cherry, or orange, to create a variety of flavors.
- For a more intense fruit flavor, you can use pureed fruit instead of juice.
- Gently heat the ingredients in a saucepan until the gelatin and sweetener are fully dissolved.
- Use a dropper to easily fill the small cavities of the silicone molds without making a mess.
- Chill the filled molds in the refrigerator for at least 20 minutes, or until the gummies are firm.
Mold Options
- Bear-shaped silicone molds are classic, but you can find molds in countless other fun shapes.
- Look for holiday-themed molds like snowflakes, gingerbread men, or Christmas trees.
- Silicone molds are ideal because they are flexible, making it easy to pop the set gummies out.
- Lightly grease the molds with coconut oil to ensure the gummies release easily.

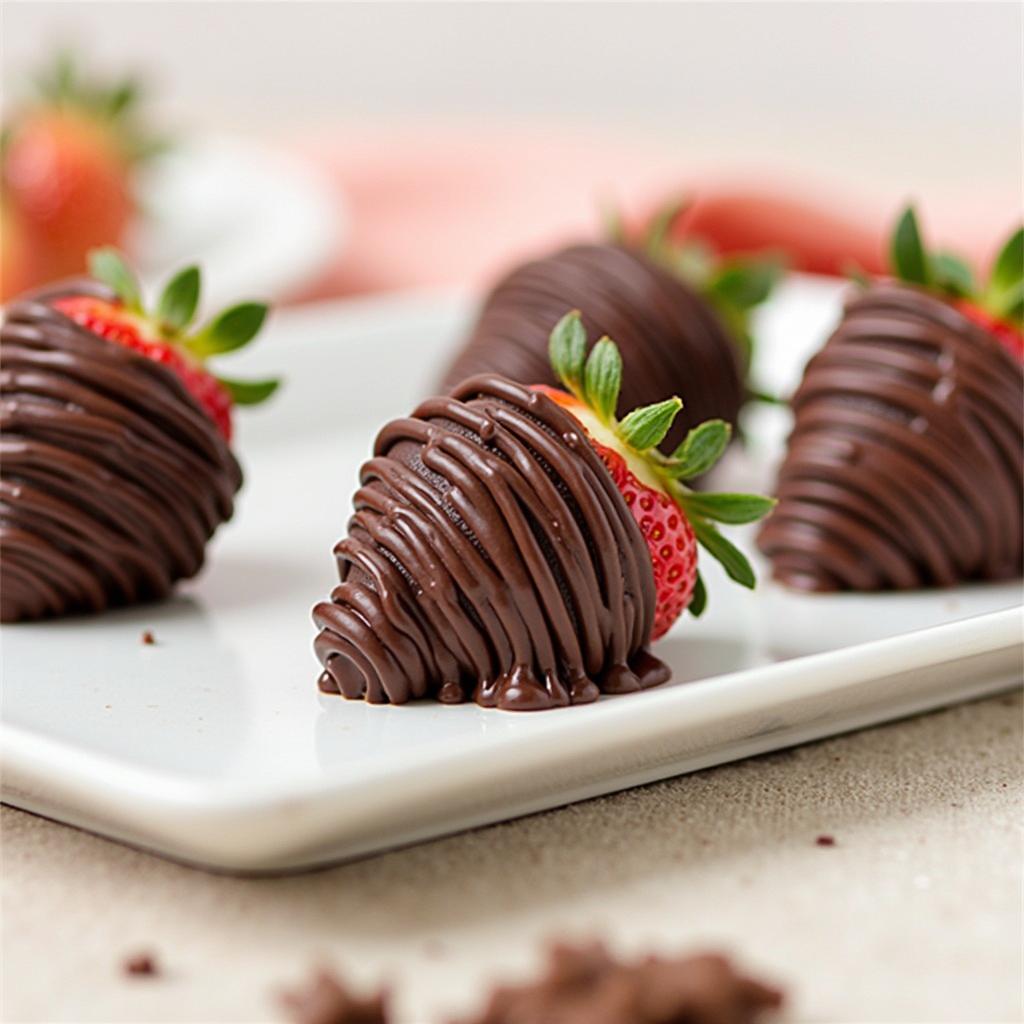
11. Chocolate-Covered Strawberries
Elegant and Simple
- Choose fresh, ripe strawberries that are firm and have vibrant green leaves.
- Wash and thoroughly dry the strawberries before dipping, as any moisture will cause the chocolate to seize.
- Use high-quality melting chocolate for the best flavor and smoothest finish.
- Hold the strawberry by its leaves and dip it into the melted chocolate, leaving a small part of the red showing.
- Place the dipped strawberries on parchment paper to set.
- For best results, serve them the same day they are made.
Finishing Touches
- After the first chocolate layer has set, drizzle them with a contrasting color of melted chocolate.
- Before the chocolate sets, sprinkle them with finely chopped nuts, toasted coconut, or mini chocolate chips.
- Add a touch of elegance with edible gold leaf or pearl dust.
- For a fun look, dip the strawberries in chocolate and then roll them in colorful sprinkles or nonpareils.
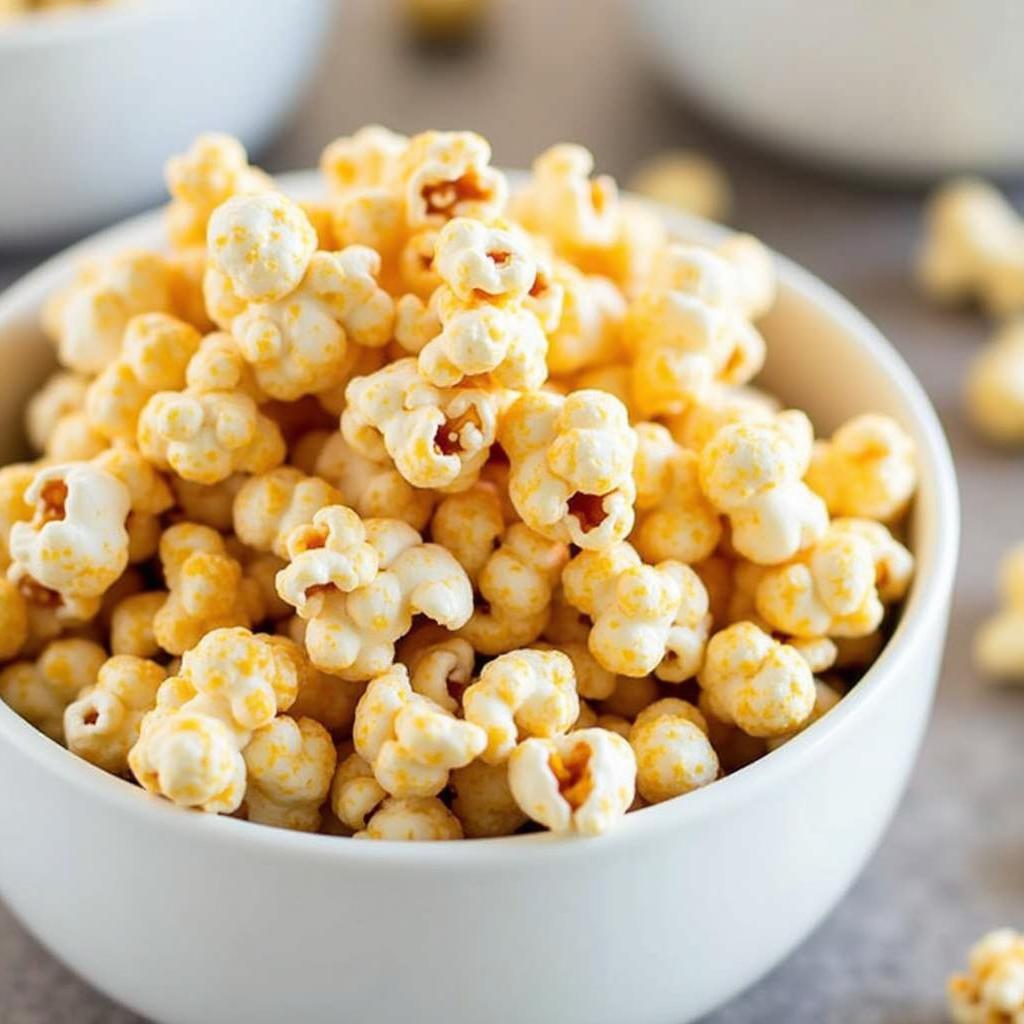
12. Caramel Popcorn
Crunchy and Sweet
- Start with plain, air-popped popcorn for the best results, ensuring there are no unpopped kernels.
- The caramel sauce is made by cooking butter, brown sugar, and corn syrup on the stove.
- For a crispier coating, add a little baking soda to the caramel sauce at the end of cooking; it will foam up and create a lighter texture.
- Pour the hot caramel sauce over the popcorn and stir gently to coat everything evenly.
- Spread the coated popcorn on a baking sheet and bake at a low temperature to set the caramel.
- Stir the popcorn every 15 minutes while baking to prevent clumping.
Packaging Idea
- Once completely cool, break up any large clumps of the popcorn.
- Fill clear cellophane bags with the caramel popcorn and tie them with festive ribbons for a simple, charming gift.
- Package it in decorative tins or festive boxes for a more substantial present.
- For parties, serve it in a large bowl or individual paper cones.
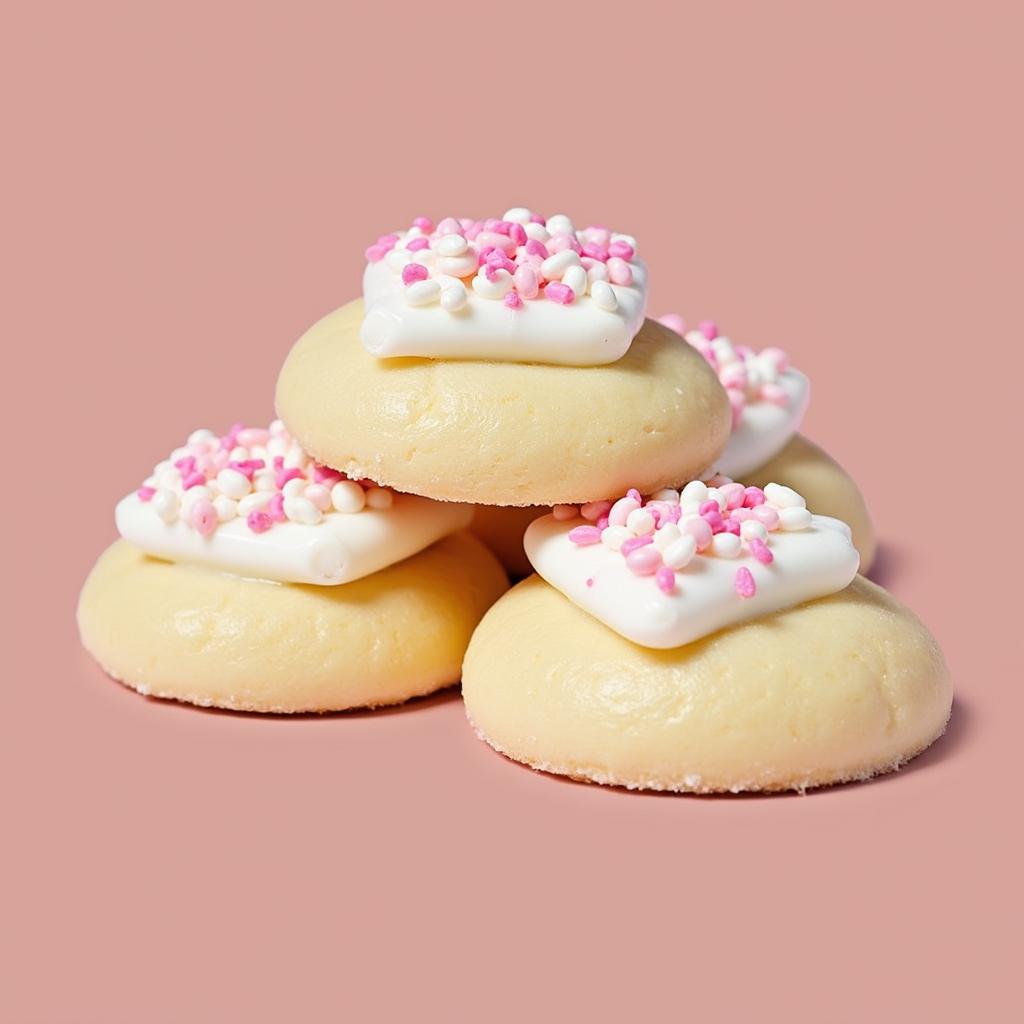
13. Peppermint Creams
Refreshing and Sweet
- The creamy center is a simple no-bake mixture of powdered sugar, softened butter or cream cheese, and peppermint extract.
- Mix the ingredients until a stiff, dough-like consistency is formed.
- Roll the peppermint cream into small balls or flatten it and use small cookie cutters for festive shapes.
- Chill the shaped centers in the freezer for at least 30 minutes until they are very firm.
- Dip the frozen centers into melted dark or semi-sweet chocolate.
- The contrast between the cool, creamy mint and the crisp chocolate shell is divine.
Storage Tip
- Store the finished peppermint creams in an airtight container in the refrigerator to keep the center firm and fresh.
- They can be stored for up to two weeks in the refrigerator.
- Separate layers with parchment paper to prevent them from sticking together.
- For a professional look, place each candy in a mini paper candy cup.

14. Rock Candy
Crystalized Treat
- This is a fun science experiment and candy-making project in one.
- You will need a supersaturated sugar solution, which is made by dissolving as much sugar as possible into hot water.
- Use clean glass jars, wooden skewers or sticks, and clothespins to hold the sticks in place.
- Dip the sticks in water, roll them in granulated sugar to create “seed crystals,” and let them dry completely.
- Hang the seeded sticks in the sugar solution, ensuring they don’t touch the bottom or sides of the jar.
- Let the jar sit undisturbed in a cool, dark place for about a week as the sugar crystals grow.
Color Customization
- Add a few drops of food coloring to the sugar solution to create vibrant, colorful crystals.
- You can also add flavoring extracts, like vanilla or lemon, to the solution for flavored rock candy.
- Make a rainbow of colors by preparing several small jars with different colors.
- Once grown, let the candy dry completely before enjoying or packaging.

15. Nougat
Chewy and Nutty
- Classic nougat is made from whipped egg whites, honey, and sugar syrup.
- A stand mixer is highly recommended as it requires a long, continuous whipping time.
- Cook the sugar and honey syrup to the “hard-ball stage” (250°F to 265°F) using a candy thermometer for precision.
- Slowly pour the hot syrup into the whipping egg whites.
- Continue to whip until the mixture is thick, glossy, and has cooled down.
- Fold in toasted nuts and any other desired additions at the end.
Popular Combinations
- Classic additions include toasted almonds, pistachios, and hazelnuts.
- Add chopped dried fruits like cherries, apricots, or cranberries for color and chewiness.
- A hint of vanilla or almond extract can enhance the flavor.
- Press the nougat into a pan lined with edible wafer paper to prevent sticking and for a traditional look.

16. Chocolate Fudge Brownie Bites
Bite-Sized Bliss
- Start with your favorite fudgy brownie recipe, or even use a high-quality boxed mix.
- Bake the brownies in a sheet pan so they are thinner and easier to cut into small, bite-sized squares.
- Once the brownies are completely cool, cut them into one-inch squares.
- For easier dipping, freeze the brownie bites for about 30 minutes until they are firm.
- Dip each frozen brownie bite into melted milk, dark, or white chocolate.
- Use two forks to handle the brownie bites during dipping to allow excess chocolate to drip off.
Serving Suggestion
- Place the dipped brownie bites on a parchment-lined tray to set.
- While the chocolate is still wet, top them with chopped nuts, sprinkles, or a sprinkle of sea salt.
- Place each finished brownie bite in a mini cupcake liner for an elegant presentation and easy serving.
- Arrange them on a platter for a party or package them in a box for a delicious gift.

17. Divinity Candy
Light and Airy
- Divinity is a traditional Southern confection with a nougat-like, melt-in-your-mouth texture.
- It’s made from whipped egg whites and a hot sugar syrup, similar to nougat but without nuts mixed in.
- Success with divinity is highly dependent on the weather; avoid making it on humid or rainy days.
- Use a candy thermometer to cook the sugar syrup to the “hard-ball stage” (250°F to 265°F).
- Slowly pour the hot syrup into the stiffly beaten egg whites while mixing continuously.
- Beat the mixture until it holds its shape and starts to lose its gloss.
Flavor Ideas
- Once the divinity is ready, quickly drop spoonfuls of the mixture onto parchment paper.
- Top each candy with a pecan half or a piece of candied cherry for a classic look.
- Stir in a little vanilla or peppermint extract at the end of the mixing time.
- You can also fold in finely chopped nuts or mini chocolate chips if desired.
18. Lollipops
Customizable Fun
- Hard candy lollipops are made by cooking sugar, corn syrup, and water to the “hard-crack stage” (300°F to 310°F).
- A candy thermometer is essential for this recipe to ensure the candy sets properly.
- Once the mixture reaches the correct temperature, remove it from the heat and stir in your desired food coloring and flavoring.
- Work quickly, as the mixture will start to harden as it cools.
- Pour the hot sugar syrup into lollipop molds that already have the sticks placed in them.
- If you don’t have molds, you can pour circles of the syrup onto a greased baking sheet and place sticks in them.
Personalization
- Add a pinch of edible glitter to the mixture for a magical, sparkly effect.
- Create a swirled look by pouring two different colored syrups into the molds at the same time.
- Use different flavoring extracts like cherry, raspberry, lemon, or root beer.
- Wrap the finished lollipops individually in small cellophane bags and tie with a ribbon.

19. Taffy
Chewy and Sweet
- Making taffy is a fun, hands-on activity that involves cooking, cooling, and pulling the candy.
- The base is cooked sugar, corn syrup, water, and butter.
- After cooking to the “soft-crack stage” (270°F to 290°F), pour the hot mixture onto a greased baking sheet to cool slightly.
- Once it’s cool enough to handle, grease your hands and begin to pull and stretch the taffy.
- The pulling process incorporates air, which gives the taffy its light and chewy texture.
- Pull until the taffy is light in color and firm.
Flavor Options
- Add food coloring and flavoring extracts after the cooking process, just before pouring it out to cool.
- Classic saltwater taffy flavors include vanilla, peppermint, banana, and licorice.
- Once pulled, stretch the taffy into long ropes and use greased scissors to cut it into bite-sized pieces.
- Wrap each piece individually in waxed paper to prevent them from sticking together.

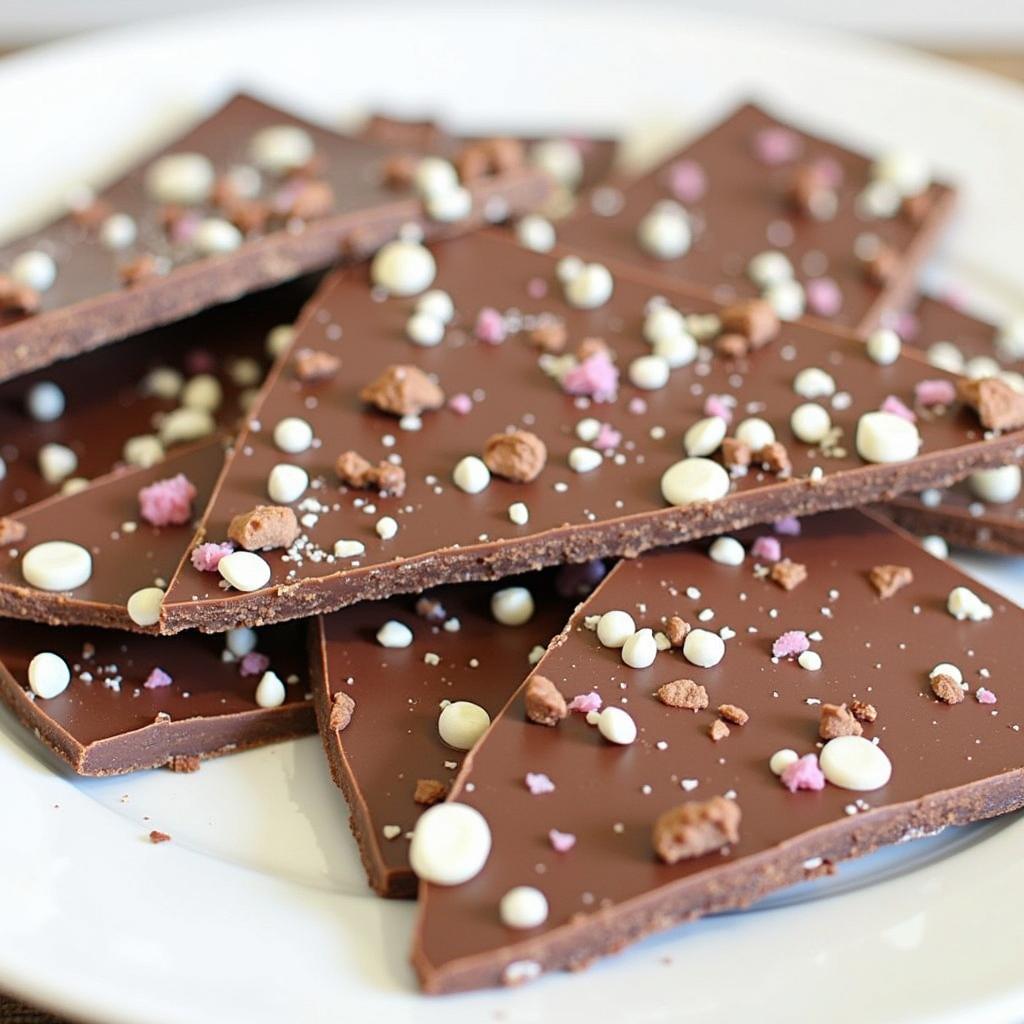
20. Chocolate Bark
Versatile and Delicious
- This is one of the easiest and most customizable candies to make.
- Simply melt your favorite type of chocolate (dark, milk, or white) and spread it onto a parchment-lined baking sheet.
- While the chocolate is still wet, sprinkle it with a variety of toppings.
- Let the bark set completely at room temperature or in the refrigerator.
- The possibilities for toppings are endless, so get creative.
- Combine sweet and salty elements for the best flavor profiles.
Packaging Ideas
- Classic toppings include dried fruits like cranberries and apricots, and nuts like pistachios and almonds.
- For a fun twist, add crushed pretzels, potato chips, or popcorn.
- Other great additions are mini marshmallows, gummy candies, or crushed cookies.
- Once firm, break the bark into irregular pieces and package it in cellophane bags or decorative tins tied with ribbon.
Conclusion
Homemade candies are a delightful way to spread holiday cheer. With these 20 recipes, you can create treats that are perfect for gifting, sharing, or enjoying yourself. Gather your ingredients, get creative, and start making sweet memories this season!