Table of Contents
- Geometric Bamboo Coasters: Troubleshooting Dense Wood Grain
- Botanical Kitchen Spoons: Utilizing Free High-Res Vector Patterns
- Rustic Pine Wall Decor: Fixing Common Over-Burning Mistakes
- Textural Birch Pendants: Mastering Grain Patterns for Fine Detail
- Minimalist Cedar Keychains: Correcting Depth and Heat Inconsistencies
- Refining the Craft: The Intersection of Heat and Art
- Master the Art: Expert Pyrography Insights
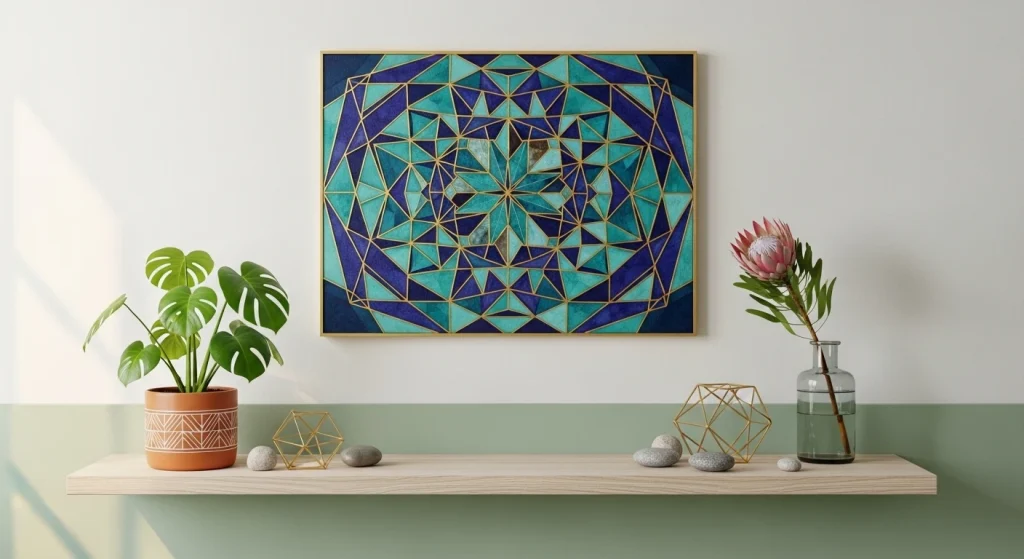
The intersection of structural integrity and artistic expression defines a well-designed space. While hardwood floors and precise floor plans provide the necessary foundation for any interior, it is the deliberate choice of decor that truly breathes life into a room. Pyrography offers a unique bridge between these disciplines, allowing for the transformation of raw timber into sophisticated focal points.
Geometric patterns provide a sense of mathematical order and modern elegance, making them ideal for professional office settings or minimalist residential layouts. Conversely, botanical motifs introduce an organic warmth that softens rigid architectural lines. Mastering these two styles requires a firm understanding of wood grain, heat control, and composition to ensure every burn adds value to the material.
This guide explores the technical nuances of wood burning as both a functional craft and an aesthetic pursuit. Whether you are a real estate developer looking to add custom touches to a property or a DIY enthusiast refining your workspace, these techniques offer actionable steps for professional results. By merging craftsmanship with design principles, you can create pieces that are both timeless and structurally sound.
Geometric Bamboo Coasters: Troubleshooting Dense Wood Grain
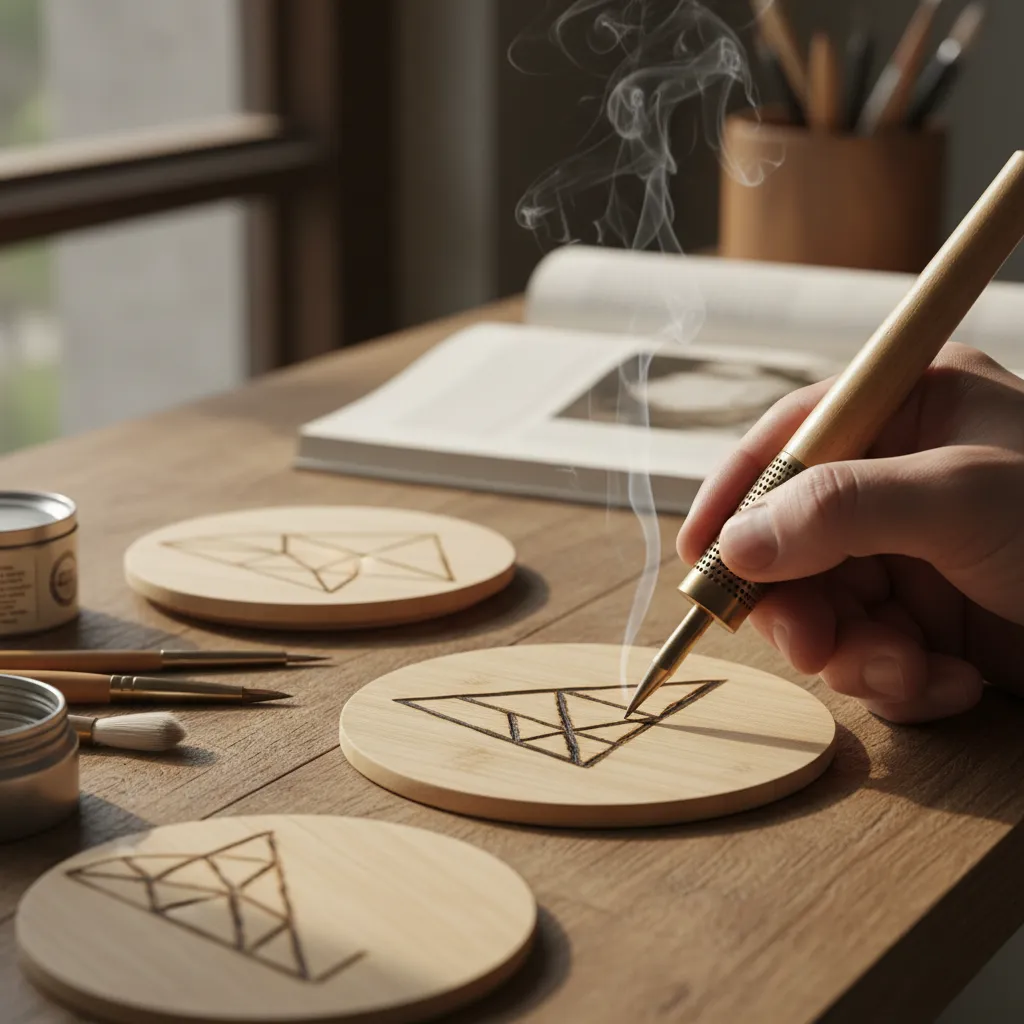
Bamboo is a popular choice for home accessories because of its durability. It has a sleek, sustainable appeal that complements minimalist spaces and modern kitchens.
When burning coasters, the dense grain presents a unique challenge. This material is technically a grass, meaning it reacts differently to heat than traditional hardwoods.
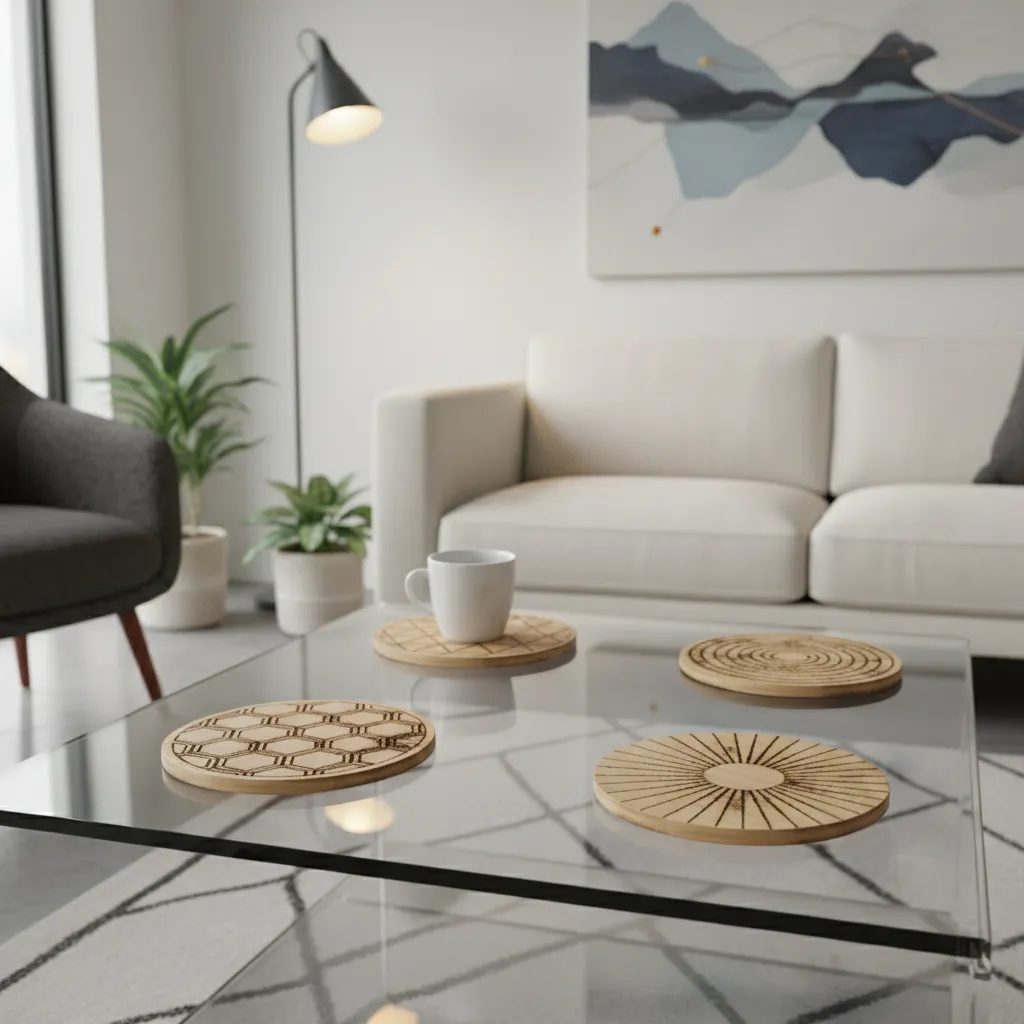
You can pair these custom pieces with smart coffee bar ideas to elevate your daily ritual. The burned designs add a layer of texture to the room.
Mastering the Silica Surface
Bamboo contains silica, a natural mineral that creates a hard barrier. This requires your pyrography tool to maintain a higher, consistent temperature to achieve dark, rich lines.
Avoid pushing the tip into the grain. Instead, let the heat do the work. High pressure leads to deep pits and charred edges that ruin the clean, architectural look of the piece.
Bamboo is extremely hard and has a high silica content, which can be tough on your tips and may require higher heat settings.
Lora Irish, Pyrography Artist and Author
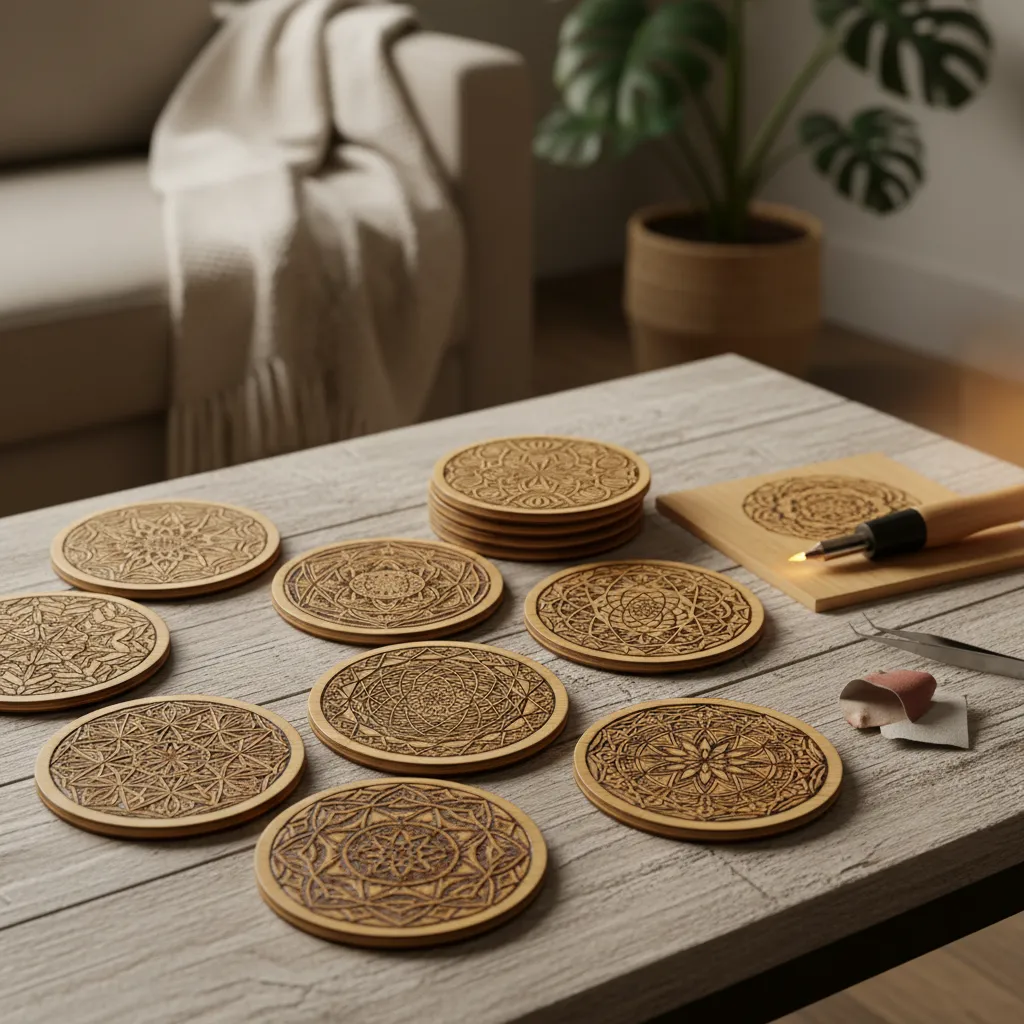
Precision Geometry and Flow
Using a ruler can help guide your initial sketch. Much like geometric tape resist art, the beauty of these coasters lies in their perfect symmetry and balance.
Precision in geometry transforms a simple bamboo coaster into a functional work of architectural art.
If you encounter uneven burning, sand the surface with 400-grit paper first. This removes factory finishes that often cause toxic fumes or inconsistent heat absorption during the process.
| Material | Density/Hardness | Burn Temperature | Grain Smoothness |
|---|---|---|---|
| Bamboo | High | Medium-High | Very Smooth |
| Basswood | Low | Low-Medium | Uniform |
| Pine | Medium | Low | Uneven (Resinous) |
The Artisan’s Edge
- Opt for a higher heat setting to penetrate the natural silica barrier, but use a light touch to avoid deep pits in the dense grain.
- Lightly sand the surface with 400-grit sandpaper before burning to remove factory finishes that can cause inconsistent lines or fumes.
- Use a metal ruler for your initial layout to ensure the geometric patterns achieve the perfect symmetry required for an architectural look.
Botanical Kitchen Spoons: Utilizing Free High-Res Vector Patterns
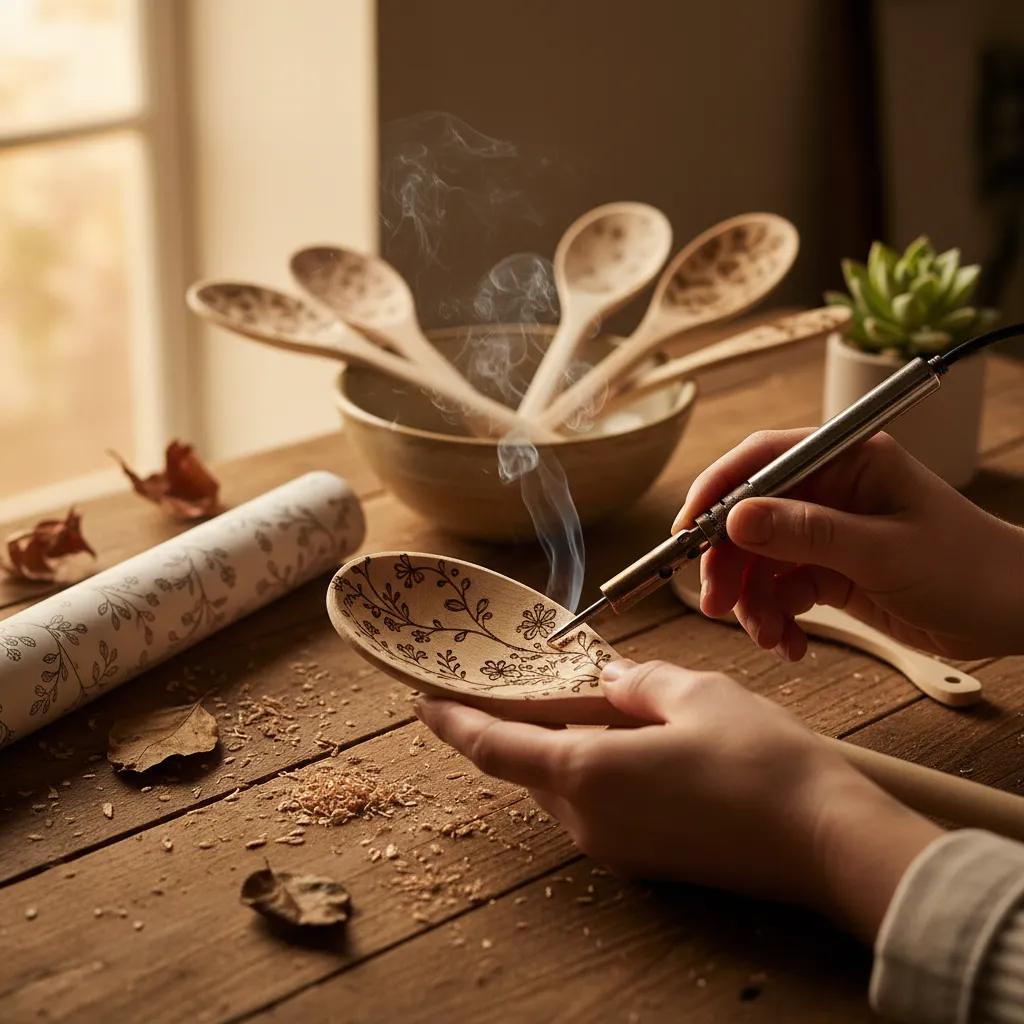
Wood burning adds a tactile depth to plain utensils. The raw grain of bamboo or maple provides a beautiful canvas for intricate botanical patterns.
Utilizing high-res vectors ensures precision. These digital files offer sharp lines that are easy to trace onto the curved surface of a spoon handle.
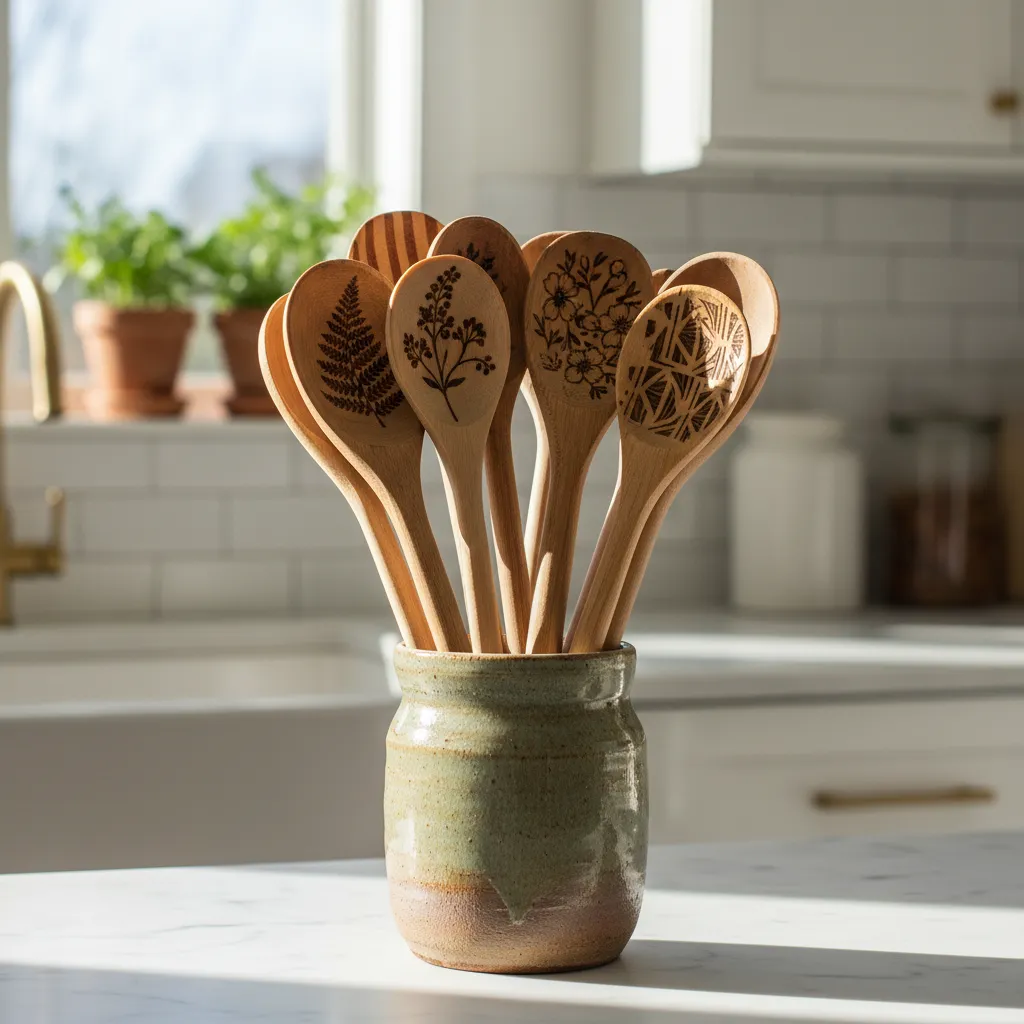
A well-crafted spoon features smooth textures and a warm ambient glow when displayed. It improves the usability of the kitchen by providing a comfortable grip.
Wood burning transforms simple tools into heirloom pieces through the marriage of heat and botanical art.
Selecting the Right Wood Surface
Choosing the correct material is vital for structural integrity. Hardwoods like maple and beech offer a uniform density that reacts predictably to high heat.
Bamboo is a popular sustainable choice, though its fibrous nature requires a steady hand. These custom spoons pair perfectly with 25 smart coffee bar ideas for an organized kitchen.
| Wood Type | Texture | Burning Ease |
|---|---|---|
| Bamboo | Fibrous | Moderate |
| Maple | Fine/Dense | High |
| Beech | Uniform | Very High |
Sanding the wood to a 320-grit finish is crucial. A smooth surface prevents the burning tip from catching, which ensures clean and professional lines.
Methods for Pattern Transfer
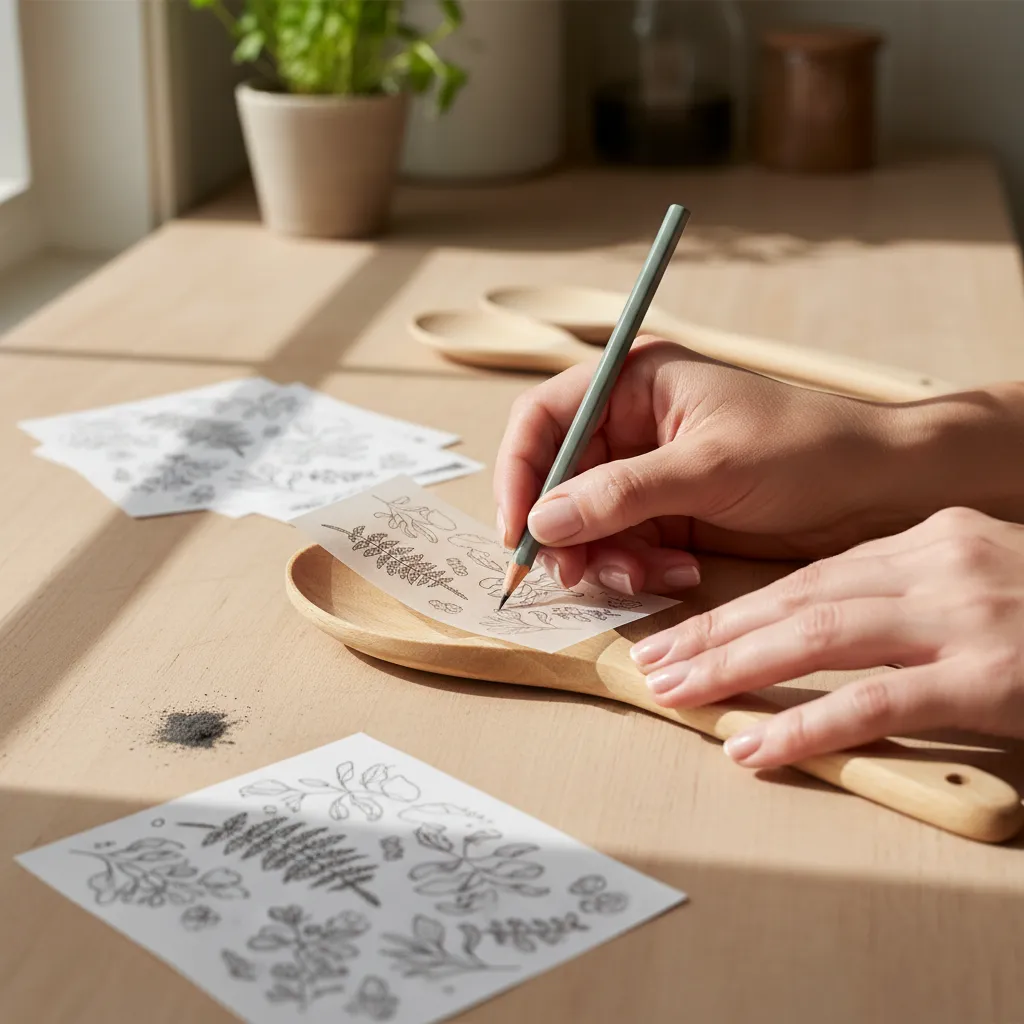
Tracing designs with graphite paper is the most reliable method. It allows you to position the botanical vector perfectly before the permanent burning begins.
Botanical motifs like ferns and lavender add organic charm to an open kitchen and living room layout.
Always tape your pattern to the spoon to prevent shifting. This maintains the spatial dynamics of the design and ensures the floral vines wrap naturally around the wood.
The most important part of woodburning is the prep. Sanding to a very high grit ensures your pen won’t skip across the wood grain.
Jo Schwartz, Professional Pyrography Artist
Once the burning is complete, apply a food-grade mineral oil. This finish protects the wood from moisture while enhancing the rich, dark tones of your artwork.
- Download high-res vector patterns in SVG format.
- Sand the spoon handle until it feels like silk.
- Use a light touch to avoid deep charring.
- Apply oil to seal the botanical design.
Artisan Woodworking Secrets
- Before burning, sand your wooden spoon up to a 320-grit finish to ensure the pyrography pen glides smoothly without catching on the grain.
- Secure your botanical pattern with painter’s tape and use graphite paper for the transfer to keep your design steady on the spoon’s curved handle.
- Always seal your finished artwork with food-grade mineral oil to protect the wood and make the dark, burned botanical details pop.
Rustic Pine Wall Decor: Fixing Common Over-Burning Mistakes
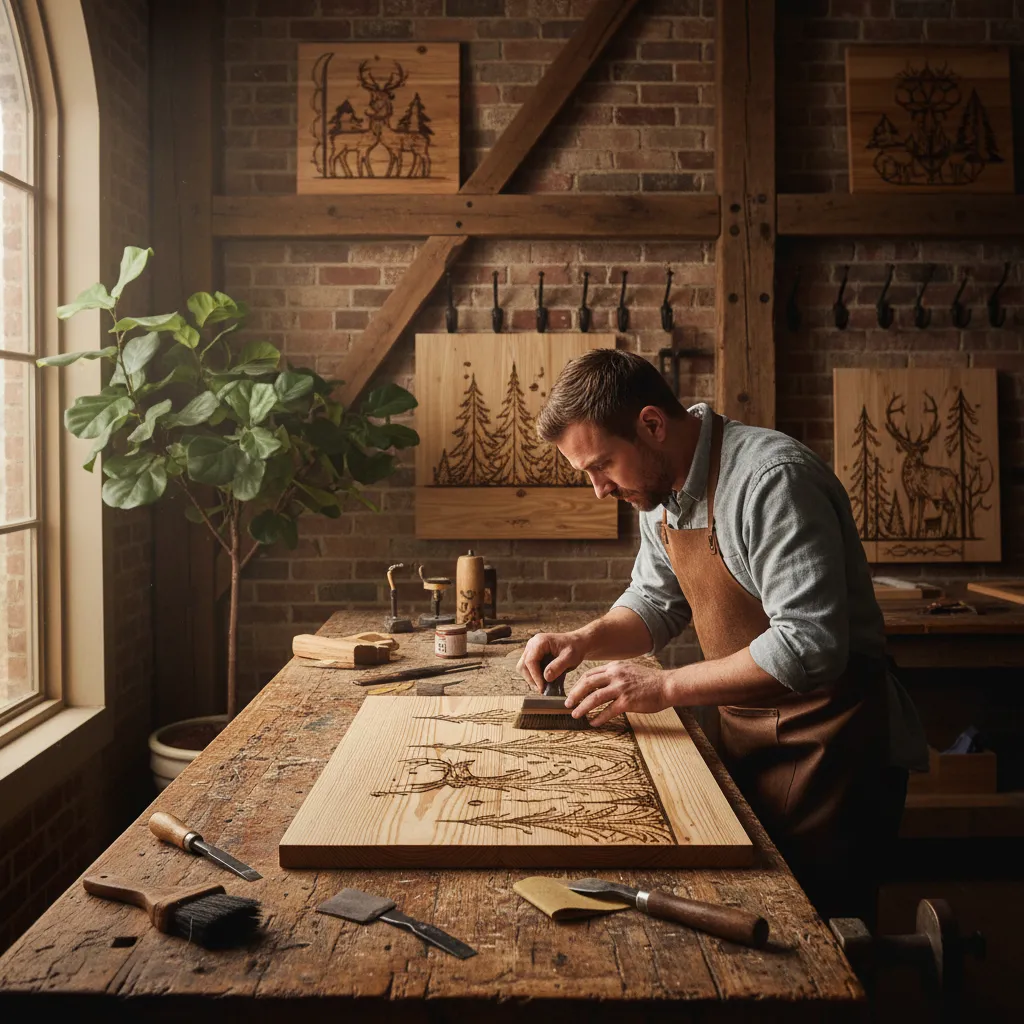
Pine is a top choice for those exploring wood burning ideas for wall decor. Its raw, knotty texture adds a warm, organic glow to any room. Its soft nature requires a steady hand during burning.
Over-burning often happens because of pine’s high resin content. This resin can liquefy, causing blurred lines. Precision is key for high-quality primitive living room ideas.
If you notice deep charring, do not panic. Small errors can be corrected with a light touch. This ensures your wall decor remains professional and polished in any setting.
Because pine is a softwood with a high resin content, it is prone to scorching. Always test your heat settings on a scrap piece first.
DIY Experts, Minwax Wood Finishing Guide
Sanding Away Deep Char Marks
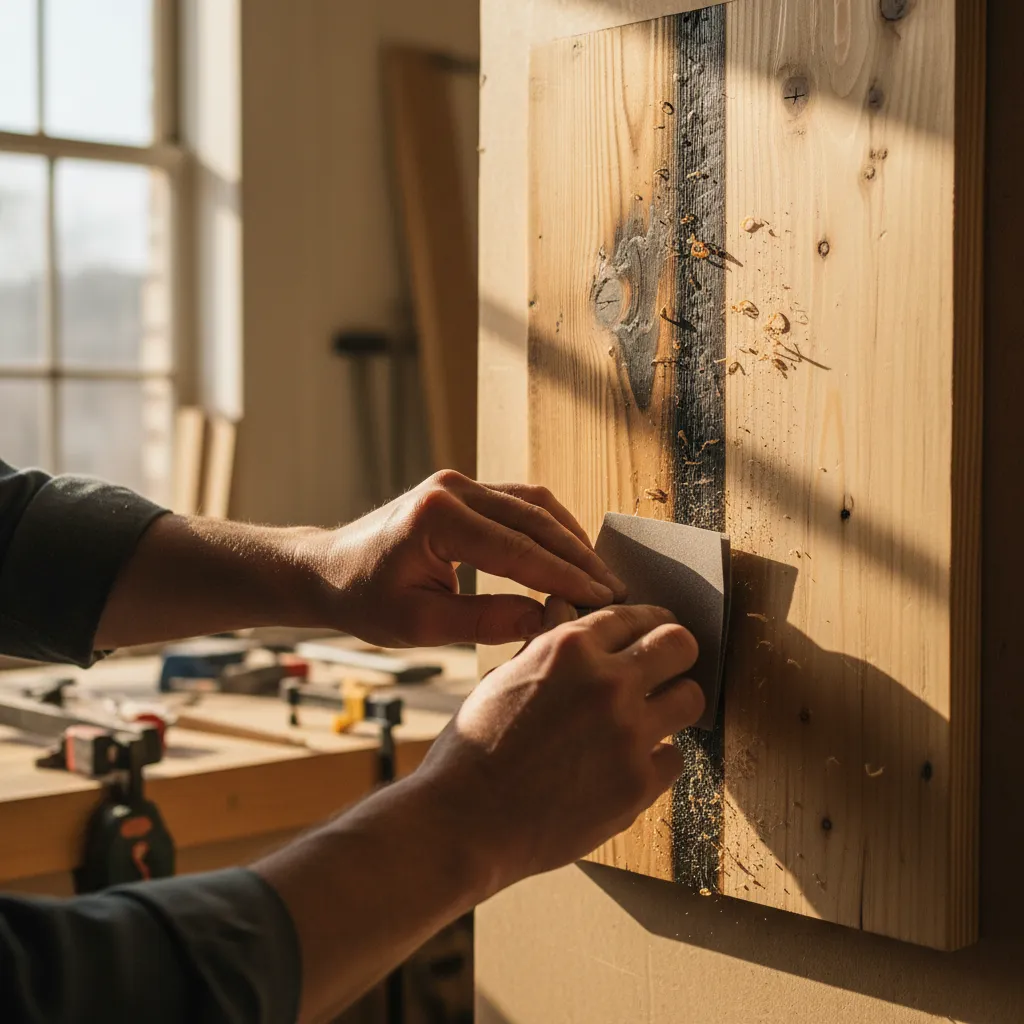
Use 220-grit sandpaper to gently lift the excess char. Work only in the direction of the wood grain. This preserves the natural spatial dynamics of the piece for better aesthetics.
Excessive sanding can create a dip in the surface. Monitor the depth constantly to maintain structural integrity. A flat surface ensures the final finish looks even under ambient lighting.
- Step 1: Identify the over-burned area and let it cool completely.
- Step 2: Use a fine-grit sanding block for even pressure across the wood.
- Step 3: Wipe away dust with a tack cloth to inspect the line clarity.
- Step 4: Re-burn the area using a lower heat setting for a refined finish.
Managing Resin Flare-ups
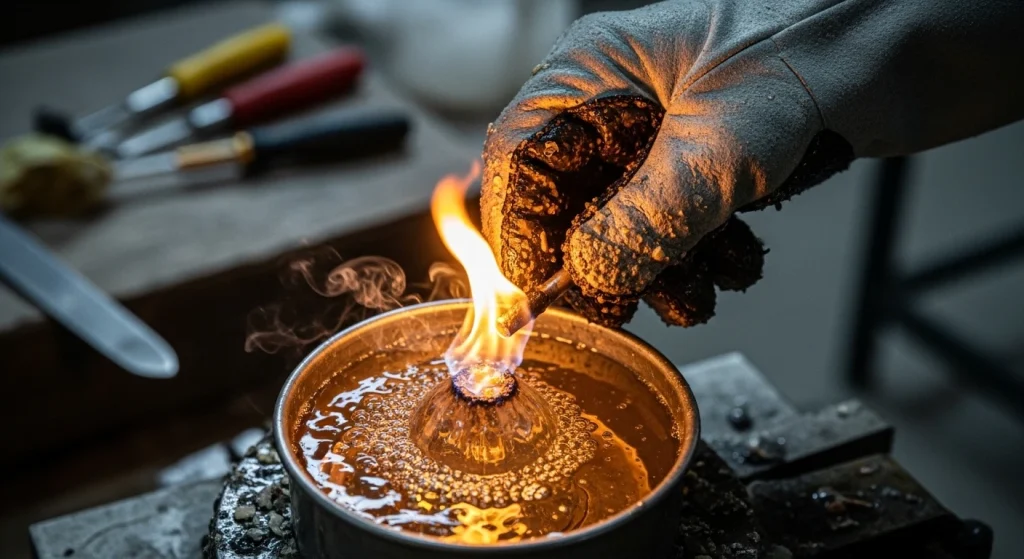
Resin pockets in pine cause unpredictable heat pops. These result in dark, uneven spots. Using a lower heat setting prevents these sudden flare-ups during the crafting process.
If a flare-up occurs, stop immediately and let the area cool. Scraping the surface with a razor can remove soot. This technique is also useful when crafting for modern houses with wooden slat pattern facades.
Mistakes in wood burning are just opportunities to add deeper character to your rustic decor.
The Artisan’s Edge
- Always keep a scrap piece of the exact same pine board handy to test your burner temperature, as resin density varies significantly even within the same tree.
- Use a sharp craft razor or X-Acto knife to gently scrape away localized over-burn before sanding; this prevents the soot from being ground deeper into the wood grain.
- Work in short bursts rather than long continuous strokes to prevent the internal resin from liquefying and bleeding beyond your intended pattern lines.
Textural Birch Pendants: Mastering Grain Patterns for Fine Detail
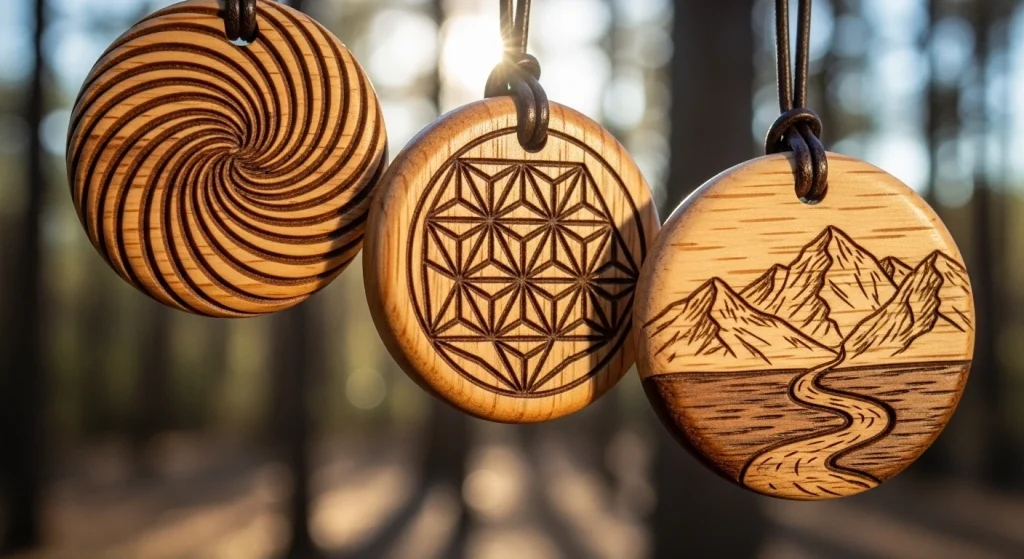
Birch wood offers a creamy, pale canvas for any artist. Its subtle grain allows for intricate linework and deep contrast. This makes it a premier choice for delicate jewelry.
Imagine a small pendant catching a warm ambient glow. The dark, charred lines contrast beautifully against the raw, smooth wood surface. This creates a striking focal point.
Creating these pendants is a rewarding way to explore Americana crafts and vintage aesthetics. These pieces add a tactile, organic element to any outfit.
Let the natural grain of the birch guide your pen, turning raw timber into a wearable story of texture and light.
Precision Techniques for Miniature Surfaces
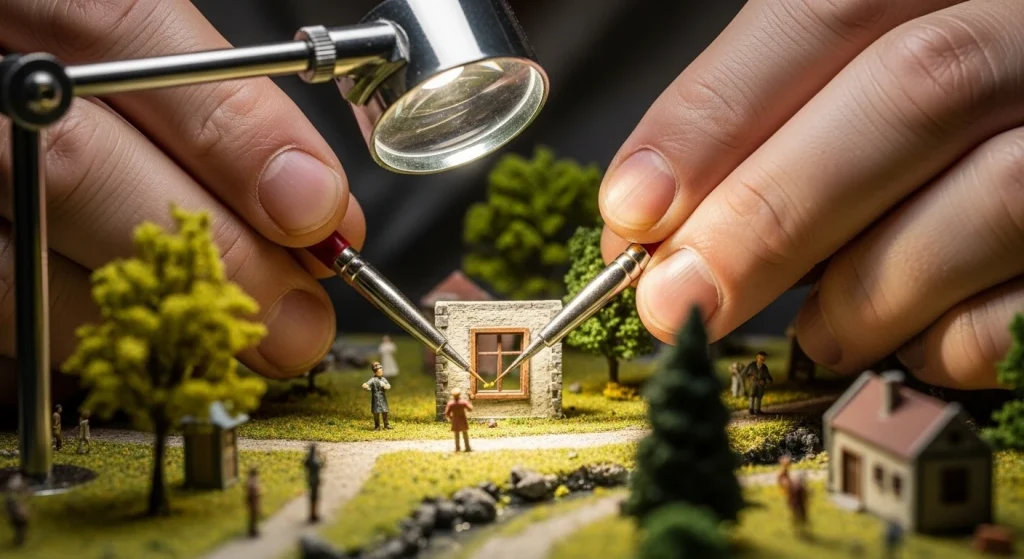
Working on a small scale requires specialized tools. Fine ball-point nibs are ideal for creating stippled textures. This technique mimics the look of high-end etched metal.
Sanding is the first step toward professional results. A surface polished to a 400-grit finish ensures the burner glides effortlessly. This prevents the nib from snagging.
The key to detail on birch is a low, consistent heat. It allows the artist to build layers of tone without scorching the delicate fibers too quickly.
Simon Easton, Woodburning Made Easy
Functional design is just as important as the look. Smooth edges prevent the pendant from catching on clothing. This improves the overall comfort and durability of the piece.
Essential Steps for Detail Mastery
- Select birch slices with tight, even growth rings for clarity.
- Use a graphite transfer to map out your design before burning.
- Keep the heat setting low to maintain sharp, crisp edges.
- Apply a thin layer of beeswax to protect the charred texture.
This process enhances the spatial dynamics of the jewelry. By varying the depth of the burns, you create a three-dimensional effect. The piece feels alive under changing light.
Pairing these pendants with linen or raw silk highlights the natural textures. It bridges the gap between rugged craftsmanship and sophisticated, modern fashion.
Mastering the Grain
- Prioritize a high-grit finish by sanding your birch to at least 400-grit to prevent the burner nib from catching on the wood fibers.
- Use a low, steady heat setting to build depth gradually; this prevents over-scorching and keeps your intricate linework sharp.
- Seal your finished pendant with a light coat of beeswax to preserve the contrast and protect the delicate charred details from wear.
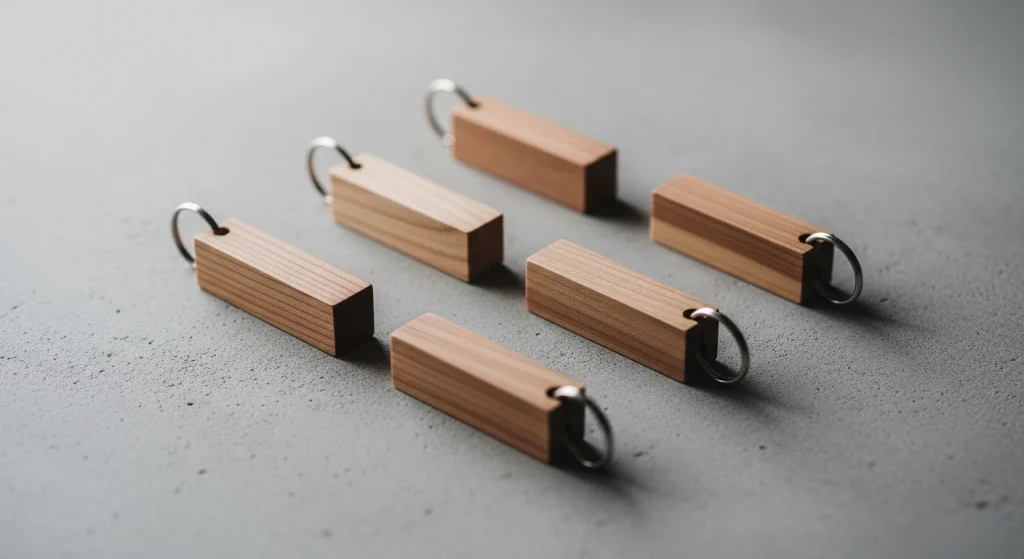
Minimalist Cedar Keychains: Correcting Depth and Heat Inconsistencies
Cedar possesses a buttery, soft texture. Its reddish grain creates a striking backdrop for dark, charred art. This wood choice provides an organic warmth to your everyday carry.
Achieving a minimalist style requires extreme precision. Simple lines must be crisp to look professional and intentional.
Minimalism in wood burning is about the conversation between the raw grain and the deliberate char.
Managing Thermal Sensitivity in Softwoods
Cedar reacts quickly to heat. If you apply too much pressure, the burner will sink too deep into the fibers. This creates unwanted pits in the wood.
Inconsistent depth disrupts the spatial dynamics of the design. It makes the keychain look amateur rather than handcrafted. You must maintain a light, gliding motion at all times.
One of the most common mistakes I see beginners make is holding the pen too tight and pressing too hard into the wood.
Rachel Strauss, Wood Burn Corner
Lower your heat setting more than you would for birch or maple. A cooler tip allows for slower, more controlled strokes. This prevents the burner from “running away” in the soft grain.
Refining Depth and Line Uniformity
Consistency is vital for small, functional items. These pieces endure constant handling, so the burn must be deep enough to last but shallow enough to remain smooth.
Using these techniques transforms simple wood into thoughtful gift ideas. Customization adds a layer of luxury to a basic utility item.
| Issue | Physical Cause | Correction Technique |
|---|---|---|
| Deep Pitting | Excessive Pressure | Hold the pen like a feather |
| Blotchy Lines | High Temperature | Reduce voltage to a medium-low |
| Grain Snagging | Tip Angle | Keep the nib perpendicular to grain |
After burning, lightly sand the surface with high-grit paper. This removes any raised charred bits. It ensures the keychain feels smooth in a pocket or bag.
Finish with a natural oil to protect the wood. This enhances the aroma of the cedar and deepens the contrast of your burnt minimalist patterns.
Cedar Craft Secrets
- Use a ‘feather-light’ touch with your burner to glide across the soft cedar surface without sinking into the grain.
- Dial your heat setting 15-20% lower than you would for birch to prevent the tip from ‘bleeding’ into the surrounding fibers.
- Always finish with a high-grit sanding (400+) post-burn to remove carbon buildup and ensure a smooth feel in the pocket.
Refining the Craft: The Intersection of Heat and Art
Pyrography blends architectural precision with organic textures. Mastering materials like dense bamboo requires patience and heat control to create lasting, functional art for your home.
From geometric coasters to botanical spoons, wood burning elevates everyday objects. By understanding wood grain and silica barriers, you turn simple tools into sophisticated design statements.
Master the Art: Expert Pyrography Insights
Bamboo is dense and contains silica, requiring higher heat. While challenging, its smooth surface allows for incredibly crisp geometric lines with the right tool temperature.
Always sand away factory finishes with 400-grit paper first. Work in a well-ventilated space and use a fan to draw smoke away from your face for safety.
Hardwoods like maple or bamboo are best for spoons. They resist moisture well and provide a durable canvas that handles the heat of burning without excessive charring.
A basic kit works, but an adjustable temperature tool is better for dense grain. Consistent heat ensures clean patterns without damaging the wood’s structural integrity.