Table of Contents
- Mastering the Dutch Bros Science: The Scoop Rule and Mix Lines Defined
- Stocking Your Barista Station: Torani Syrups and Kick Me Mix Essentials
- The Golden Eagle: DIY Vanilla and Caramel Breve Recipe
- The Annihilator: Chocolate Macadamia Nut Breve for Coffee Lovers
- The Kicker: Authentic Irish Cream Breve Step-by-Step
- DIY Electric Berry Rebel: Hacking the Famous Energy Drink
- The Picture Perfect Freeze: Blending Chocolate and Caramel Like a Pro
- Milk Wars: Rating Oat and Almond Alternatives Against Standard Breve Texture
- Elevating Your Daily Ritual
- The Home Barista’s Design Guide
Crafting the perfect beverage at home is much like curating a well-designed room; it requires a thoughtful balance of texture, flavor, and visual appeal. Transforming your kitchen into a private coffee sanctuary allows you to enjoy the vibrant energy of Dutch Bros without compromising the comfort of your home. With a few expert techniques, you can master the art of the pour while keeping your lifestyle both chic and budget-friendly.
The secret to that signature sweetness lies within the legendary Scoop Rule, a foundational principle that ensures every drink remains perfectly balanced. Much like finding the ideal placement for a statement rug, mastering this measurement system creates a sense of harmony in every cup you serve. It is a simple yet transformative method that elevates a basic syrup addition into a truly gourmet experience.
You deserve a daily routine that feels as indulgent as a high-end designer showroom, and that luxury begins with your morning ritual. By learning these DIY recipes, you are not just saving money; you are styling your life with intentionality and creative flair. Let us explore how to bring these bold flavors into your space with effortless sophistication and practical charm.
Mastering the Dutch Bros Science: The Scoop Rule and Mix Lines Defined
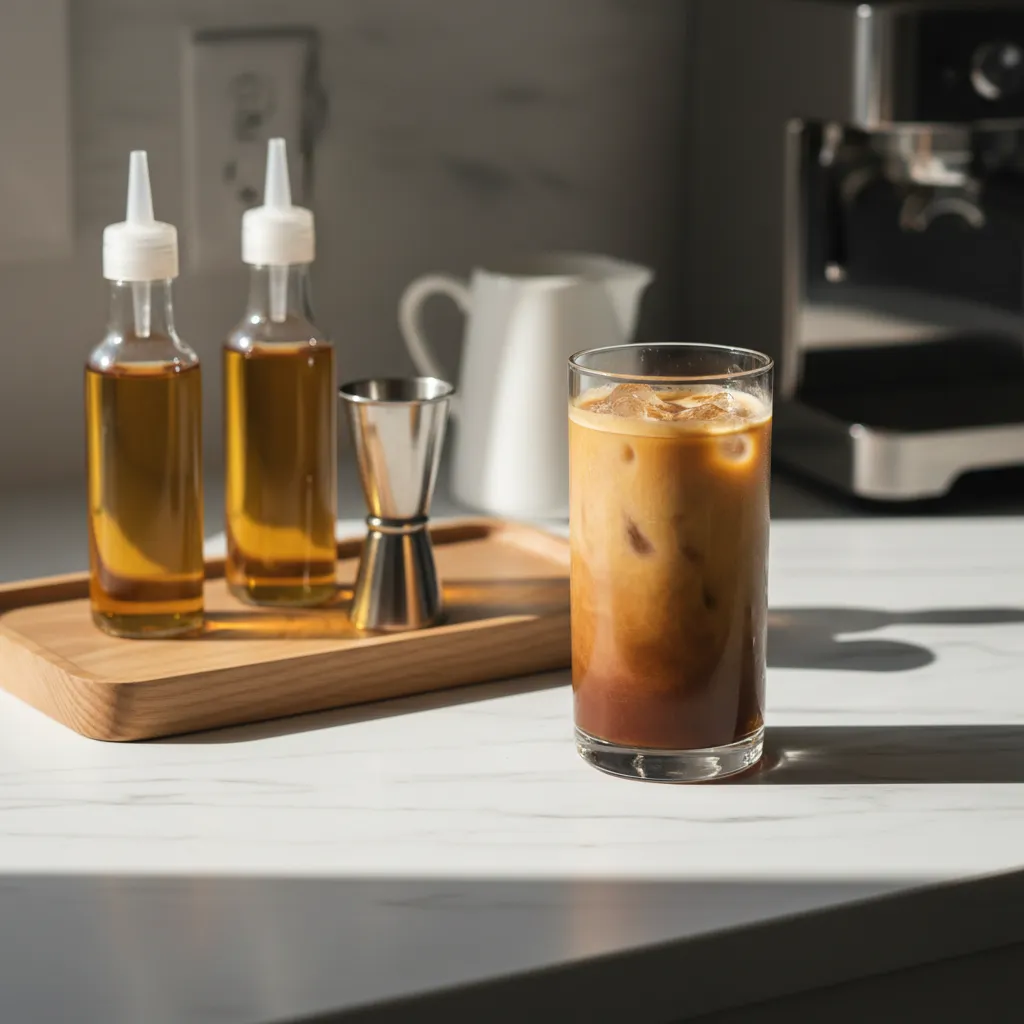
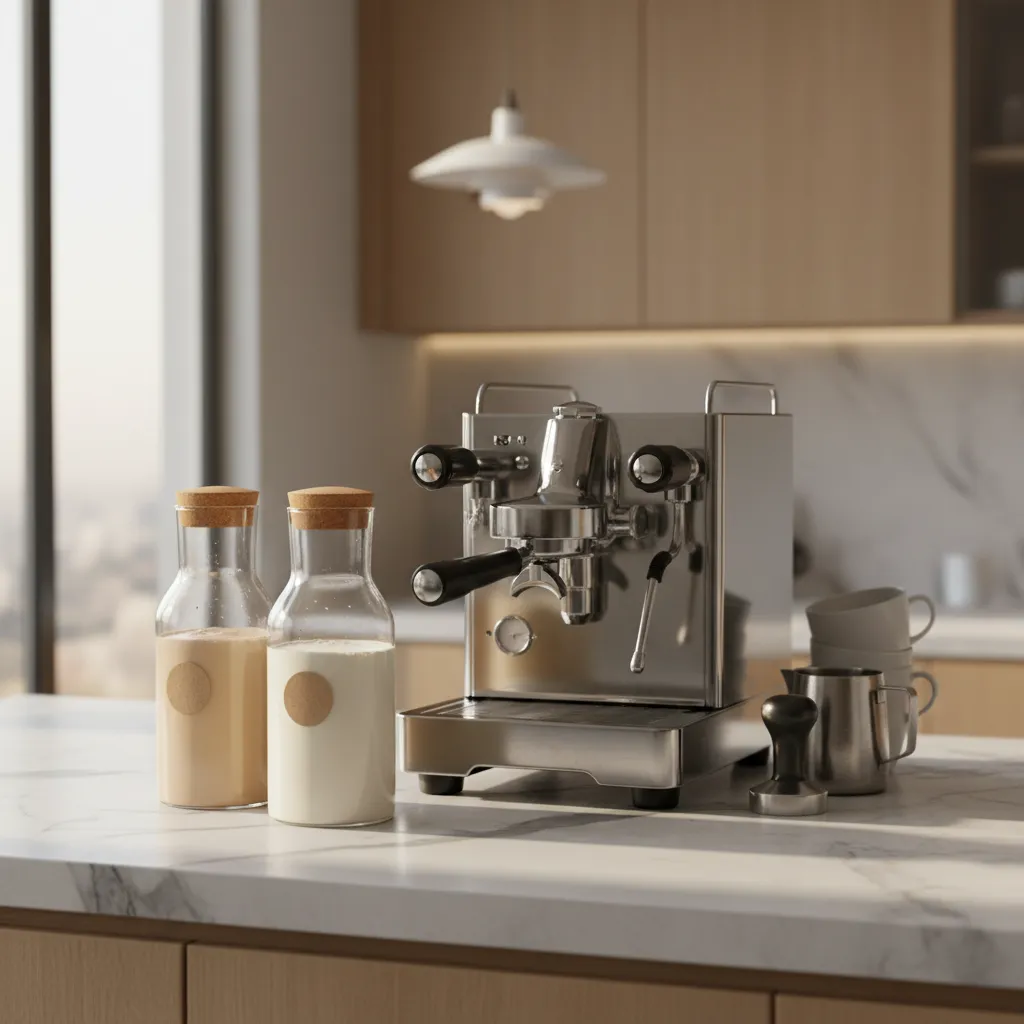
Creating that authentic coffeehouse experience at home requires more than just the right ingredients; it requires precision in the assembly. When designing a beverage station in your kitchen, consider the spatial flow of your countertop. You need a dedicated “wet zone” where measuring and mixing happen seamlessly.
The secret to the perfect “Dutch Bros Drinks Recipes Diy” lies in their systematic approach to ratios. Just as we use scale and proportion to balance a living room layout, you must use specific measurements to balance flavor profiles. This ensures your drink has that signature gradient look and consistent taste every time.
Design is in the details, and the perfect beverage is a masterpiece of precision and palette.
The Barista Blueprint
- Define Your Wet Zone: Use a stylish, water-resistant tray to corral your syrups and measuring tools. This frames the workspace visually while protecting your countertops from sticky spills.
- DIY Mix Lines: Take a permanent marker to your favorite clear reusable tumbler to mark your standard ice and liquid fill lines. This creates a permanent ‘blueprint’ for your pour, ensuring perfect proportions every morning.
- The 1-Ounce Standard: Invest in a sleek stainless steel jigger or scoop. Most ‘scoop rules’ rely on a standard 1-ounce measurement, so having a dedicated tool ensures your flavor architecture remains sound.
The Golden Scoop Rule
In the world of Dutch Bros, a “scoop” is a standardized unit of measurement that simplifies the entire process. Generally, one scoop equals one ounce of flavor (syrup or sauce). This standard holds true regardless of whether you are making a small or large iced drink, preventing the sugar from overpowering the coffee notes.
For your home setup, abandon the plastic pumps that clutter your aesthetic. Instead, invest in a sleek, double-sided metal jigger or a set of glass beakers. This adds a tactile element of luxury to your morning ritual. The standard rule is simple: use one flat scoop (1 oz) of flavor total for standard iced drinks.
If you are mixing flavors; like the popular vanilla and caramel combination; you split that single ounce between them. This restraint allows the texture of the milk and the boldness of the espresso to shine through, much like negative space allows a focal point to breathe in a gallery wall.
Barista Blueprint
- Elevate your counter appeal by swapping clunky plastic syrup pumps for a stainless steel cocktail jigger; it looks chic and ensures a precise 1-ounce pour every time.
- Follow the ‘Total Volume’ rule when mixing: if you want a combo like vanilla-caramel, use 0.5 oz of each to equal one scoop total, rather than doubling the sugar.
- Treat flavor like seasoning stick to the 1-ounce standard to ensure the nuances of your espresso and the texture of the milk remain the stars of the show.
Decoding the Mix Lines
Visual appeal is paramount in beverage design. The “mix line” concept ensures your drink looks as good as it tastes. The mix line is the fluid level you reach before adding ice. By stopping at the correct line, you leave room for the ice to displace the liquid, filling the cup perfectly to the rim without overflow.
Using the correct mix lines creates that stunning suspension effect where the ice floats evenly throughout the glass. For a standard medium drink (24 oz cup), your liquid mix line is actually only at the 12 oz mark. The remaining volume is entirely ice, which chills the drink instantly without immediate dilution.
If you enjoy experimenting with beverages, you might also appreciate exploring Sonic Drinks Combinations Ideas for more inspiration on mixing flavors and textures. Below is a quick reference guide to help you calibrate your glassware at home.
Standard Iced Drink Ratios
| Cup Size (Total Volume) | Flavor “Scoop” | Liquid Mix Line | Ice Quantity |
|---|---|---|---|
| Small (16 oz) | 1 oz (1 Scoop) | 8 oz line | Full Cup |
| Medium (24 oz) | 1 oz (1 Scoop) | 12 oz line | Full Cup |
| Large (32 oz) | 1 oz (1 Scoop) | 16 oz line | Full Cup |
For blended drinks (Freezes/Rebels), the ratios shift slightly to accommodate the texture of the crushed ice, but the foundational principle of measuring liquids first remains. Using clear, double-walled glassware not only maintains temperature but allows you to see these beautiful layers form.
Baking happens in the oven, but the magic happens in the measuring cup. Precision is the difference between a good recipe and a great one.
Martha Stewart, MarthaStewart.com
Once you have mastered these volumes, you can begin to customize. If you prefer a “sweet” version, simply add an extra half-scoop. However, always be mindful of the visual weight of the syrup at the bottom of the glass; it should look like a deliberate foundation, not a sediment layer.
By treating your coffee station with the same organizational care as your cozy home library or reading nook, the act of making the drink becomes a calming, restorative part of your day.
Mix Master Secrets
- DIY Mix Lines: Use a measuring cup to pour 12 oz of water into your favorite 24 oz glass, then mark the level with a rubber band, washi tape, or a small dot of permanent marker to create a permanent guide for your home bar.
- The 50% Rule: If you are measuring without a marked cup, remember the golden ratio: fill your vessel exactly halfway with your liquid mixture before topping completely with ice to the rim.
- Layering Logic: To maximize visual appeal, mix your syrup and base liquid first, add your ice to the mix line, and then pour any cream or toppers gently over the ice to create a stunning suspension effect.
Stocking Your Barista Station: Torani Syrups and Kick Me Mix Essentials
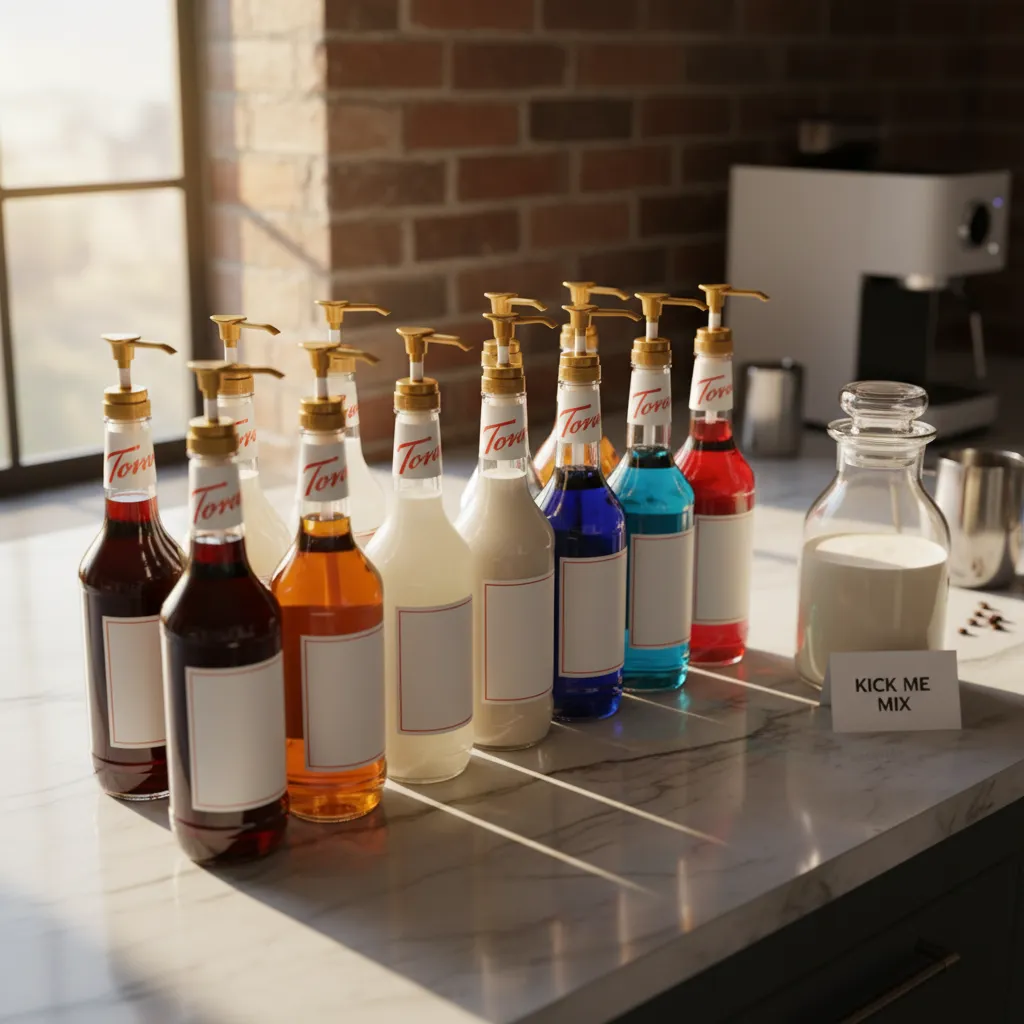
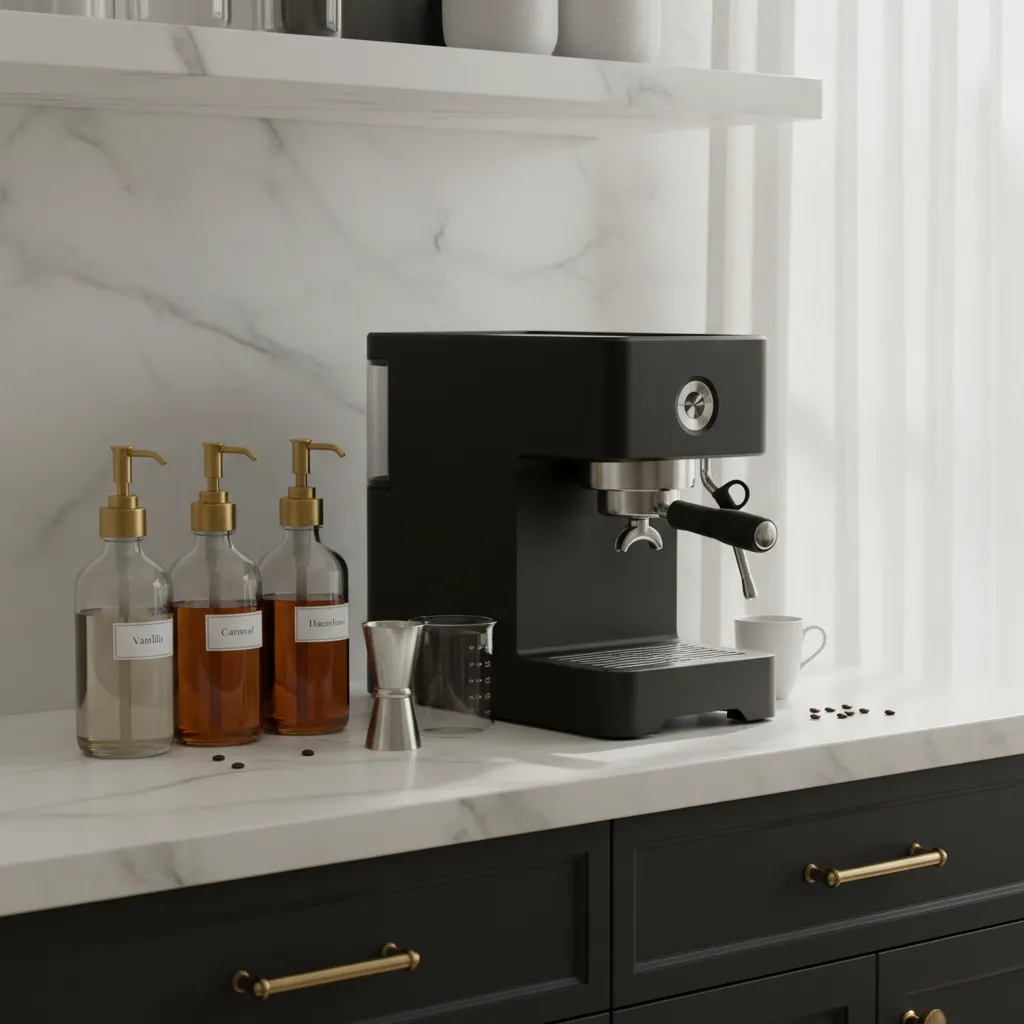
Creating an authentic Dutch Bros experience at home starts with the right ingredients. The visual appeal of your station is just as important as the taste.
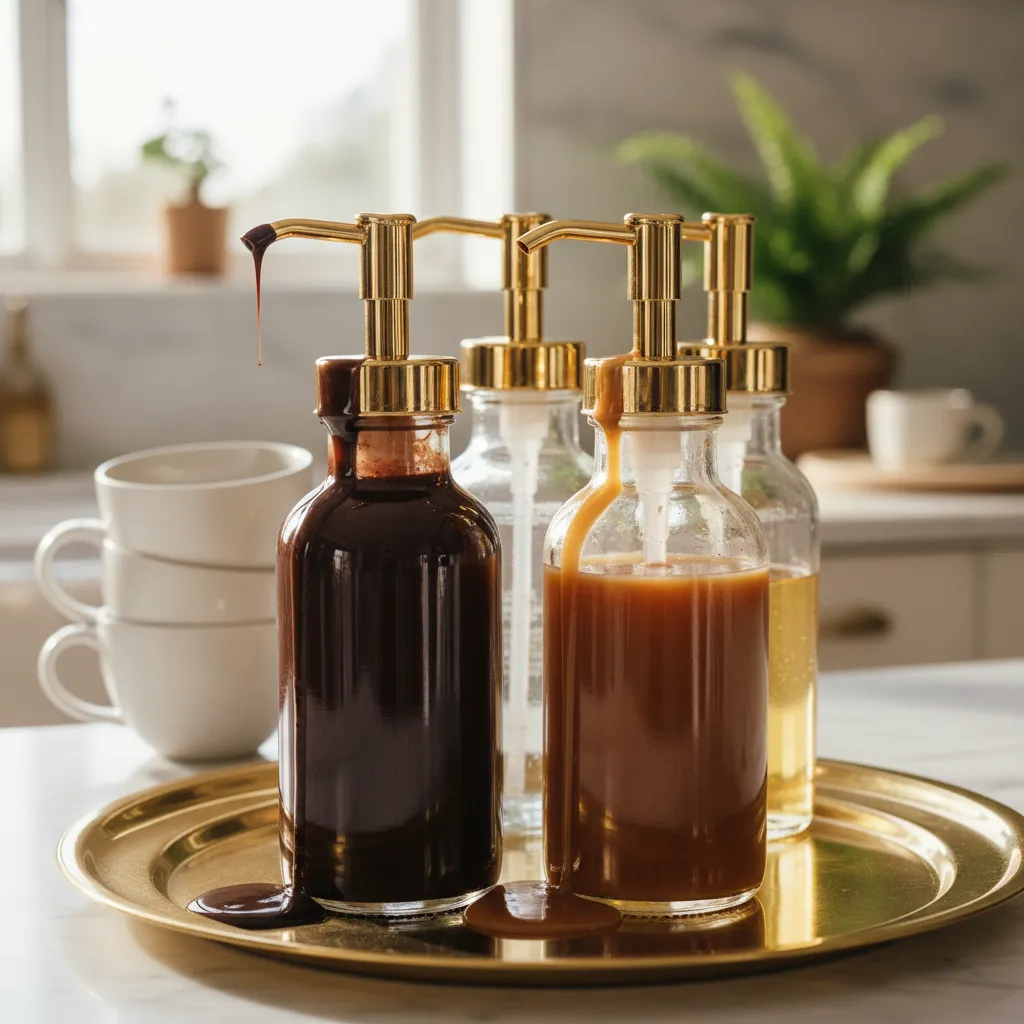
To replicate those famous flavors, you must start with the correct foundation. Torani syrups are the industry standard and the exact brand used by the chain.
Displaying these bottles can transform a cluttered counter into a stunning focal point. We recommend transferring syrups into uniform glass dispensers.
A coffee station is more than a utility; it is a daily ritual that deserves to be beautiful.
Curating Your Flavor Palette
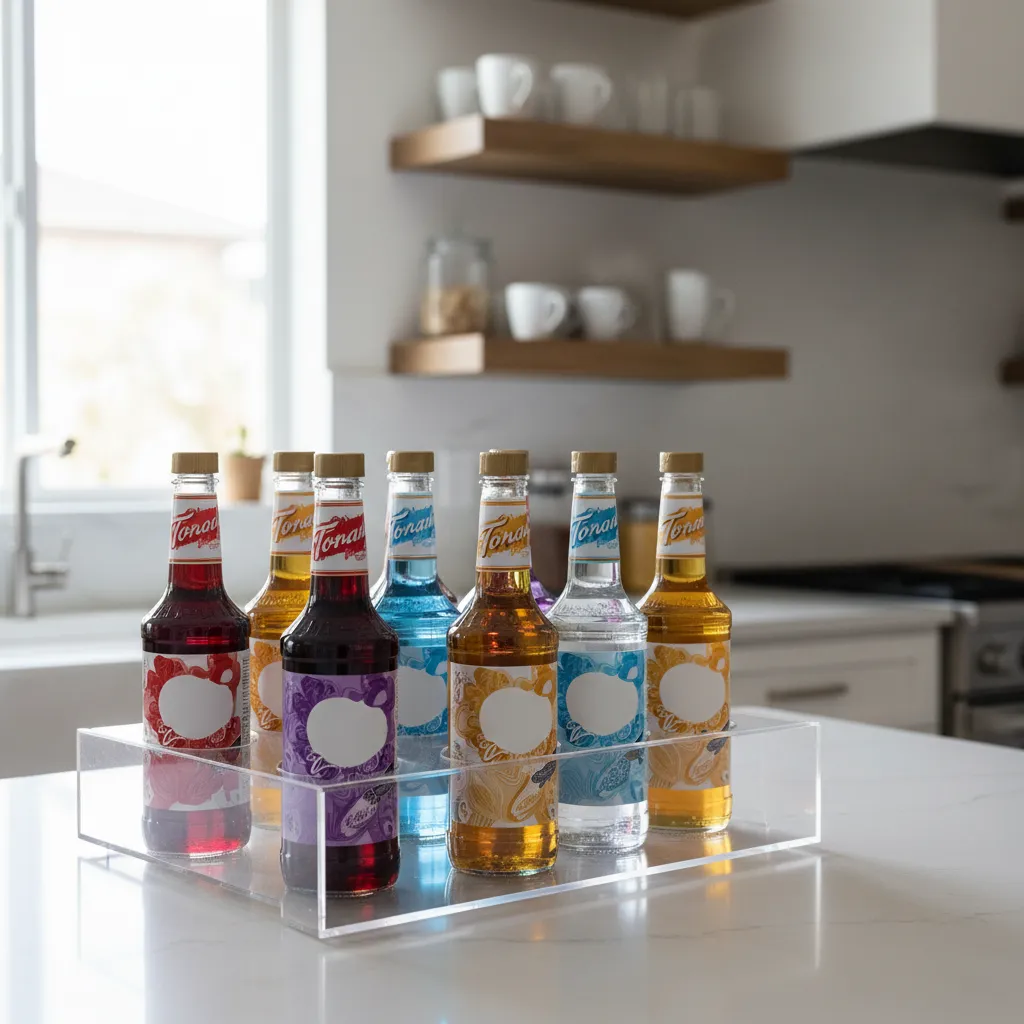
When selecting your syrups, think about both flavor profiles and color coordination. A row of vibrant hues looks striking against a neutral backsplash.
Group your syrups by category to improve the spatial flow of your morning routine. Keep fruit flavors separate from the creamy classics like vanilla.
For a truly cohesive look, add gold or matte black pumps to every bottle. This ensures precise measurements and eliminates sticky drips on your counters.
If you are styling a cart for a gathering, similar to a Sports Teacher Appreciation Week: Styled Trail Mix Bar, accessibility is key.
Use a rotating lazy Susan for corners or a tiered acrylic riser for narrow spaces. This allows light to filter through the bottles, creating a warm glow.
Mastering the “Kick Me Mix” Aesthetic
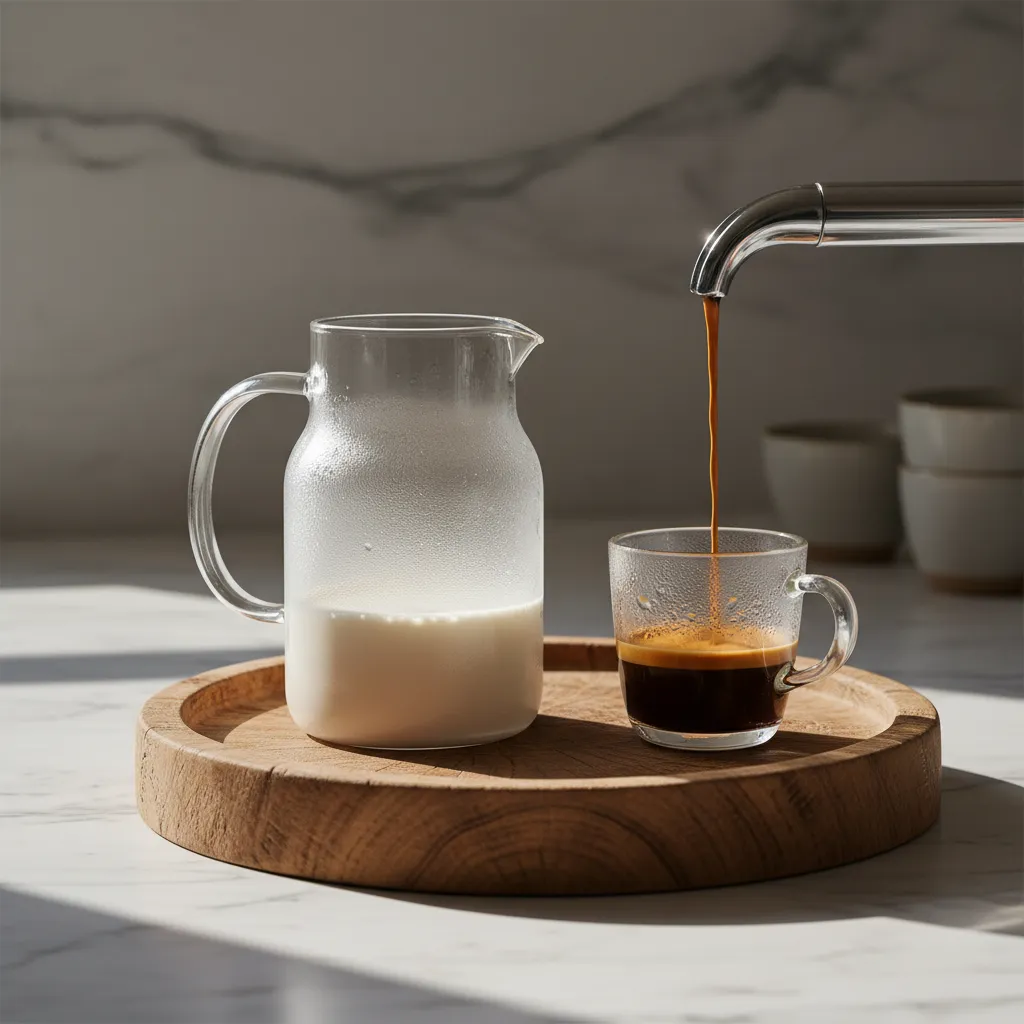
The “Kick Me Mix” is simply a proprietary name for half-and-half. However, the carton it comes in rarely matches a sophisticated interior palette.
Decant your dairy base into a chilled glass carafe or a ceramic pitcher. This small switch instantly elevates the tactile experience of making a drink.
Keep your dairy chilled but accessible. If you have a dedicated beverage fridge, position it directly beneath your syrup display for optimal ergonomics.
This setup works beautifully in a classic setting, perhaps blending into 21 Vintage Living Room Ideas Inspired by Old-World Elegance with rich wood tones.
Group items by use, not just type. Your coffee station should have mugs, spoons, sugar, and coffee all within arm’s reach to create a seamless morning flow.
Peter Walsh, Real Simple
Essential Inventory Checklist
To keep your station functional without overcrowding it, stick to these core essentials. This list balances the necessary tools with aesthetic choices.
| Item Category | Primary Function | Styling & Storage Tip |
|---|---|---|
| Base Syrups | Flavor foundation (Vanilla, Caramel) | Place on the bottom tier or front row for easy access. |
| Fruit Syrups | For sodas and teas (Raspberry, Peach) | Group these together to create a vibrant color gradient. |
| Dairy Container | Holds the “Kick Me Mix” | Use a double-walled glass carafe to keep cream cold longer. |
| Sauce Drizzle | Cup lining and topping | Keep squeeze bottles in a ceramic crock to hide labels. |
| Barista Spoons | Mixing tall drinks | Store upright in a heavy tumbler to add metallic texture. |
Maintaining a stocked station allows you to experiment freely. The goal is to create a space that invites creativity while remaining visually serene.
Barista Styling Secrets
- Swap standard bottle caps for matching gold or matte black pumps to ensure precise flavor measurements and eliminate sticky drips.
- Decant your ‘Kick Me Mix’ (half-and-half) into a double-walled glass carafe to keep it cold longer while hiding distracting store packaging.
- Utilize tiered acrylic risers or a lazy Susan to display syrups by color gradient, which maximizes vertical space and catches the light.
The Golden Eagle: DIY Vanilla and Caramel Breve Recipe
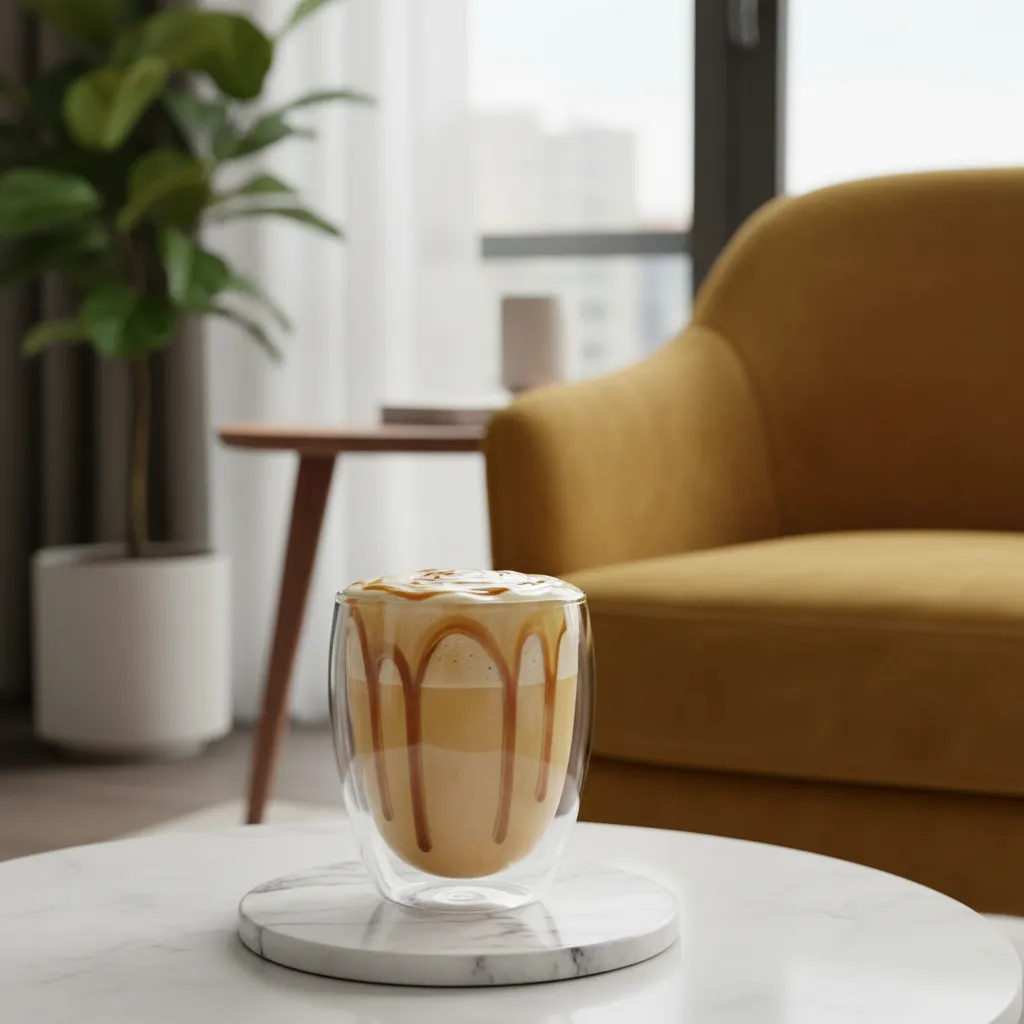
The Golden Eagle is the epitome of comfort in a cup. It combines the richness of a breve with the smooth sweetness of vanilla and caramel.
Imagine sipping this while nestled in a plush velvet armchair, bathed in the warm ambient glow of morning sunlight. It elevates your daily ritual.
Creating this drink at home allows you to control the quality of ingredients. It brings a curated cafe experience directly into your kitchen.
A morning ritual isn’t just about the caffeine; it’s about the warmth and intention you pour into the cup.
The Flavor Palette and Ingredients
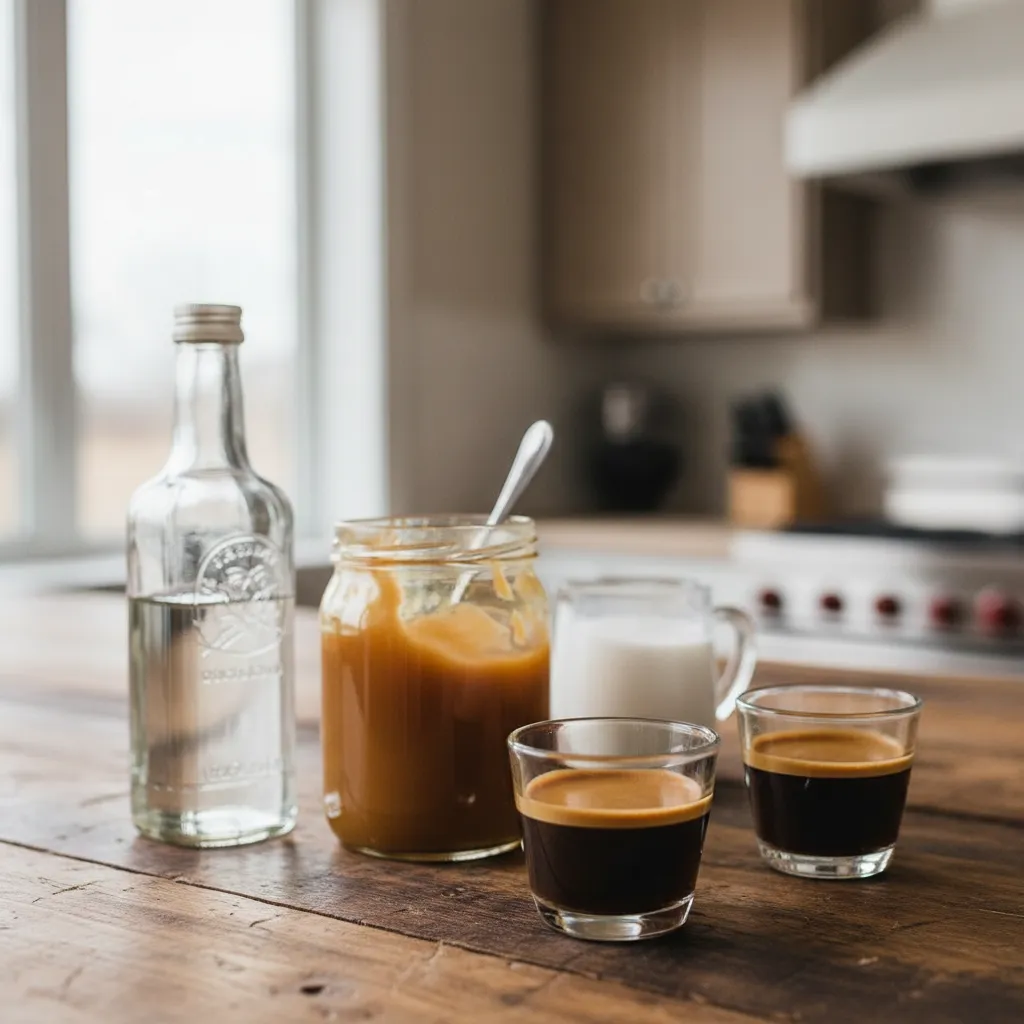
Quality ingredients are the foundation of this recipe. Using premium syrups transforms a standard coffee into a luxurious treat.
Here is what you need to assemble this indulgent beverage:
- 2 shots of espresso: A robust base is essential to balance the sweetness.
- 1 tbsp Vanilla syrup: Adds a fragrant, floral sweetness to the mix.
- 1 tbsp Caramel sauce: Provides a buttery depth, plus extra for the drizzle.
- 1 cup Half-and-half: Steamed to create a rich, velvety texture.
- Whipped cream: An optional finish for that coffee house aesthetic.
If you enjoy experimenting with different flavor profiles, check out these Sonic Drinks Combinations Ideas: Curated Flavor Mixes for more inspiration.
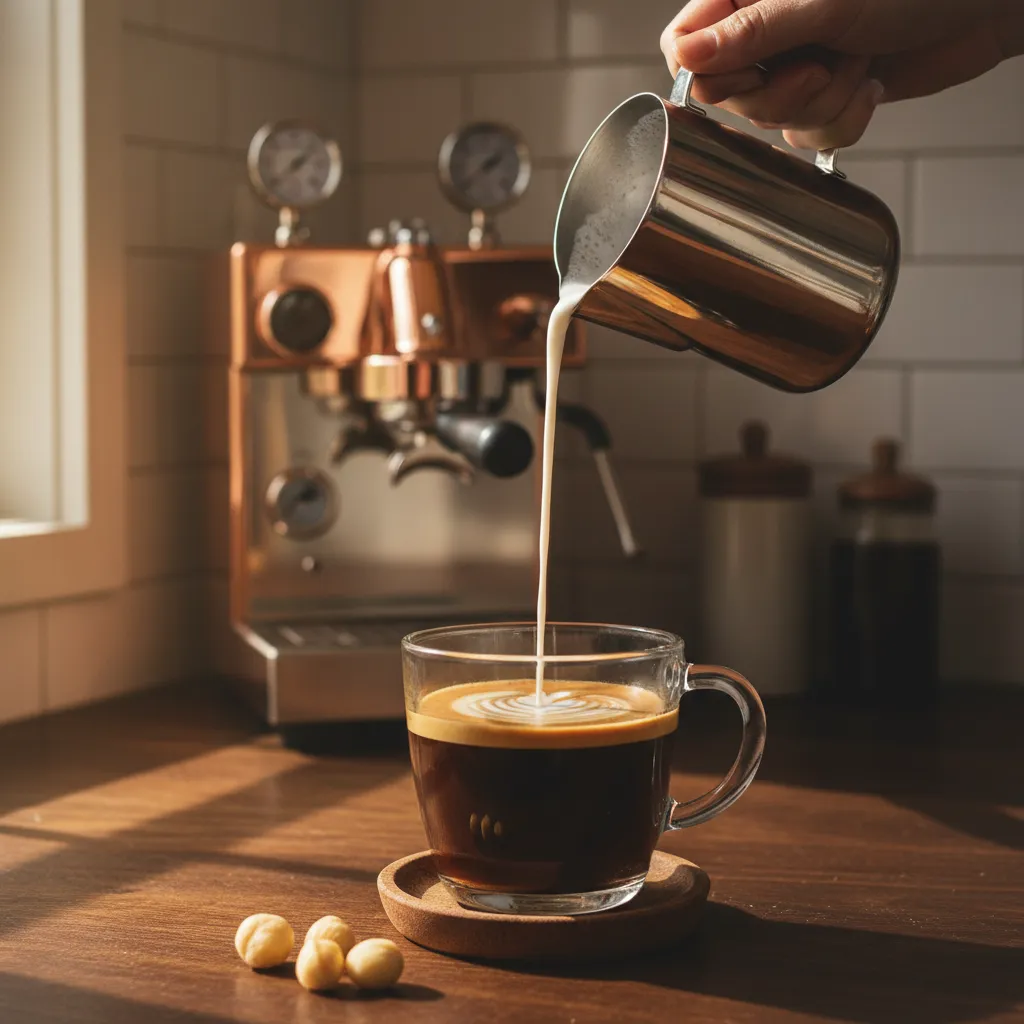
Crafting the Perfect Pour
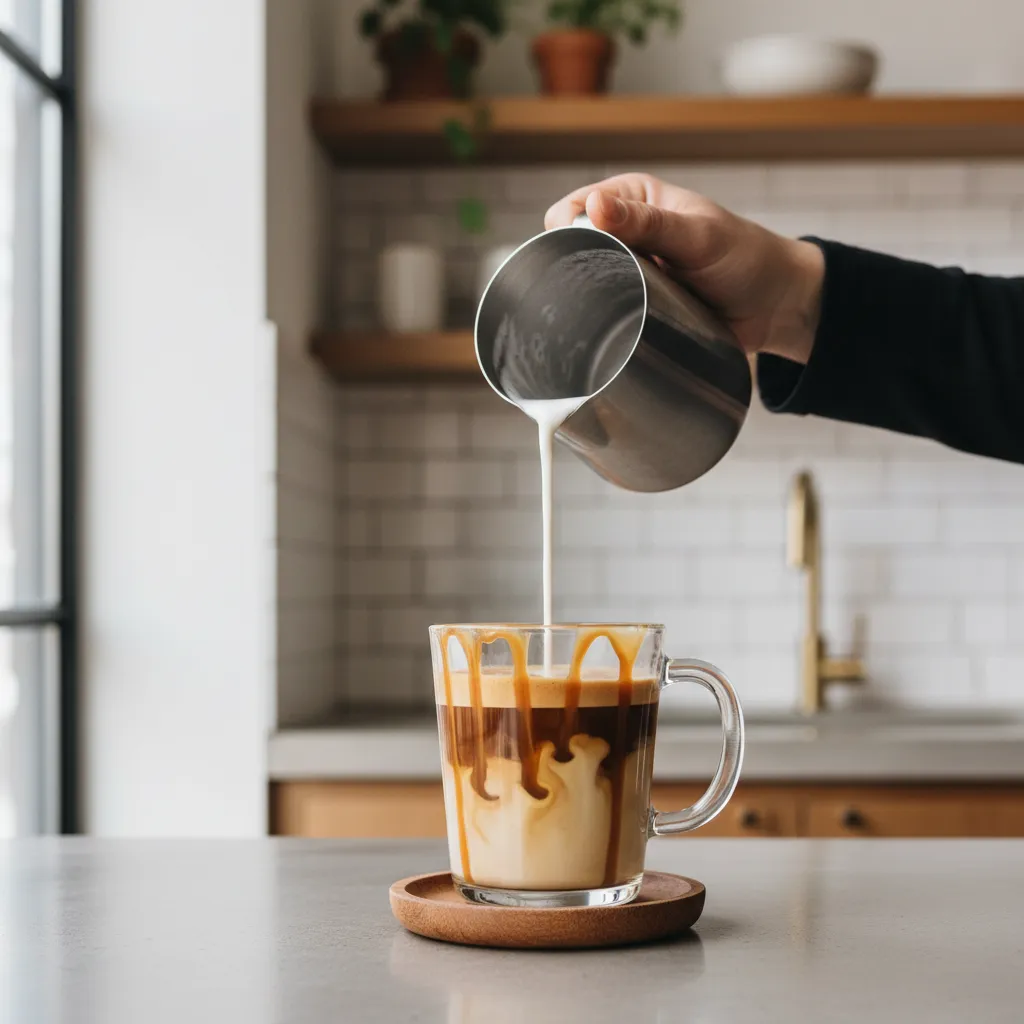
Start by brewing your espresso into a heat-safe glass. Stir in the vanilla syrup and caramel sauce immediately so they dissolve smoothly.
Steam your half-and-half until it reaches a velvety texture. The goal is a micro-foam that feels silky against the palate, not bubbly.
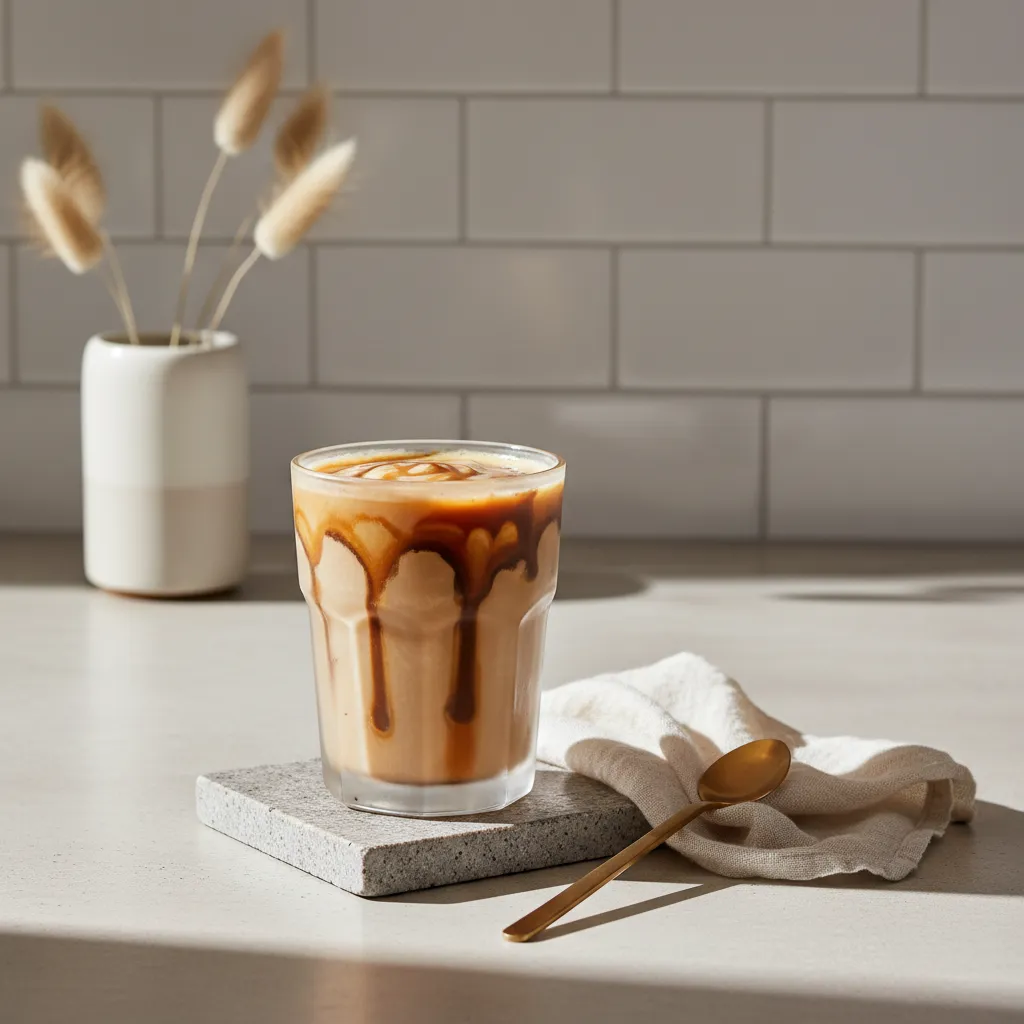
Pour the milk over the espresso mix. Top with a generous dollop of whipped cream and a crosshatch drizzle of caramel for a stunning focal point.
Creating the perfect environment for your morning brew is just as important as the recipe. See our 50 Cozy Room Decor Tips to Create the Ultimate Relaxing Retreat.
To keep your kitchen counters clutter-free, designate a specific zone for your coffee station. Use a tray to corral your syrups, spoons, and mugs.
The Spruce, Kitchen Counter Organization Ideas
Texture Profile Analysis
Understanding the texture of your drink helps in selecting the right glassware. A clear glass highlights the beautiful separation of ingredients.
| Component | Texture Role | Visual Aesthetic |
|---|---|---|
| Half-and-Half | Rich and Opaque | Creates a creamy, soft beige base |
| Caramel Sauce | Viscous and Sticky | Adds a glossy, amber contrast |
| Espresso | Fluid and Dark | Provides a deep, grounding color |
Barista Secrets
- Pre-warm your vessel: Because half-and-half is dense, it can cool your espresso quickly. Rinse your glass with hot water before assembling to keep your Golden Eagle piping hot.
- The spoon trick: To achieve distinct, photogenic layers in a clear glass, pour your steamed half-and-half slowly over the back of a metal spoon held just above the espresso surface.
- No steam wand? Heat your half-and-half on the stove, then use a handheld frother or pump it rapidly in a French press to create that signature thick micro-foam.
The Annihilator: Chocolate Macadamia Nut Breve for Coffee Lovers
The Annihilator is a standout favorite for its bold profile. It balances strong energy with deep, nutty sweetness. This drink defines the concept of comfort in a cup.
Recreating this beverage is essential for your Dutch Bros Drinks Recipes Diy collection. It brings a touch of cafe luxury directly into your morning routine. The aroma alone instantly elevates the mood of your kitchen.
True luxury is the ability to craft a moment of indulgence within the comfort of your own home.
This beverage relies on texture as much as flavor. The use of half-and-half, known as a breve, creates a velvety mouthfeel. It is richer and smoother than a standard latte.
To fully enjoy this rich drink, consider where you sip it. It pairs perfectly with a soft throw blanket and a quiet corner. You might find inspiration in our cozy home library ideas for the perfect setting.
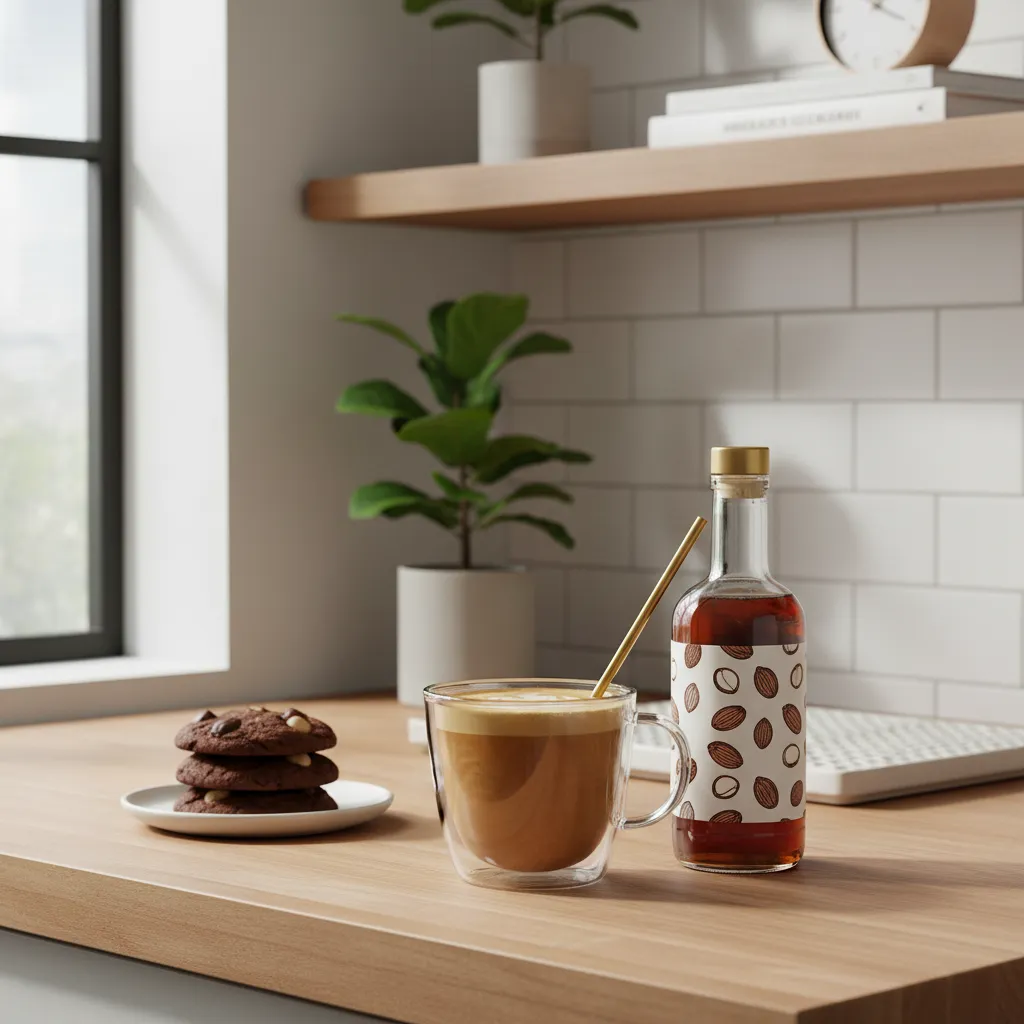
The Annihilator Flavor Profile and Ingredients
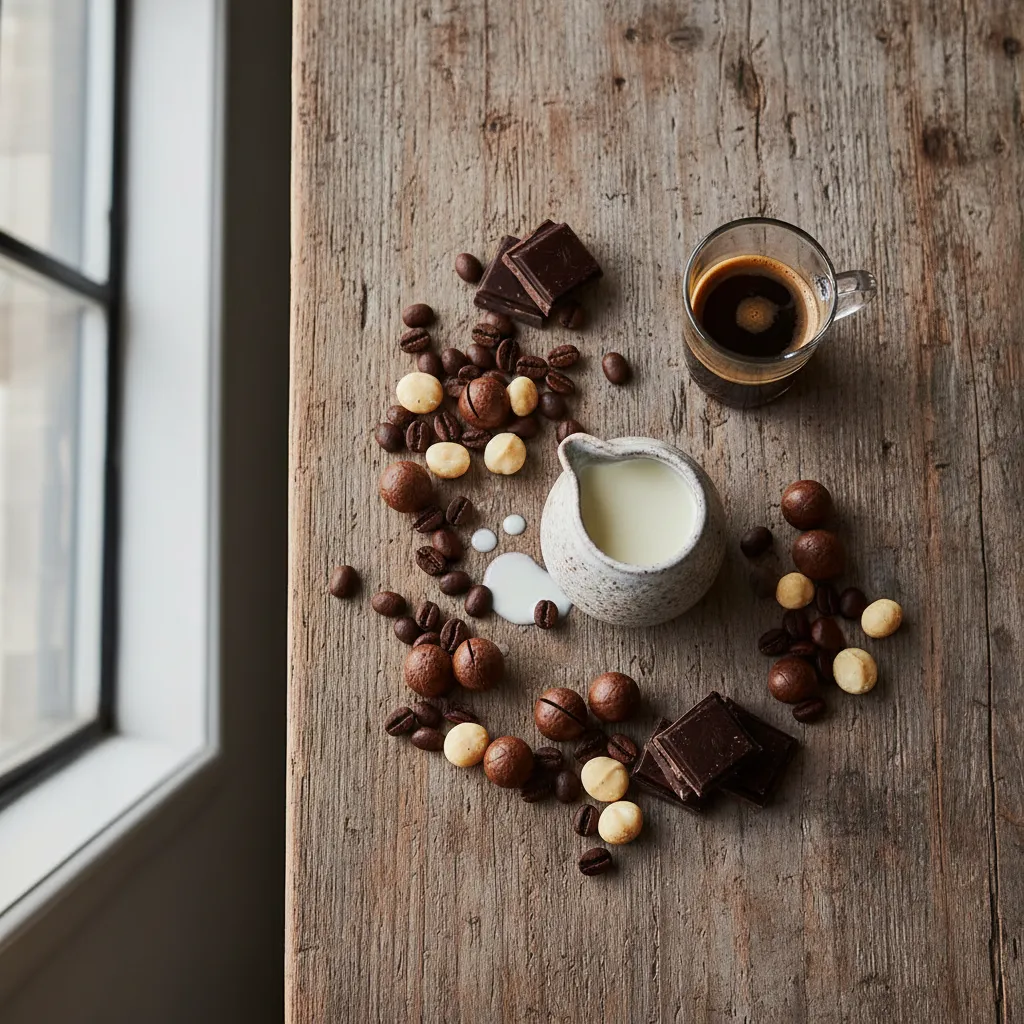
The secret to this recipe lies in the specific syrup combination. You need a distinct chocolate macadamia nut flavor. Torani helps achieve that authentic coffee shop taste.
Ingredients Checklist:
- Espresso: 2 shots (approx. 2 oz) of bold, dark roast.
- Syrup: 1 oz of Chocolate Macadamia Nut syrup.
- Dairy: 6-8 oz of half-and-half (steamed or iced).
- Garnish: Optional drizzle of soft caramel or chocolate.
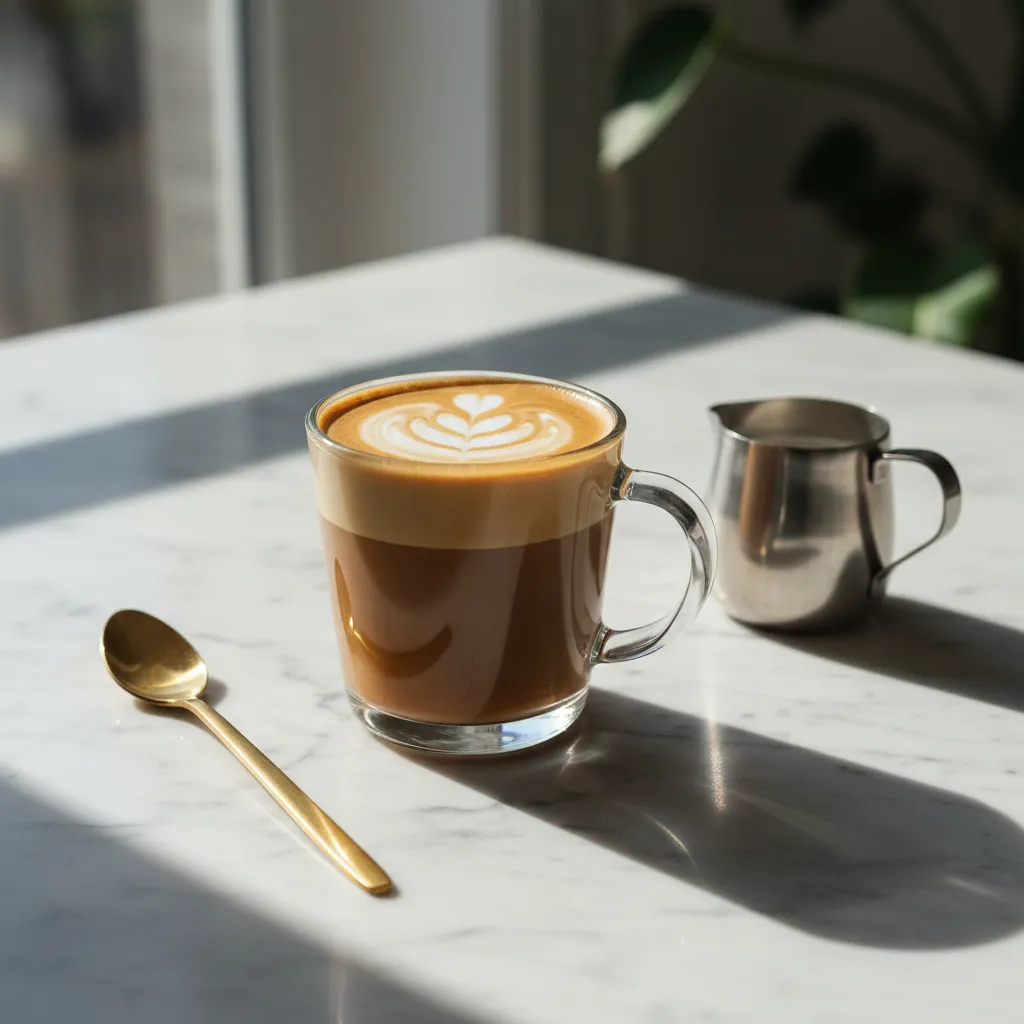
Using a clear glass mug enhances the visual appeal. Seeing the layers of rich crema and steamed dairy adds to the sensory experience. It turns a simple drink into a visual focal point.
Crafting the Drink at Home
Start by brewing your double shot of espresso. While it pulls, add the syrup to your mug. This allows the heat of the coffee to mix seamlessly with the sweetener.
Steam your half-and-half until it reaches a warm, silky consistency. Avoid over-aerating it; you want a dense, creamy texture rather than stiff foam. This mimics the cozy vibe of cozy room decor tips we often discuss.
Pour the steamed dairy over your espresso and syrup mixture. Stir gently to incorporate the flavors. The result is a drink that feels substantial and incredibly smooth.
For the best coffee station, ensure your machine and accessories are grouped on a tray to reduce visual clutter and create a dedicated zone.
Shea McGee, Studio McGee Kitchen Styling
Serve this drink immediately to enjoy the temperature contrast. The warmth radiates through the mug, adding a tactile element to your morning. It is a simple luxury that transforms a mundane routine.
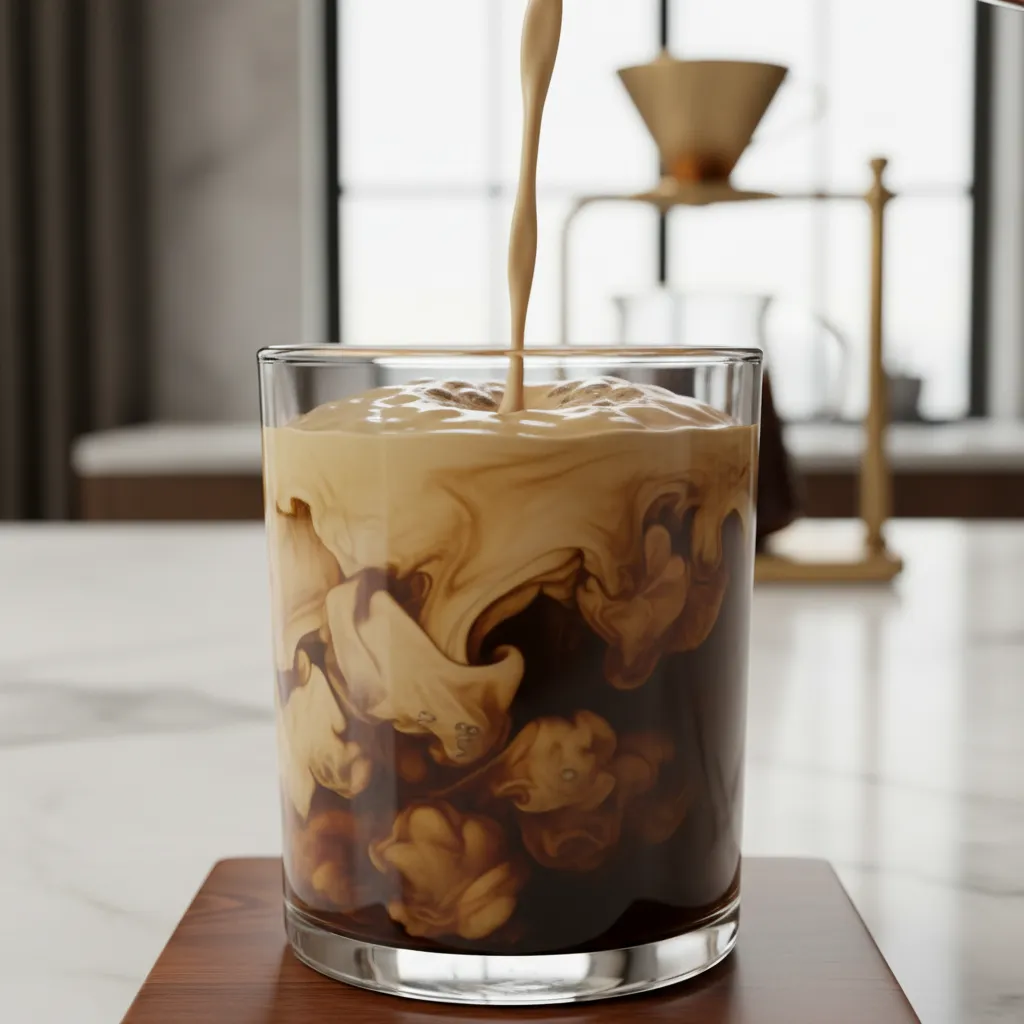
If you prefer an iced version, the steps remain similar. Simply pour the hot espresso and syrup over a full cup of ice. Top with cold half-and-half for a refreshing, marbleized look.
Home Barista Secrets
- DIY Syrup Hack: If you cannot find the specific Chocolate Macadamia Nut syrup, try mixing equal parts chocolate sauce with standard macadamia syrup to replicate that deep, nutty richness.
- Mastering the Breve: When steaming half-and-half, aim for a lower temperature (around 140°F) than standard milk. Its high fat content holds heat well but can separate if scalded, so stop steaming as soon as the pitcher feels hot to the touch.
- The Marble Effect: To get that perfect Instagram-worthy iced look, pour the cold half-and-half slowly over the back of a spoon onto the ice and espresso. This prevents immediate mixing and creates beautiful, swirling layers.
The Kicker: Authentic Irish Cream Breve Step-by-Step
Recreating the “Kicker” at home is about more than just caffeine delivery. It is an exercise in texture and balance that elevates your kitchen atmosphere.
The authentic Irish Cream Breve relies on the density of half-and-half to create a luxurious mouthfeel. This drink acts as a warm, velvet-textured focal point.
To achieve the visual stratification of a high-end cafe drink, you must pay attention to the temperature and pour speed. It is a ritual of slow living.
We often discuss the importance of creating an old-world elegance in our living spaces. This drink complements that aesthetic perfectly.
The true luxury of a home coffee station is the ability to craft a moment of stillness before the day begins.
The Functional Breve Workflow
Organizing your countertop for this recipe ensures a seamless workflow. Keep your syrup pumps and espresso tamper within arm’s reach to maintain spatial flow.

- Prepare the Base: Pull two shots of espresso into a heat-resistant glass. Watch for a thick, golden crema which indicates fresh beans.
- Infuse Flavor: Stir in one ounce of Irish Cream syrup immediately while the espresso is hot. This ensures the viscosity remains smooth.
- Texture the Dairy: Steam your half-and-half (breve) to 150 degrees. You want a paint-like texture, not the stiff foam typical of a cappuccino.
- The Pour: Tilt your glass and pour the milk slowly down the side. This technique preserves the crema and creates a beautiful marble effect.
The result is a beverage that feels substantial and grounded. The heavy cream cuts the acidity of the espresso, creating a palette that is soft yet bold.
If you have the counter space, set up a dedicated coffee station… Keep mugs, sugar, and coffee within easy reach of the coffee maker.
The Editors, Real Simple
Sensory Profile and Presentation
Presentation transforms a drink into a decor element. Serve this in double-walled glass to showcase the color depth, or artisan ceramic for tactile warmth.
If you enjoy rich textures, this drink pairs beautifully with the caramelized notes of a perfectly easy crème brûlée for an indulgent afternoon vignette.
| Design Element | Standard Cafe Version | Curated Home Version |
|---|---|---|
| Vessel Texture | Disposable Paper | Hand-thrown Ceramic or Crystal |
| Atmosphere | High Traffic / Noise | Curated Playlist & Ambient Light |
| Visual Appeal | Hidden by Lid | Visible Layers & Contrast |
| Customization | Standard Ratios | Tailored to Palette Preference |
Mastering this recipe allows you to bring the energy of a bustling coffee house into your private sanctuary. It is a functional luxury that tastes like home.
Curated Brewing Notes
- Half-and-half has a lower scalding point than regular milk; stop steaming as soon as the pitcher feels hot to the touch to maintain that signature silky, paint-like texture.
- Pre-warm your ceramic or glass vessel with hot water while organizing your station. This prevents thermal shock to the espresso and keeps the heavy cream texture consistent.
- Decant your Irish Cream syrup into a clear glass bottle with a metal pour spout to reduce visual clutter and maintain the elegance of your countertop vignette.
DIY Electric Berry Rebel: Hacking the Famous Energy Drink
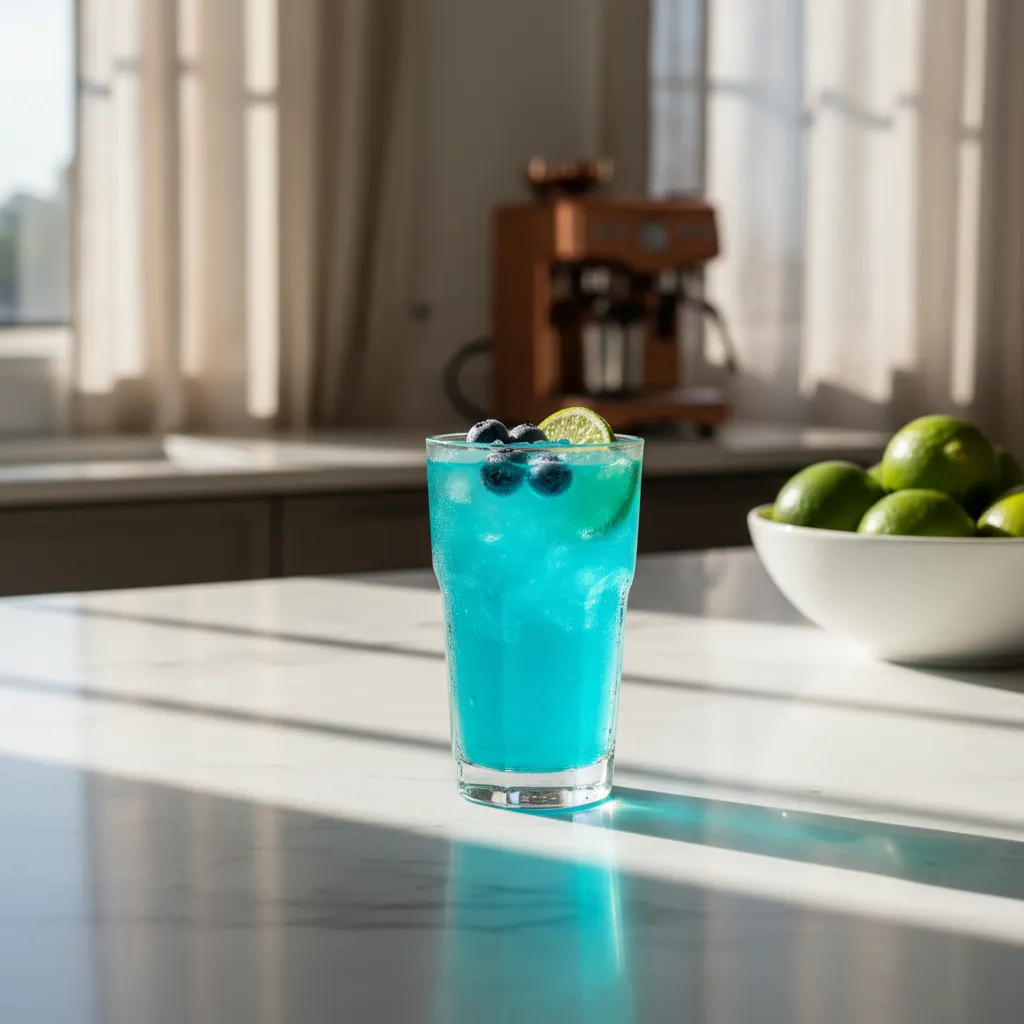
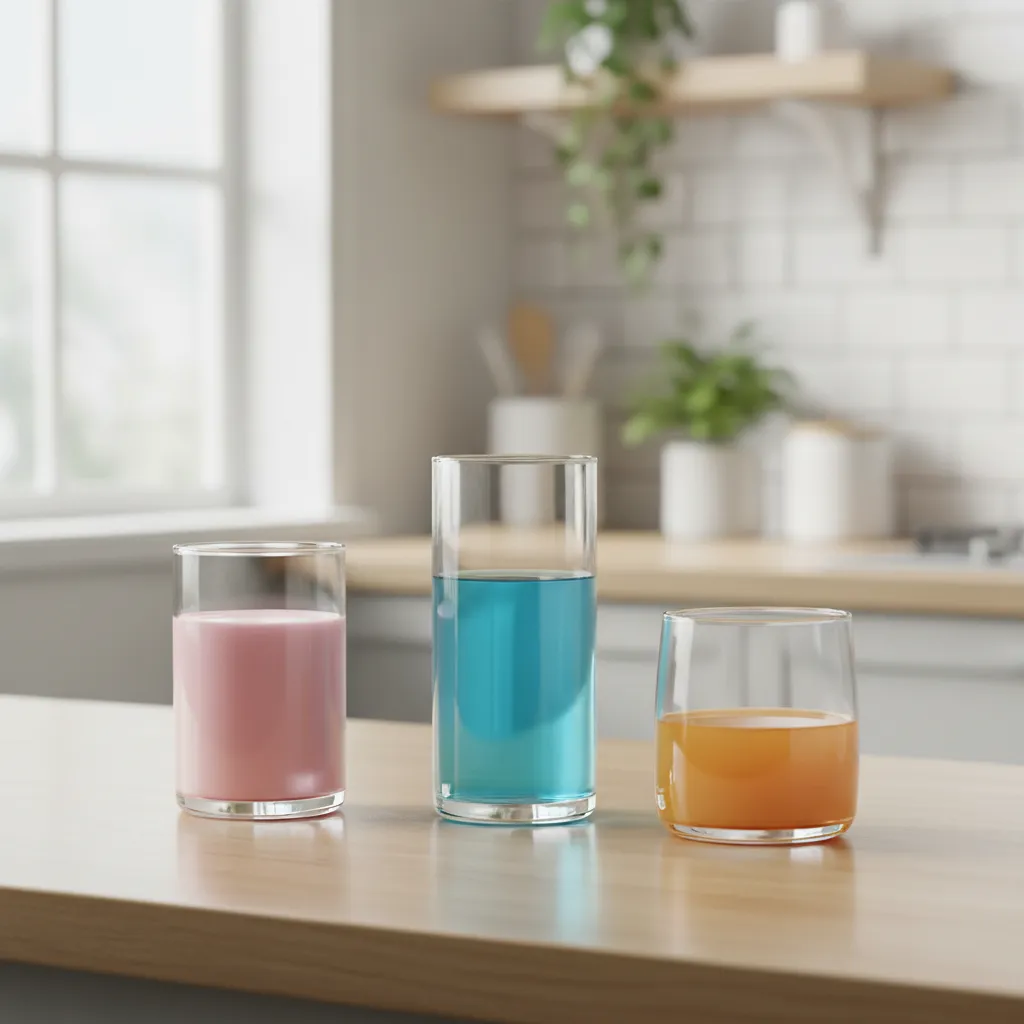
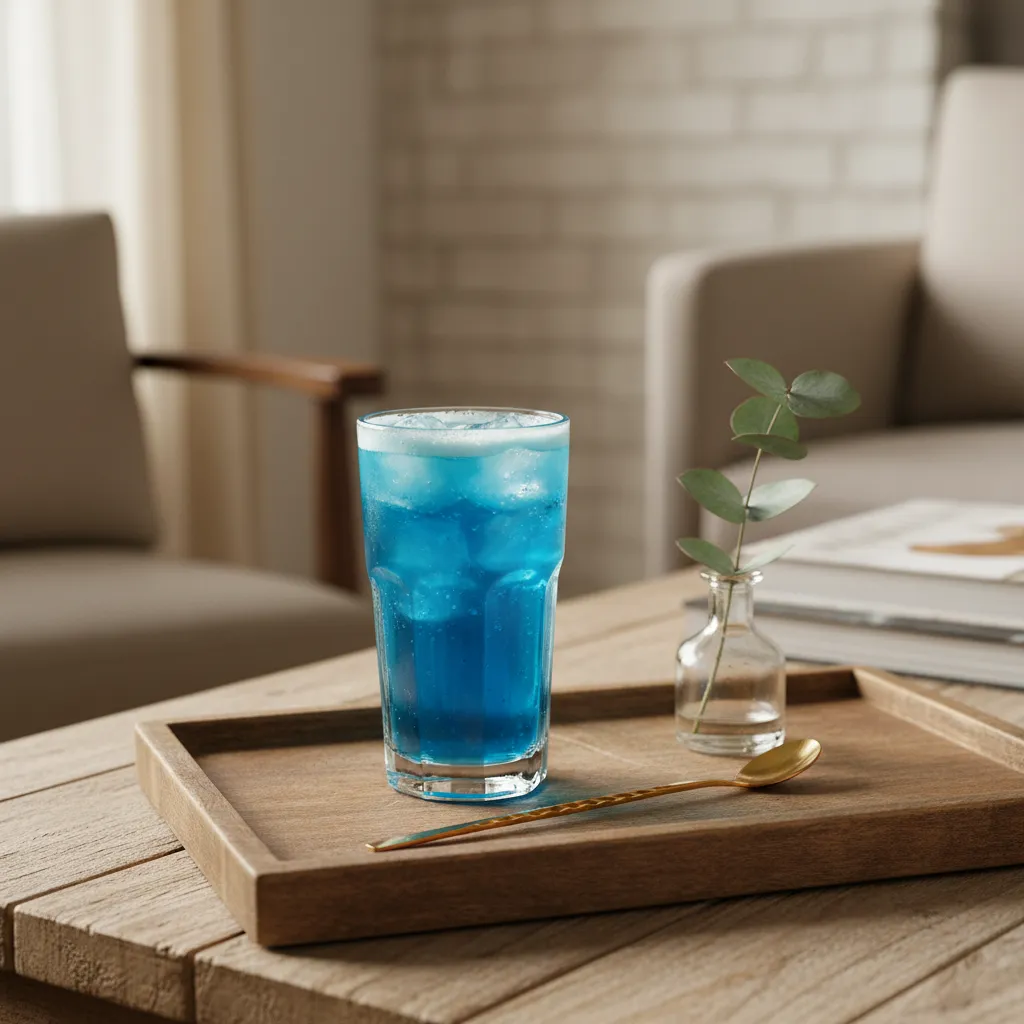
The Electric Berry Rebel is iconic for its shocking neon hue. Recreating this at home transforms your kitchen counter into a trendy café vignette.
The vibrant blue color acts as a visual focal point in the room. It immediately adds a playful pop of color to neutral granite or quartz surfaces.
Aesthetics are vital, but the flavor profile must be precise. You need high-quality syrups to achieve that signature tart and sweet balance.
Many homeowners currently set up dedicated beverage stations. This keeps sticky syrups organized and prevents clutter from spreading across the main cooking zone.
Your home is a canvas; even the drinks you serve add a brushstroke of color and personality to the daily routine.
The Blueprint for the Perfect Pour
Achieving the layered look requires specific glassware. Use a tall, clear highball glass or a double-walled tumbler to showcase the gradient effect.
The transparency of the glass is essential for the visual experience. It allows light to pass through the blue raspberry syrup, making the drink glow.
Functionality dictates the order of operations here. Adding ice first cools the syrups instantly, preventing them from settling at the bottom too quickly.
For a complete sensory experience, pair this citrus-heavy drink with something savory. A salty snack setup, like a styled trail mix bar, balances the sweetness perfectly.
Step-by-Step Assembly
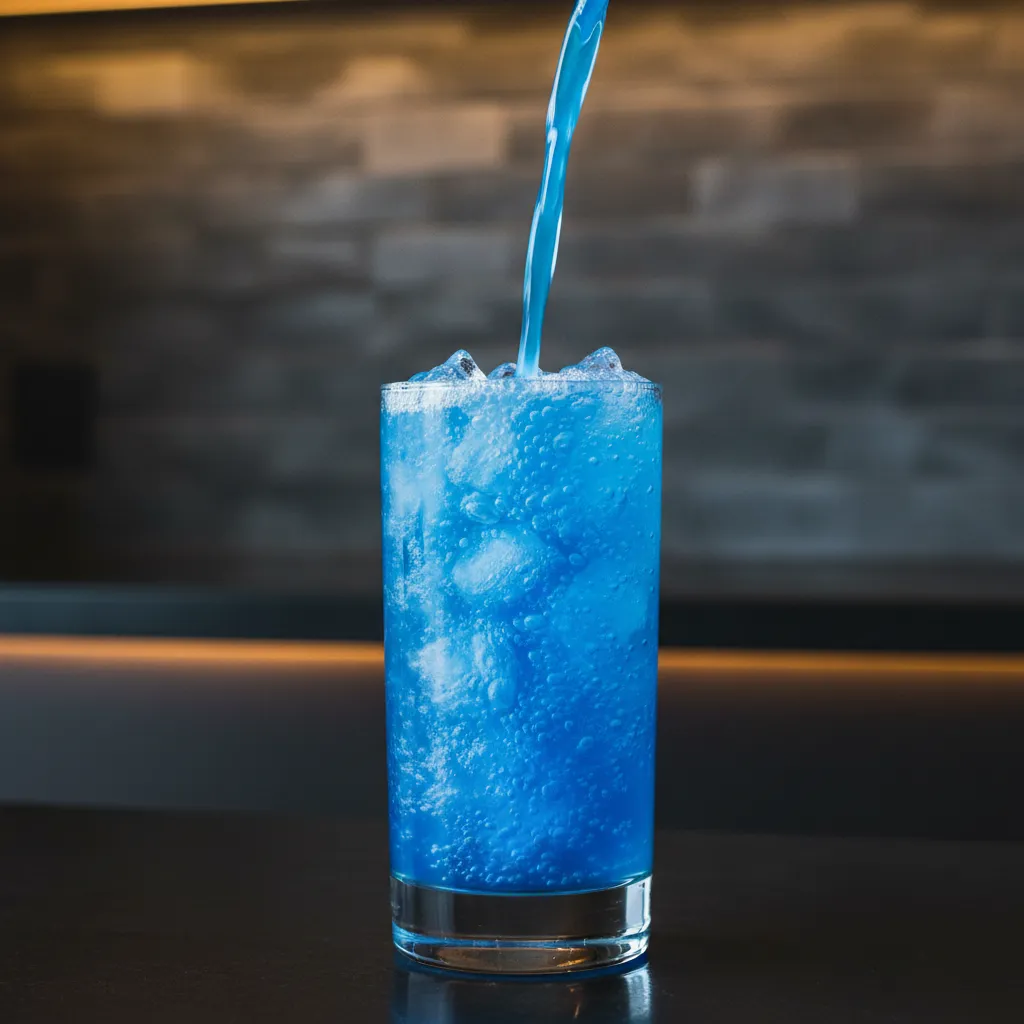
- Prepare the Vessel: Fill a 24oz clear glass or tumbler to the brim with pebble ice. The texture of small ice allows for better chilling.
- The Flavor Base: Pour 1 ounce of Blue Raspberry syrup directly over the ice. This heavy syrup sinks, creating the bottom layer.
- The Citrus Kick: Add 1 ounce of Lime syrup. This cuts through the sugar and adds a refreshing zest that mimics the original recipe.
- The Energy Charge: Slowly pour a standard energy drink (sugar-free or regular) over the top. Pouring slowly maintains the carbonation.
- The Finish: Stir gently with a tall stainless steel straw. This mixes the flavors without destroying the ice structure.
If you prefer natural fruit notes, you can experiment with fresh ingredients. Similar to red grapefruit recipes, fresh citrus juice can replace bottled syrup for a healthier twist.
Elevating the Presentation
Texture plays a huge role in how we perceive taste. The cold, smooth glass contrasts beautifully with the raw, organic texture of a wooden coaster.
Lighting also changes the mood of your beverage station. Under-cabinet lighting captures the bubbles in the drink, creating a sparkling, effervescent look.
Consider the flow of your kitchen when making these drinks. Keep your syrups near the glassware cabinet to minimize movement and improve efficiency.
When designing a beverage center, consider the ‘flow’ of the space. Ensure there is enough counter space for preparation without obstructing the main traffic areas.
National Kitchen & Bath Association, Designing the Perfect Beverage Center
Using reusable accessories adds a touch of sophistication. Gold or copper metal straws elevate the look far beyond the standard plastic straw.
These small details make the DIY experience feel luxurious. It turns a simple energy boost into a curated moment of self-care in your home.
Barista’s Blueprint
- Master the Gradient: To achieve a flawless ombre effect between the blue syrup and the energy drink, pour the top layer slowly over the back of a spoon held just above the ice level.
- DIY Pebble Ice: If you lack a nugget ice maker, crushing standard cubes in a clean canvas bag (known as a Lewis bag) with a mallet perfectly mimics that signature fast-food ice texture.
- Pump Precision: Outfit your syrup bottles with pump dispensers. This keeps your beverage station stick-free and guarantees consistent flavor ratios typically, one pump equals a standard half-ounce shot.
The Picture Perfect Freeze: Blending Chocolate and Caramel Like a Pro
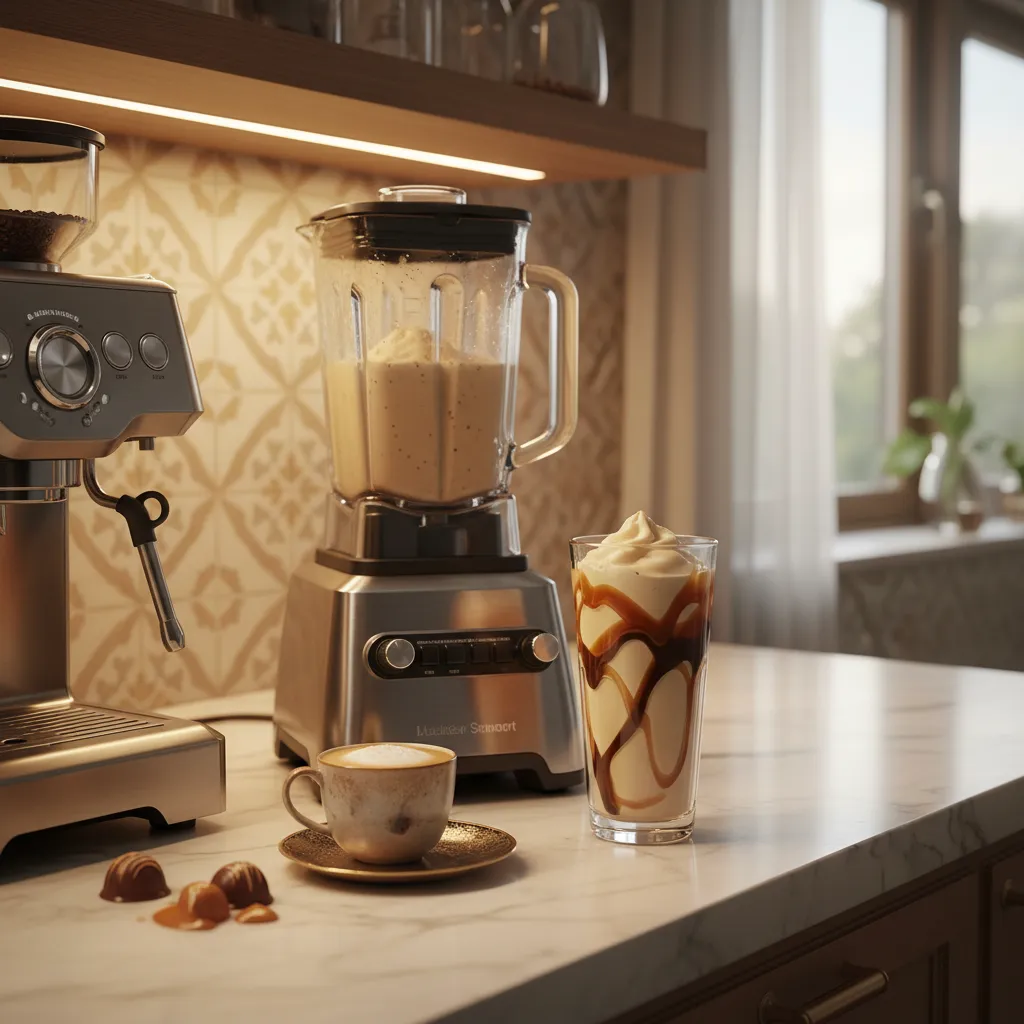
Creating a visually stunning freeze requires the right canvas. The vessel you choose is just as important as the ingredients inside. It frames the aesthetic experience.
Opt for clear, double-walled glass to showcase the drizzle. This mimics the curated look of a high-end cafe right in your kitchen. It transforms the drink into an edible decor piece.
The beauty of a beverage station lies in the details; let your ingredients double as decor.
Styling the Drizzle Station
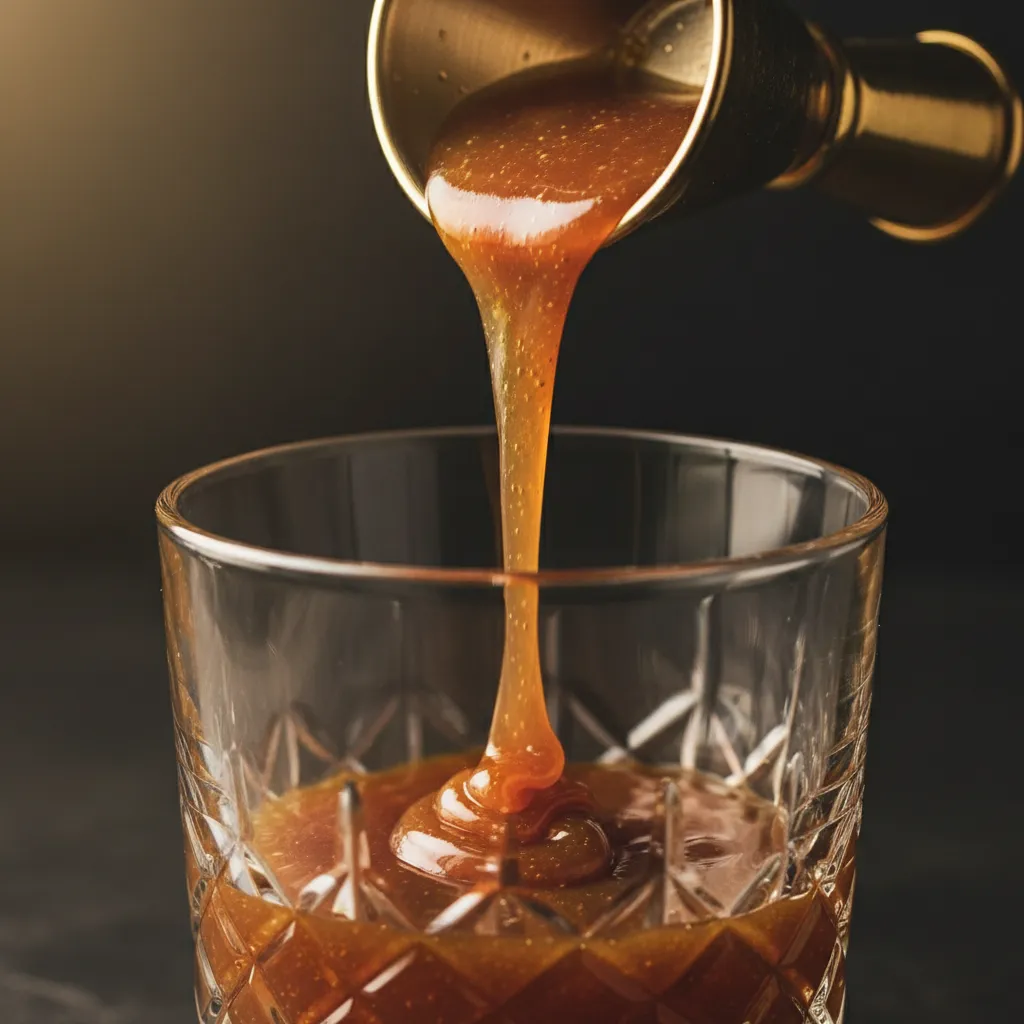
To achieve that professional wall-drizzle, you need accessible tools. Organize your sauces on a small tray. This contains sticky messes and creates a deliberate vignette.
Use squeeze bottles with precision tips for control. Uniform bottles create a cohesive visual flow on your countertop. This eliminates the visual clutter of branded packaging.
For those who love sweet finishes, mastering the texture of your sauces is key. Similar to the detailed crust of a Perfectly Easy Crème Brûlée, the viscosity matters.
To create a functional beverage station, group items by use; mugs, spoons, and sweeteners; to ensure a seamless workflow without crossing the kitchen.
The Editors, House Beautiful
Layering Textures and Flavors
The “Picture Perfect” look relies on contrast. Alternate layers of dark chocolate and golden caramel against the pale frozen coffee. This creates depth and visual interest.
Ensure your lighting highlights these layers. Warm ambient lighting under cabinets makes the amber tones of the caramel glow. It adds a cozy, hygge feel to the preparation process.
Pairing your freeze with a simple treat enhances the moment. Consider serving alongside 55 Crowd-Pleasing No-Bake Recipes for Every Occasion for a relaxed hosting vibe.
Essential Station Elements
A functional station requires specific textures and tools. Here are the elements that blend utility with sophisticated design.
| Item | Material Choice | Design Purpose |
|---|---|---|
| Blender Mat | Rubber or Cork | Dampens noise and grounds the appliance visually. |
| Drizzle Spoon | Gold or Matte Black | Adds a metallic accent while aiding precision. |
| Straw Holder | Ceramic Canister | Hides clutter while keeping tools upright. |
| Napkin Tray | Woven Rattan | Introduces organic warmth to hard counter surfaces. |
The Barista’s Secret
- Chill your double-walled glass in the freezer for 10 minutes before assembling; the cold surface shocks the sauce, helping the drizzle cling to the sides for that gravity-defying, photo-ready look.
- Swap branded plastic containers for matching precision-tip squeeze bottles to eliminate visual clutter and gain total control over your artistic swirls.
- Anchor your syrup station with a small marble or ceramic tray it creates a deliberate design vignette while protecting your counters from sticky drips.
Milk Wars: Rating Oat and Almond Alternatives Against Standard Breve Texture
The signature Dutch Bros experience relies heavily on the “breve” base. This mix of half-and-half creates a luxurious, velvety mouthfeel.
Replicating this texture is the key to a successful DIY drink. The fat content in breve coats the palate and balances the acidity of espresso.
However, modern home cafes often require plant-based options. We tested the top contenders to see which liquid gold performs best in your cup.
The texture of your milk determines the luxury of your latte; choose a base that holds the foam and carries the flavor.
The Oat Milk Contender
Oat milk is currently the strongest rival to traditional dairy. Its natural starchiness provides a spatial density similar to whole milk.
When steamed, oat milk creates a stable micro-foam. This allows for a smooth, glossy finish that mimics the aesthetic of a coffee shop pour.
The flavor profile is slightly sweet and grainy. This pairs exceptionally well with toasted flavors like caramel or the nuttiness of hazelnut.
For those exploring fruitier pairings, consider how sweetness interacts with acidity. You can find inspiration in Red Grapefruit Recipes Healthy: Broiled Perfection for balancing tart notes.
The Almond Milk Alternative
Almond milk brings a distinct aesthetic and flavor to the table. It is significantly thinner than breve, resulting in a silkier, lighter drink.
The nutty undertones are prominent. This adds a layer of complexity to chocolate-based mochas but may clash with delicate fruit syrups.
Functionality is a challenge here. Almond milk can separate when heated too quickly, disrupting the visual flow of your beverage vignette.
Almond milk has a tendency to curdle in high-acidity coffee due to temperature shock. Warm the milk slightly before combining to maintain a smooth consistency.
The Editors, Bon Appétit
Texture and Froth Comparison
Choosing the right base affects both the visual presentation and the sip. Review this comparison to select the right milk for your recipe.
| Milk Base | Froth Stability | Texture Profile | Best Flavor Pairing |
|---|---|---|---|
| Breve (Half & Half) | High / Dense | Velvet, Heavy | Caramel, White Chocolate |
| Oat Milk | Medium / Creamy | Smooth, Thick | Cookie Dough, Vanilla |
| Almond Milk | Low / Airy | Silky, Thin | Dark Chocolate, Coconut |
| Soy Milk | High / Firm | Creamy, Chalky | Spiced Chai, Cinnamon |
If you are hosting a gathering, texture matters. A well-crafted drink pairs perfectly with 55 Crowd-Pleasing No-Bake Recipes for Every Occasion for a complete sensory experience.
Ultimately, the choice depends on your desired atmosphere. Choose breve for indulgence, oat for creaminess, or almond for a lighter touch.
Barista Insider Secrets
- Look for ‘Barista Series’ labeling when buying plant-based alternatives; these versions have higher fat contents specifically formulated to mimic the velvety mouthfeel of breve.
- Prevent almond milk from curdling in acidic roasts by tempering the liquid warm the milk slightly before pouring it into hot espresso to avoid temperature shock.
- Shake oat milk cartons vigorously before use; the natural starches and lipids settle quickly, and remixing them is essential for achieving a glossy, stable micro-foam.
Elevating Your Daily Ritual
Bringing the authentic coffeehouse vibe home is about mastering the details. It turns a simple morning drink into a moment of daily luxury.
Remember the golden scoop rule: one ounce of flavor is all you need for perfect balance. This keeps the coffee notes distinct and refined.
Respect the mix lines to ensure your ice floats perfectly. It guarantees the drink looks as sophisticated and intentional as it tastes.
With these precise ratios, your kitchen becomes a true sanctuary of flavor and style. Enjoy the art of the pour.
The Home Barista’s Design Guide
Whole milk offers a rich, creamy base. However, oat milk creates a beautiful, frothy texture that looks stunning in clear glassware.
You can, though a metal jigger adds style. Functionally, two tablespoons equal one standard Dutch Bros scoop of flavor.
Whip heavy cream with a splash of vanilla and sugar until it thickens but remains pourable. Gently float it on top for that signature finish.
You likely ignored the mix line. Stop your liquid at the halfway mark of the cup, then pack the rest completely with ice for instant chilling.