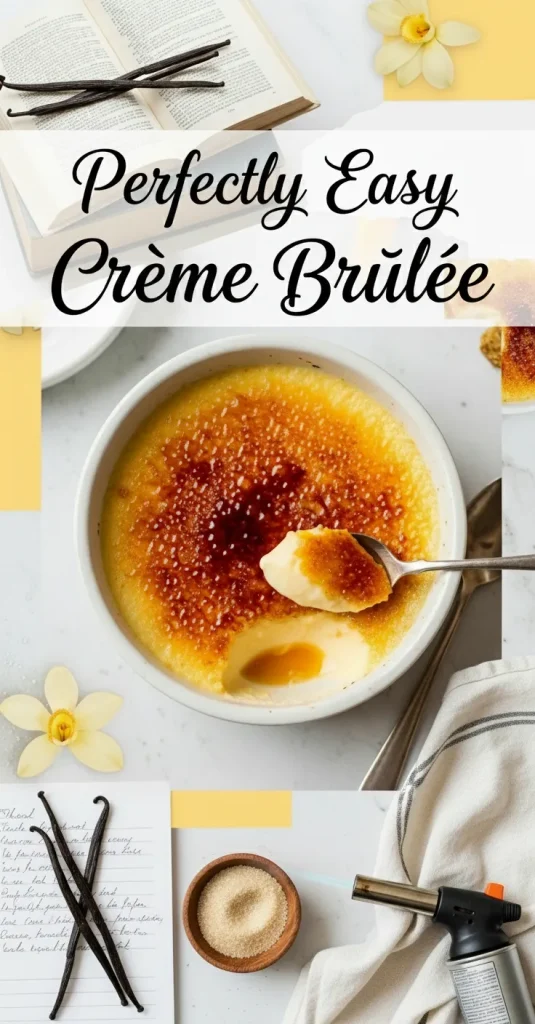
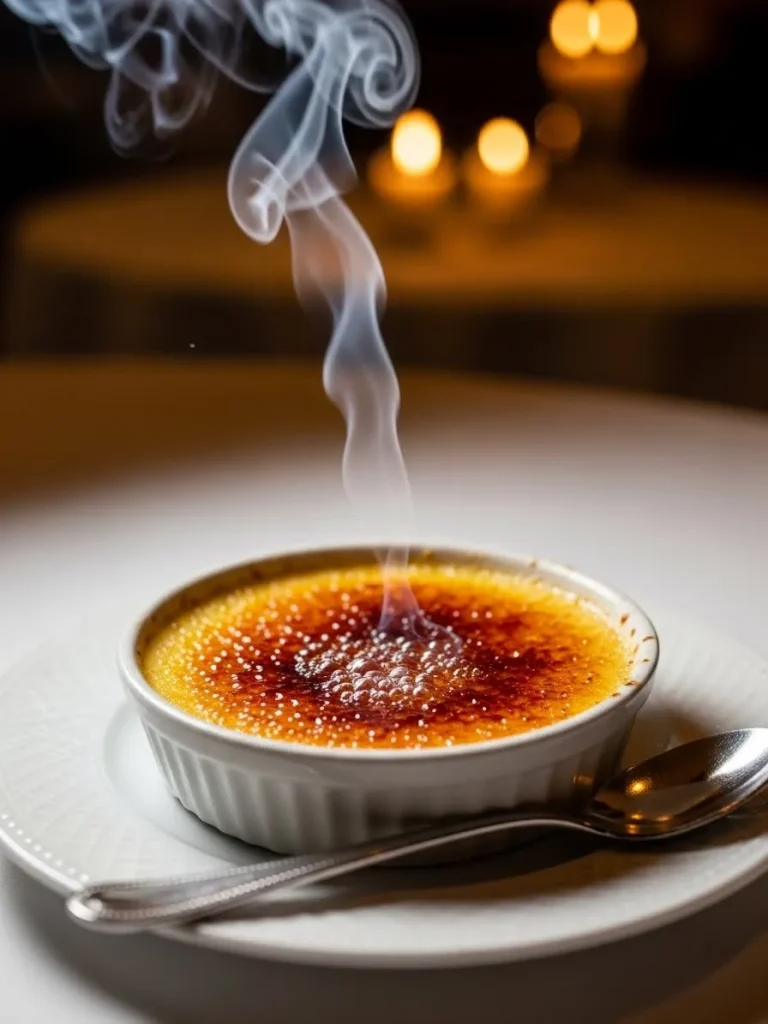
At its core, this dessert is a study in the harmony of opposites. You have the contrast between the cold custard and the warm sugar topping.There is the audible snap of the caramelized crust followed by the silence of silky cream.
This article will guide you through every step of creating this masterpiece in your own kitchen. We will strip away the mystery and focus on the fundamental techniques that guarantee success. By the end, you will see why this is considered the king of all custard desserts.
A Legacy of Burnt Cream

The history of this dish is as rich as its flavor profile.While we primarily associate it with French cuisine, several countries claim its invention.England, Spain, and France have all contributed to the evolution of this timeless treat.
In the seventeenth century, a French chef named François Massialot published the first known recipe.He described a dessert featuring a disk of sugar that was heated until it turned into a hard shell.The name literally means burnt cream, which perfectly describes the final preparation step.
In England, Trinity College in Cambridge is famous for its version known as burnt cream.Legend says that a student offered the recipe to the kitchen staff in the late eighteen hundreds.It became so popular that it is still a signature dish of the college today.
The Chemistry of Cream and Eggs

To master the custard, one must understand what happens behind the scenes. Crème brûlée is a baked custard that relies on the coagulation of egg proteins for structure. When egg yolks are heated slowly with cream, they form a delicate and stable matrix.
The heavy cream provides the fat necessary to keep the custard tender and moist. Without high fat content, the egg proteins would bond too tightly and become rubbery. The fat acts as a barrier that prevents the proteins from over-coagulating during the bake.
Sugar is also a vital component of the chemical reaction within the custard base. Sugar molecules get in the way of the egg proteins as they try to link together. This interference is actually a good thing because it results in a much smoother texture.
Sourcing Your Four Pillar Ingredients
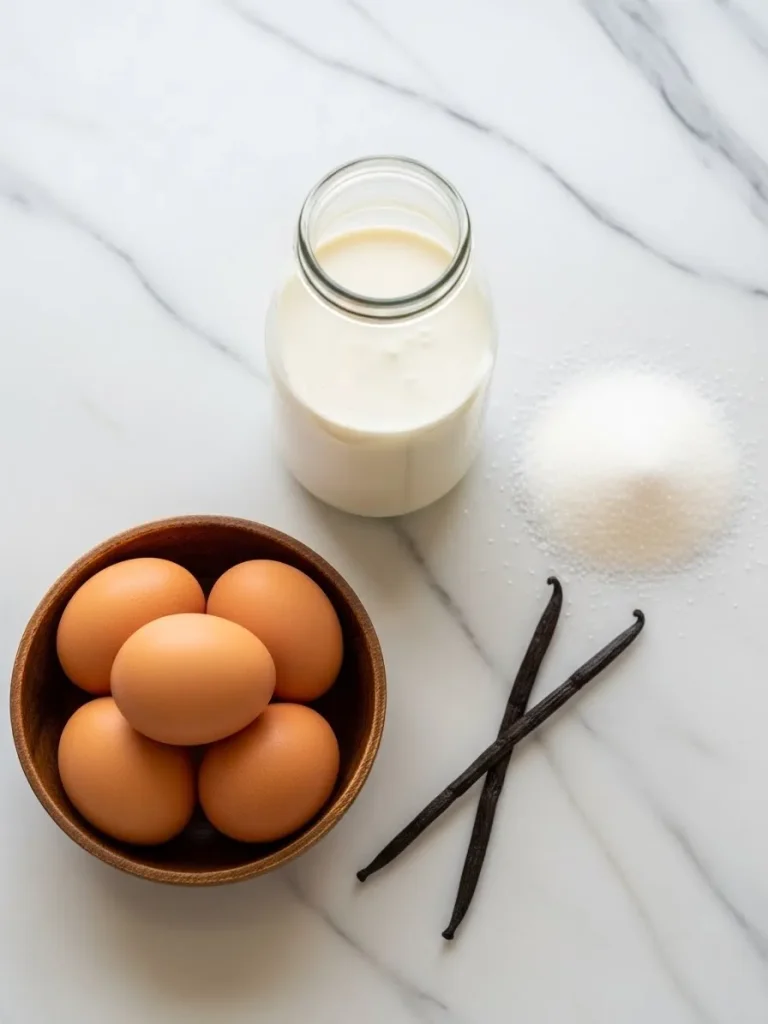
You only need four basic ingredients to make a world-class crème brûlée. Because the list is so short, there is no room for low-quality components. The excellence of your final product depends entirely on the quality of what you buy.
The Superiority of Heavy Cream
The foundation of every great custard is high-quality heavy whipping cream. Look for a brand that has at least thirty-six percent milk fat for the best results.This fat content is what creates the luxurious mouthfeel that defines the dish.
Avoid using half-and-half or whole milk if you want a restaurant-quality set. Lower fat alternatives contain too much water, which can lead to a runny or weeping custard. Fresh cream from a local dairy will always provide a cleaner and more vibrant flavor.
The Importance of Fresh Egg Yolks
Egg yolks are responsible for the thickening power and the rich color of the dessert. Large, pasture-raised eggs typically have brighter yolks and a deeper, more savory flavor. Ensure your eggs are fresh, as older eggs can lose some of their structural integrity.
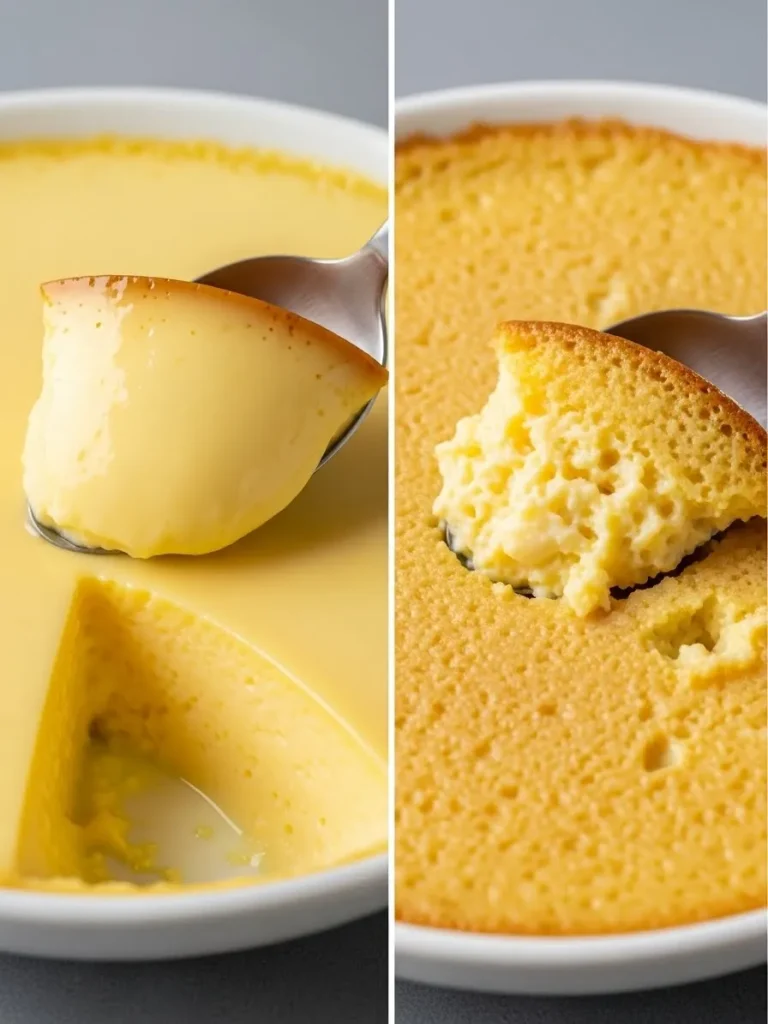
When separating your eggs, be very careful not to let any white slip into the bowl. Egg whites contain different proteins that set at lower temperatures than yolks. Including the whites will result in a firmer, less creamy texture that feels more like a flan.
Selecting the Right Sugar
Granulated white sugar is the standard choice for both the custard and the topping. In the custard, it dissolves quickly and helps to stabilize the egg yolks during tempering. It provides the necessary sweetness without introducing any competing flavors like molasses.
For the crust, some people prefer superfine sugar because it melts more rapidly under heat. However, standard granulated sugar works perfectly well and is easier to find in most stores. Avoid using brown sugar for the topping, as it contains too much moisture to harden correctly.
Vanilla and Flavor Depth
Vanilla is the traditional aromatic that brings the entire dish to life. Using a whole vanilla bean is the gold standard for any serious home pastry chef. The bean provides a floral complexity and beautiful black specks that look stunning.
If a whole bean is not available, use a high-quality vanilla bean paste instead. The paste contains the seeds and offers a much stronger flavor than standard extracts. Only use pure vanilla extract if you cannot find the bean or the paste for your recipe.
Gathering Your Kitchen Tools
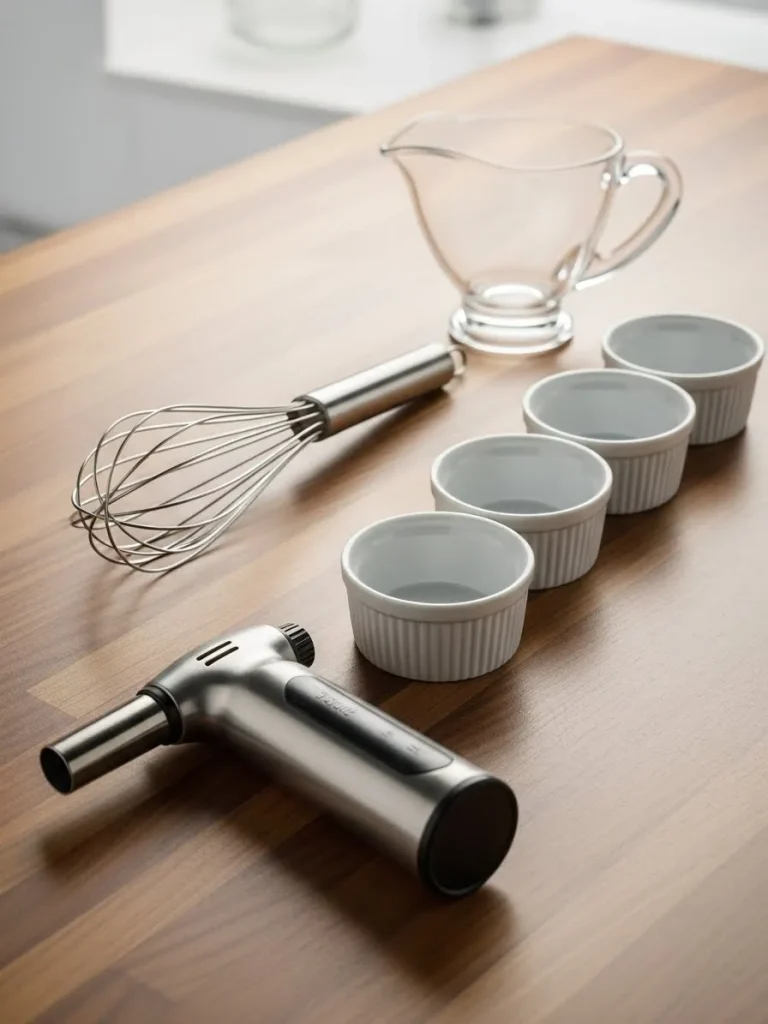
Having the right equipment is just as important as having the right ingredients. You do not need many items, but the ones you use should be specific to the task. Proper tools will make the process much more efficient and far more enjoyable.
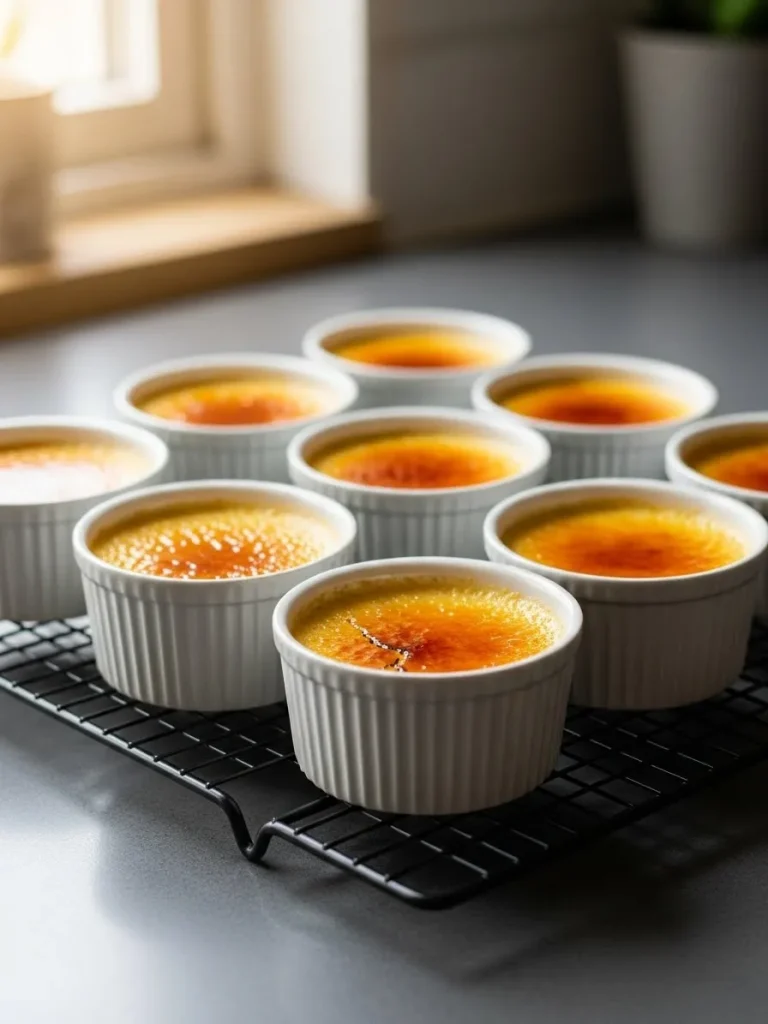
The Geometry of Ramekins
Ramekins are the small ceramic dishes used to bake and serve the individual custards. The best ramekins for crème brûlée are shallow and wide rather than deep and narrow. A shallow dish provides a larger surface area for the sugar crust to form.
Deep ramekins often lead to uneven cooking where the center remains liquid while the edges burn. Wide dishes allow the custard to cook evenly and provide a better ratio of crunch to cream. Choose dishes that hold about four to six ounces of liquid for the perfect portion size.
Why You Need a Kitchen Torch
While some recipes suggest using a broiler, a small butane torch is much more effective. A broiler provides ambient heat that can warm up the entire dish and melt the custard. A torch provides a directed flame that caramelizes the sugar without affecting the cream.
Modern kitchen torches are affordable, safe, and very easy to refill with butane. They allow you to see the sugar changing color in real time, giving you total control. This tool is the only way to achieve that perfectly uniform, glass-like golden crust.
The Role of the Roasting Pan
A large roasting pan is needed to hold the ramekins during the baking process. The pan must have high sides to contain the water bath that protects the custard. Standard baking sheets are not deep enough and will cause water to spill into the oven.
Stainless steel or ceramic roasting pans are both excellent choices for this task. Place a folded kitchen towel at the bottom of the pan to act as a cushion for the dishes. This prevents the ramekins from sliding and insulates them from the direct heat of the metal.
Mastering the Preparation Phase
The first step in our effortless method is to get your oven and pan ready. Preheat your oven to three hundred degrees Fahrenheit to ensure a gentle baking environment. Place your ramekins into the roasting pan on top of the folded kitchen towel.
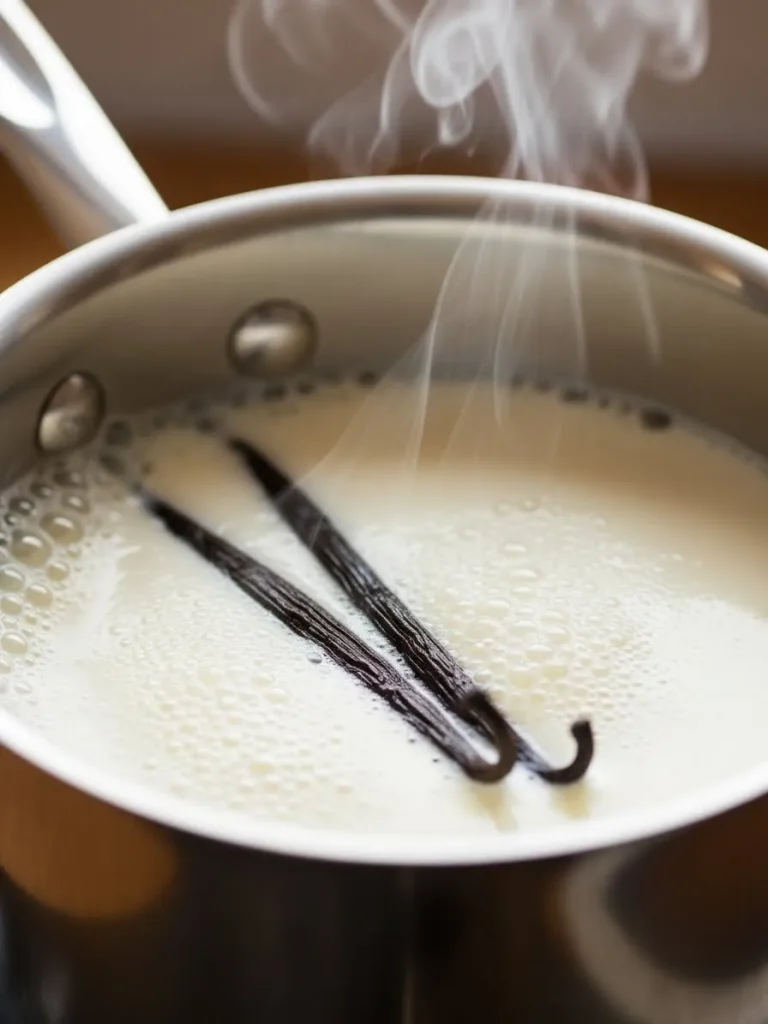
Measure out your heavy cream and pour it into a medium saucepan over medium heat. Split your vanilla bean and scrape the seeds into the cream, then add the pod as well. Warm the cream until you see small bubbles forming at the edges but do not let it boil.
Heating the cream serves two purposes: it infuses the vanilla and speeds up the baking. Once the cream is hot, remove the vanilla pod and set the pan aside for a moment. Now you are ready to move on to the egg yolks and sugar mixture.
The Science of Whisking and Tempering
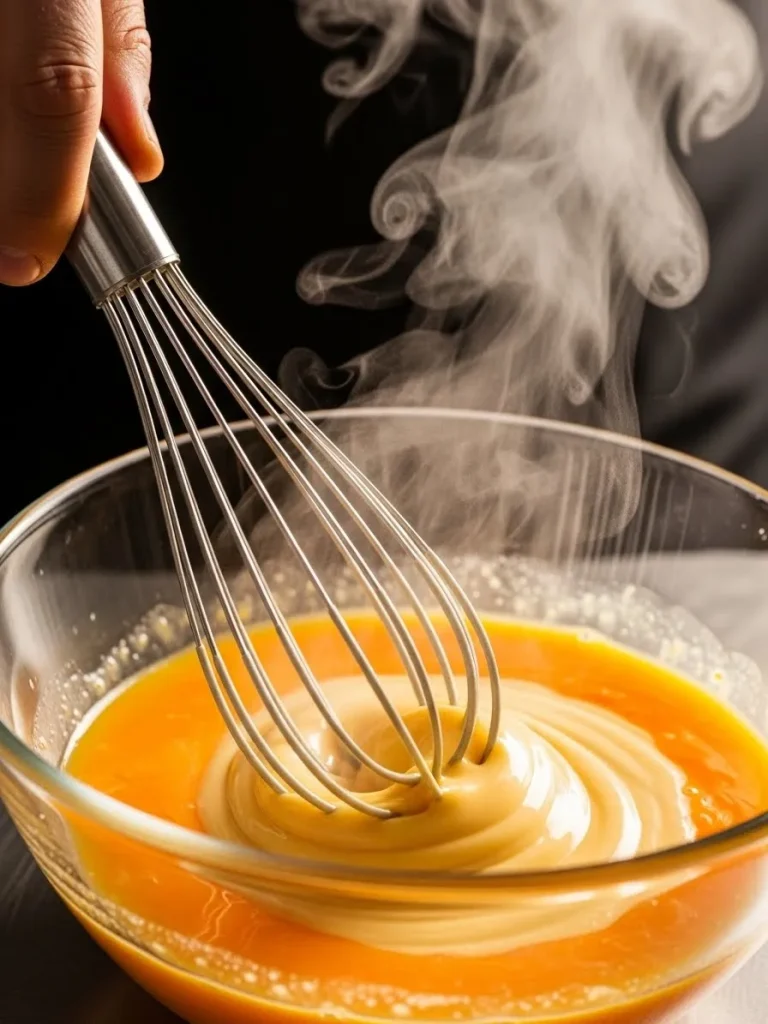
In a large mixing bowl, combine your egg yolks and your measured granulated sugar. Whisk them together gently until the sugar is dissolved and the mixture is pale yellow. Do not whisk too hard, as you want to avoid creating a large amount of foam or air.
Now comes the most critical part of the process, which is known as tempering. Slowly pour a small amount of the hot cream into the egg yolk mixture while whisking. This raises the temperature of the eggs gradually so they do not scramble or clump.
Continue to add the cream in a steady stream, whisking the entire time until it is all in. The resulting mixture should be thin, smooth, and very aromatic from the vanilla. If you notice any foam on top, you can skim it off with a spoon or a piece of paper towel.
The Importance of Straining
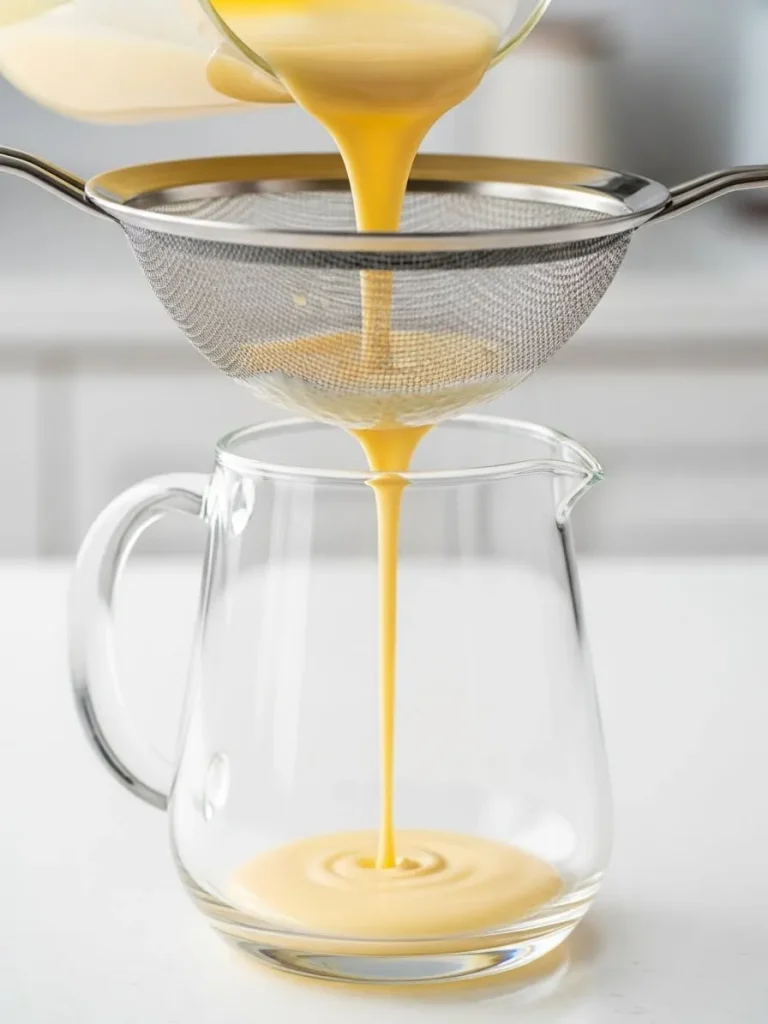
For the most professional results, always strain your custard base before baking. Pour the mixture through a fine-mesh sieve into a clean pitcher or a large measuring cup. This step removes any tiny bits of cooked egg or vanilla pod that might remain.
Straining also helps to eliminate any air bubbles that were created during the whisking process. A smooth, bubble-free liquid will result in a perfectly flat surface once it has finished baking. This flat surface is essential for getting an even layer of sugar during the torching phase.
Once strained, carefully pour the custard into your ramekins, filling them almost to the top. You should leave about an eighth of an inch of space to allow for the sugar later. Now your roasting pan is ready to be filled with water and placed in the oven.
Baking with a Water Bath
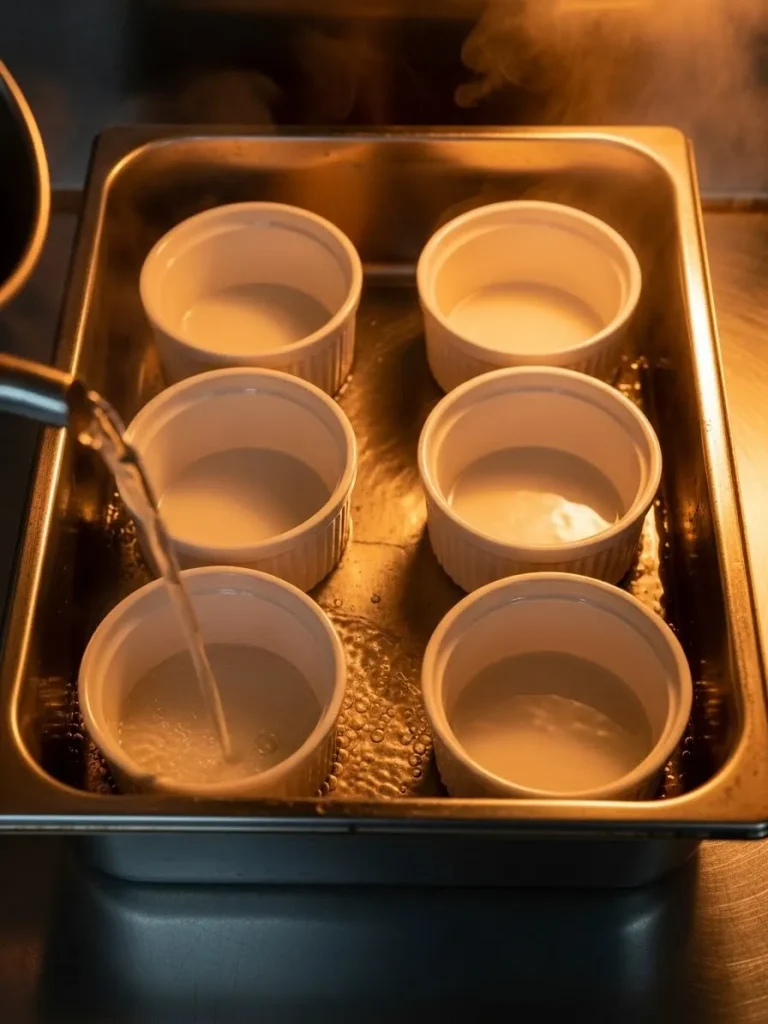
The water bath, or bain-marie, is what allows the custard to set without curdling. Boil a kettle of water and carefully pour it into the roasting pan around the dishes. The water should reach about halfway up the sides of the ramekins for the best protection.
The water acts as an insulator, keeping the temperature of the custard at a constant level. Because water cannot exceed its boiling point, it prevents the custard from getting too hot. This gentle environment is the secret to the velvety texture found in professional kitchens.
Slide the roasting pan onto the middle rack of your preheated oven with great care. Bake the custards for about thirty to thirty-five minutes depending on your oven. You are looking for a specific visual cue to know exactly when the dishes are done.
The Visual Jiggliness Test
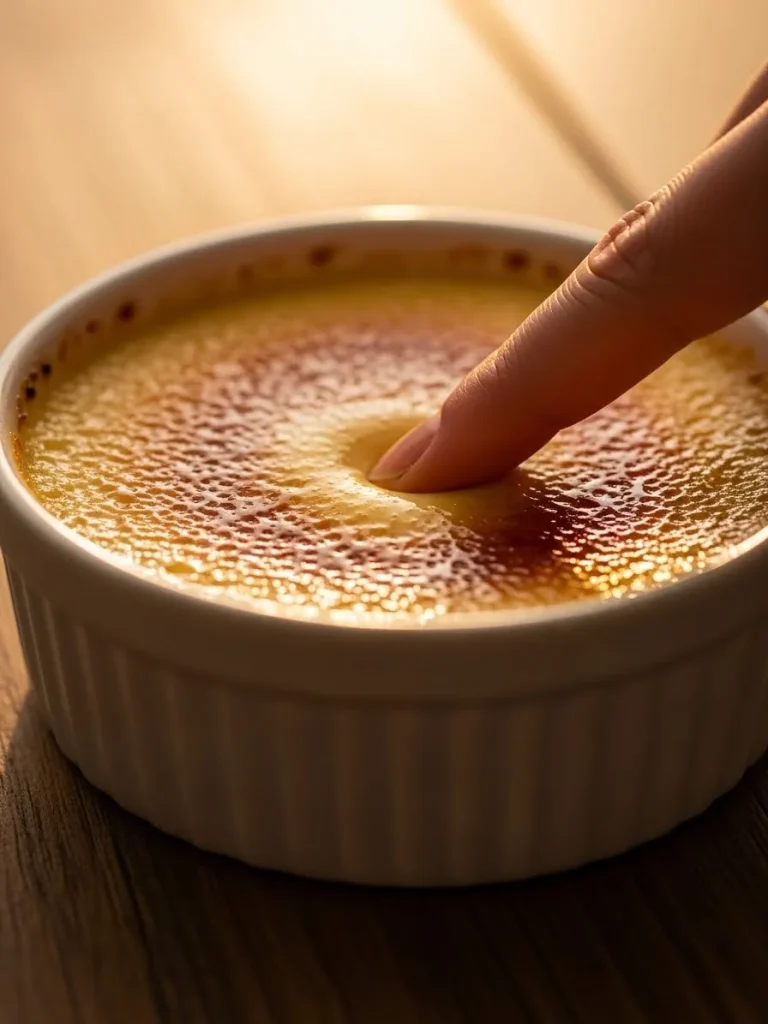
Knowing when to pull the custards out of the oven is the most difficult part for beginners. The edges of the custard should be set and appear slightly firm to the touch. However, the center of the dish should still have a noticeable jiggle when you shake the pan.
It should look similar to a set gelatin dessert that moves slightly but does not ripple. If the center is firm, you have overcooked the custard and it may become grainy. If the center is completely liquid, it needs a few more minutes in the oven to set properly.
Remember that the custards will continue to cook slightly even after they are removed. The residual heat in the ceramic dishes will help the centers reach their final consistency. This is why pulling them out while they are still slightly jiggly is absolutely necessary.
The Necessity of Proper Cooling
Once the baking is finished, remove the roasting pan from the oven and let it sit. Allow the ramekins to remain in the water bath for about ten minutes to cool slowly. Removing them too quickly can cause the temperature to drop too fast, leading to cracks.
Carefully lift each ramekin out of the water and place it on a wire cooling rack. Let the custards reach room temperature before you attempt to place them in the fridge. This slow transition is vital for maintaining the smooth and glossy surface of the cream.
If you put hot ramekins directly into the refrigerator, condensation will form on the top. This moisture will ruin the texture and make it impossible to get a good sugar crust later. Patience during the cooling phase is a hallmark of a successful and effortless dessert.
The Long Chilling Process
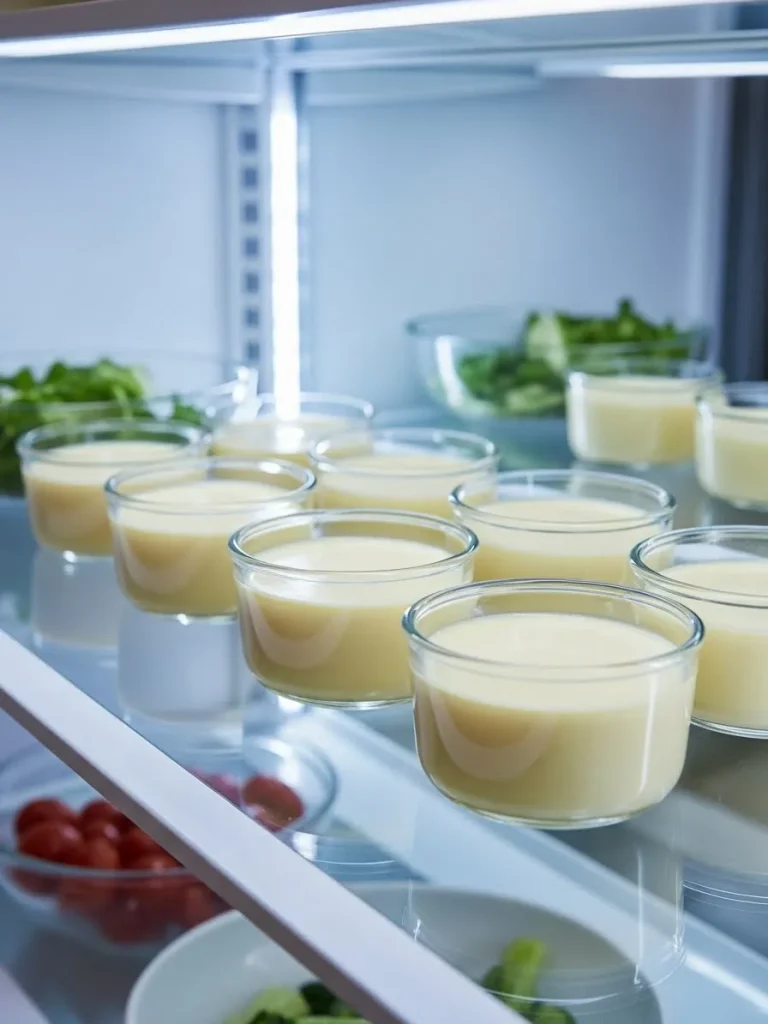
Crème brûlée must be completely cold before it can be finished with the sugar topping. Place the room-temperature ramekins into the refrigerator for at least four hours. For the best possible flavor and texture, let them chill overnight in the back of the fridge.
Do not cover the ramekins with plastic wrap for the first two hours of the chilling process. Any remaining heat can create steam under the plastic, which will drip onto the custard. Once they are thoroughly chilled, you can cover them tightly to prevent any fridge odors.
Chilling allows the fats to solidify and the vanilla flavor to fully permeate the cream. It also ensures that the custard is cold enough to withstand the heat of the torch later. A cold base is what makes the contrast with the hot sugar crust so delightful for the diner.
Prepping for the Final Torch
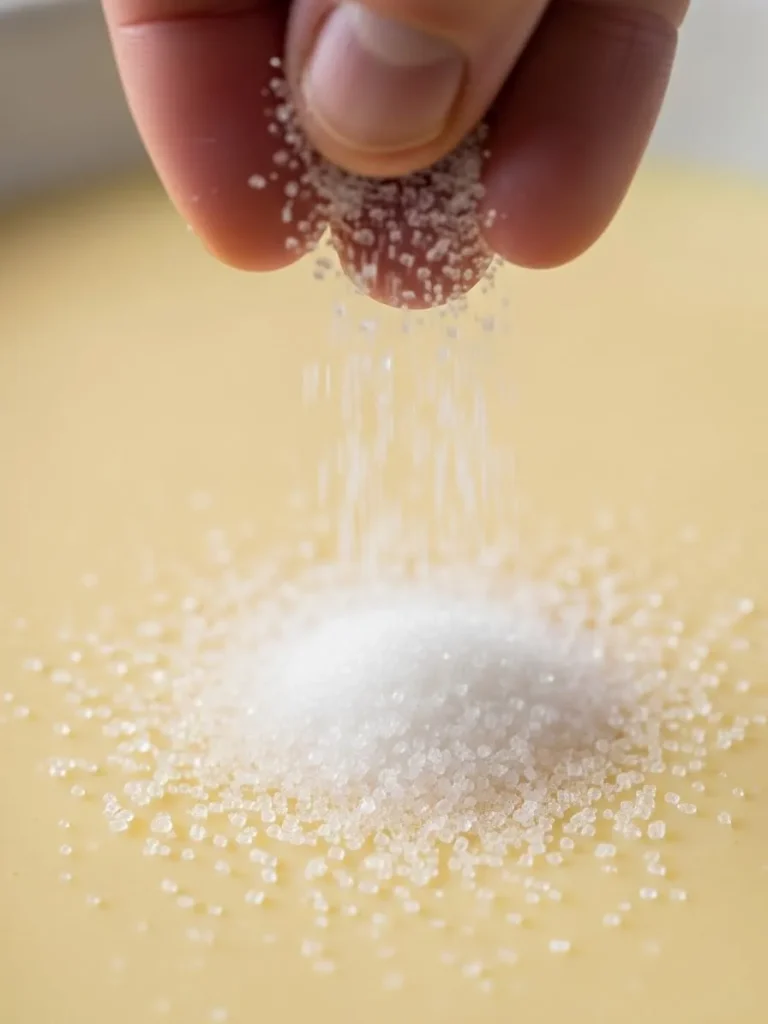
When you are ready to serve the dessert, remove the ramekins from the refrigerator. Use a clean paper towel to gently dab any moisture or condensation from the surface. The custard must be dry for the sugar to melt and caramelize in a uniform manner.
Measure out about one teaspoon of granulated sugar for each of the chilled ramekins. Sprinkle the sugar over the top of the custard in an even and thin layer. Tilt and tap the dish to ensure the sugar covers the entire surface from edge to edge.
Pour any excess sugar back into your container so the layer is not too thick. A thin layer of sugar will melt quickly and create a delicate, glass-like shell. If the sugar is too thick, it will be hard to break and may have an unpleasant texture.
The Technique of Caramelization
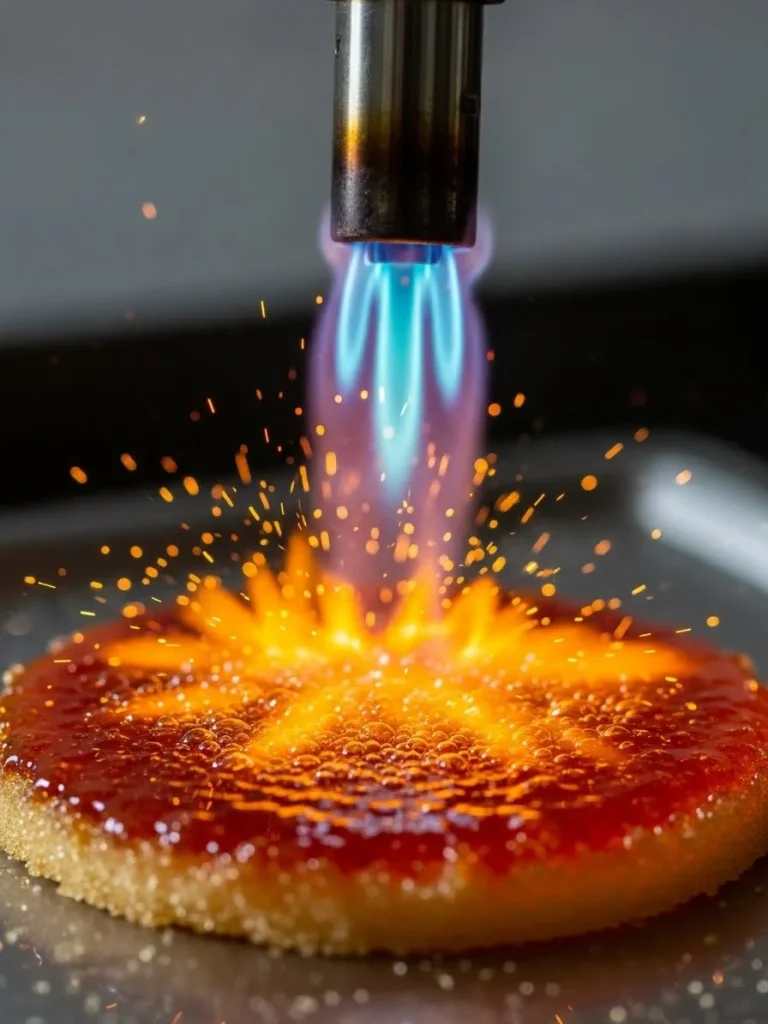
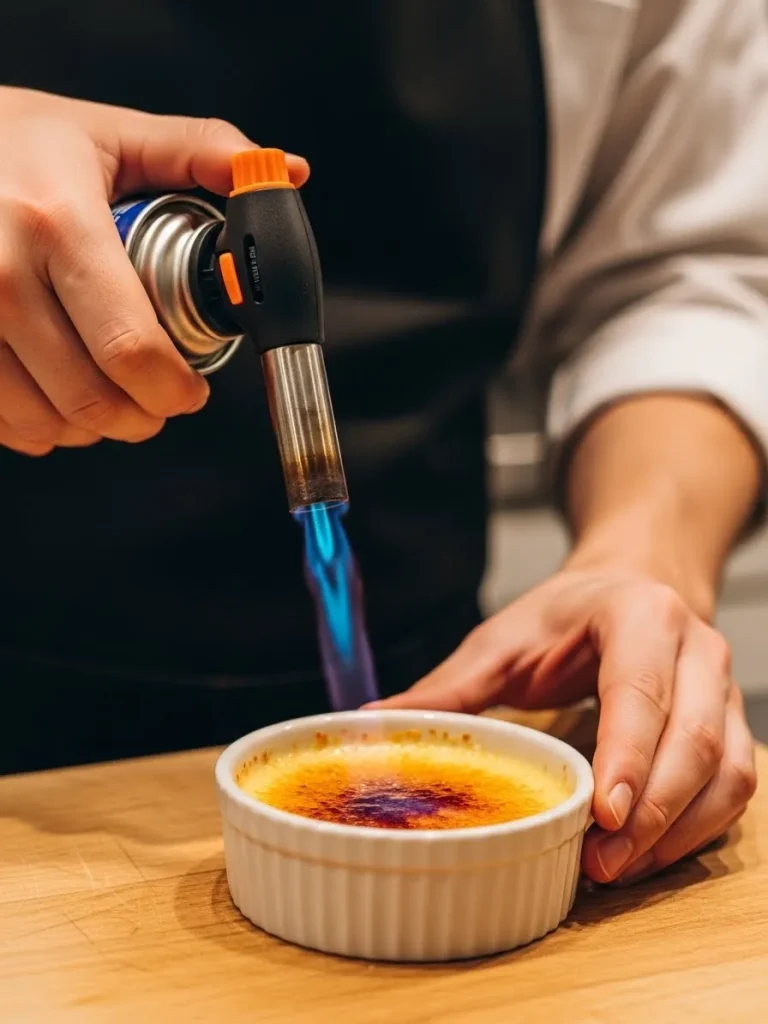
Ignite your kitchen torch and hold the flame a few inches away from the sugar surface. Move the flame in a constant, slow, and circular motion across the entire ramekin. You will see the white sugar crystals turn into a clear liquid and then start to bubble.
As the sugar continues to heat, it will begin to turn a light golden color and then amber. The goal is to reach a deep, reddish-brown color that looks like polished mahogany. Be careful not to keep the flame in one spot for too long or the sugar will burn and turn black.
The smell of the melting sugar will be intensely sweet and slightly toasted like toasted marshmallows. Once the sugar has reached your desired color, move on to the next ramekin immediately. Let the caramelized sugar sit and harden for about two minutes before serving to your guests.
The Importance of Serving Immediately
The magic of crème brûlée is temporary and begins to fade the moment the sugar is torched. Sugar is naturally hygroscopic, meaning it absorbs moisture from both the air and the custard. If the dish sits for too long, the hard sugar shell will eventually turn into a soft syrup.
To ensure your guests experience the signature crack, serve the dessert within twenty minutes. The contrast between the warm, brittle top and the cold, creamy base is at its peak right now. There is no sound more satisfying in the culinary world than the snap of that first spoonful.
If you are hosting a dinner party, torch the sugar in the kitchen just before bringing them out. This ensures that every guest gets the freshest possible version of the classic dessert. It also prevents any accidental melting of the sugar due to the humidity of the dining room.
Exploring Seasonal Flavor Infusions
While the classic vanilla version is a masterpiece, the custard base is very versatile. You can easily adapt this recipe to fit the seasons or the theme of your dinner. The infusion process happens while you are heating the cream on the stovetop.
Bright Citrus Variations
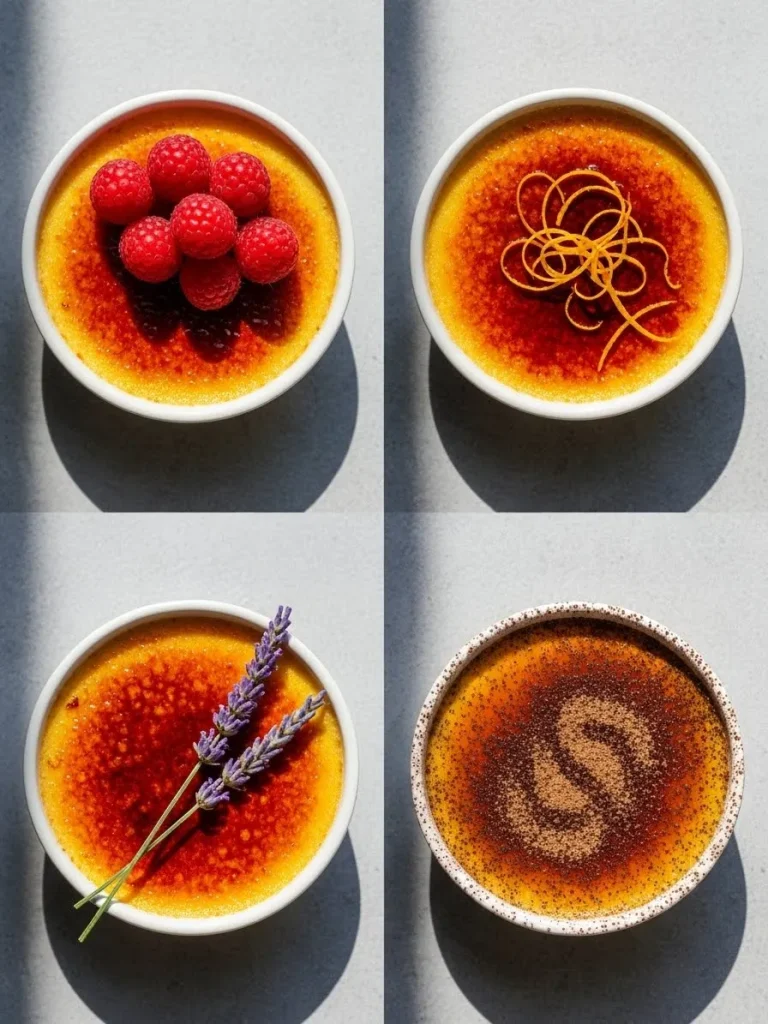
For a summer version, try adding the zest of two large oranges or lemons to the cream.
The citrus oils provide a bright and refreshing note that cuts through the richness.
Be sure to strain the cream through a fine sieve to remove the zest before mixing with eggs.
Lemon and ginger also make a fantastic pairing for a slightly spicy and zesty custard.
These flavors pair beautifully with a garnish of fresh berries or a sprig of mint.
Citrus-infused crème brûlée is often lighter and more approachable after a heavy meal.
Coffee and Mocha Profiles
Coffee lovers can add two tablespoons of crushed espresso beans to the heating cream.
Let the beans steep in the hot liquid for ten minutes to extract their full flavor and color.
Strain the cream thoroughly to ensure no coffee grounds make it into the final custard.
For a mocha version, whisk a small amount of high-quality cocoa powder into the egg yolks.
The combination of coffee and chocolate creates a deep and sophisticated dessert profile.
This variation is particularly popular during the winter months or for holiday celebrations.
Herbal and Floral Notes
Herbal infusions like lavender, rosemary, or thyme can add a modern twist to the dish.
Add a few sprigs of the fresh herb to the cream as it warms and let it steep gently.
Be careful not to over-steep, as some herbs can become bitter or medicinal if left too long.
Lavender crème brûlée is a classic in many high-end restaurants for its floral aroma.
It pairs exceptionally well with a honey-based sugar crust or a garnish of dried flowers.
These botanical notes make the dessert feel very sophisticated and carefully crafted.
Troubleshooting Common Culinary Pitfalls
Even with an effortless method, things can sometimes go wrong in the kitchen. Most issues with crème brûlée are related to temperature control and moisture management. Understanding these problems will help you avoid them in your future baking sessions.
Why is my custard grainy?
A grainy or lumpy texture is almost always a sign that the egg yolks have overcooked. This can happen during the tempering stage if the hot cream is added too quickly. It can also happen in the oven if the temperature is too high or the water bath is missing.
To prevent this, always add the cream in a very slow and steady stream while whisking. Ensure your oven is properly calibrated and that you are using a water bath for protection. If your custard is already grainy, you can sometimes fix it by straining it through a fine cloth.
Why won’t my sugar crust harden?
If your sugar melts into a liquid rather than hardening, there is too much moisture present. Ensure you dab the surface of the cold custard with a paper towel before adding the sugar. Humidity in the air can also play a role, so try to torch the sugar in a dry environment.
Another reason for a soft crust is using the wrong type of sugar for the topping. Brown sugar and some sugar substitutes contain moisture that prevents them from setting. Stick to white granulated sugar or superfine sugar for the most reliable and crunchy results.
Why did my custard crack on top?
Cracks on the surface of the custard are usually caused by cooling the dish too quickly. If you move the ramekins from the hot oven to a cold counter, the custard will contract. This internal stress leads to large cracks that can ruin the visual appeal of the dish.
Always let your custards cool slowly in the roasting pan for a few minutes after baking. Move them to a wire rack at room temperature before placing them in the refrigerator. This gradual transition allows the proteins to settle and prevents any unsightly cracking.
Hosting Tips for a Stress-Free Evening

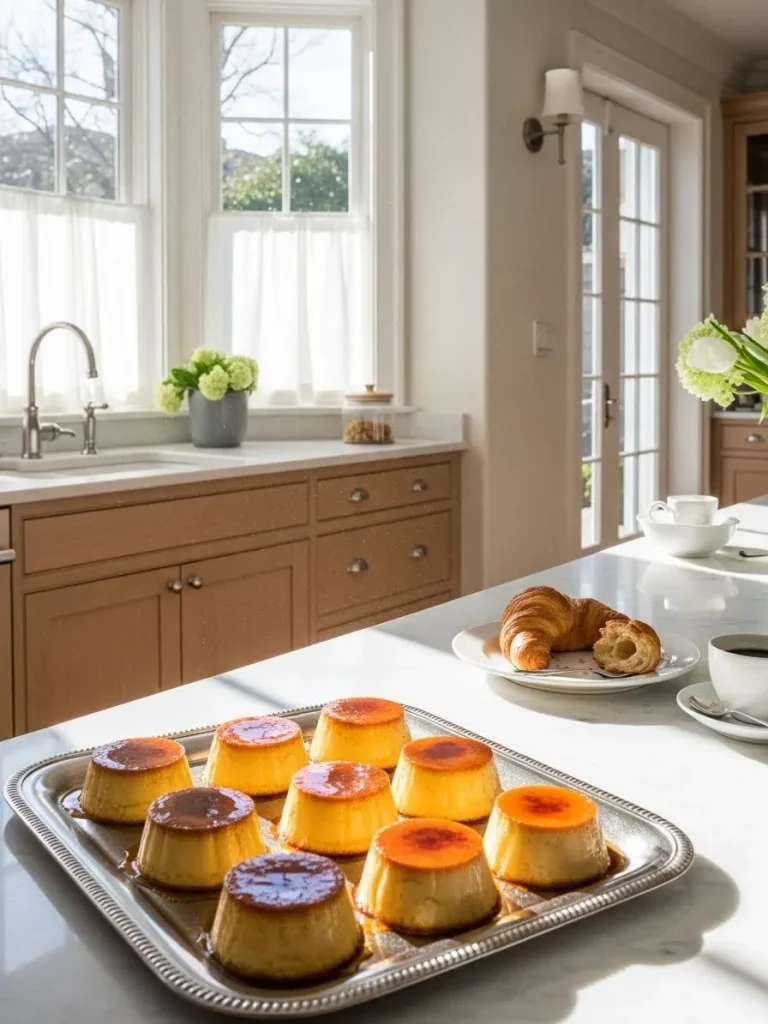
The greatest advantage of crème brûlée is that it can be made almost entirely in advance. You can bake and chill the custards up to two days before your guests actually arrive. This removes all the stress of preparing a complicated dessert at the very last minute.
On the day of your party, all you have to do is torch the sugar and serve. You can even torch the sugar in front of your guests as a form of culinary entertainment. People love watching the flame transform the white sugar into a golden, bubbling crust.
Make sure you have enough ramekins for everyone and a few extras just in case. Individual portions make serving incredibly easy and ensure everyone gets a perfect dish. It is a dessert that looks like it took hours of work but was actually very manageable.
The Sensory Joy of the First Bite
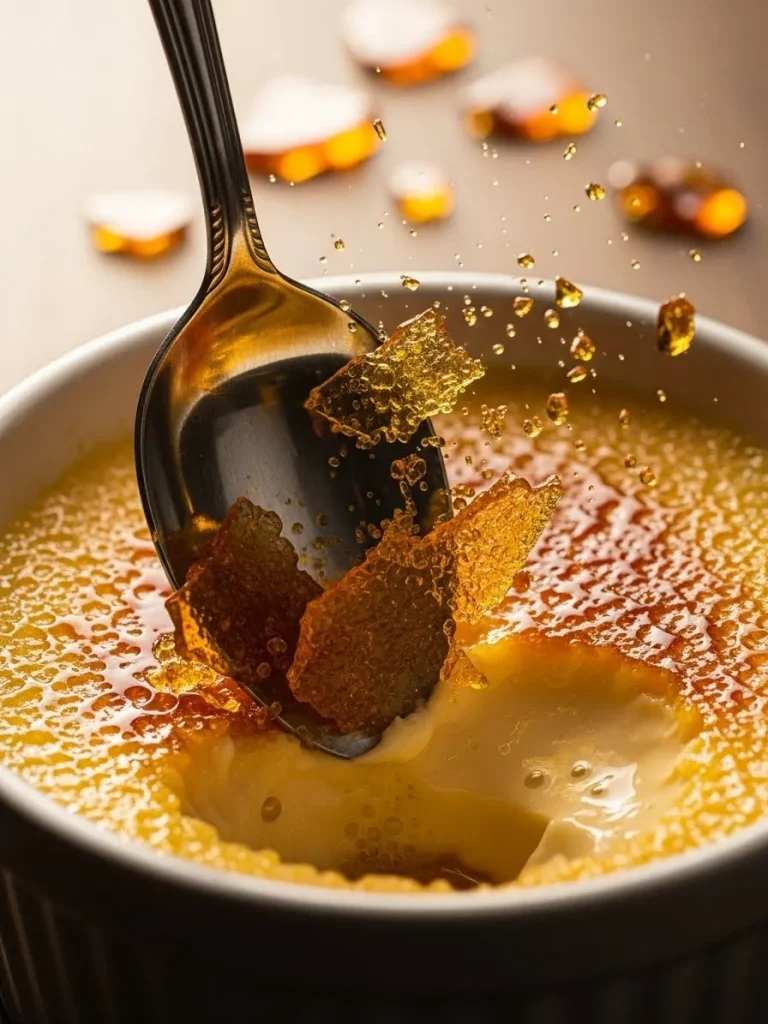
Eating a crème brûlée is a complete sensory experience that begins before the first bite. The sight of the golden crust and the smell of toasted sugar create a sense of anticipation. Then comes the tactile joy of using your spoon to break through the hard shell.
The sound of the crack is a universal sign of a well-made and successful custard. As you take a spoonful, you feel the contrast between the cold cream and the warm sugar. The flavors of vanilla and caramel meld together on your tongue in a perfect balance.
It is this combination of sensations that has made the dish a favorite for centuries. It satisfies our desire for something sweet, something creamy, and something crunchy all at once. Few other desserts can offer such a complex and satisfying range of textures in one dish.
Pairing with the Right Beverages

To elevate your dessert even further, consider pairing it with a carefully chosen drink. The high fat content and sweetness of the dish require a beverage that can stand up to it. A classic choice is a glass of Sauternes, which is a sweet French dessert wine.
The acidity and honeyed notes of the wine complement the vanilla and caramel perfectly. For a non-alcoholic option, a strong cup of black coffee or an espresso is ideal. The bitterness of the coffee provides a beautiful contrast to the sweet and rich custard.
Sparkling wines like a Demi-Sec Champagne can also work well to cleanse the palate. The bubbles cut through the cream and refresh your mouth for the next delicious bite. Experiment with different pairings to find the one that best suits your personal taste.
The Versatility of the Custard Base
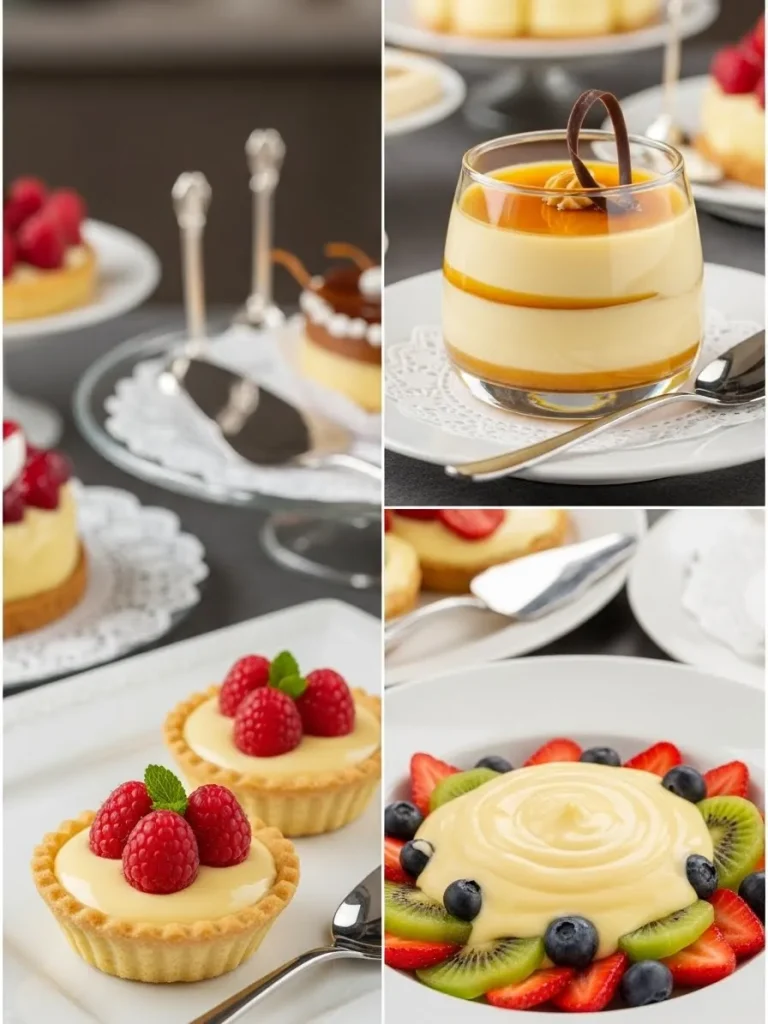
Once you master the basic custard, you can use it as a foundation for many other things. Without the sugar crust, the baked custard is known as a pot de crème in French cuisine. You can serve it with a dollop of whipped cream and fresh fruit for a simpler dessert.
The base can also be used as a filling for tarts or as a rich sauce for bread pudding. The principles of tempering and slow baking apply to almost all egg-based desserts. Learning to make a perfect crème brûlée gives you a great advantage in the world of pastry.
This recipe is a building block that will give you confidence in your overall cooking. It teaches you about the importance of temperature, texture, and high-quality ingredients. You will find yourself using these skills in many other areas of your culinary journey.
Why This Method Truly is Effortless
The term effortless refers to the lack of complex maneuvers and high-stress moments. By following a logical sequence of steps, you remove the risk of failure from the process. The oven and the refrigerator do the majority of the heavy lifting for you.
You do not need to stand over a hot stove whisking for thirty minutes to get a result. The water bath provides a safety net that protects your dessert from your own mistakes. Even the torching is a quick and straightforward task that anyone can master in minutes.
The true secret to an effortless crème brûlée is simply having a plan and sticking to it. Prepare your ingredients, respect the temperatures, and give the custard time to chill. The result will be a dessert that looks like art and tastes like absolute perfection.
Encouragement for the Home Pastry Chef
Do not be afraid to fail on your first attempt at making this classic French dish. Even professional chefs sometimes overcook a custard or burn a layer of sugar. Each mistake is a lesson that will make your next batch even better and more delicious.
Start with the classic vanilla version to get a feel for the textures and the timing. Once you feel comfortable, begin to experiment with the different flavors and infusions. Your friends and family will be impressed by your ability to create such a luxury at home.
Cooking should be a joy and a way to express your creativity for those you love. Crème brûlée is the perfect vehicle for that expression because it is so well-loved. Take your time, enjoy the process, and savor the reward of your hard work.
Conclusion

The journey from a few simple ingredients to a finished crème brûlée is a rewarding one. You have learned the history, the science, and the techniques behind this iconic dessert. You now have the knowledge to create a restaurant-quality experience in your own kitchen.
Remember that the best food is made with care, patience, and a respect for the ingredients. Whether you are serving a crowd or just treating yourself, this dish is always a winner. The effortless method makes it accessible to everyone, regardless of their skill level.
Now it is time to get your cream, eggs, and sugar and start your own culinary adventure. Good luck with your baking, and may your sugar crust always have that perfect snap. Enjoy every creamy and crunchy bite of your perfectly easy homemade crème brûlée.